This post is a guide on how bottle your own beetroot at home. It takes you through the entire process step by step in great detail. It is perfect for beginners who want to try bottling their own beetroot for the first time.
For easier navigation the article has been divided into 8 sections. To read the entire article simply continue reading down the page, to find a particular section just click the quick-links below:
- Beetroot harvest
- Jars
- Washing beets
- Sterilising jars
- Cooking and preparing beets for bottling
- Pickling solution
- Botlling and heat treating
- The Recipe
Beetroot Harvest
This is my beetroot garden after receiving the attentions of a bandicoot, grasshoppers and caterpillars. The reason for the wire is keep out Wallabies. All of the top growth is gone, but there is nothing wrong with the taproot. The Beetroot itself is still usable.

Above: Pic.1, Beetroot Garden
The beetroots look in poor state, but in fact this produced 4kg from a 1.6m diameter bed. I do not use pesticides or inorganic fertiliser and a bed this size can produce 6 kg + and has done in a good season.
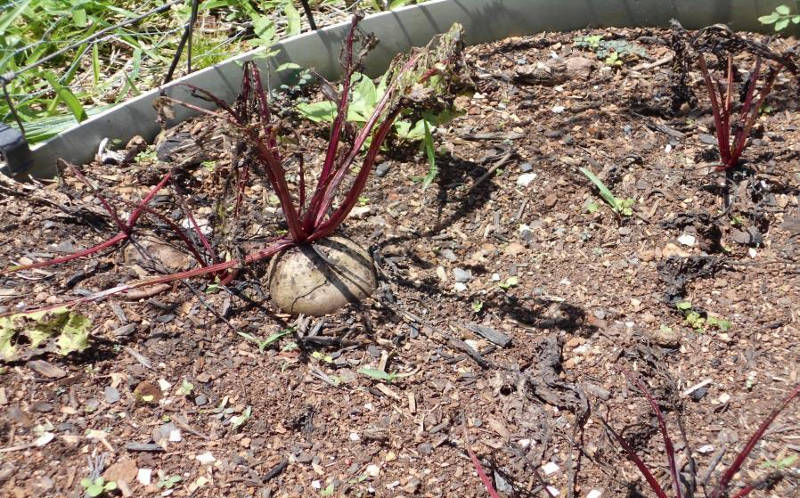
Above: Pic. 2, Detroit Red Globe
So we’ve grown some beetroots, what now?
Jars
The first thing to consider is what to put them in.
It has to be glass jars; what size jars and what do they cost? If you like things for free as I do then friends, neighbours, family are all good sources. Thrift shops will also have a large selection, which you will have to pay for, but the cost should be minimal and remember you will reuse the jars a number of times.
JARS TO AVOID: Jars with; plastic lids, rusty lids, and new jars from discount stores; they at not made to resist the effects of vinegar.
Jars that once contained pickles, jams, chutney and the like are all good. The ones I use are ex-pickle jars, have a metal twist on lid and have a capacity of 650ml. These are the biggest I use. I have also used jam jars, with capacities of 400ml. One other thing is that the jars should be wide mouthed, after all the sliced beetroot has to fit inside.
Washing Beets
So the beetroots are still waiting patiently in the garden to be picked, if they are growing well only pick the largest ones or if like mine then pick all at once. Brush dirt off, remove top growth and large roots. Then they need to washed in water.
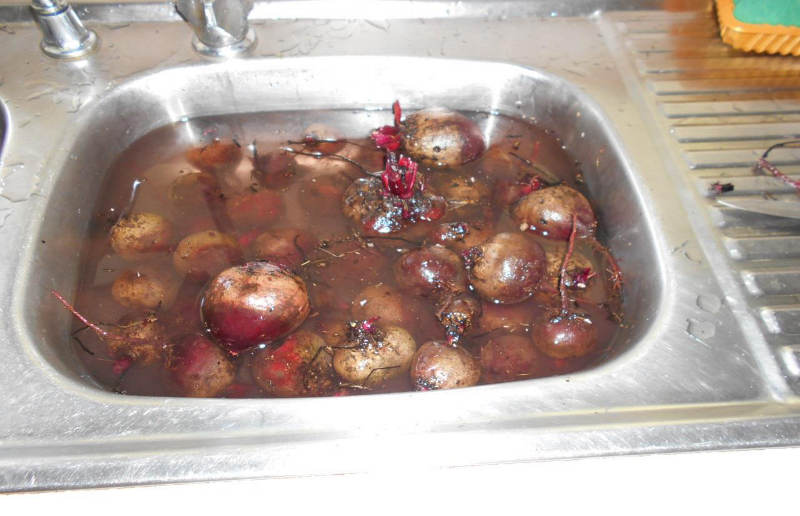 Above: Pic.3, Washing Beetroot
In the kitchen sink, laundry tub or other large container, the beetroot have to be thoroughly scrubbed and rinsed to remove all traces of dirt, but avoid damaging the skin.
Sterilising Jars
At this point we need to estimate the number of jars required, they should already be on hand. Pick a number then add two that should be enough jars. Experience is the only way to tell. Better to have too many jars than not enough.
The jars should have been washed to remove traces of food and now they need to be sterilised. Preheat your oven to 100*C. Place jars in oven for 15 minutes. I trust the thermostat on the stove, I don’t measure the actual temperature.
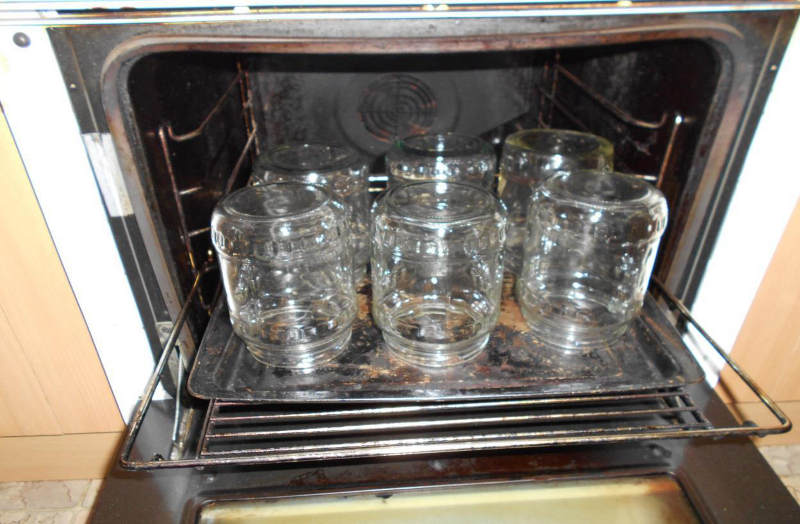
Above: Pic.4, Sterilising Jars
The lids should also be sterilised at this time. Boil for about 10 minutes.
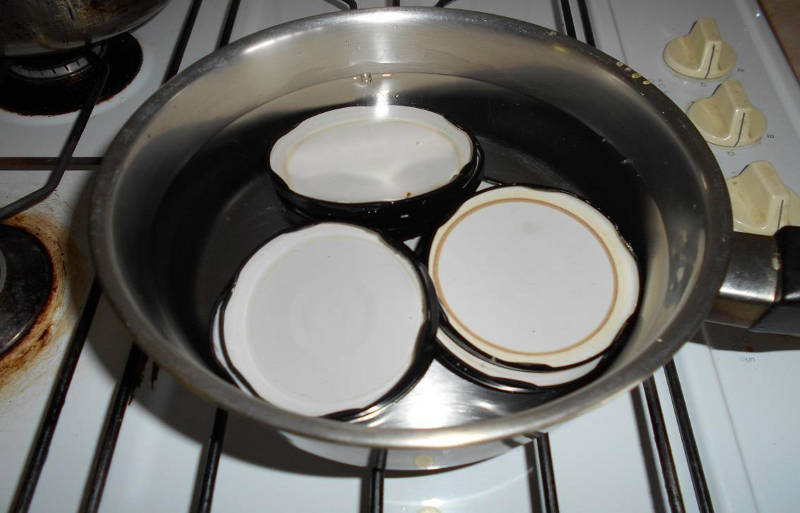
Above: Pic.5, Sterilising Lids
Is all this Sterilising really necessary? Yes! Try bottling without doing it. The results could be fermentation of all your bottles of beetroot, loss of time and money, and illness if you try to eat it anyway.
Cooking and preparing beets for bottling
Place 2.5kg of beetroots into a large boiler, cover with cold water and bring to boil. Continue boiling until tender.
How will I know when they’re tender? Somewhere in the kitchen drawer there will be a large serving fork. When it pushes into a beetroot easily it’s cooked. Practice on a raw beetroot you’ll see the difference.
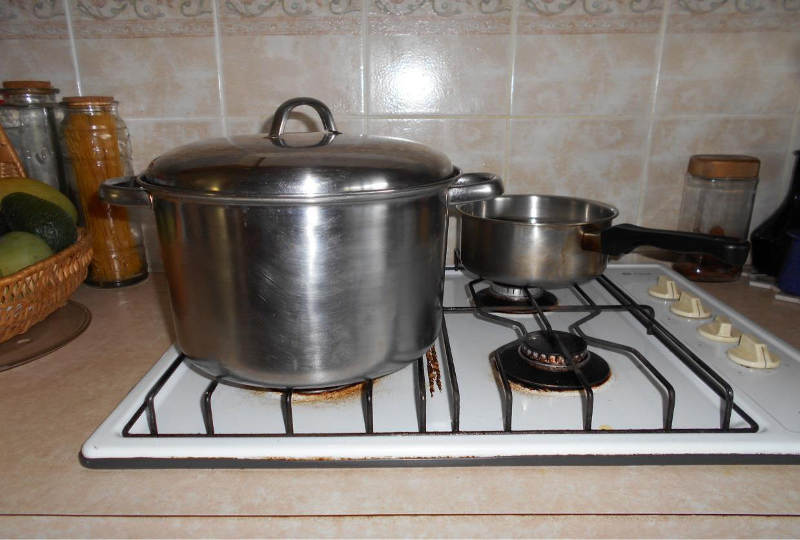
Above: Pic.6, Stainless Steel Boiler
You really don’t have to have a Stainless Steel boiler. This is a personal preference; all of my cookware is either Stainless Steel or glass. Use what you have.
After the beets have cooked until tender remove the beetroots from the boiler.
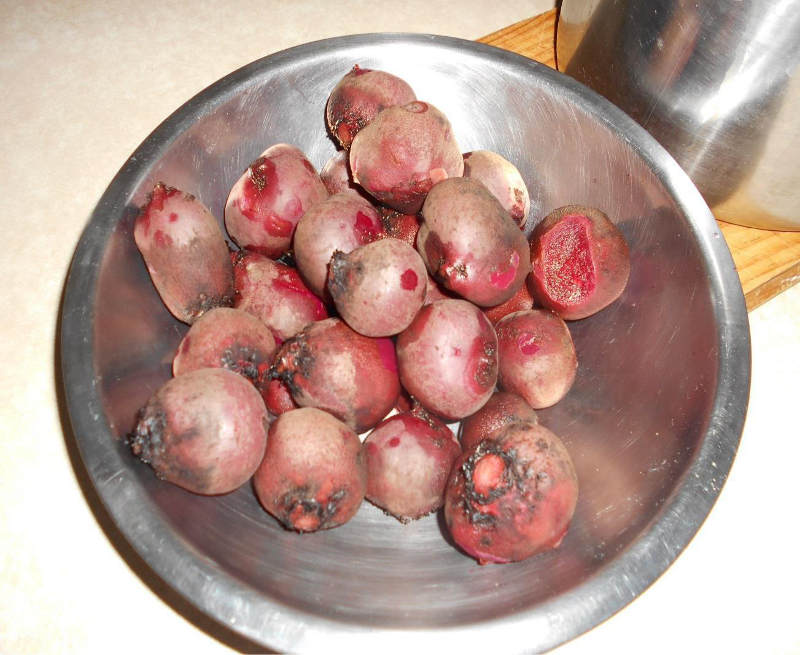
Above: Pic.7, Boiled Beetroots
The beetroots will still have a skin on them, which now has to be removed. Don’t be tempted to leave it there; you will not have a good result with this. So it’s back to the kitchen cupboard to find some disposable gloves or washing up gloves. The beetroots are hot and the juice will stain your hands and not to mention clothes so wear something suitable.
Pick up a beetroot and rub with your hands the skin will peel off, cut off the top and tail of the beet with a knife, removing as little beetroot flesh as possible. (In Pic7 above you can see the skin and tops and tails I am referring to.)
Do this with all the beetroots you have cooked. Invite friends and family to help, it will be over much faster and they’ll learn how to do it. Once done slice all the beetroot thinly, about 6mm or less, presentation is not the most important thing here, near enough is good enough.
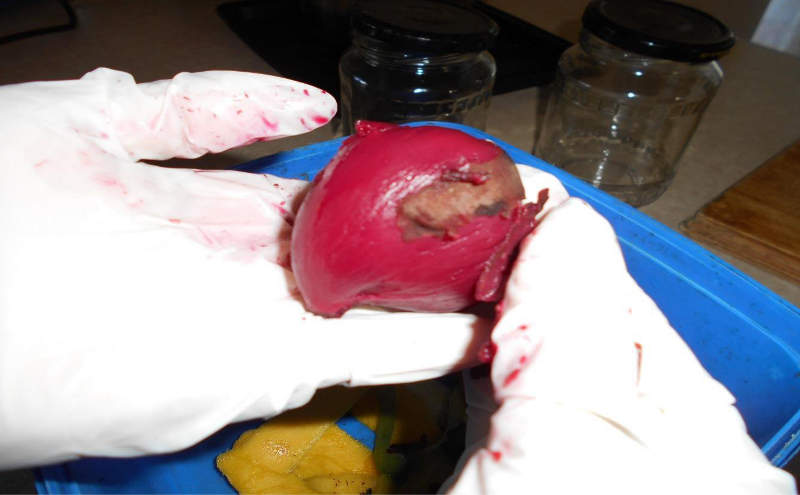
Above: Pic.8, Peeling Beetroot Skin
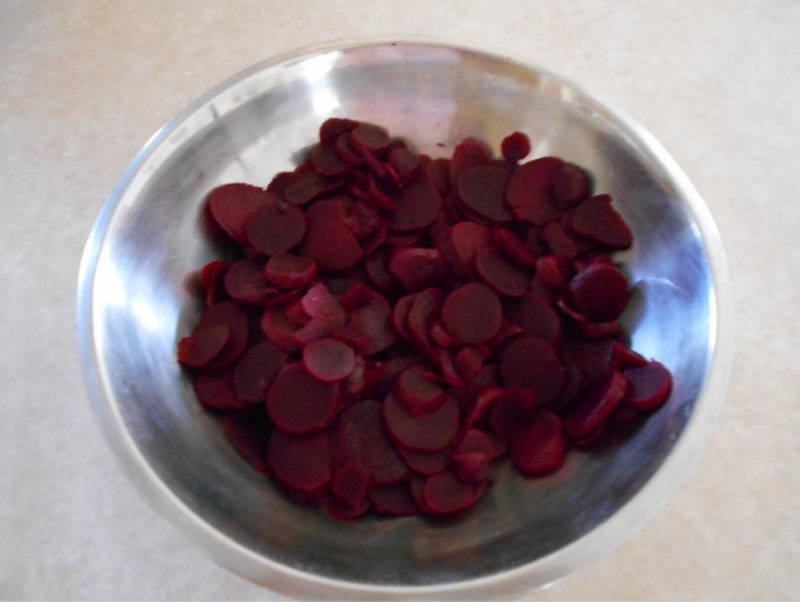
Above: Pic.9, Peeled & Sliced Beetroot
The Pickling solution
The most important part of the bottling process is the pickling solution. Making it at this time or earlier really doesn’t really matter. Once all the parts are mixed they need to be simmered for five minutes and this should draw out all the flavours.
What goes into a pickling solution? It can be as simple as sweetened vinegar, but for real flavour I use a lot more:
- Apple cider vinegar; not as sharp in flavour as some
- Sugar
- Cloves, cinnamon quills and pickling spices
Pickling spices can be bought in small packets in super markets; I buy larger quantities in a local health food store, at a very reasonable price.
Usually the mixture is Bay Leaves, Pimento, Fennel, Coriander seed, Mustard seed, Peppercorns, Cumin seed.
Crush all spices; add to vinegar; add sugar; add salt; add beetroot water. Simmer for 5 minutes.
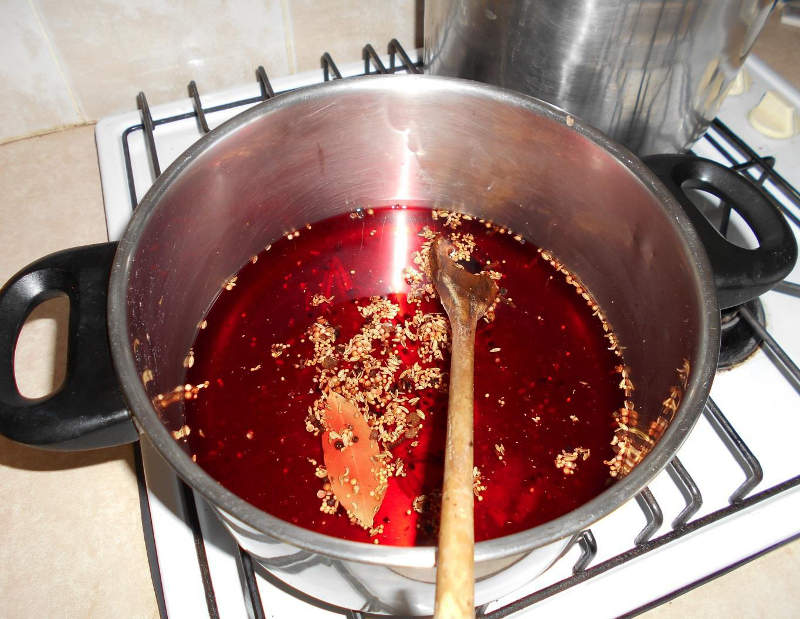
Above: Pic.10, Pickling Solution
Bottling and heat treating
The sliced beetroot should now be placed in to jars. Loose enough for the pickling solution to be in contact with all the beetroot, not so loose that you have more pickling solution in the jar than beetroot.
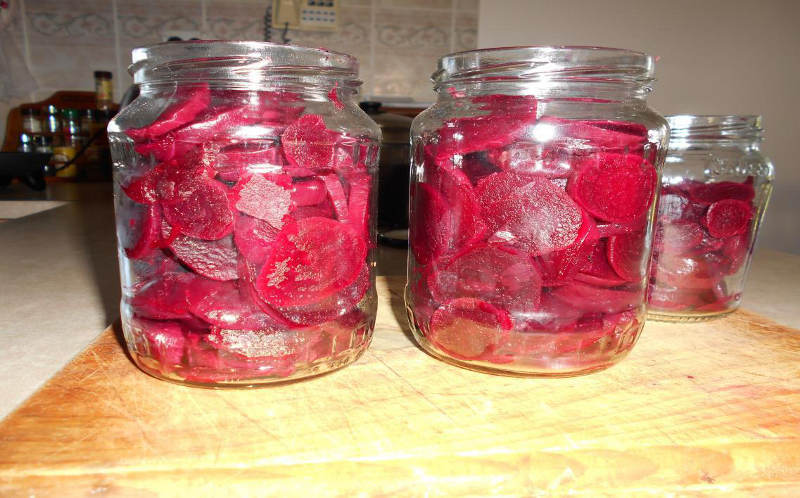
Above: Pic.11, Beetroot in jars
When the pickling solution is ready you have a decision to make, to strain or not to strain? Personally I have taken to straining out all the bits and pieces in the pickling solution. Having not done so in the past I found it all stuck to the beetroot in the jar, which had to be scrapped off every time I ate some. I feel it doesn’t add anything by leaving it there; the vinegar should have already extracted all the flavours.
Pic12 below illustrates the filling of the jars with pickling solution to within 1cm of the rim. Check for air bubbles in the jars; use a skewer to release these bubbles, if any.
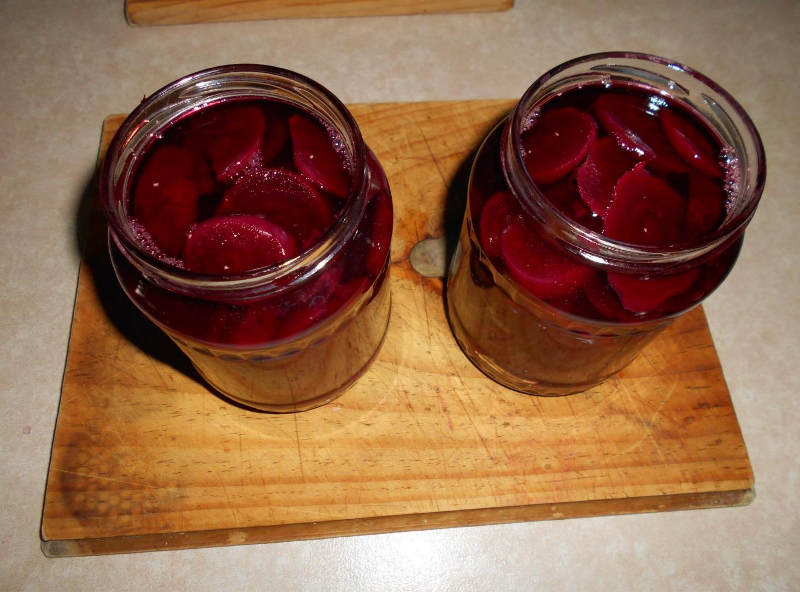
Above: Pic.12, Jars Filled with Pickling Solution
We have arrived at the last step; Heat treating. This serves two purposes: the first and most important is that it should kill off any remaining pathogens that would ruin all our hard work; second it will vacuum seal the lids providing long term storage.
The metal twist seal lids have a centre pop up to show if the seal has been broken, this will work for us again. Place the lids on all the jars, seal down, preheat oven to 100*C.
Place all the jars in the oven for 30 – 40 Minutes. Remove from oven and place on cutting board or similar to cool. Check the tightness of the lid. As the jars cool you will hear a metallic pop as the vacuum seal forms.
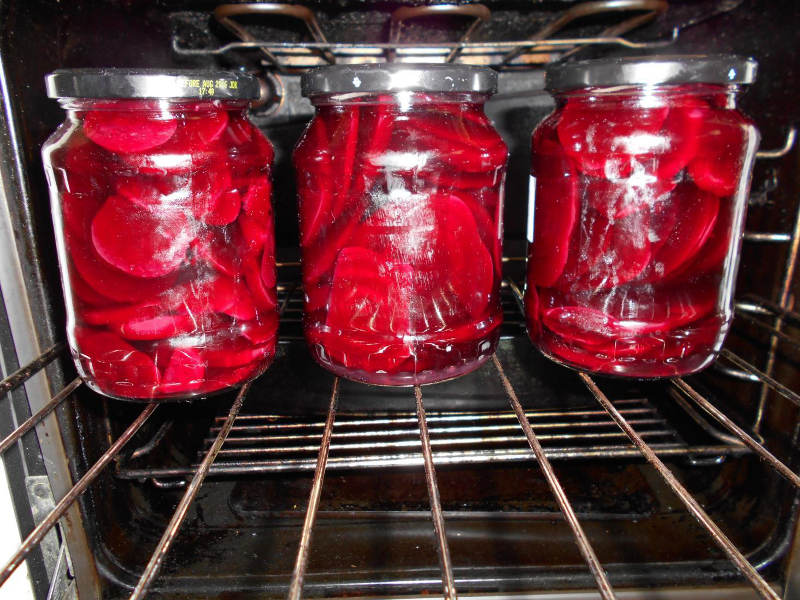
Above: Pic.13, Heat Treating
There is one extra tool that you may find useful. After the jars have been in the oven, they are very hot; oven gloves will solve the problem, but this is better:
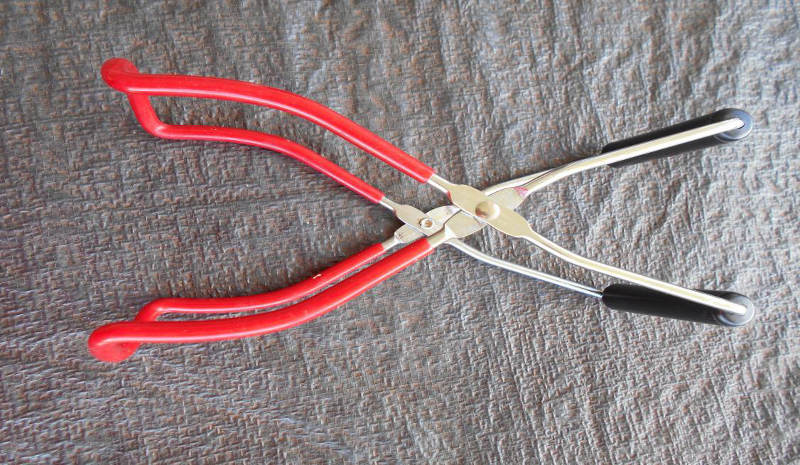
Above: Pic.14, Jar Lifter
This tool is designed to lift jars. The red part bears on the jar not the lid and will lift a heavy and hot jar easily.
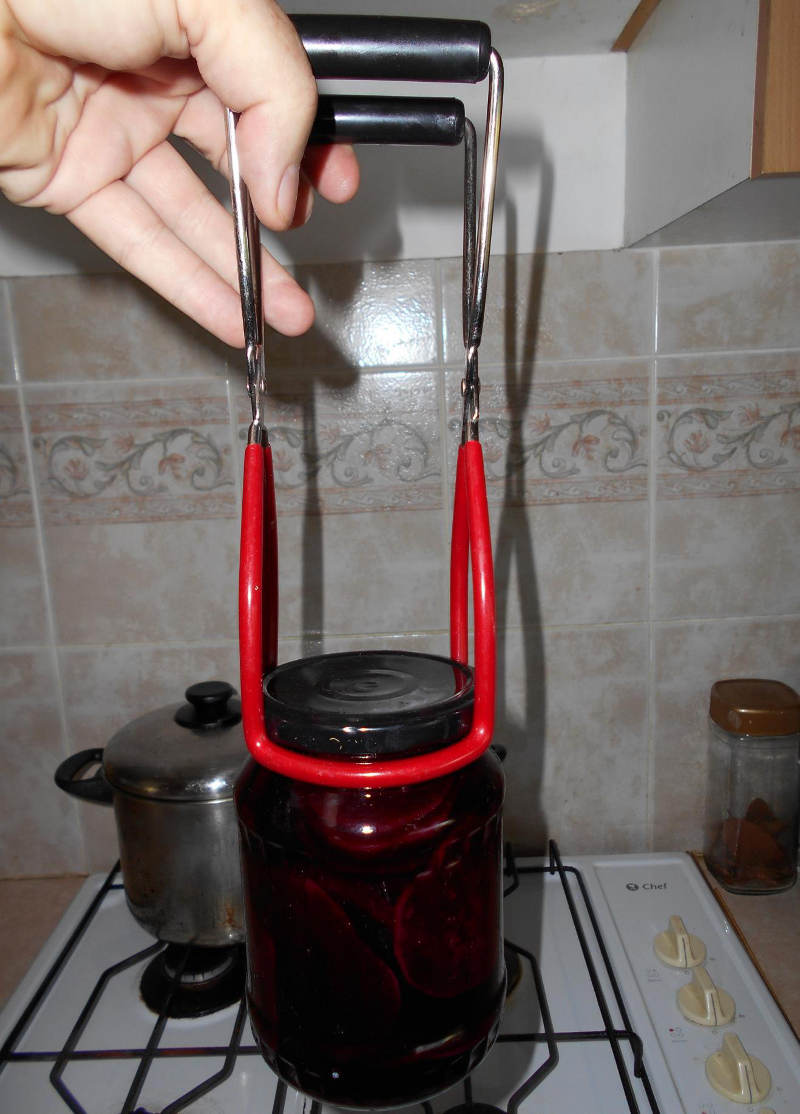
Above: Pic.15, Hot Jar Lifter
These sell for $15 in stores that sell food preserving equipment, but I found this one in a local thrift shop and paid $1.00.
Once cooled the jars will need a label; again for two reasons: You need to know at a glance what it is and how old it is.
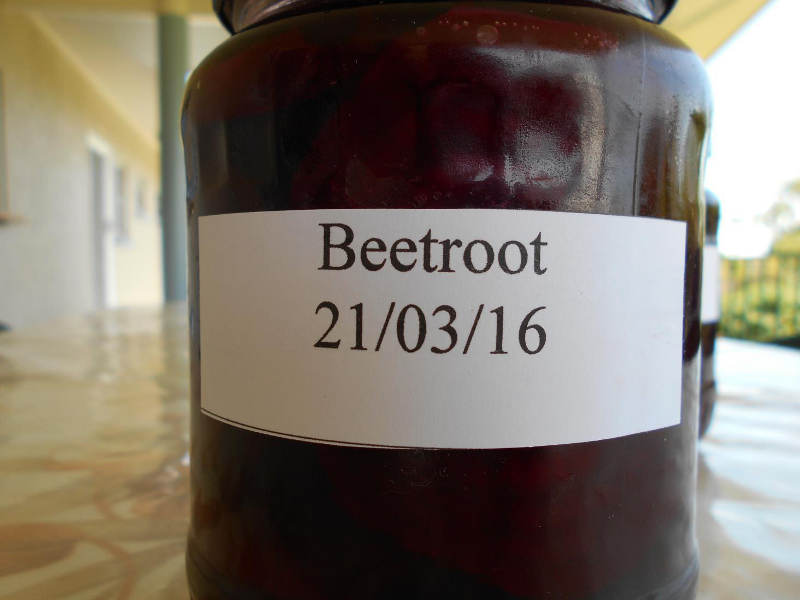
Above: Pic.16, Finished Product
The labels are printed from my computer on plain paper, cut out and glued to the jar with ordinary paper glue. I tried the stick on labels, but found them difficult to remove; these will come off in warm water, when you wash the jar for reuse.
I know that the beetroot will last in the pantry for 1 year +, beyond that I don’t know, because it’s all eaten. Don’t bottle more than you can use. Of course it needs refrigeration after it’s opened.
I have been using this method with success for 3 years running and it is very popular with friends and family.
Now you really didn’t think I’d leave you without writing a summary of the recipe!
The Recipe: Pickled Beetroot
Ingredients
- 2.5kg Beetroots.
- 4.5 cups Apple Cider Vinegar.
- 1.5 tsp Coarse Salt.
- 2 cups Granulated Sugar.
- 2.5 Cups Beetroot Water.
- 2 Cinnamon Quills
- 6 whole Cloves
- 2 tbsp. pickling spices
Method
- Wash Beets thoroughly. Cover with water and boil until tender. Trim and peel, slice thinly.
- Combine vinegar, salt, beet water, sugar, cinnamon and spices. Simmer 5 minutes.
- Sterilise jars in oven 15 minutes at 100*C
- Sterilise lids by boiling in water 10 minutes
- Fill jars with beetroot and pickling solution seal
- Heat treat jars in oven at 100*C for 30 – 40 minutes
- Cool jars, label, store
My 4kg of Beetroots translated into 8 large jars and 1 small Jar. Give it about 2 weeks and enjoy.
That’s all there is to it.
Cheers
Gregg Jacobson