When you're planning your garden, it can be tempting to pass over a wide range of plants that have tiny seeds. From smaller seeds such as brassicas or carrots to the truly minute tropical orchid seeds that appear as no more than a fragment of dust on the wind, these tiny seeds can require some special handling to get the best germination rates, seedling spacing, and productivity. From the tried and true to new ideas you may not have considered, this article will help you plant and care for your tiny seeds.
Difficulties in Sowing Tiny Seeds
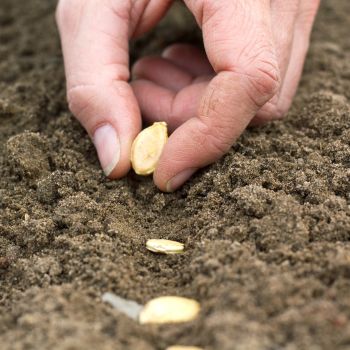
When you're sowing very small seeds, there are any number of issues to overcome to get the seeds planted with the proper spacing. We've all had too many seeds fall out of the packet or our hand onto the garden soil. Though this is a simple fix with larger seeds such as melons, corn, squash, or beans, smaller seeds are much harder to pick out from the soil matrix of a well-prepared garden bed. Strong winds can blow the seeds right out of your hand, scattering them across your garden and making it difficult to pick out which plants are weeds and which have been inadvertently scattered. Once the seeds are planted, they require constant moisture and high humidity to sprout and grow successfully into strong plants. Though this may seem like a daunting list of difficulties, with a few tips, you'll be an expert small-seed gardener in no time.
Seeds That May Require Special Care
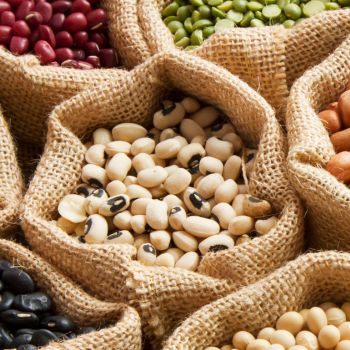
The larger end of the small seeds includes cosmos, weighing in at 100 seeds per gram and remaining relatively easy to handle in the garden setting. Small vegetable and herb seeds include seeds that have several hundred seeds per gram, including arugula, basil, broccoli, Brussels sprouts, cabbage, Chinese cabbage, cauliflower, chicory, chives, eggplant, endive, fennel, kale, leek, mustard, onion, parsley, parsnips, peppers, rosemary, sage, tomato, and turnip, just to name a few. Tiny vegetable and herb seeds include a range of varieties with several thousand seeds per gram, which can include celery, Mexican coriander, purslane, lettuce, poppy, strawflower, thyme, and watercress. Truly minute seeds include seeds with tens to hundreds of thousands of seeds per gram, including commonly grown oregano's astounding 10,000 seeds per gram and wormwoods near 20,000 seeds per gram. The world's smallest seeds are invisible to the naked eyes, with certain tropical orchids have seeds that are so tiny, there are nearly one billion seeds per gram!
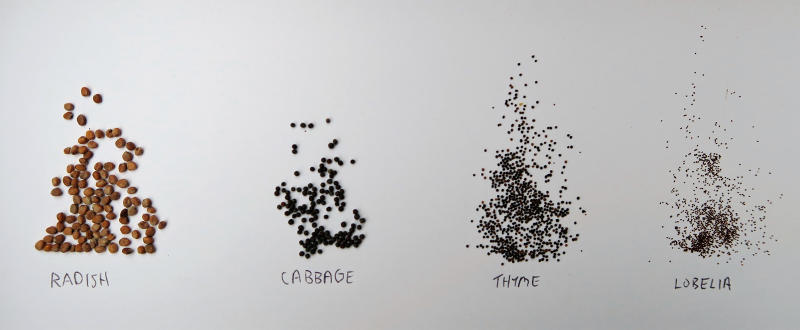
Above: A range of small to tiny seeds
Easy Methods for Sowing Tiny Seeds
There are a number of different tricks and tools you can use to move the tiny seeds to the soil without ending up with a large number of seedlings in too small a space for them to thrive. Here are a few options to consider when planting your garden or seed trays with these tiny seeds:
- Multi-purpose aids: Every household has any number of planting aids available that typically serve other purposes. A moist toothpick works well to pick up a single tiny seed and deliver it to the soil surface, where it can be gently scraped off onto the soil. Tweezers can be used to place individual seeds if you want the seeds to remain dry until they are watered. A folded paper, preferably of a stiff weight such as cardstock or a manila envelope, allows you to tap the paper to slowly move individual seeds down the fold to the soil. A teaspoon can also be used to limit the number of seeds falling to the soil within a particular area.
- Salt shaker: Whether filled with seeds alone or with another soil media, a salt shaker provides you with even distribution of seeds across your row or fill area, as only seeds of a particular size can fall through the holes in a controlled manner. This method works especially well if you're planting a square metre garden and need to fill a space rather than a row, as the spacing of holes in most salt shakers is more conducive to a wider planting than a single straight line. If your salt shaker holes are too large for your seeds, a small bottle with a plastic cap may work if you melt holes in the cap with a hot needle or very small nail held in a pair of pliers with the tip held in a candle or stove flame.
- Premix with media: One way to space out your small seeds is by mixing your seeds with fine sand or another fine, dry soil mix. Some gardeners will run a bit of soil media that doesn't contain sand through a food processor or a blender to get a finer media mix for small seeds, though you may want to restrict this to appliances that have a glass jar that will not scratch as readily as plastic. As the seeds become distributed throughout the media, fewer will fall into a single space as you're planting. Once the media and seeds are mixed, simply sprinkle the mixture along your row, pat gently into place, and water with one of the methods mentioned below.
- Make a seed tape: Though we often think of seed tape as a commercial preparation, it's actually very easy to make a homemade seed tape. This allows you to have the ease of this type of planting without the limitations of available varieties from commercial seed companies. Cut strips of paper from a newspaper or paper towel roll, then make a mixture of one part water to four parts flour to create a paste. Dab the mixture onto the paper at the intervals recommended, then place a seed or two on each dab of paste and let it dry. This has the benefit of allowing you to handle the seeds in a controlled environment, where dropped seeds can be easily seen on a flat tabletop and no wind blows them out of your hand. The paper and paste will dissolve after planting, leaving the seed in place and perfectly spaced.
- Electric motor spacing: Though some garden companies offer this type of tool, its high cost often makes it prohibitive to hobby gardeners. Fortunately, there's an easier DIY solution many gardeners have begun to adopt. Cut a long rectangle, about 6 cm by 25 cm of heavy paper or cardstock and fold it lengthwise, so it now measures 3 cm wide. Open it back up and attach a battery-powered razor, electric toothbrush, or similar small tool that vibrates and tape it in place so the handle is in the fold for part of the length of the paper. Place your small seeds in the fold, then turn on the motor for the vibration to slowly shake the seeds down to the end of the fold to the soil.
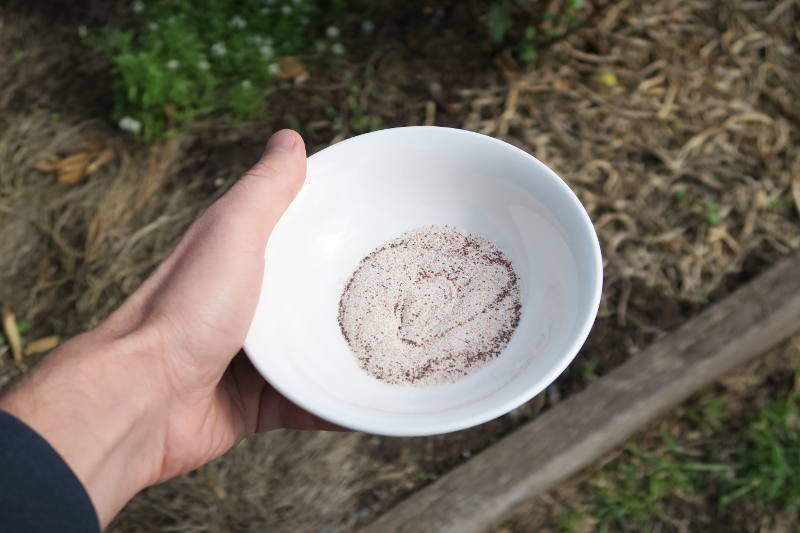
Above: Flanders Poppy seeds mixed with sand ready to scatter sow.
Special Care for Tiny Seedlings
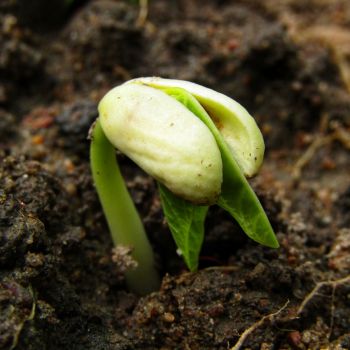
As a general rule of thumb, when you're planting seeds you want to plant them between 1.5 to 2.5 times as deep as the seed is large, with deeper planting for drier soil. However, even with the best care, tiny seeds may still end up planted too deeply due to the soil matrix in your garden. For this reason, we highly recommend planting tiny seeds under only the very thinnest layer or soil or simply sown on the surface and then pressed gently into the surface to maintain the seed's position. This allows the sprout to begin photosynthesis immediately upon emerging from the seed, giving it the best possible start.
Sowing seeds in a good seed raising mix rather potting mix or garden soil can drastically improve your germination rates when sowing tiny seeds. Garden soil is often too coarse and too heavy for tiny seeds to break through whereas seed raising mix is comprised of finer and lighter particles allowing for less restricted seed growth.
Another concern with raising tiny seeds is watering practices. Because the impact of water droplets can detach the seed from the soil or damage small seedlings, you'll want to look at a few options available that do not disturb the seedling. Here are a few techniques to consider:
- Mist watering with a very fine spray of water droplets to keep the seed, seedling, and soil moist without disturbing the soil. Mist watering can be done with a hose fitted with a misting nozzle or a misting spray bottle. Depending on your situation you might also consider installing mist irrigation which provides a very consistent mist in the air, this works especially well in dry climates. This is achieved by passing water through a small nozzle that is typically attached to a water line. However, if you have unfiltered or untreated hard water for your garden, these nozzles can become clogged and either create larger droplets that can impact the seedlings and soil or clog up altogether. Fortunately, a simple soak in an acidic liquid such as vinegar or lemon juice will quickly restore the nozzles to working condition.
- Drip watering is basically just a very slow application of water direct to the soil. This method of watering doesn't have to be complicated, on a very small scale you can do this by simply pouring water very gentry onto your seeds from a small cup or jug. On a larger scale drip irrigation could be installed, which uses fine tubes to release tiny amounts of water on a nearly continuous basis exactly where you want it. It works very well if you have good water quality, but the fine tubes can become clogged with minerals in a hard-water situation and are much more difficult to clean than mister nozzles. That being said, it offers exceptional control of where the water ends up, allowing you to avoid watering unwanted plants and weeds in your garden.
- Sub-soil watering delivers water beneath and around the seedling rather than directly on top of it. If your seeds are in containers you can moisten the soil by watering the sides of the container and submerging the bottom half of the tray in water intermittently, this allows the soil to absorb water without disturbing the seeds. Again on a larger scale this can be achieved by installing an irrigation trench or soaker hose that provides water. Because this method delivers water near the plant not directly to it, you'll need plenty of organic matter in your soil to ensure the water wicks from the point of distribution to your seedlings.
Let's take a moment here to discuss desiccation, or the drying out of tiny seedlings. Because tiny seeds are sown so closely to the surface, it's very easy for the seeds and seedlings to dry out, killing the progress you've made. Wind can contribute to this problem, as can sunlight that dries the surface of the soil or insufficient organic matter to keep the seeds and seedlings damp. For this reason, it's important to provide some protection for your seedlings while they are still in this fragile state. Using cold frames, glass panes, clear seedling tray tops, cloches, plastic sheeting, or simply wrapping your containers in cling wrap all provide excellent ways to keep the seedlings damp and growing well by trapping the moisture to maintain the humid environment. Another option to consider is using wicking action in paper, cloth, or similar materials which continuously draws new moisture to the seedling and soil as it dries out, though this will only provide water to the roots rather than the plant's environment as a whole. Make sure your seedlings get enough light and warmth, but protect them from direct sunlight until they are established; tiny seedling are easily 'fried' by direct sunlight.
In Conclusion
Though tiny seeds can be a bit more difficult to plant, the benefits you can receive from them are wonderful. They open up a whole new world of flowers, herbs, vegetables, and ornamental plants for you to enjoy throughout the year, and having the right knowledge and tools available ensures you'll be successful in your gardening ventures.
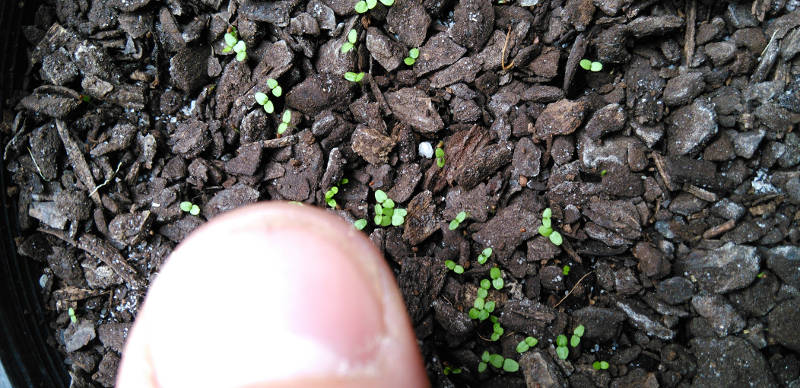
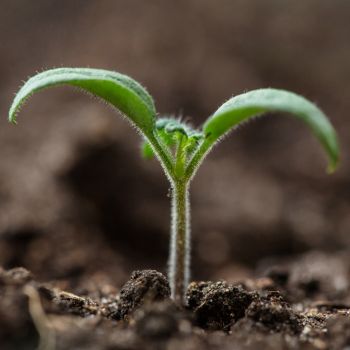
Above: Surface sown 'Snow in Summer' seedlings (and a thumb for scale)