There's a huge variety of cultivated plants available to grow in your garden, carefully bred to provide stunning displays of colour, architectural foliage or any number of other features. Whether you are mixing them with exotics or establishing a bush garden, some of the most rewarding plants to grow are Australian natives. Natives make great additions to Australian gardens for several good reasons:
- Native plants are beneficial for local wildlife that has adapted to the same environment. Many natives provide food and shelter suitable for a range of native birds, butterflies, reptiles and insects.
- Many native plants are easy to maintain once they're established, and better able to withstand tough conditions, especially drought.
- Growing natives helps to protect our heritage, preserving many plant species unique to Australia.
While many gardeners are confident growing vegetables, annual flowers and herbs from seed, growing natives from seed involves a few special techniques and can require a bit more patience. Australian natives have evolved to cope with often harsh conditions, including poor soils, bushfires, drought, and flooding. One way they've adapted to these trials is to delay germination until conditions are ideal, and also to spread germination out over a long period of time.
This 'insurance policy' helps to continue the species and avoids the loss of a full generation if natural disaster strikes, but can make life more difficult for a gardener looking to grow natives from seed. Cultivated plants are often selectively bred for reliable, fast germination, and the apparent reluctance of native species to sprout can be a bit disconcerting for beginners.
Nonetheless, by following these five seed-raising tips you can enjoy the rewards of natives without too much difficulty.
1. Container and Potting Mix
Starting natives in punnets or pots gives you control over their environment and makes it easier to monitor for germination, but it's important to choose the right container. For smaller plants such as wildflowers, standard seed trays or punnets are fine. But for trees and shrubs, and especially eucalypts, a forestry tube makes a better choice as it can accommodate the long tap root.
For seeds that will be transplanted to the garden as seedlings, sowing in standard potting mix is fine. But for natives which will stay in containers, it's best to use a specialist native mix that's free-draining and low in nutrients, to better mimic the natural environment.
2. Handling the Tiny Seeds
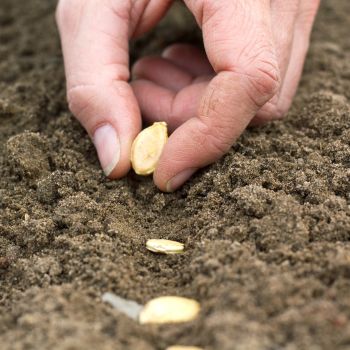
Many native seeds are tiny and will blow away in the slightest of breezes, with eucalypts again being a prime example. Always open seed packets carefully, ideally indoors to avoid any loss to the wind.
The small seed size also complicates sowing, but a straightforward technique makes things easier. Take a sheet of paper, fold it in half, and empty the packet into the crease. The seeds will line up naturally, and you can slide them off one at a time directly onto the soil.
3. Pre-Treat the Seeds
Many native seeds have hard seed coats or other features that make the seeds dormant. This dormancy is a natural feature which lets the seed stay viable, biding its time until the right sprouting conditions arrive, but it makes germination times highly unpredictable. Luckily, there are ways of treating the seeds before sowing to break the dormancy and spur faster germination.
Note that not all seeds need treatment. Species including brachyscome, everlasting daisies, paper daisies, billy buttons and even many gums can be sown without any preparation. If seeds do benefit from pre-treatment, it will be mentioned in the growing instructions, and will usually be one of the following four kinds.
Seed Soaking
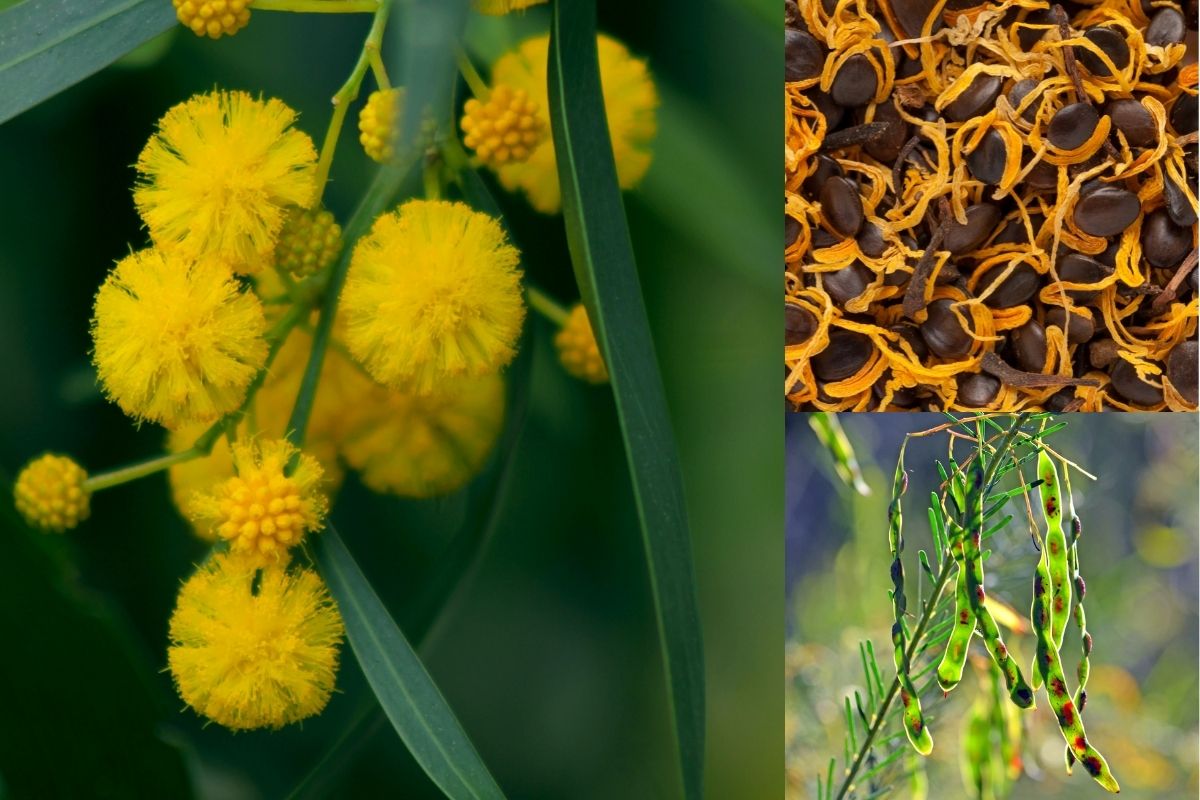
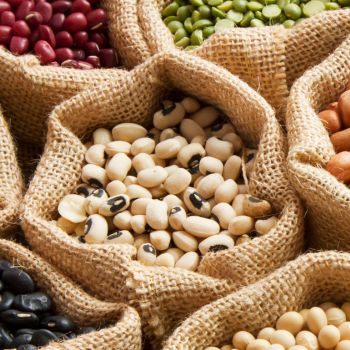
Many native seeds have tough seed coats as a protection against predation or bushfires, with good examples including fabaceae such as wattles, hardenbergia, and running postman. While the hard coats help the seed to survive for a long time in the environment, they also make germination difficult. Soaking these seeds will break or soften up the shell, making it easier for the shoot to push through.
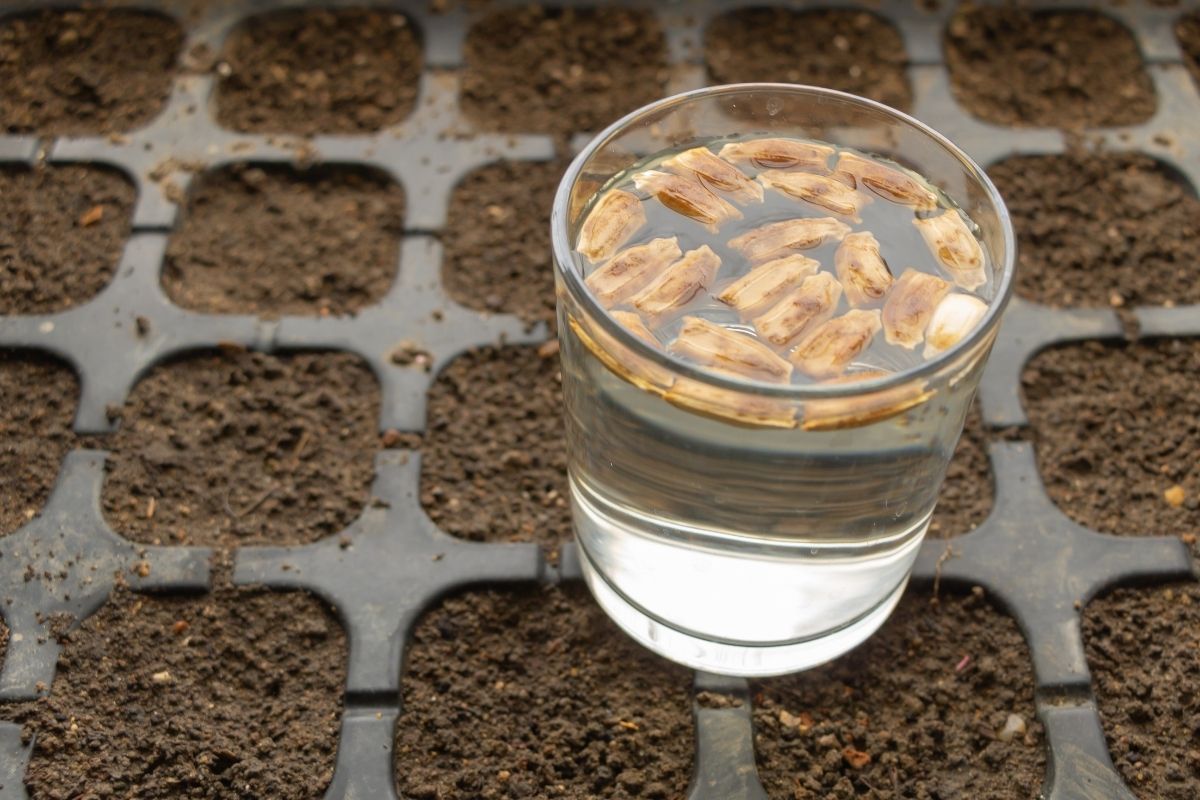
To soak, boil some water and let it cool for ten minutes. Put the seeds into a suitable container, cover with the water, and leave for the time recommended in the growing instructions. The soaking period can be anything from one minute to overnight, depending on the seed's size and toughness.
Once seeds are soaked, any seeds which are visibly swollen can be sown; those that aren’t might need to be soaked again, and seeds that float should be discarded.
Native seeds that benefit from pre-soaking:
- Austral Indigo
- Bottle Tree
- Cockies Tongue
- Gold Dust Wattle
- Native Ginger
- Native Hibiscus
- Painted Lady
- Raspberry Jam Wattle
Scarification (AKA abrasion)
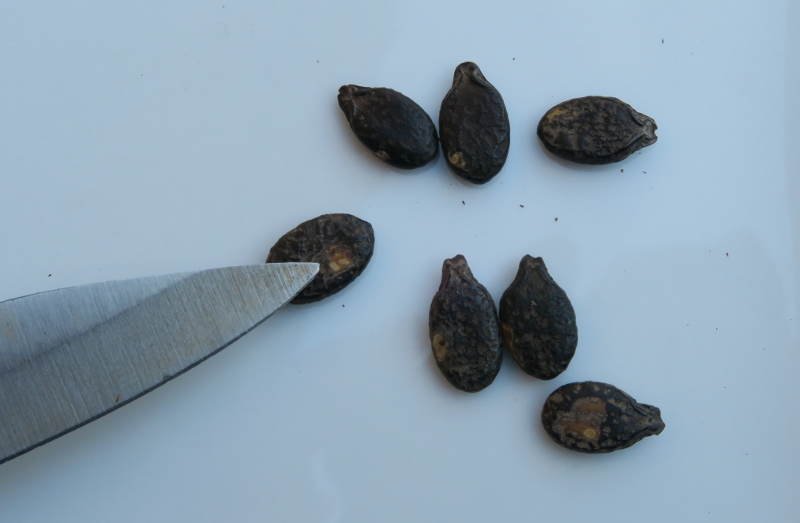
Some seeds require more physical treatment to break their seed coats. Scarification simply means to physically damage the shells a little to let air and moisture in, and to help the seed sprout break out.
The key point is to damage the husk enough to make a difference, but not enough to harm the seed kernel. For larger seeds, a nick or two with a sharp knife or nail clippers can work, but for smaller seeds a more delicate technique is needed. Put the seeds between two sheets of fine sandpaper and rub gently to physically scuff the husk, taking care not to actually grind or break the seeds. Many seeds that benefit from pre-soaking can also be treated with scarification.
Smoke Treatment
Some seeds, notably kangaroo paw and flannel flower, often germinate in the wake of a bushfire and can benefit from a smoke treatment before sowing. You could, of course, start your own fire to spur the seeds into action, but it's risky, impractical, and lack of temperature control means it may not work reliably.
It's not actually the fire's heat that the seeds are waiting for, but the chemicals found in the smoky residues that settle once the fire has passed. These chemicals can be easily applied by using smoked vermiculite, which consists of dry granules infused with smoky compounds.
Sprinkle vermiculite over the surface of potting mix or soil after seeds have been sown. Spread 35ml of vermiculite over 2 square metres of soil. As you water in the normal way, the 'smoke' compounds will be washed into the soil and encourage germination.
Alternatively, add a teaspoon of vermiculite to a small jar of water, shake well, and leave to soak for half an hour. Strain the mixture, reserving the water. Soak seeds in this water for the recommended time (usually 8-12 hours) before sowing.
While smoke treatment is essential for the germination of some seeds, it can also boost the germination rate and/or speed for some other natives.
Native seeds that benefit from smoke treatment include:
Cold Treatment (AKA Stratification)
While some seeds wait for bushfires, others need a period of cold before they'll germinate. This is often the case for alpine varieties including some banksias and eucalypts, which in nature will wait out the cold of winter before germinating in spring. No matter what your local climate, you can simulate a cold spell by using stratification: put the seeds into a sealed container along with some moist vermiculite, and leave it in the fridge for one to three months.
4. Be Patient
Even with pre-treatment, it's a fact that most natives are slower to germinate than other plants. The seed packet can give an idea of the expected time, but don't be surprised if takes longer.
Unless you're certain that the seeds have failed, then continue to be patient and give the pot an occasional watering. It's not unknown for even experienced specialist native plant growers to put trays aside thinking germination has failed, only to see seedlings unexpectedly appear months or more down the line.
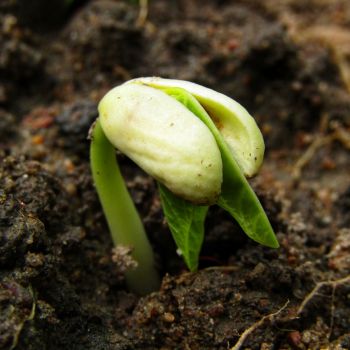
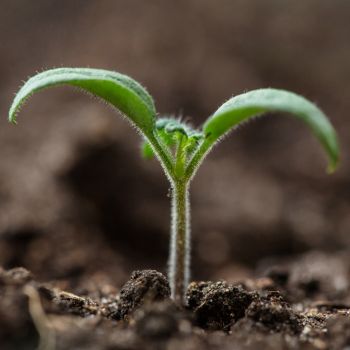
5. Seedling Care After Germination
Once germination has happened, there are a few tips which are good practice for most plants but especially important for natives.
- If you're transplanting the seedlings, make sure you do so before the plants become root-bound. Although cramped cultivated plants can often be rescued, there's less chance of success with root bound natives.
- Take particular care when transplanting, disturbing the roots as little as possible to ensure continued growth.
- Continue with consistent watering while the seedling grows. Although many native plants are drought-tolerant once mature, like any seedling they need nurturing when young.
And lastly, it's important to go easy with fertiliser. Many natives have adapted to growing in poor soils, and can be overwhelmed by the concentrated minerals of typical feeds. In particular, members of the protea family including banksias and macadamias are sensitive to phosphorus, so if you do feed, use a formula specifically aimed at natives. In any case, avoid fertiliser until the seedlings are large enough to handle, and even then, a small amount of slow-release fertiliser or a 5cm top-dressing of compost is all that’s required.
All of these differences may make growing natives from seed seem daunting, but it's a rewarding process once you adapt to the slightly different approach. And considering all the benefits offered by Australian native plants, it's a fun challenge that's rewarding for both you and the environment.