

If you are anything like me - slightly impatient for spring to arrive - then right about now is the time of year we start to get a little crazy! I’ve been caught pawing the dirt and checking soil temperature daily. I’ve bookmarked the B.O.M (Bureau of Meteorology) as my favourite website and I skip around town whistling and commenting to random passerby’s that this is the best time of year! Some people agree, some look at me like I have three heads. Undeterred, I skip on.
However, it’s critical that we don’t get over excited and start planting our spring favourites too soon. I’d hate to see my brave little seedlings flattened by a late frost. This, unfortunately, comes with the same level of difficulty for me as trying not to touch or open all of those Christmas presents labeled with my name under the tree; my chance is slim to none. My excitement has a force of its own and I am bound to get swept up in it. Essentially, I am three years old at heart. So, instead of trying to fight the euphoric energy that the coming of spring induces, I am just going to do a few other things in my garden whilst I bide my time…like look at all my tiny space and think about where I am going to fit my fruits, veg and flowers. I’m going to have to be creative.
Having gardening as a hobby/way of life and renting the house I live in don’t always go well together. I see vast sunny spaces going to waste growing bindis and noxious weeds. Unable to dig it up and plant a plot, I sit with my potted blueberries and brood about the absolute waste of it all. However, all is not lost. If anything, I have learned more steadily and easily by growing everything I have in containers. Some things are still out of reach, like big trees, but almost everything can be grown in a container if you do it right.
I have paid more attention to the soils of each thing I long to grow. For example, Azaleas love acidic soil, so I make their own special soil mix to keep them happy. Then we have something like carrots, which I’ve found, grow quite well in sandy soil and they like to go deep, obviously being a root vegetable, so a bigger pot is required. It’s a great way to discover what environment particular plants like to grow.
The possibilities are endless with container gardening, but the best part I’ve found is that it doesn’t have to be expensive!
I’m in the process of saving for a patch of land to grow my own nirvana, so it seems a little ridiculous to spend hundreds and thousands of dollars on pots alone. Some pots, though beautiful, can be outrageously expensive for the frugal gardener. I used to despair, thinking how can I have my dream garden when I have nowhere or nothing to grow plants in? Necessity is the mother of invention, they say, and a garden, to me, is a necessity. I started to look at everything as a potential vessel for my beautiful blooms. Here are some ideas:
Tins
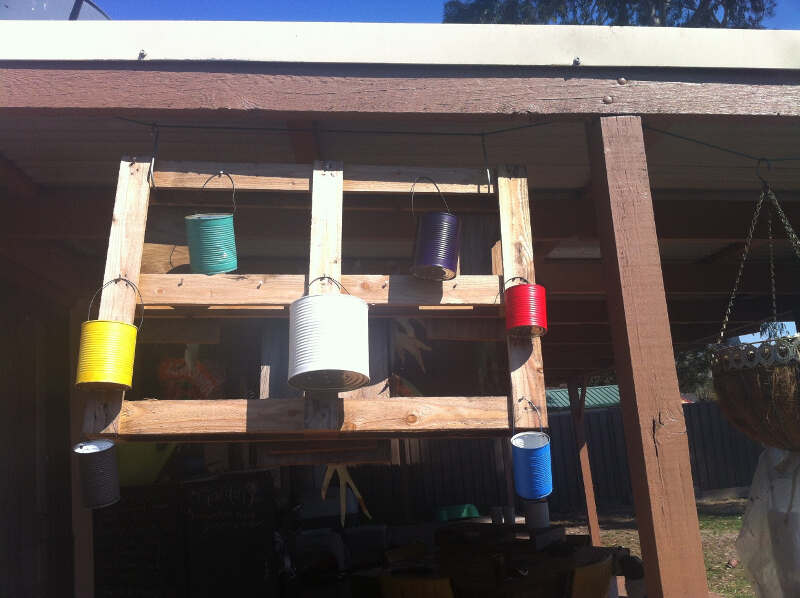
Tins from diced tomatoes (or anything, really) work a treat when washed, sterilized and with holes punched generously in the bottom. They can also become hanging planter baskets by winding wire through two more holes punched in the side. Paint the tins any colour; sometimes a contrasting colour to what you plan on planting in there can look spectacular.
(Below is a picture of some tins I’ve recently painted and hung up on an old pallet that’s hanging from my patio roof. On the other, partially shaded side I have elkhorns hanging. When my seeds germinate and I can pot them on into this, it will look amazing, plus it gets full sun and provides some privacy from the neighbours! Imagine my Rosie O’Day alyssum in that aqua can!)
Hessian Bags
Hessian bags are an absolute treasure to me. I work in a café, so I frequently come across an abundance of useful items, but these are a definite favourite. I make giant planters with chicken wire out of these.
INSTRUCTIONS –
To make a hessian bag planter:
- Obtain a hessian bag – go to a café, gumtree or eBay.
- Get some fairly sturdy, but bendable chicken wire. I used a black, middle of the range wire from Bunnings for $13. I think it was 4 meters, but go with one you can use for a variety of jobs, just make sure it’s sturdy enough to hold litres of soil and a booming plant. This much will potentially get you three or four planters.
- Roll out some of your chicken wire and place the hessian bag on top, measuring twice the width of the bag. Remove the bag and now cut your chicken wire at the correct length. I folded my chicken wire in half height wise, to make it more sturdy. It doesn’t matter if your hessian bag is too tall; we want it to be like that.
- Place your hessian bag back on the folded chicken wire. Now grab either end and make a cylinder around the hessian bag. Tie it together with wire and pliers.
- Now fold the bits of hessian bag that are too big over the outside of the cylinder. This makes it look almost like a limp laundry hamper.
- Place your hessian hamper where you want it to stay for a while. It can be heavy and awkward to move.
- Now, gather your soil, compost, mulch and chook pellets and load up lasagna style, keeping it compatible to what you plan on growing in there. Also, remember that a hessian bag with wet soil and charging growth being contained in it will break down - don’t put anything in there you want to be long lasting. Use seasonal plants that will need replacing once their time in the spotlight has come and gone.
- Now plant your seeds or seedlings in your homemade container and watch them flourish.
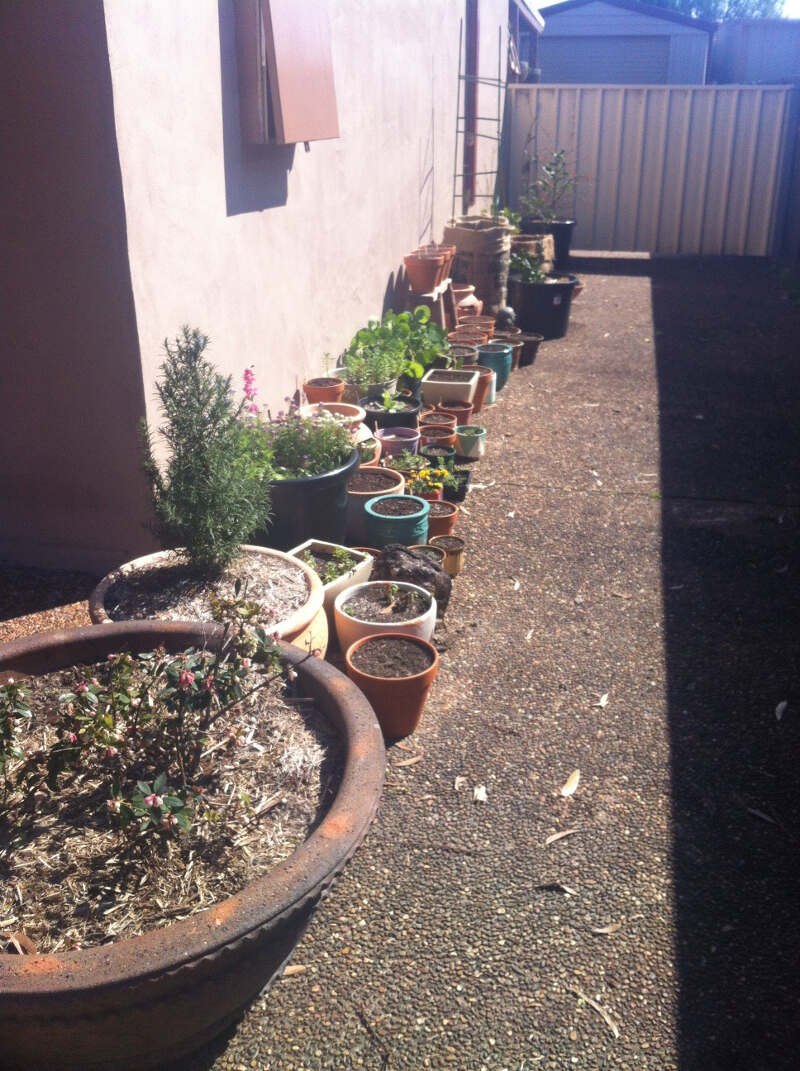
(Below are three planters I recently made. They’re waiting for their various veg seedlings to be transplanted when the spring hits!)

Styrofoam boxes
Another free item I find in abundance are Styrofoam boxes. You can find these almost any place selling food. They are everywhere, just sitting, going to waste. Instead, I find them to be handy little pots. They’re an excellent size for my herbs and some of my medicinal plants. I punch some holes in the bottom, fill it a quarter of the way with grit, punch two larger holes at the top of that on either side and then top it up with the appropriate soil. You can paint these too, if you wish, to make them look nicer.
***A hint with these is not to move them when they are fully loaded. They can snap really easily and then we end up with Styrofoam balls everywhere and it’s super annoying and bad for the environment. But, they’re free and it’s reusing what would be rubbish.
You can also use these as mini greenhouses. Get an old piece of glass from an old coffee table or a picture frame and put it over the top - instant greenhouse. Make some holes for ventilation and she’s ready to roll.
Terracotta pots
If you’re willing to spend a little money, then terracotta pots are amazing value. I recently bought ten 20cm pots for $25. I was pretty chipper about that. They are great for retaining moisture in the shade, but in the sun they dry out quickly as moisture seeps through the terracotta in blazing sun. So, if you’re planting in terracotta for spring and summer, make sure you water them frequently. Also, if you smash a terracotta pot DON’T throw it out. Break it all up carefully and use it as grit or for pieces to give better drainage to bigger pots. Nothing goes to waste!
- You can also check Gumtree, local markets and garage sales for people wanting to get rid of pots. Sometimes an absolute bargain can be found.
Vertical gardens
The variety of methods for small space gardening now means that there is almost no excuse not to get your hands dirty and start growing things. Vertical gardening is coming into its stride and there are mountains of information about how to grow a garden vertically. This spring I’m hoping to grow watermelon, rockmelon, eggplant, tomatoes, pumpkins and passionfruit all vertically in pots. It’s going to be a marathon, but I’m hoping it will be a successful one.
I’ve opted for smaller varieties so there will be less strain on my fruit and veg. I’ve got old stockings that I intend to make little fruit hammocks out of to support them as they grow on their vines. I’ve got all kinds of material for trellising. Old pallets with chicken wire and twine are a favourite. I have everything I need. Now I just need a little patience so I don’t start the long run at a sprint. Patience is something gardening teaches me over and over.
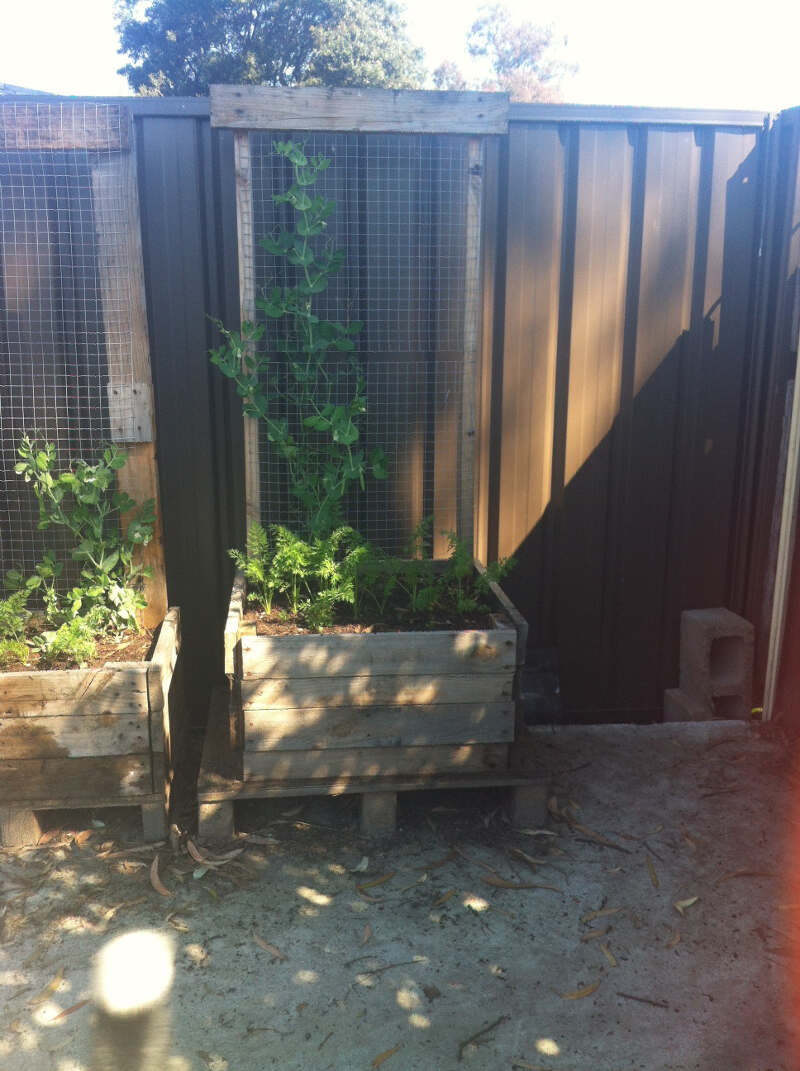
(Below are two planter boxes Hubby and I made from old pallets and chicken wire, growing carrots and sugar snap peas.)
My garden has cost mostly time to set-up and I know for some this is a real issue, but start small and work your way to big things like pumpkins on a trellis. Start with one or two $2.50 terracotta pots and a packet of parsley seeds. There is nothing so satisfying as watching seeds blossom into beautiful, flourishing plants. It really makes me marvel at the wonder of life.
I might go sow a few seeds now… just in case they’re ready.
Happy almost spring!
- Lozz.
Photos by Lauren Eshman


