Sprouts need neither soil nor fertiliser, they are nutritious ‘packages’ containing more protein than any other part of the plant. Sprouts are high in vitamins, minerals, essential fatty acids and carbohydrates. For such a fantastic little package they are fairly cheap to buy and take up no more space than the jar or container that you sprout them in. Half a cup of sprouted alfalfa has as much vitamin C as 6 glasses of pure orange juice! The following information was taken from the ‘Mother Earth Manual of Organic Gardening’ and shows the nutritional increase in a variety of sprouted seeds:
- Vitamin C increased by 550% in soy beans
- Vitamin B2 increased by 1350% in oats
- Folic acid (a B vitamin) increased by 400% in wheat
- Niacin (vitamin B3) increased by 400% in mung beans
- Vitamins, A, E & K, pyridoxine and pantothenic acid (both B vitamins also increased substantially in mung beans.
These figures give an indication of the benefits of growing sprouted seeds.
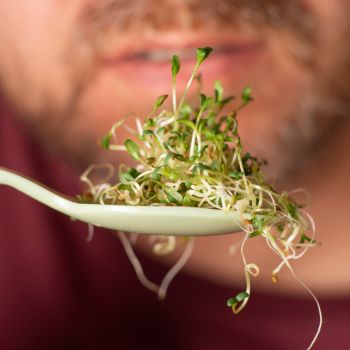
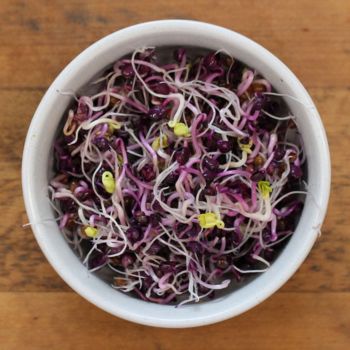
A variety of different seeds will give you variation in flavour and texture. They can be eaten in sandwiches or salads, or added to soups and stews and stir-fries just before serving.
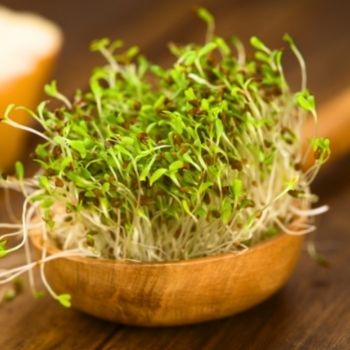
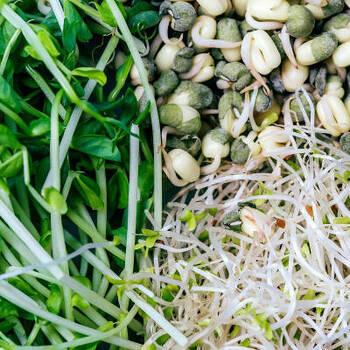
The following seeds are suitable for sprouting: - alfalfa, barley, fenugreek, mung beans, oats, rye, wheat, peas and other lentils, buckwheat and sunflower.
Buckwheat and sunflower roots tend to be bitter so they are better grown on a piece of cotton wool or in shallow soil and the tops clipped for eating.
Barley, oats, rye and wheat can also be grown on cotton wool or a few layers of paper towel and then clipped for eating when they are 5-8cm (2-3”) high.
Sprouted grains (wheat, barley, oats, rye, etc.) are best eaten when the root or ‘tail’ is about the same length as the seed. They can be added to muesli, porridge, stews and stir-fries and are delicious added to home-made bread.
Sprouted legumes (alfalfa, beans, peas, lentils, etc.) are best when the shoot is 5-7cm (2-2¼”) long.
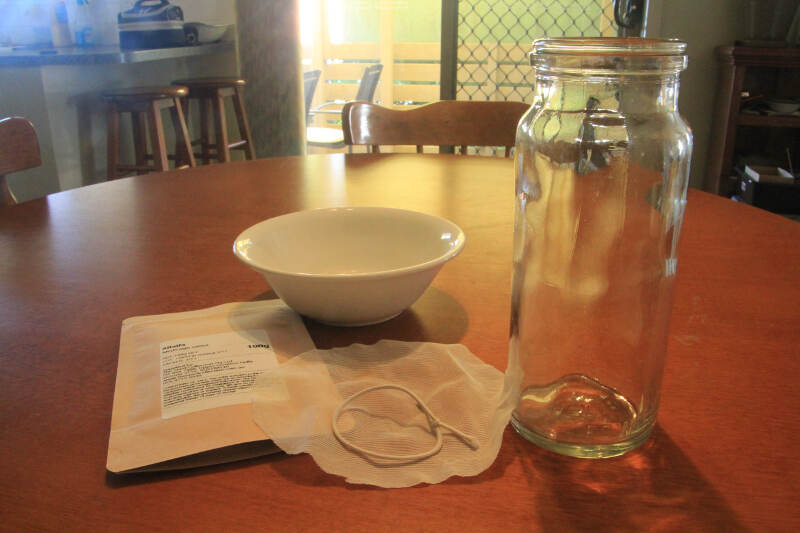
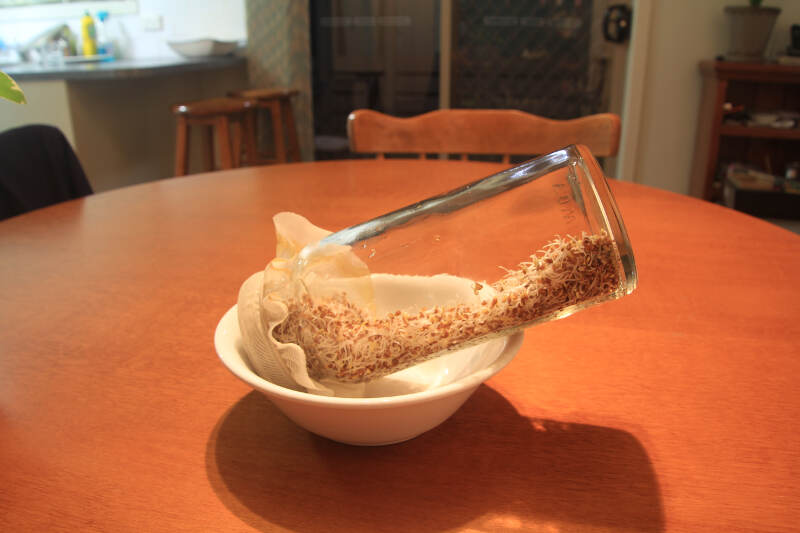
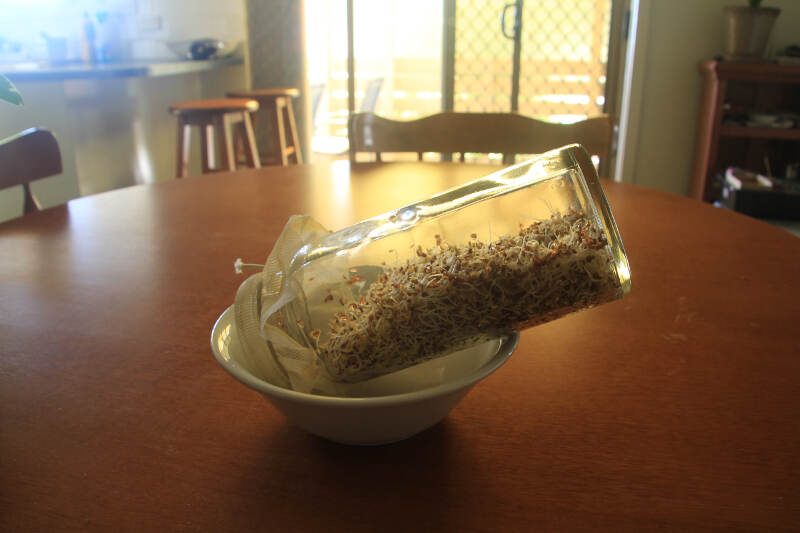
You will need
- A glass or plastic jar or similar container
- A fine sieve or tea strainer to rinse the seeds
- A piece of muslin or other thin cloth. (a piece of stocking big enough to stretch over the container is ideal).
- A rubber band to hold the cover onto the jar
- A dessert bowl to put the jar into when draining Seeds for sprouting (2-3 teaspoons is enough for an ordinary jam jar)
Method
Put the seeds into the sieve and rinse them thoroughly under running water to remove dust, etc. At this time it's also a good idea to remove and discard any damaged or discoloured seeds.
2-3 teaspoons of small seeds like alfalfa would be enough. For grains you could use more because you will be using them when they are less developed.
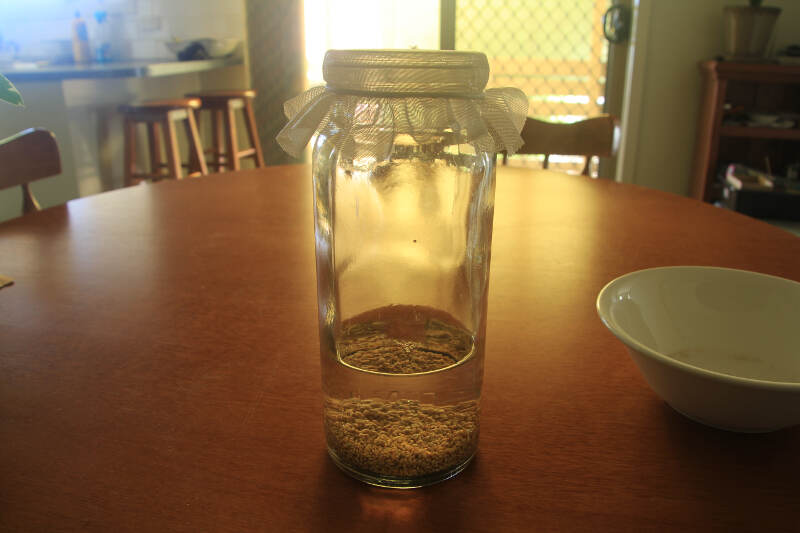
Transfer the seeds to your jar and cover them with about 4 times their own volume with water. Fit the cloth/stocking cover over the jar and secure with the rubber band. Leave the seeds to soak overnight.
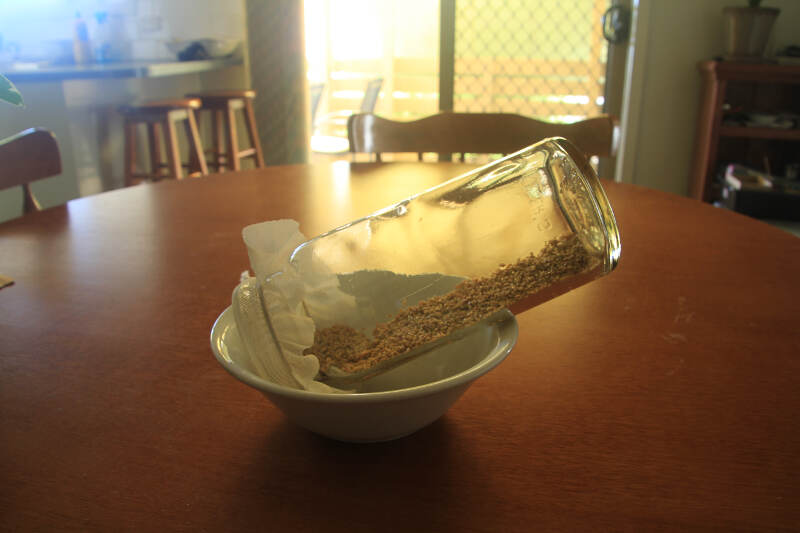
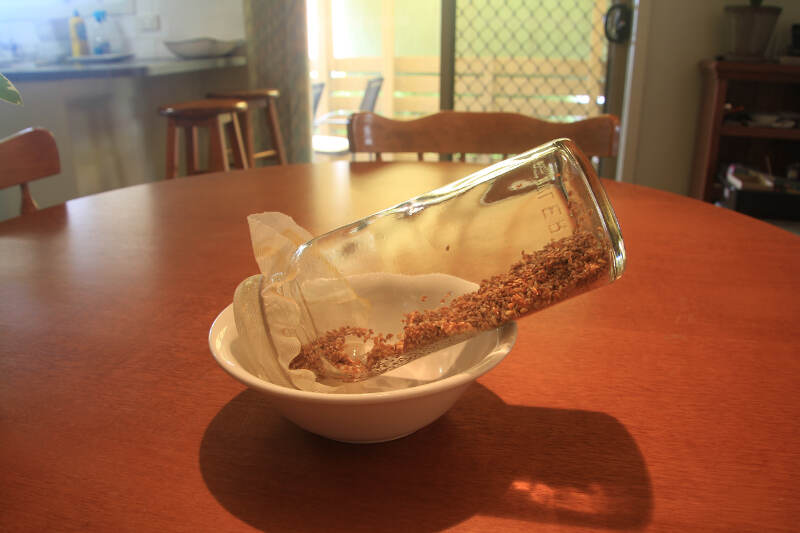
In the morning tip the water out and let the seeds continue to drain by placing it on an angle in a bowl. The seeds need to be damp but not sitting in water as this will cause them to ferment.
Put the jar in a cupboard away from light and continue to rinse and drain 3-4 times a day. If you work you may only be able to do it 2-3 times daily. Soy bean seeds should be rinsed and drained more often as they ferment more easily.
Depending on warmth you will have sprouts ready to eat in about 3 days. Grains are used at this stage; legumes can be left for longer
Your seed sprouts will be sweeter if kept in a cupboard but can be put on a bench for a couple of days if you want to ‘green’ them up.
Soy bean sprouts should ALWAYS be cooked before eating as they contain a protease inhibitor which is changed by cooking. Protease is an enzyme in our digestive system.
Microgreens or 'Clipping seeds': Seeds can also be sprinkled on a piece of paper towel or old cloth that has been placed on a plate. Wet the paper or cloth and keep it damp. Leave the plate on a bench and clip the shoots with a pair of scissors as required.
Below: Step by step photos of the jar sprouting method. (taken over 4.5 days)