You don't need a huge veggie plot to put a little homegrown produce on your table. Vegetable sprouts are quick and easy to grow in any part of the country at any time of year, and you'll need only a few basic pieces of equipment that can be found in any home to get started. But while growing sprouts is straightforward, there are a few common problems that can cause disappointing results, especially when you're first starting out. Luckily, they're easy to avoid by following a few simple guidelines. Here's what to do.
1. Your Seeds Fail to Sprout
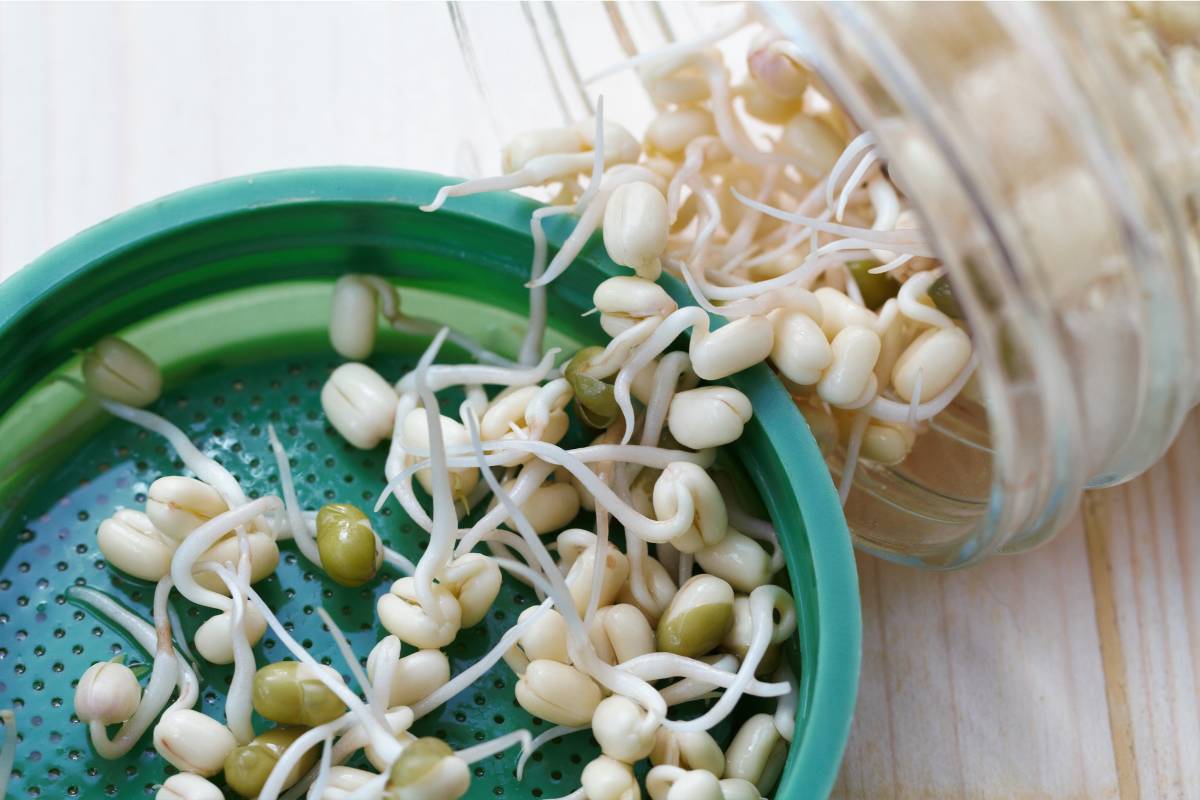
Depending on the type of seed you're using, they should start to sprout somewhere between a few days and a week into the sprouting process. If most or all of the seeds fail to sprout within that time, the most likely culprit is insufficient draining after soaking or rinsing the seeds. This can lead to the seeds rotting rather than germinating.
When you drain the jar, make sure that the jar is upside down or tilted to allow all excess water to drain away. You can give the container a little shake to get the last of the water out. It may seem counterintuitive - we all know that seeds need water to germinate, right? - but insufficient draining is the most common cause of poor sprouting. Drain all of the excess water from the container each and every time you rinse your seeds.
Overcrowding is another cause of poor germination. Always add the recommended quantity of seeds for the size of the container you're using. It may seem that there are hardly any seeds in the jar, but the seeds that are there each need their own space, water and oxygen in order to grow. If you can’t find recommendations for the seeds you’re sprouting, 15ml of seeds per 500ml of space is a good rule of thumb to use.
Another reason your seeds may not germinate is if they are old or have been stored incorrectly. Almost all seed species have a maximum shelf life, after which their germination rate declines. This shelf life relies on the seeds being stored in cool, dry and dark conditions to keep them viable. If your sprouting rates are unsatisfactory, try again with a batch of fresh young seeds, and the problem may be solved.
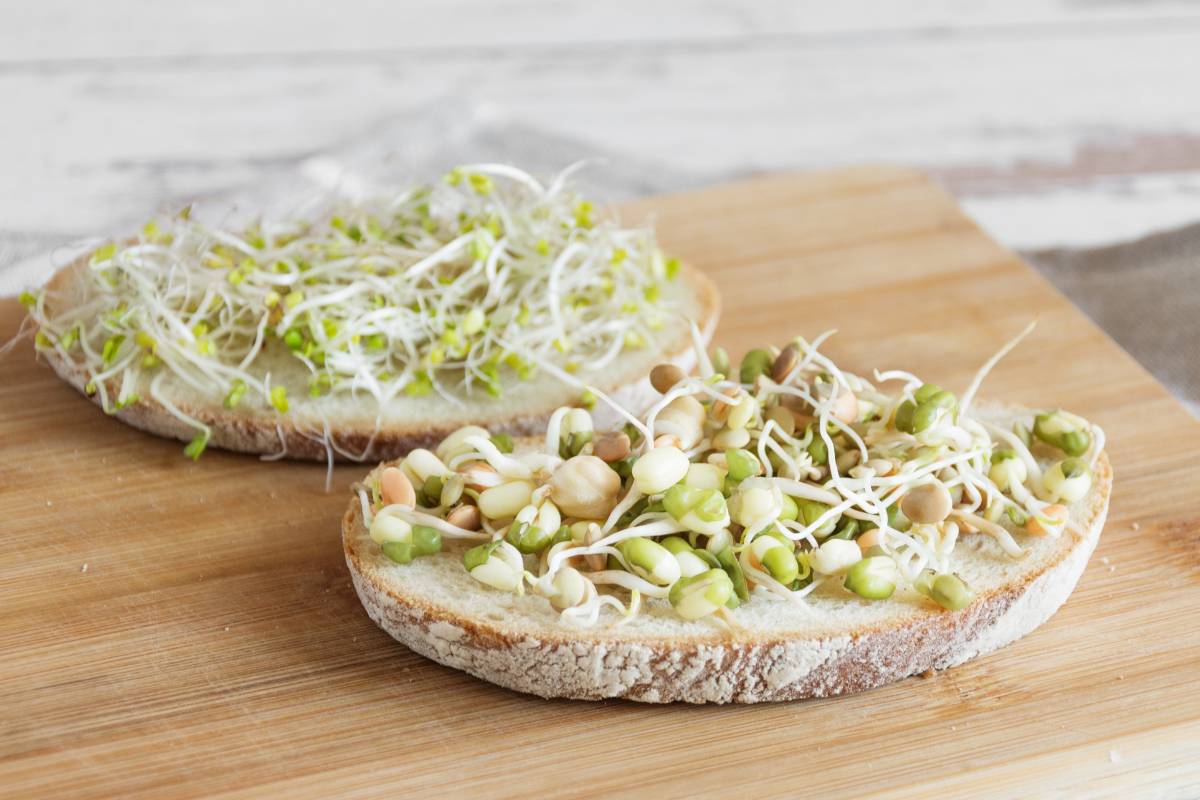
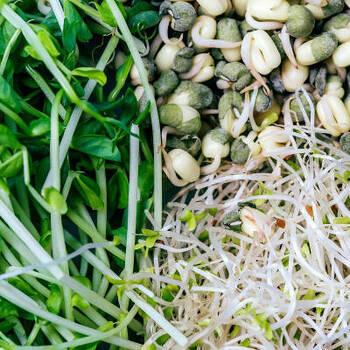
Lastly, it can be rewarding to mix different seed sprout types in a salad, but trying to sprout different species together can produce unreliable results as germination times will naturally vary. Unless you're using a specialist mix designed to sprout at the same time, it's best to stick to one seed type per jar.
2. The Seeds are Smelly or Mouldy
Sprouts being ruined by mould or unpleasant rotten smells is perhaps the most common problem you'll come across in your sprouting experiments. In most cases, this is caused by contamination, humidity, high temperatures, or a combination of all three. To avoid both mould and rot, keep these points in mind:
- Sprouts should be rinsed at least twice a day using a good amount of rinsing water to remove impurities as they appear.
- After rinsing, the seeds should be properly drained to prevent them from sitting in too much water.
- Sprouts should be grown in relatively low humidity, so ensure good air circulation if necessary by placing the jar somewhere with good airflow such as near an open window.
- Only use thoroughly cleaned jars and lids, ideally sterilised, to prevent contamination by bacteria or mould spores.
- Consider using filtered water for rinsing as an extra layer of protection.
- Keep the sprouts in cool conditions below 30°C, and only use cool water for rinsing.
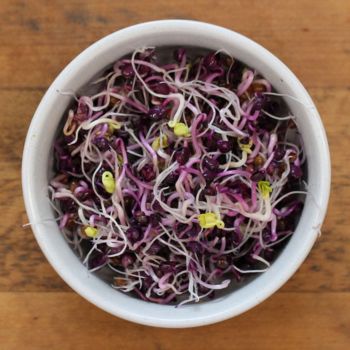
If after taking these precautions you still see tiny mould-like threads appearing on the sprouts, you don't necessarily need to panic. Many brassica and grain seed types produce fine root hairs as they germinate which can easily be mistaken for mould. If these hairs flatten invisibly against the sprouts during rinsing but reappear later, and if there's no rotten or mouldy smell alongside, look very closely at one or two sprouts to see if you can see the tiny root hairs. You can then let the sprouting run its course.
3. The Finished Sprouts Taste Bitter
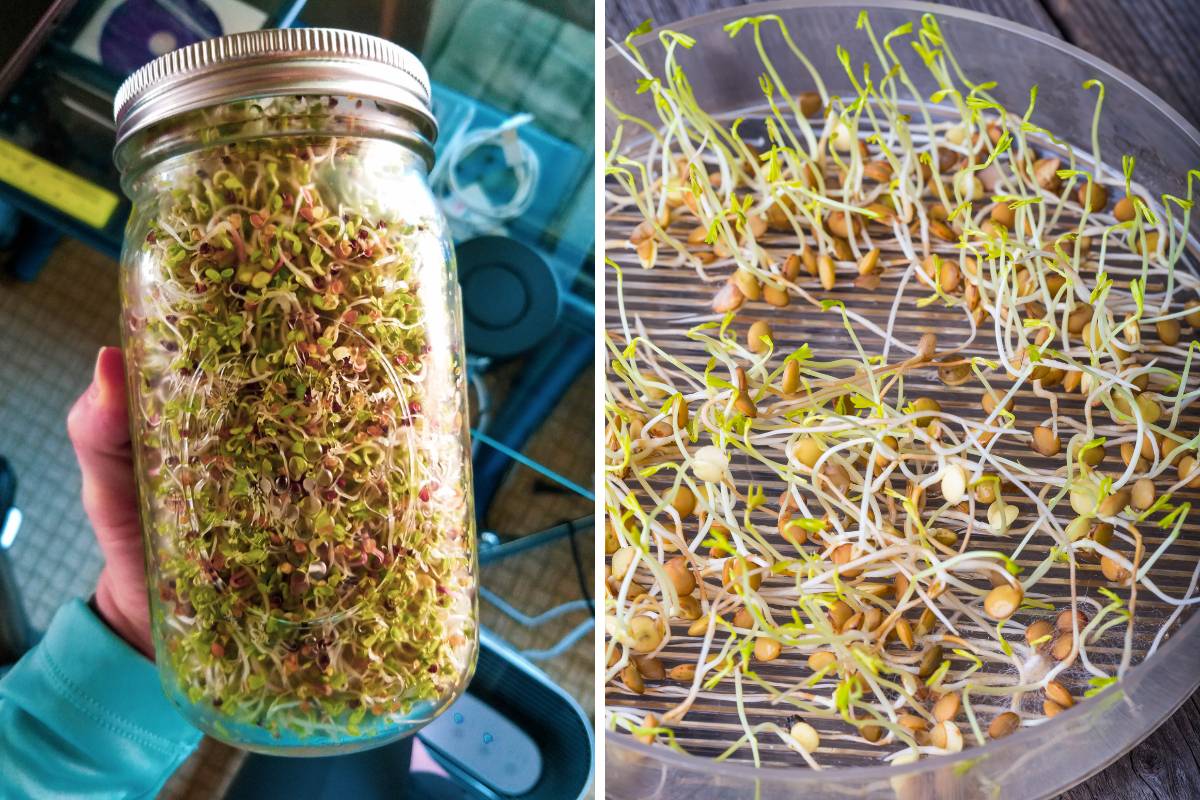
Even if the sprouts seem to have formed perfectly and are free from mould or odour, they may still taste unpleasantly bitter once you come to try them. This is usually because they've had too much sunlight between germination and harvest, turning them green and grassy rather than sweet and tender.
Ideally, let the seeds sprout in darkness then give them a short period of sunlight just before harvest to improve their nutritional value. Around 15 to 60 minutes is long enough for most seed types to start turning a pale green. Also, it's important to harvest the sprouts before they develop their first leaves, as by then any natural sugars will be mostly used up to produce the seedling, making the sprout taste bitter.
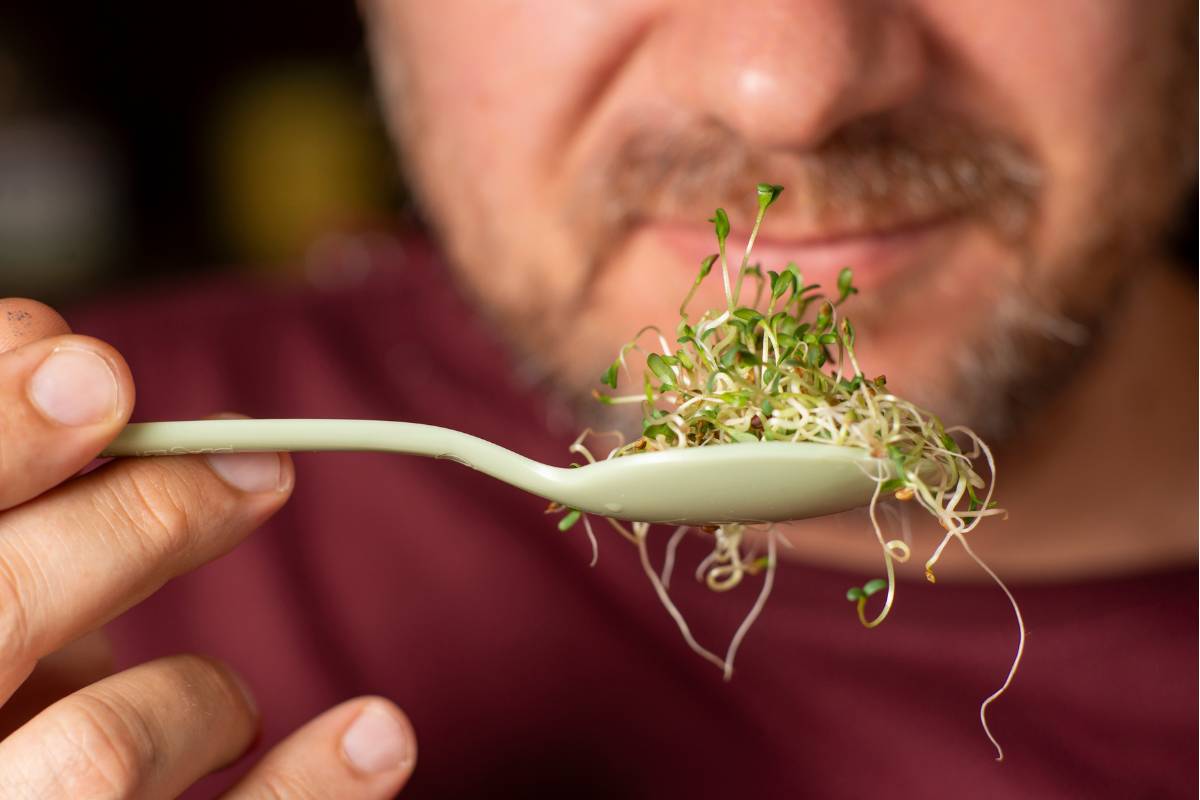
All three of the problems discussed above are quite common when you first start growing sprouts, but don't be discouraged. With only a little experience and some trial and error, you can learn to avoid these issues and produce delicious, healthy sprouts each time you try.