Shallots likely have their origins in the Middle East and central Asia, and were a staple food in ancient Egypt. Introduced to Europe by the Crusaders in the 11th century, shallots became an integral part of French cuisine and are now used around the world in sauces, stews, viniagrettes and marinades.
Growing shallots in the home garden is easy and rewarding, so long as you have well drained soil and space for a slow-maturing crop. Here’s what you need to know to grow them in your patch.
What Are Shallots?
Shallots, botanically known as Allium cepa var. aggregatum, produce clusters of smaller bulbs compared to a single larger bulb for a standard onion, and should not be confused with scallions, spring onions or bunching onions. They usually have a milder flavour than standard onions, and are often said to be easier to grow.
Why Grow Shallots?
As mentioned, shallots tend to be easier to grow than full-size onions and have a sweet, mild flavour that is favoured in many dishes. They also tend to be more expensive to buy in your local supermarket or grocery store, so cost savings from growing your own are likely to be larger. They are also easy to propagate; a small number of bulbs from each harvest can be kept and replanted as the starting bulbs (called ‘sets’) for next year’s crop.
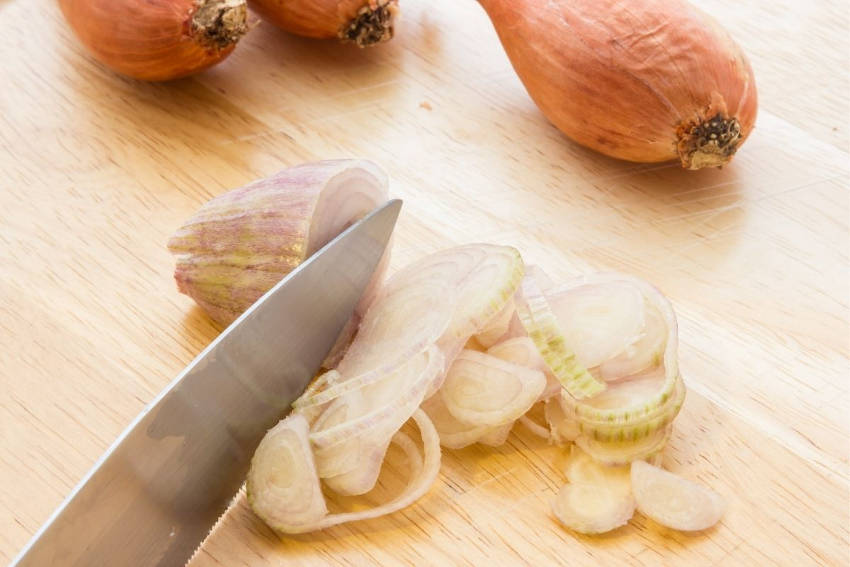
Shallots, partly due to their milder flavour, have a wide range of culinary uses. They can be eaten raw or cooked, and used in everything from stews and pickles to sauces and soups. They can also be cooked until they are caramelised, a delicious and tasty option.
Varieties to Choose From
Golden shallot is a medium to large size shallot (similar in size to a small onion) that has white flesh with a sweet, mild flavour. These shallots should easily store for 6 months in the right conditions and form 8-12 bulbs from each set after around 6 months of growing.
They are the type most suitable for growing in cooler climates and are most commonly used in salads or for flavouring red meat dishes. They can also be used in soups, stews or pickles, or even eaten raw. The tops can also be harvested to eat like a spring onion. If you leave half of the foliage intact good bulbs should still form.
Red shallot tends to be smaller and sweeter than golden shallot and are a staple of many Asian dishes. They have a purple to white flesh that can be added to pickles, salads and casseroles, and also eaten raw in salads and salsas. Each set should produce 5-12 shallots about 120 days after planting.
Banana shallot (sometimes called an echalion) is the largest type of shallot and is actually a cross between an onion and a shallot. It has white flesh covered by a tan-coloured skin that is easy to peel. As banana shallots are larger, they will take less preparation time than the same volume of smaller shallots, which is why they are often used in restaurant cooking.
Again, the tops can be eaten like a spring onion and if you leave at least half of the foliage in place you should still get 5-12 bulbs from each set about 120 days after planting.
The potato onion (sometimes called a nesting onion or multiplier onion) is similar to a shallot but tends to store better and have fewer but larger bulbs per plant. This Australian heirloom variety from the late 1800s is often called a perennial because bulbs can be left in the ground to reproduce, or lifted and replanted each year.
The potato onion has a sharper flavour than regular shallots, although still not as strong as onions, and they roast and caramelise well.
The Egyptian or walking onion, though not a true shallot, is also worth considering for the home garden. It is an unusual plant in that it produces small onions (called bulbils) at the top of its stems. As these grow larger, they touch the ground and root, meaning the plants can ‘walk’ across the ground. They have a slightly more pungent taste than regular shallots and have a mild onion flavour. The leaves, bulbils and bulbs are all edible. Learn more about walking onions here.
How to Grow Shallots
Shallots are a cool season vegetable that needs a relatively long season, so are usually planted in late autumn or winter in most parts of Australia. It has often been said that shallots can be planted on the shortest day and harvested on the longest and, although this is only a rough guide, it holds true for many parts of the country. If you live in an area that experiences heavy frosts (or snow) they can be planted in spring. An ideal temperature range for shallots is 13-24°C. Plants will produce leaves at first and then begin to form bulbs at temperatures of around 21°C and as days lengthen.
Shallots prefer a position in full sun or partial shade in a deep, fertile, friable, well-drained soil that has been enriched with compost. It is best not to add manure when planting, particularly if it is fresh, or other high nitrogen fertilisers. These will encourage leaf growth rather than bulb formation and may make shallots less suitable for storing. Instead, you can add a high potassium general fertiliser at a rate of one handful per square metre. If your soil is very acidic, then apply lime prior to planting to raise the pH to at least 6. You may wish to apply a small amount of nitrogen-rich feed in late winter.
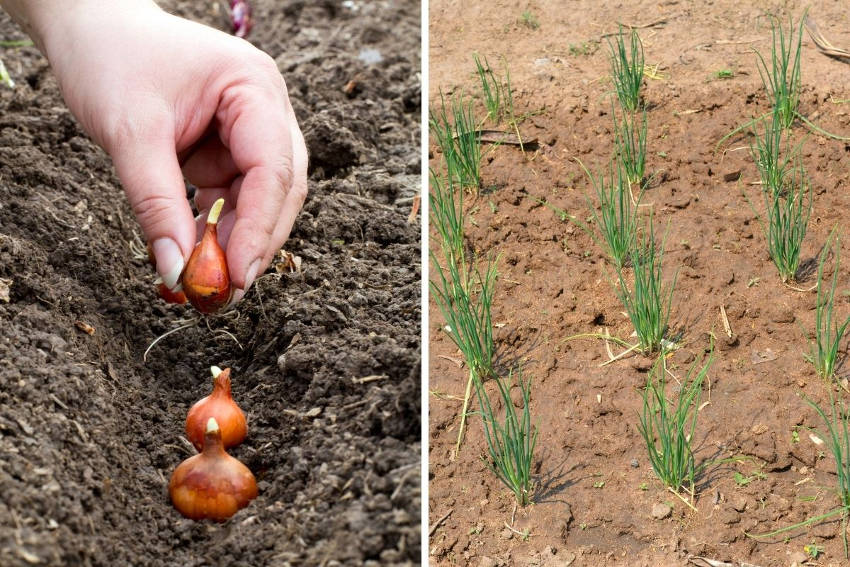
The small bulbs (or sets) should be planted out around 20cm apart in premade holes with the top of the bulbs just sticking out above the soil. The sets should then be watered in well. Birds sometimes peck at the sets and lift them out of the ground – if they do then just push them back in or cover with a fleece or taut netting until the bulbs have rooted. It is important to keep the soil weed-free, either through hand weeding or through careful hoeing that does not disturb the shallots and their shallow roots. Shallots will need watering during prolonged dry weather but not for the fortnight prior to harvest.
Because of the amount of time they take from planting to harvest, shallots are not normally grown in containers. It’s possible to do, though, provided the containers are large and deep enough to allow for good root growth and bulb formation. A minimum size of 40 litres is recommended for 3-5 bulbs.
Shallots can suffer from downy mildew in damp weather or if they have poor ventilation. This is less of a problem if the plant is mature as the bulbs can still be harvested and eaten as normal. Other pests such as allium leaf miner and allium white rot may be a problem. It is good practice to grow onions in a different patch of ground from the year before to prevent the build-up of soil-borne pests. White rot (manifested as a white fluffy growth on the bulbs) can persist in the soil for 8 years, so if it’s detected don’t grow alliums in that space again for that length of time and destroy infected bulbs and plants.
Harvesting Shallots
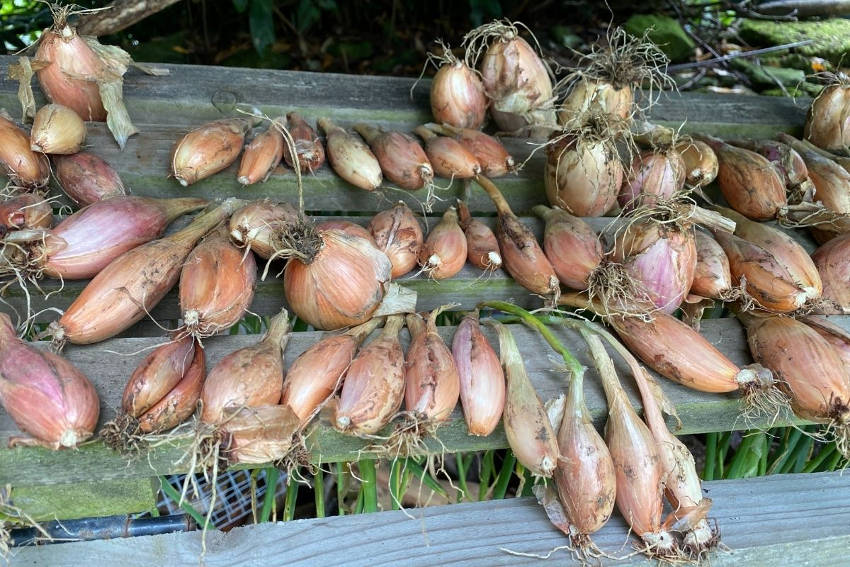
Shallots are ready to harvest when the foliage begins to yellow and before they flower. They can be pulled out of the ground or levered out gently with a fork. The clusters of bulbs should then be separated and either used fresh or cured for storage. To cure, lay them out on the surface of the soil in full sun, or undercover if rain is forecast, for a couple of weeks. When the foliage has gone fully dry and papery, undamaged bulbs can be stored in nets or trays in a light, cool, dry space. They can then be stored for 6 months or more.
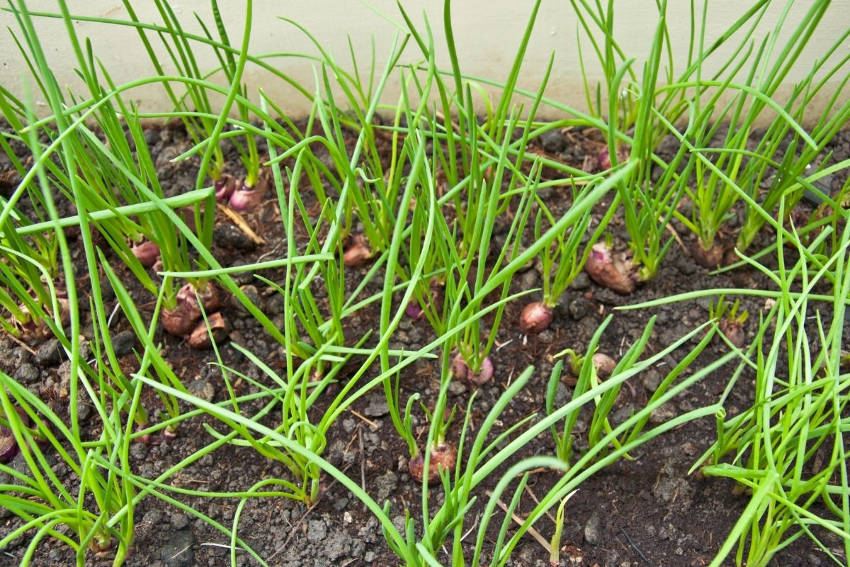
You can also harvest shallots when they are young, before they produce bulbs, as you would for scallions or bunching onions. Pull stems when they are around 6mm in diameter and remove the outer skin and roots prior to eating or cooking. Alternatively, up to half of the foliage can be harvested for greens and the bulbs left in the ground to grow.
Shallots are a tasty and versatile addition to the kitchen garden. With a little effort and patience you can grow these cool season alliums in your patch.