Once you've got into the habit, radishes are one of the quickest and easiest foods it's possible to grow at home. But despite their simplicity, there's plenty that can go wrong for beginners. If your radish experiments haven't turned out quite as planned, here are nine of the most common problems and how to handle them.
1) Badly Formed Roots (or No Roots At All)
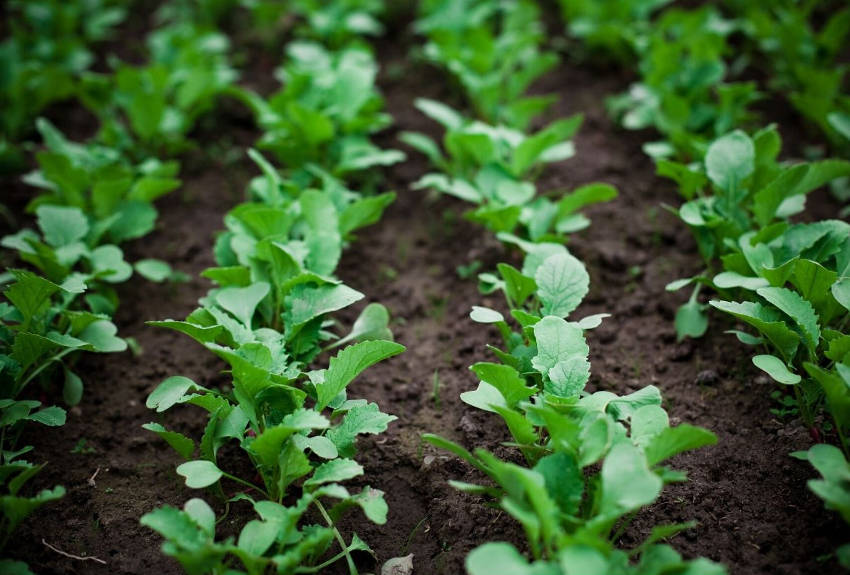
While the tender foliage of radish adds a peppery green note to salads, it's the zesty roots which are the real attraction. If the roots fail to form, or are weak and spindly, the prime suspect is the seedlings growing too close together.
Rather than being overly rigorous with spacing when sowing, the easiest way to get it right is to scatter the seeds liberally and then thin the germinated seedlings to around 5-10cm (depending on variety) in each direction. Don't waste the thinnings though, as they're deliciously edible.
A second potential cause of root failure is that the soil is too heavily compacted, so always sow into a fine tilth and avoid compacting the soil through overwatering.
And lastly, radishes grown with excessive nitrogen in the soil will pour their energies into foliage growth at the expense of the roots, so go easy with the fertiliser and avoid growing directly after legumes in a crop rotation system.
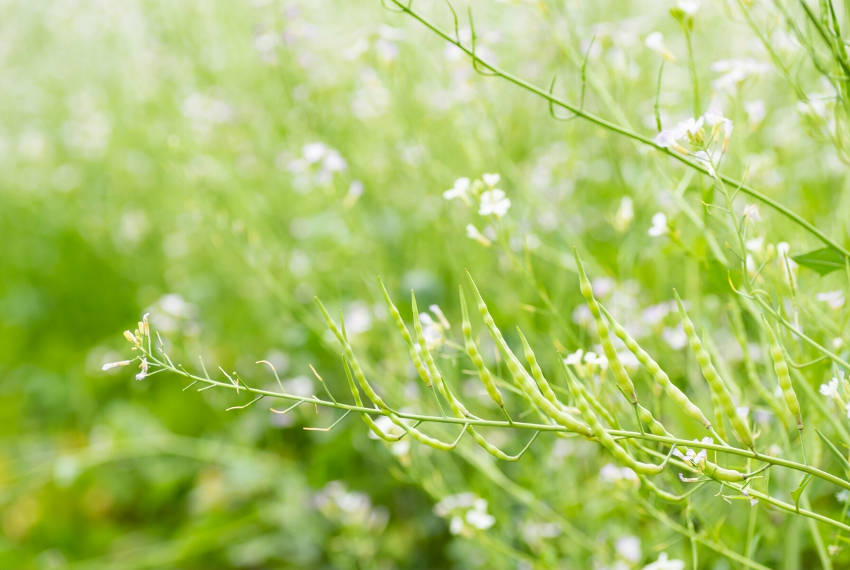
2) Bolting to Seed
If the plant bolts to seed before forming a worthwhile root, overcrowding could again be the problem. Alternatively, the plant could be getting too much direct sun, particularly in the hottest parts of the day.
Radishes need sun to grow, but prefer the relatively cool, damp sunlight of spring and autumn rather than the scorching direct heat of summer. For summer harvests, try and provide a little partial shade, with about six hours of morning or late afternoon sun being ideal.
3) Harsh, Unpleasantly Hot Flavour
The peppery heat of a radish is one of it's most attractive points, but sometimes the spiciness can go too far. While the average heat varies among varieties, if your radishes are harsher and hotter than you expected it's usually because they've been in the earth too long.
The perfect radish should grow quickly and consistently, never being put under heat or water stress. If they grow too slowly because of poor conditions, they risk becoming unpalatably hot by the time they mature.
If you find your radishes are consistently harsh no matter what you do to provide good conditions, try choosing the smallest globe varieties you can find to keep their time in the ground as short as possible.
4) Woody Texture
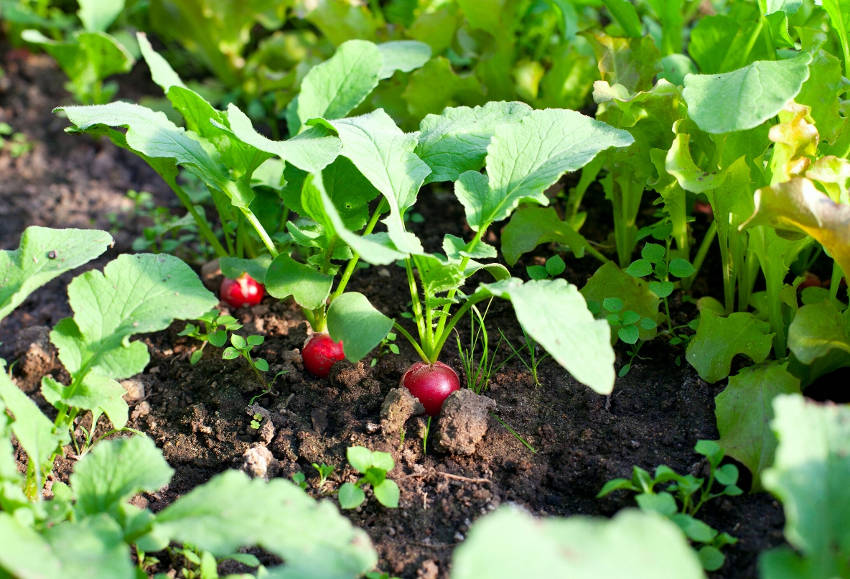
A woody texture is a sign that the radishes are past their ideal harvest time. Growing conditions may have been ideal, but the radish harvesting window is relatively short. Left unpicked, a juicy, crunchy root can become tough and woody in a matter of days.
5) Cracked or Split Roots
Cracked or split roots are most often caused by inconsistent watering, particularly a sudden drenching after a period of drought. Water a little and often to help prevent splitting, and ensure good drainage to handle excessive rainfall. But don't forget that even split roots are perfectly edible, and can be trimmed into shape for cosmetic reasons if you prefer.
6) Forked or Deformed Roots
Badly misshapen roots are usually a sign that the soil has too much coarse, unrotted organic matter within it, or is strewn with pebbles or gravel. Raking and sieving the soil before each sowing will quickly sort out this problem.
A more serious issue that causes deformation is a pathogenic disease called clubroot. Once this becomes established in your soil it's almost impossible to get rid of, and will cause problems with all kinds of brassicas, radish included. Following a good crop rotation scheme can help stop clubroot building up, and keep its levels in check if it does appear.
7) Pest Damage
Radishes are fairly immune to pest damage thanks to their speedy growth. They're simply not in the ground long enough for pest populations to build up high enough to cause major issues. However, the ubiquitous slugs and snails aside, there are two main problems which can crop up.
If the roots are damaged beneath the soil's surface, it's likely to be root maggots or other subterranean insect larvae. Spreading an alkaline mulch around the plants will discourage egg-laying and can reduce problems in the future.
If it's the foliage that's damaged, the culprit is probably the flea beetle. The good news is that these beetles only target the leaves, generally ignoring the roots. The bad news is that excessive leaf damage will slow growth, leading to the dreaded harsh flavour and inedible roots.
Flea beetles can be dealt with by manual removal using a spray, brush, or fingers, while spreading diatomaceous earth around your radish beds can provide some protection for the future.
8) Yellow Foliage
Discoloured, yellowing leaves are usually a sign of either malnutrition or insufficient drainage. If your soil is poor, a general low-nitrogen fertiliser could help, while adding sand and homemade compost to heavy soils will help lighten them up.
However, yellow leaves can also be a sign of several fungal diseases, so to be on the safe side remove and destroy individually affected plants to stop a potential infection spreading.
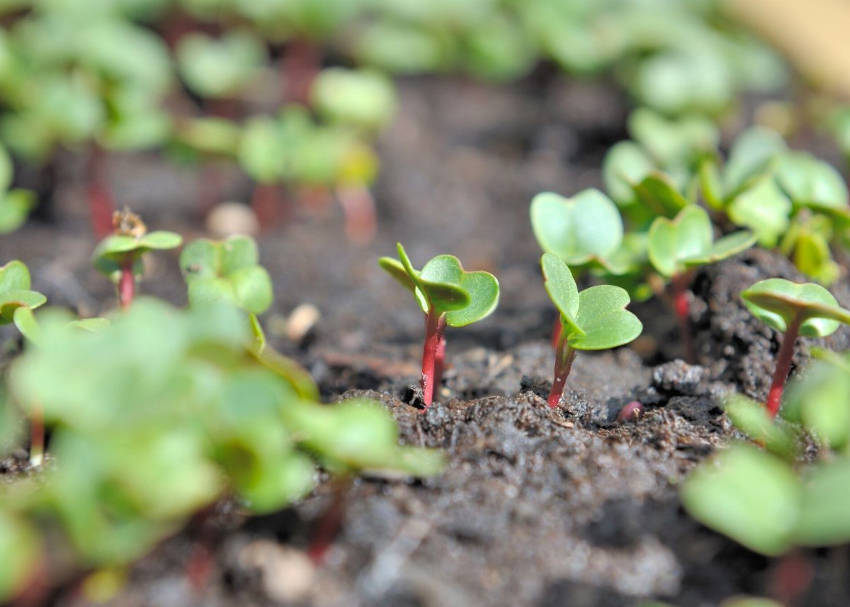
9) Rotting, Collapsing Plants
Lastly, if your radish seedlings fail almost as soon as they sprout, collapsing under their own weight with a discoloured stem, it's probably down to a fungal disease known as damping off. This is most often caused by a combination of waterlogged soil, low temperatures, and inadequate air flow, so take whatever measures you can to avoid these conditions.
Don't let this list of problems put you off giving radishes a try. Nearly all the issues are simple to solve, and once you get conditions right radishes are among the quickest and easiest ways of putting fresh homegrown food on your table.