Beans are one of the most widely loved veggies grown by home gardeners, and it's easy to see why. They're easy to cultivate, they provide a bountiful and delicious harvest from a small amount of space, and they also add colour and height to a vegetable patch.
If you've never tried your hand at this homegrown staple, read on to find out what you need to know.
The Main Kinds of Green Beans
There are two main types of green beans typically grown at home. The common bean, known variously as green beans, French beans, or pole beans, has the botanical name Phaseolus vulgaris, and is a climbing member of the legumes family. This bean is also available in a dwarf or bush form.
Both variations on the theme produce tender, rounded, lengthy pods which are either harvested young to be eaten whole, or left to mature so the seeds inside the pods grow large enough to eat or store for the following year's sowing. Depending on the specific variety, these beans can be any of the common types including butter, borlotti, and kidney beans.
Perhaps less widely grown is the related Phaseolus coccineus, also known as the runner bean. The pods on this species are larger, flatter, and tougher, and also taste earthier and less sweet. While the rest of this article concentrates on common green beans, much of the information also applies to this close botanical relative.
Green Bean Appearances
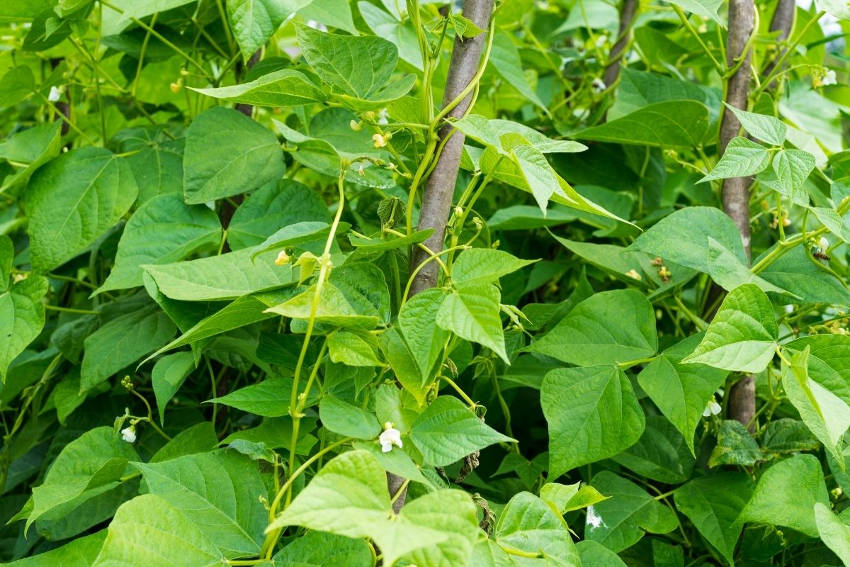
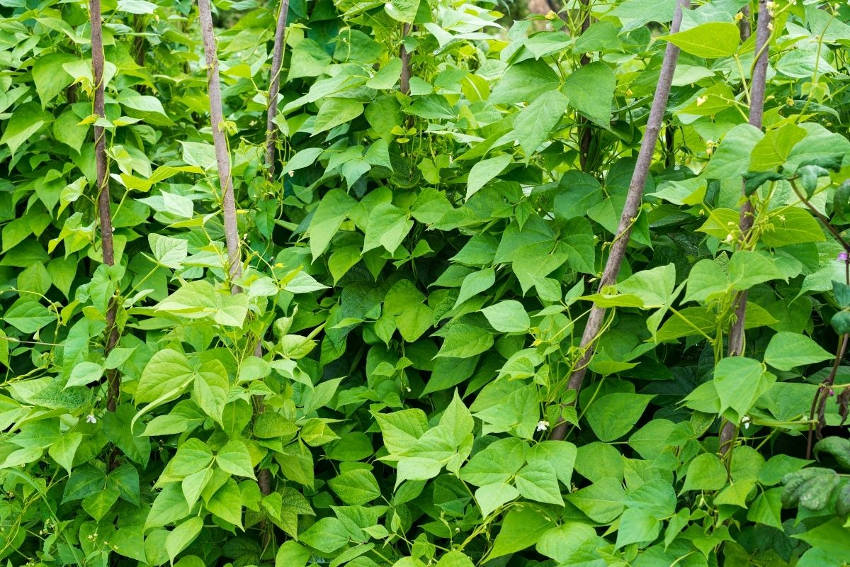
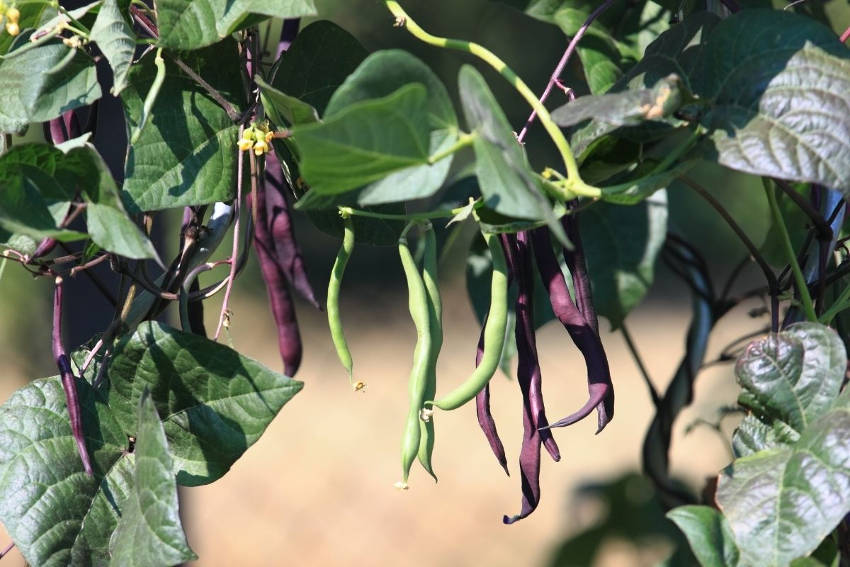
The climbing form of beans have a single vine-like stem, which can reach a height of up to two metres. The stem will spiral upward around any support it's given, and produces medium-sized teardrop leaves which droop downward.
Around six weeks after germination, the plant will produce white, yellow, or even red-purple flowers, followed by the baby pods. Most pods are a vibrant green, but there are also yellow and purple varieties available, which add extra decoration to your patch.
Dwarfing beans have a more compact, bush-like habit, producing fruit from multiple stems, with the whole plant reaching around 60cm high and 30cm across.
Green Beans and Nutrition
Green bean pods are an excellent source of vitamin C, with a serving providing around a quarter of a daily requirement. They're also rich in folate, with around 10% of typical daily needs.
More generally, bean pods are high in fibre, low in carbs, and low in calories, making them an ideal veggie for those looking to control their weight.
Green Beans in the Kitchen
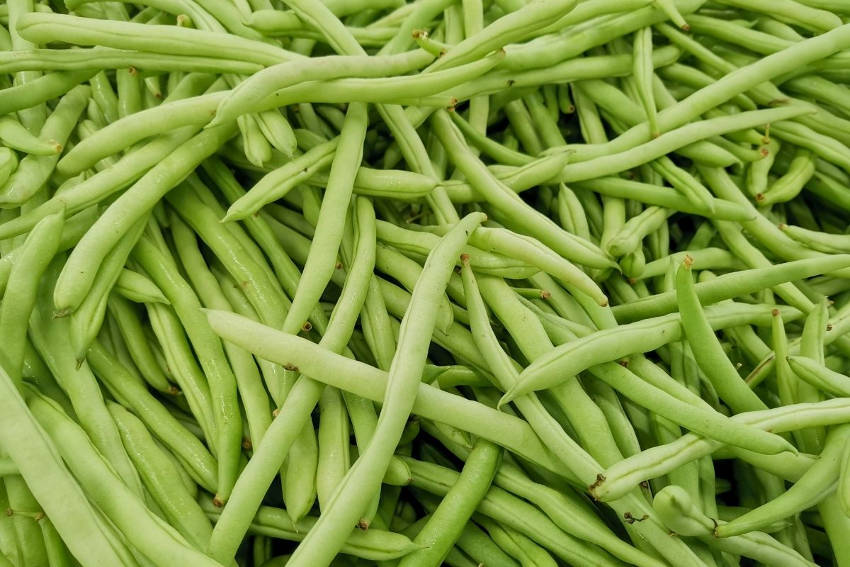
Green beans are best picked when they're young and tender. At this stage they can be eaten raw or lightly steamed, and are sweetly succulent with a squeak to their texture.
Larger pods are less desirable in the kitchen, but can be boiled until tender and then refreshed in ice water to help them retain a vibrant colour. However, be aware that the more exotically coloured yellow or purple beans will revert to green once cooked.
Left to grow to maturity, the individual beans inside the pod can be removed and added to soups and stews. However, be sure to cook them thoroughly, boiling for at least ten minutes to remove traces of a toxin which is highest in the red kidney bean variety.
Green Beans in the Garden: Sowing
All kinds of bean prefer full sun and a well-draining soil enriched with rotted organic material. It's best to avoid exposed areas, particularly with climbing varieties, as even supported plants can be brought down by strong winds.
Beans can be started off under cover from early spring in temperate areas, sown outdoors from mid spring, or grown year-round in hotter climates. They are entirely intolerant to frost, so if there's any risk at all in your location, plant late rather than early.
Because dwarf beans tend to have a short cropping season, sowing every three to four weeks will extend the harvest time. There's no real need for successional sowing with climbing varieties, as given the right conditions they'll produce pods throughout summer and into autumn.
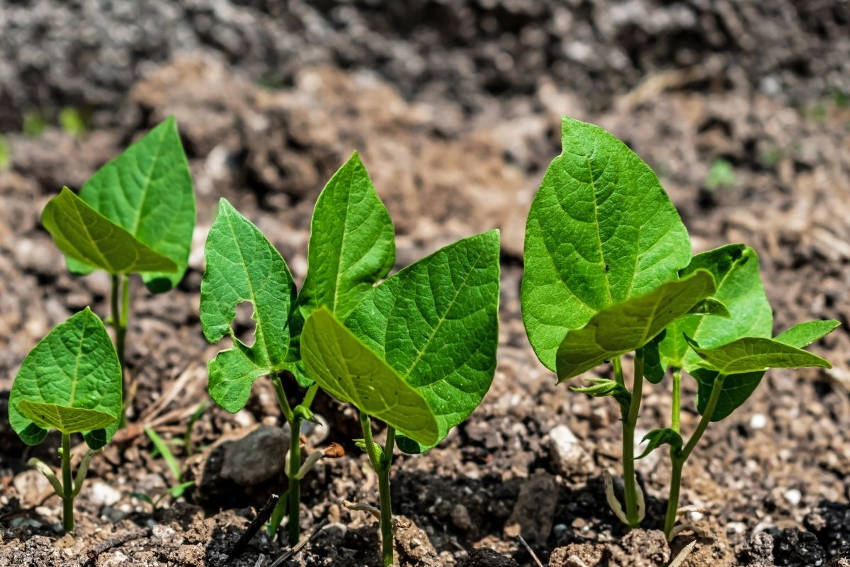
If sowing outdoors, sow two seeds in each station around 5cm deep, later thinning to the strongest seedling in each pair. Seeds should be sown around 15cm apart and in rows spaced by 60cm.
Indoor sowings should be done in deep containers to give room for root growth, or even better, using a root trainer such as a cardboard tube. Let the seedlings reach at least 6cm in height before transplanting.
Bean Support
For climbing beans, make sure support is in place from the beginning, to give the vines something to twine around as soon as they're able. Either use a trellis, netting, or tall garden canes in the typical double row or wigwam shapes.
Dwarf varieties are largely self-supporting, especially when planted in groups. However, some small canes or twigs can be useful, especially for heavy-cropping varieties.
Ongoing Care
Avoid over-watering the beans until germination, as wet soil risks the seeds rotting. Once the seedlings appear, keep the plants well watered without waterlogging. Applying a mulch can help the soil retain moisture.
If the soil is reasonably rich, feeding isn't necessary and may even lead to reduced cropping if too much nitrogen is added. However, in particularly poor soils, a general organic feed is useful as the plant comes into flower.
For climbing beans, pinch out the growing tip once the plant reaches the height of its support. This will keep the plant neat and also direct its energies into producing pods.
Harvesting Beans
Dwarf beans will produce their harvest after around eight to ten weeks, with a relatively short cropping period.
Climbers take around 12-14 weeks, and will produce fruit over a long period so long as the pods are regularly picked. Check your plants daily, and pick edible-sized pods as soon as they appear. Leaving the pods to mature and produce seed will put an end to future flowering and fruiting.
If you're faced with more beans than you can cope with, they're perfectly happy kept in the fridge for up to a week, or can be frozen for longer-term storage.
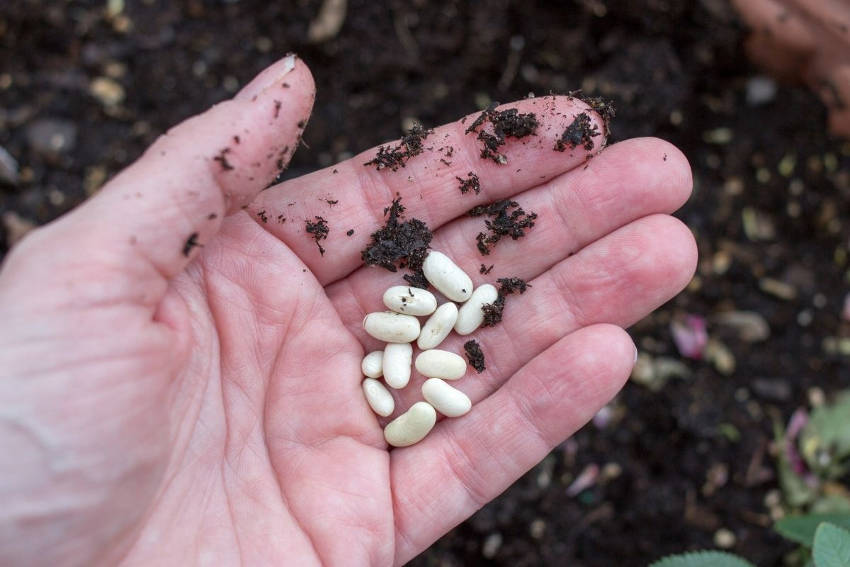
Harvesting Beans for Drying
When you've had your fill of green pods, leave those that remain to mature and produce large seeds of their own. Before the weather turns reliably wet, cut up the whole plant and hang it upside down in a dry, airy place.
Once the pods are completely dry, shell the beans inside, and leave those to dry indoors on kitchen towel for a few days longer. The beans can then be stored indefinitely, either for use in cooking, or to provide the next season's seedlings.
Leave the Roots Behind
At the end of the season, cut up the plants and add them to your compost. However, leave the roots in the earth. As legumes, beans take nitrogen from the air and fix it into the soil. Leaving the roots to rot down in place will provide nourishment for your next growing season, with brassicas in particular appreciating the favour.
Common Bean Growing Problems
One of the joys of growing beans is that they're almost invariably productive, with very few problems usually occurring.
In the early seedling stage, slugs and snails can be a predictable menace, so take your usual precautions. Green and black aphids can be an issue, so keep an eye open and remove any infestations manually or with an organic spray as a last resort.
A fairly common problem is powdery mildew, turning the leaves a dusty grey and reducing growth. The most usual cause is poor air flow, high humidity, and splashing of the leaves while watering. If the mould appears, pick off affected leaves and safely dispose of them.
Lastly, there are a few viral and fungal problems which can be fatal, including halo blight, bean mosaic virus, and bean rust. You can recognise these by discoloured or dying spots on the leaves, which often develop into holes. Unfortunately, there's little that can be done except removing the plant and growing any replacements elsewhere to avoid reinfection from the soil.
But these problems aside, most growers find their bean plants grow without any drama, and will reward your care with a prolific harvest over the entire summer and onward into the autumn.
Browse our range of bean seeds.