Great soil is the foundation of successful growing, and when you're creating a new garden bed it's essential to focus on creating a fertile, weed-free area right from the start.
Whether you're starting from a piece of lawn or an existing overgrown patch, it can take hours of digging and weeding to get the bed into a good enough shape for growing new plants. But there's an easier way that avoids most of the hard work - although you'll need to wait a while to see the final results.
A technique called sheet mulching provides an all-natural shortcut to clearing a space and getting it ready for use as a garden bed, and here's what it involves.
What Is Sheet Mulching?
The basic idea behind sheet mulching is to put down layers of cardboard or newspaper along with organic materials, to smother weeds and provide the basic ingredients for healthy soil. This simple method offers several advantages over other methods.
- There's no need to manually weed or dig over the soil, saving labour.
- No chemicals are needed to clear the grass or weeds.
- The existing vegetation breaks down to enrich the soil, rather than its nutrients being removed.
- The method can be used on lawns, waste ground, or existing areas that are overrun such as under fruit trees.
But to enjoy these advantages you'll need a little patience, as natural decomposition takes several months to deliver a rich and fertile garden bed ready for planting.
What You'll Need
The base material of the layers is ordinary cardboard or newspaper, with as few artificial additions as possible. Avoid using waxed or coated materials, and remove any tape, glue, staples, or other materials that won't compost down.
Sheet mulching also uses whatever finely textured organic material you might have to hand, including shredded leaves, compost from your heap, and chipped wood or prunings. Aim for a mix of nitrogen-rich materials such as cut grass, soft clippings and spent annuals, along with tougher materials such as leaves and wood chips that will provide carbon and keep the mix open and light.
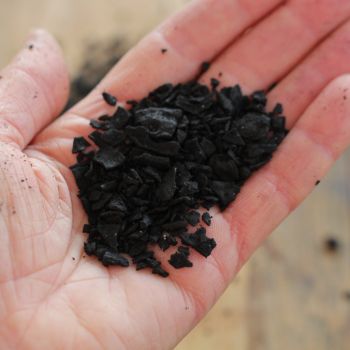
And lastly, you'll need a natural fertiliser to give your bed a running start. Popular options including rotted animal manure, manure pellets or blood and bone.
How to Lay Sheet Mulching
The basic sheet mulching method is straightforward, needing just ten steps. It can be done at any time of year, although as full decomposition can take six months or more, starting in autumn should mean your beds are ready for spring planting. Here's what to do.
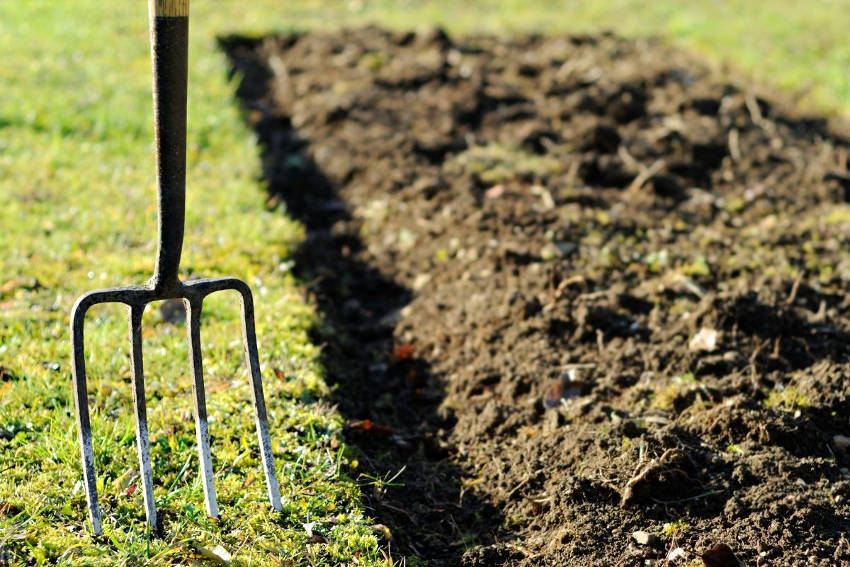
- Mark out the area of the new bed, either by digging a small trench or installing a garden edge around the boundary.
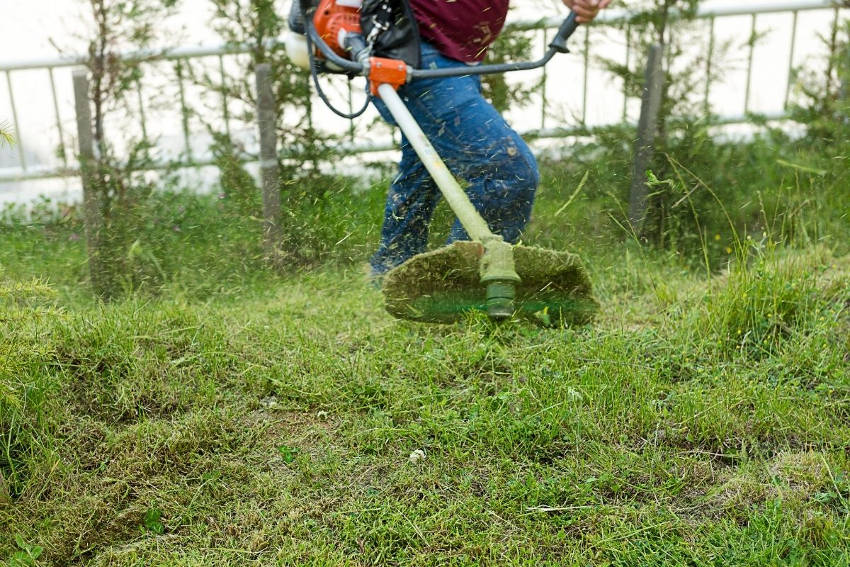
- Use a lawn mower or whipper snipper to cut the lawn or weeds as low as possible, leaving the clippings in place.
- Sprinkle a small amount of aged manure over the area as well as any other soil amendments to suit your site. For example, if you have heavy clay soil you might spread gypsum at the recommended rate in this step. Water in well.
- Lay down cardboard or newspaper using four to six sheets per layer, overlapping at the joins by 15-20cm and ensuring that the cardboard extends right to the edges with no gaps. This layer will be responsible for smothering existing weeds, so be thorough.
- If your mulching area contains plants you want to keep, such as established fruit trees, leave a small gap around the base of the trunks. If the mulch touches the plants, there's a risk of collar rot as the materials break down.
- Water the cardboard or newspaper until it's completely soaked through.
- Add a layer of your natural fertiliser using the same amounts you would for normal spreading. However, if your bed is intended for natives, be less generous to better simulate the poor soils these plants tend to thrive in.
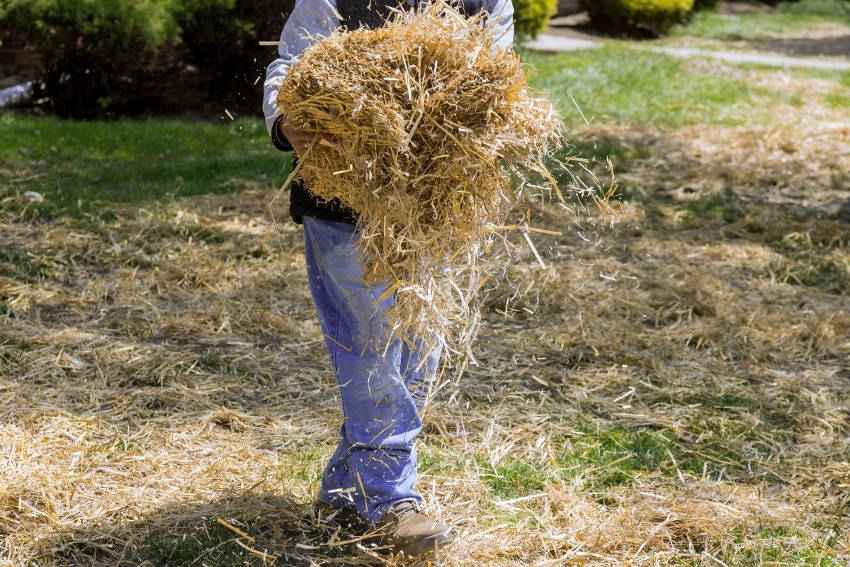
- Spread your organic material to an even depth of 10-30cm. If you're using a combination of different materials, either mix them together first or add them in layers. Ideally, the top surface of the organic layer should be a relatively coarse material such as straw, to give greater weed protection while the mulch is doing its work. Alternatively, you may like to use a good-looking material on the top layer, such as pine bark, so that the beds look more attractive in the meantime.
- Water the bed again and leave it to start decomposing.
- Over time, keep monitoring the area for weeds, especially for ones creeping in from the sides of the bed. Water every so often in dry periods, and after several months the whole mulch should have decomposed into a usable bed with no remaining signs of cardboard or weeds.
Planting in the New Bed
Ideally, you should wait until both the organic matter and underlying sheeting have completely decomposed, especially if you're planting trees or perennials which will be in place for many years. The tougher and more vigorous the original weeds, the longer you'll need to wait to ensure they're fully killed off.
But to make use of the bed in the meantime, make small holes in the organic mulch layer and fill them with potting mix before planting annuals, soft herbs or other plants with shallow root systems. If you do this, take extra care to remove any weeds or grass growing through the holes.
Alternatively, if you've used a fine-textured layer of organic material, you could plant a cover crop immediately to both suppress weeds and improve the appearance of the bed. Great options include green manure, a biofumigation mix or nasturtiums.
Whether you plant immediately or wait until the mulch is fully rotted, by the end of the process you'll be rewarded with a fresh bed of rich, fertile soil that'll be a perfect home for veggies and fast-growing annuals.