It's very rewarding to see a vase or bouquet overflowing with your own homegrown blooms. With increased awareness about ‘flower miles’ and the associated environmental impact of some flowers sold at supermarkets and florists, more people are wanting to grow cut flowers at home. And each homegrown bouquet has a charm and seasonality that is truly unique.
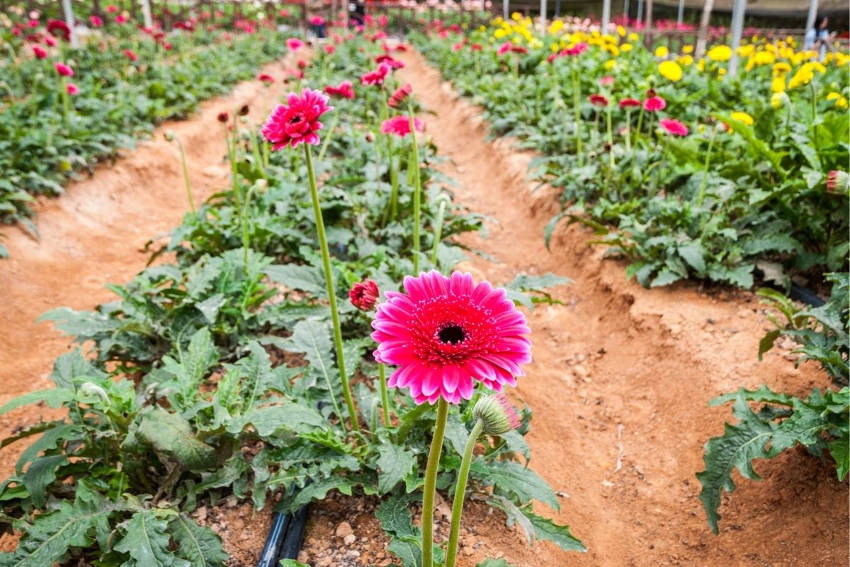
The way flowers are grown specifically for cutting is a little different to the way most plants are grown. The best cut flowers have long stems, so plants are often grown close together to encourage upright growth. They may be staked, guided to grow upright using netting, or corralled into a small growing space. To maximise productivity, a succession of annuals may be planted so no garden space is left bare through the season.
Just like with vegetables, planning is important to ensure a good variety of flowers and avoid gluts of any single variety. A good plan will mean a steady supply of blooms from spring through to autumn.
Here’s how to plan and set up a dedicated growing space for cut flowers in your garden.
1. Identify Your Growing Area
The most important element for growing cut flowers is a space that receives at least 6 hours of direct sun a day. A little late afternoon shade is fine, and can even help protect delicate blooms, but most plants grown for cut flowers simply won’t perform well in shady areas. Beds oriented north-south will receive the maximum amount of sunlight.
Don’t be restricted to traditional rectangular beds. Circular beds with the tallest flowers planted in the centre also work well. It’s also possible to grow cut flowers in raised garden beds, pots or containers.
2. Mark Out Your Beds
Mark out your growing space into one or more garden beds, allowing room for narrow paths if you have more than one bed. Ideally, beds should be 90cm to 120cm wide and as long as practical. You’ll be able to grow several rows of flowers within each bed.
Put a stake at each corner of each bed to define the space. These can be used to support netting or twine to guide flowers to grow upright, and can also be used to hold shadecloth or frost covers if these will be needed. Beds should be thoroughly weeded and enriched with compost or aged manure before planting.
3. Choose Your Plants
There’s a huge variety of flowering plants that are suitable for cut flowers, and it’s easy to get carried away in a burst of enthusiasm. Certainly choose flowers that you love, but also aim for a useful mix of feature flowers, fillers and foliage. You may wish to choose flowers all from one colour family (eg ‘warm’ or ‘cool’ colours) or do a mix.
Consider whether what you’re planting is a ‘cut and come again’ crop (eg cosmos, zinnia) or a one-off bloomer (eg single stem sunflowers). Planting a mix of early, mid-season and late annuals, bulbs, biennials and perennials is ideal. Don’t forget to grow some ‘fillers’ such as feverfew, baby’s breath, Queen Anne’s Lace and soapwort too. If you have a large space, consider growing some shrubs specifically for foliage.
For each flower on your list, keep a record of its height, the recommended spacing between plants, and the ‘days to maturity’, which is an estimate of how long the plant will take to produce its first flowers.
4. Make a Plan
Once you have a list of the flowers you’d like to grow, make a paper plan of your garden bed so you can work out how many of each variety you can fit into the space. Drawing the plan to scale on graph paper makes calculating how many of each plant you need easier.
Divide the plants you want to grow into small, medium and large, and also rank them from shortest to tallest. Because cut flowers are usually grown close together, plants can be grown with the follow spacings:
- 20cm: dianthus, zinnia, snapdragons, ageratum, soapwort, spring flowering bulbs
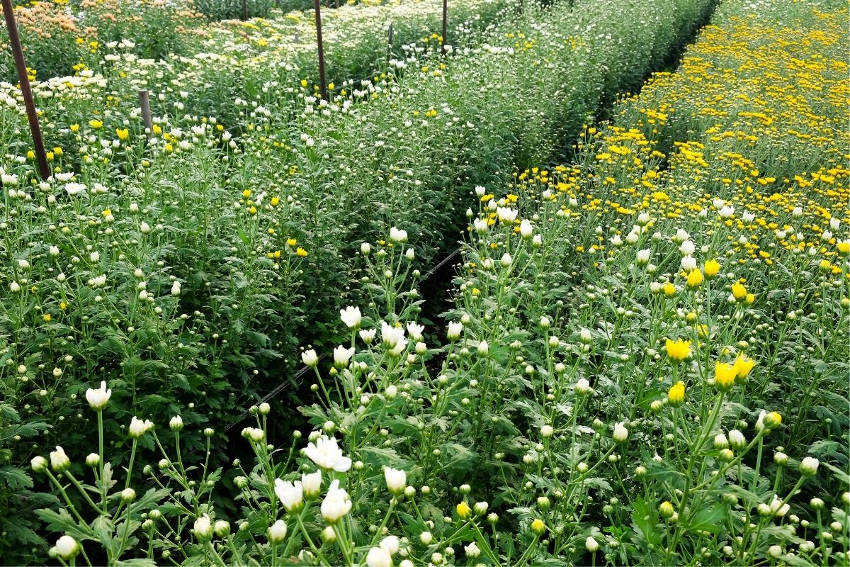
- 30cm: celosia, Bells of Ireland, gypsophila, small chrysanthemums
- 45-60cm: sunflowers, large chrysanthemums, perennials
Next, work out a planting plan with these spacings, remembering to place the tallest plants to the south of the bed so they don’t crowd out the shorter ones. Taller plants may also need support to grow upright. Twine or netting strung between the corner stakes can help keep stems from falling over.
5. Plan for the Whole Season
While it’s tempting to plant the entire bed in one go at the start of the season, this can result in a glut of flowers early on followed by a long wait for the next harvest. This is where succession planting comes in. The basic idea with succession planting is to stagger sowing your seeds so that different batches of the same plant mature at different times.
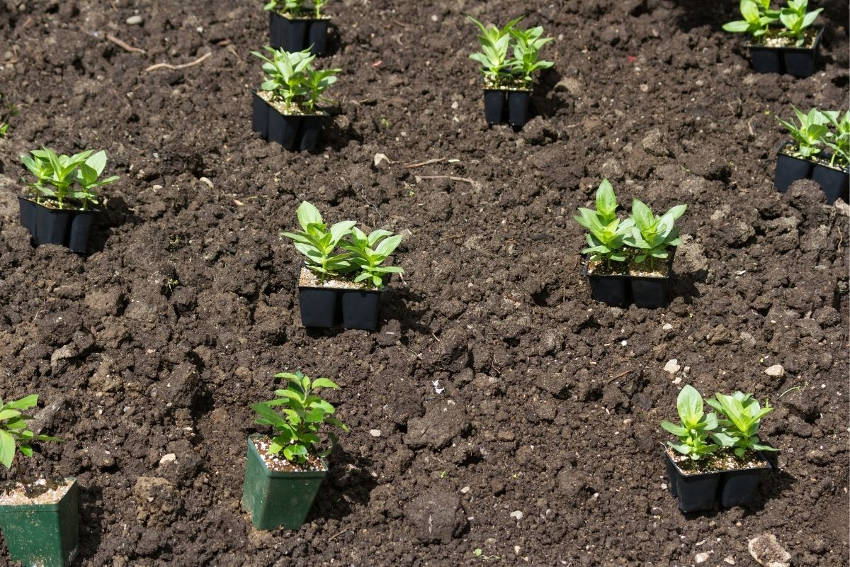
Sowing smaller quantities of seeds at 2 or 4 week intervals will give a steady supply of seedlings. If seedlings are raised in punnets, soil pellets or trays, you don’t even have to take up valuable growing space in your beds. Once a plant is past its best, you’ll have a seedling ready to replace it to keep your patch in peek productivity. At any one time there may be new seedlings going in, some midway through their growth cycle and others in full bloom.
6. Keep a Journal
Having a record of what you planted, when the first flowers appeared and whether you thought the effort was worth it is a really useful tool to help you plan in the years ahead. Make a note of any plants that performed better or worse than expected, unusual weather conditions or pest and disease problems.
Some flower farmers keep a daily journal, but even a simple list of the varieties you planted and dates for planting and harvest will help jog your memory when it’s time to buy your seeds and bulbs next season.
Following these few steps can help you plan and grow an entire season's worth of cut flowers in your garden.