Great soil is the foundation of gardening success, and the best soil is fertile, has a good structure, and is as free of disease and pests as possible. Ongoing soil improvement by digging in homemade compost can work wonders for enhancing structure and fertility, but for most people, dealing with soil-borne pathogens means using chemical treatments with all the ecological risks that can involve.
However, there's an organic method of boosting your soil's qualities while at the same time suppressing many pathogens to keep soil-borne disease under control. The technique is called biofumigation, and not only is it completely natural, it's also very easy to do.
How Does Biofumigation Work?
At first glance, biofumigation is similar to the technique of growing a green manure at the end of the season to suppress weeds and add nutrients back to the soil. A cover crop is sown and allowed to grow until just before it sets seed, then cut back and dug into the earth. This helps to replenish the soil fertility for the next season, but with biofumigation, there's an added advantage thanks to the kind of plants used.
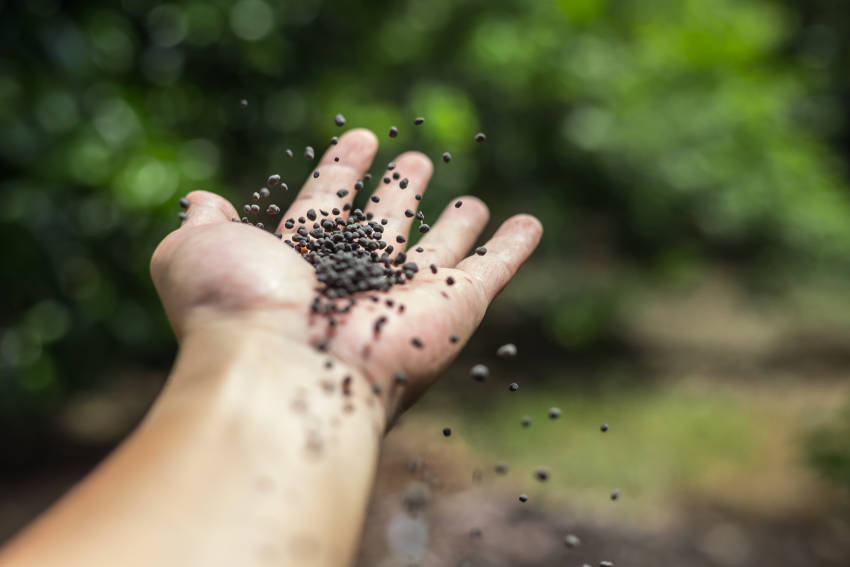
Species suitable for biofumigation contain compounds known as glucosinolates, which are present in particularly high levels in mustard, radish, and many other brassicas. As the plant remnants rot down in the soil, the compounds break down into a variety of toxins which work as a natural defence against harmful nematodes, fungal spores such as tomato verticillium wilt, and many other pathogens.
How to Biofumigate Your Soil
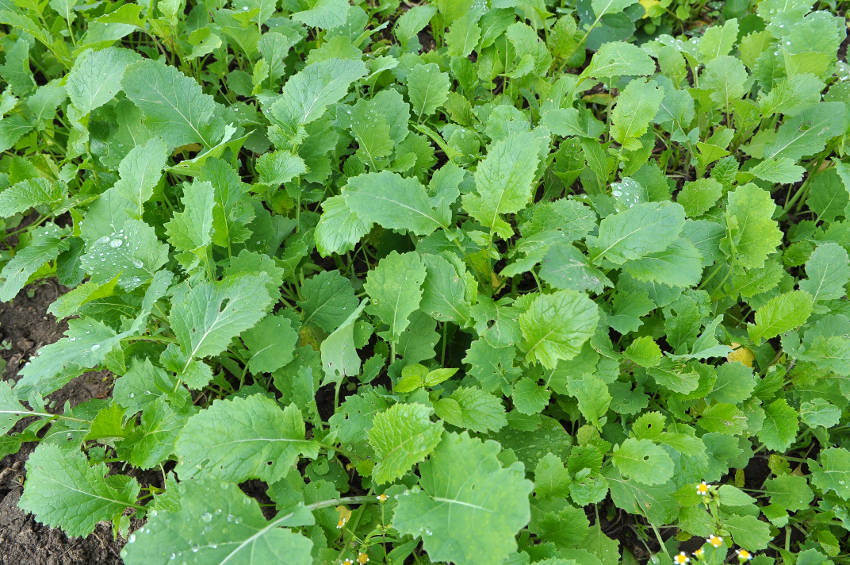
In large-scale agriculture, the plant matter used in biofumigation is often shipped in before being turned into the soil. But for home gardeners, it's quicker and easier to grow the plants in place, often using members of the mustard family marked as suitable for biofumigation.
However, an even better option is to use a biofumigation seed mix blending several species specially selected for the purpose, with the different plants working together for a better all-round result. Here's how to use a biofumigation seed mix in seven simple steps.
- Clear all weeds or remaining crops from the soil to be treated.
- Sow your biofumigation mixture according to the instructions on the packet, paying attention to the application rate.
- Let the plants grow undisturbed until just before they start to set seed. The active compounds are usually at their strongest when the plants have flowered, but letting them fully mature can introduce weed problems through self-seeding.
- Cut the crop back using a hoe, a lawn edger, or even a lawn mower, shredding the cuttings finely but ensuring that they stay in place on the soil surface.
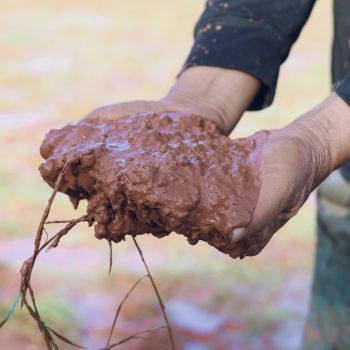
- As soon as possible, dig all the plant matter firmly in to the soil where it will rot down and start to release the natural gases needed for fumigation. Water the whole bed well, and then compact the surface a little to help seal in the gases as they develop.
- You may like to cover the surface with plastic sheeting to maximise the biofumigation effects. This will trap heat and moisture within the soil, helping to rot the plant material more quickly, and will also stop the fumigating gas from escaping so that it has the most effect. However, this step isn't really necessary unless the local climate is so cool that the plant matter won't rot down quickly enough.
- Between a fortnight and a month later, the shredded cuttings should have fully rotted down and will have done their natural fumigation work. Fork over the soil to aerate it, which will let any remaining gases clear before you sow the next crop.
Of all the organic techniques available to a gardener, biofumigation is one of the least well known but also one of the most effective. It's a quick, easy, and completely natural way of reducing soil-borne pests and disease, while also boosting the soil's nutrient levels for a better crop the following season.