No home veggie patch is complete without onions of some variety. And while brown and bunching onions definitely have their place, there's another type of closely related allium that's unusual, delicious and simple to grow.
Known botanically as Allium x proliferum, walking onions are a genetic cross between common onions (Allium cepa) and Welsh onions (Allium fistulosum), and they share many of the characteristics you'd expect from combining these two esteemed culinary varieties.
Also known as tree onions, Egyptian onions and topsetting onions, walking onions earned their common name through the plants' unique way of spreading around the garden.
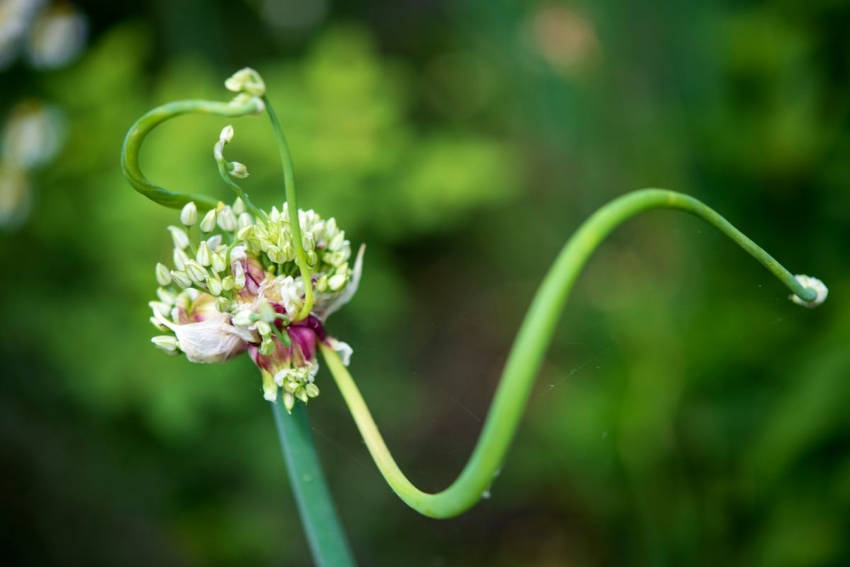
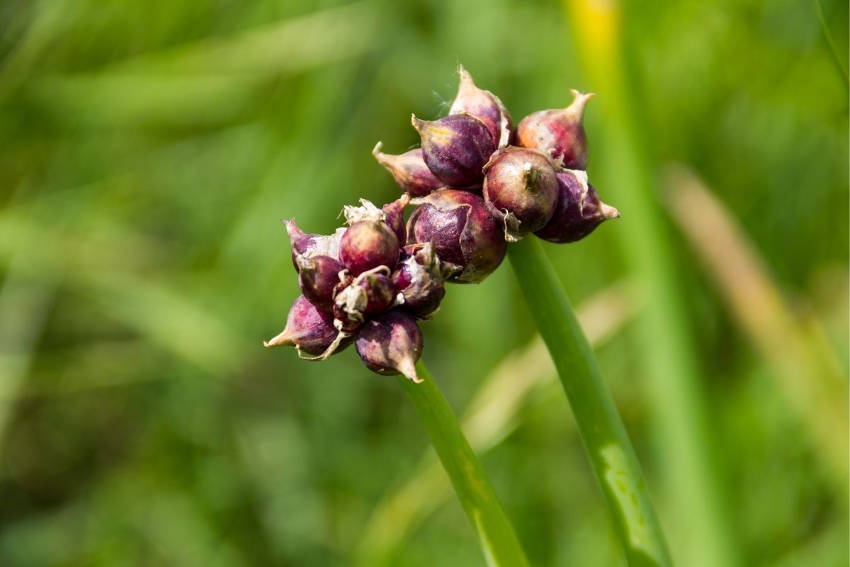
Although technically a biennial which takes two years to complete a life cycle, walking onions are best treated as a perennial, as a single sowing can lead to a lifelong supply. As the plant matures, miniature bulbs called bulbils form inside the flowers, and if left to their own devices they'll grow and arch down to the ground. Where they touch the earth, roots will form, and a new plant will develop.
This habit makes the plants appear to ‘walk’ across the veggie patch, covering it within a few seasons. The ease with which the onions reproduce has made them a popular onion variety for gardeners who practice permaculture.
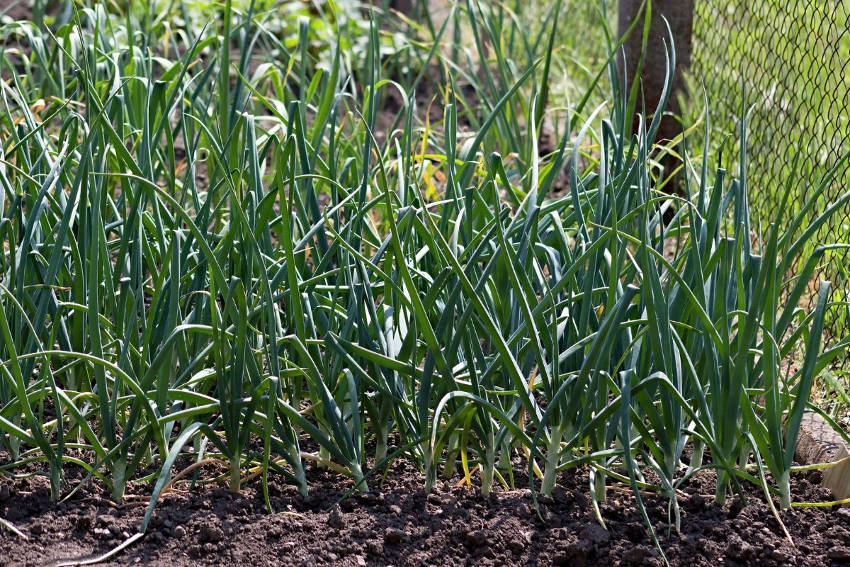
Walking Onions in the Garden
Walking onions grow up to 60cm tall with typically hollow allium leaves (think the green tops of spring or bunching onions) surrounding a central stem. When mature, the stem produces a flower at the top containing a cluster of bulbils. These bulbils will begin to sprout if they aren’t harvested, sending out long green shoots. At maturity, the plant produces edible bulbs, which form as an extension of the lower stem, usually reaching about 4cm across.
How to Grow Walking Onions
Walking onions are happy to grow in almost all Australian climate zones, from the subtropics to cold temperate regions. They require little ongoing attention once established, which means they're often considered to be the easiest onion of all to grow. Their most basic requirement is a patch in full sun, and while they're not too choosy about soil type, digging plenty of well-rotted manure into the beds before planting will encourage larger bulbs.
For the quickest results, plant a full bulb to receive a crop of 6 to 10 new ones by harvest. Alternatively, the bulbils from the flower can also be planted, but they'll take a couple of years to develop into plants with full-size bulbs.
Whichever option you choose, be aware that the plant will form a permanent clump of onions thanks to its walking habit, so choose a spot that you can dedicate to them for several years, with enough space to accommodate new plants.
Planting the Bulbs
Both bulbs and bulbils should be planted in autumn or winter, giving them a head start for when spring arrives. If you're planting bulbs, sow them around 40cm apart with the pointy tip just poking out through the soil's surface.
Use the same spacing for bulbils, but plant them around 5cm deep so that the tip is just below the soil.
Common Pests and Problems
Walking onions suffer from the same pests as other alliums, most commonly slugs and snails during early growth. Take your usual precautions such as manual removal, beer traps or organic pellets.
A fungal disease called allium rust can also be a problem, but less so for walking onions than relatives like leeks, garlic or chives. You can recognise rust by the appearance of small, raised, brown or orange spots on the foliage. There's no treatment, but you can reduce the risks by keeping humidity to a minimum and always removing all plant debris after the growing season.
Bulbs will rot if grown in waterlogged soil. Make sure to choose a well-drained spot, and don't be too enthusiastic about watering during cooler periods.
Harvesting Walking Onions
Bulbils can be harvested when they are 1.5-3cm in diameter and before they start to sprout a green shoot, which often happens while the bulbils are still attached to the upright stem.
As with other alliums, walking onions will signal that harvest time is near when the leaves start to look brown, dried and scruffy. It usually takes about five months from planting to harvest, although of course local conditions will have an effect on growing time.
Once the stem itself starts to dry, carefully dig up the bulbs with a garden fork and place them individually on a wire rack, or hang them in individual net bags. Leave them in a cool, dry place out of the sun to cure, hardening their skins to extend their storage life. Once the skins are fully dry, usually taking a couple of weeks, the onions can be stored in a basement or other cool, dry, dark place where they'll last for up to 12 months.
Using Walking Onions in the Kitchen
The leaves, bulbils and bulbs of walking onions are all edible and share a mild onion flavour. You can use the bulbs in the same way as ordinary brown onions, where they may make recipes more palatable for those who dislike a strong onion flavour.
Both the leaves and bulbils can be used in salads and stir-fries, much like spring onions. If you have a large number of spare bulbils you can pickle them using your favourite recipe for baby onions or garlic cloves.
With their self-reproducing growth habit, easy cultivation and mild onion taste, walking onions are a handy crop to grow in any home garden.