It's immensely satisfying to grow healthy, thriving plants direct from seed. However, it's not necessarily the quickest or easiest way to populate your garden.
Buying ready-grown plants is a straightforward and speedy alternative, but the cost soon mounts up if you need more than a few.
However, there's a third way of obtaining new plants which combines simplicity, economy, and the enjoyment of getting your hands dirty with productive gardening work.
With many plant species, it's possible to create entirely new individuals by taking cuttings from a mature plant and growing them on. These new plants are genetically identical to the parent, making cuttings an excellent way to duplicate your favourite, most successful garden plants - and at no extra expense.
Depending on the plant, different parts can be used for cuttings, including leaves and roots. However, the most versatile and popular method is to take a cutting from a plant's stem, which will go on to develop roots and leaves of its own to form a new individual.
Which Plants Can Be Propagated by Cuttings?
In theory, most plants can be propagated by taking stem cuttings. The most common choices are perennial plants with woody stems, particularly herbs and ornamental shrubs.
However, it's also possible to use stems from herbaceous annuals, woody shrubs, and even trees, depending on which type of cutting you take.
- Softwood cuttings are taken from fresh new growth, usually in spring or early summer. They're good for most perennial herbs and smaller ornamentals, and are very quick to grow new roots.
- Semi-hardwood cuttings are taken when the stem has toughened up in mid-summer or autumn, and take a little longer to root. Semi-hardwood cuttings are useful for starting new generations of lavender, rosemary, or other plants which tend to become tired and straggly as they age.
- Hardwood cuttings are taken from fully woody stems, usually from perennial shrubs or trees which have begun to enter their dormant winter state. Hardwood cuttings are particularly popular for fruit bushes and trees.
- Greenwood or herbaceous cuttings are taken from non-woody plants. They are most often used to propagate annuals late in the season, providing a new generation for the following year.
Some species of plants take more readily to the cutting technique than others. For example, geraniums can happily grow new roots just by being cut and placed in a jar of water. Other species struggle with stem cutting and are easier to propagate by leaf or root methods if cutting reliably works at all.
Ultimately, it's worth trying the technique on any healthy plant you'd like to duplicate. So long as you're careful not to cut too much material from the parent plant, all you'll lose is your time if it doesn't work out.
That said, some of the most popular plants for stem cutting include:
Flowers: Aster, salvia, dahlia, camellia, geranium, azalea, fuchsia, gardenia, hydrangea, and rose.
Herbs: Rosemary, lavender, sage, thyme, basil, mint, and oregano.
Fruit and Veggies: Blueberries, blackberries and raspberries, redcurrants and blackcurrants, tomatoes, capsicum, and cucumbers.
How to Take Stem Cuttings
Taking cuttings is often seen as an advanced technique, but in reality, it's quite straightforward. Here's what to do.
1) Choose Your Parent Plants
You should only take cuttings from healthy, vigorous plants. Not only will this give the cuttings the best chance of rooting successfully, but it will ensure the parent plant is strong enough to withstand losing a stem or two.
2) Fill Your Pots
Choose small pots to host your cuttings, as if all goes to plan, they won't be needed for long before the plants are transplanted. You'll also need to watch the bottom of the pots for new root growth, so don't use anything too deep.
Clean the pots well, and fill them with high-quality potting compost, ensuring good drainage. Stem cuttings are fragile and depend on a growing medium free of pathogens, insect eggs, and weed seeds. Avoid using garden soil or second-hand compost from other pots.
Moisten the compost well without waterlogging it, and make planting holes in the centre using a pencil.
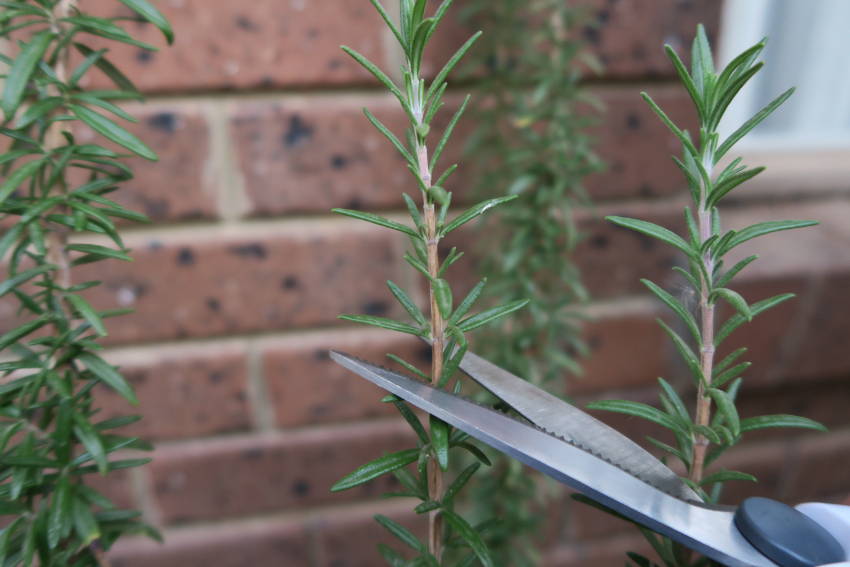
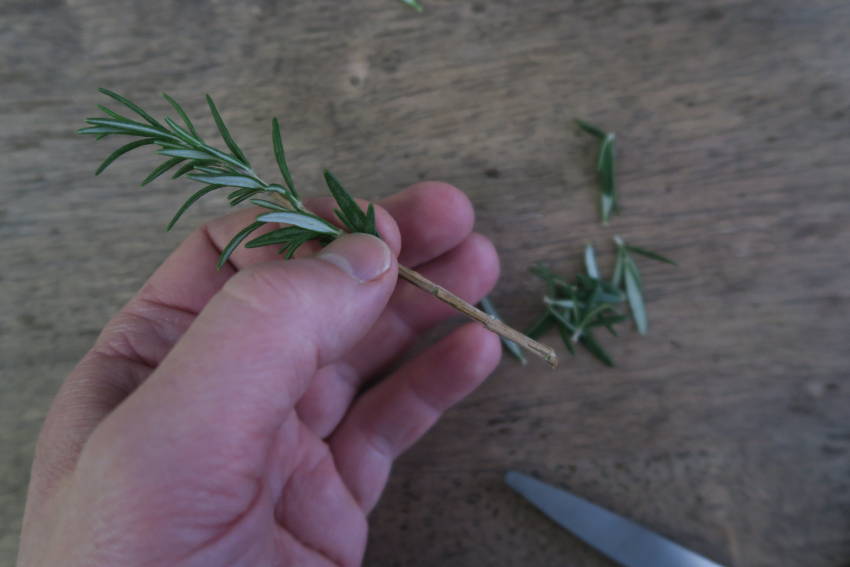
3) Choose Your Stems
The stem you cut from the parent should be around 5-15cm long, depending on the size of the mature plant. Plan to cut it so that you have at least one leaf or leaf node toward the bottom end, as well as a few leaves near the top.
Leaf nodes are the points where leaves or side stems grow out from the main stem, and it's from these that fresh roots will sprout to form a new plant.
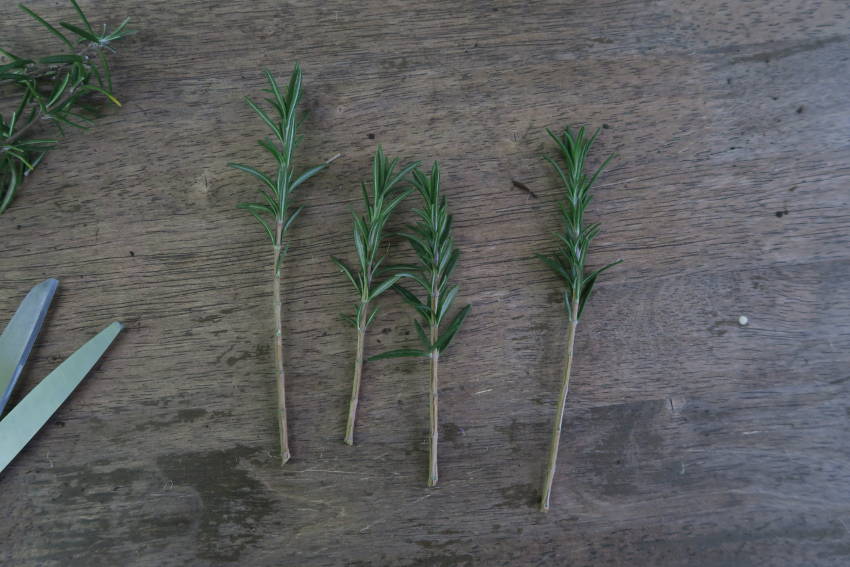
4) Take and Tidy the Cuttings
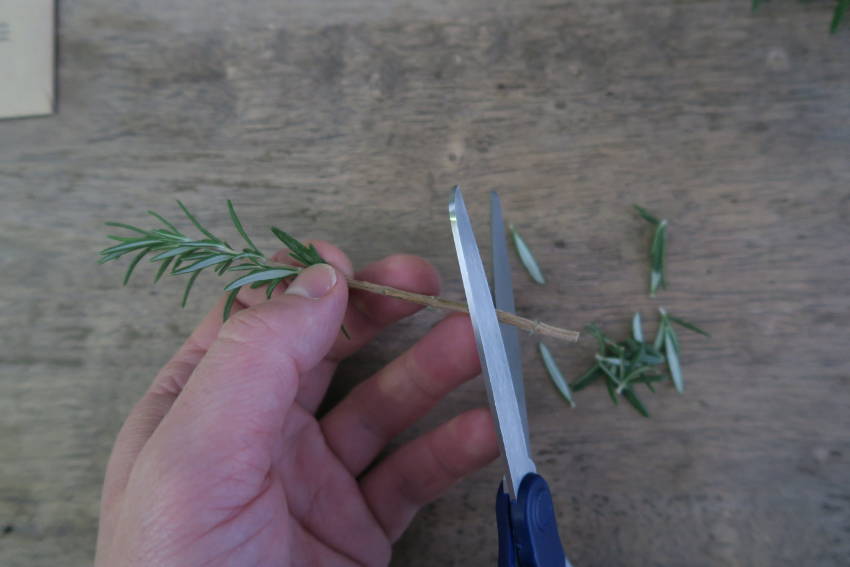
Take your cleanest, sharpest secateurs or scissors, and sterilise them with rubbing alcohol.
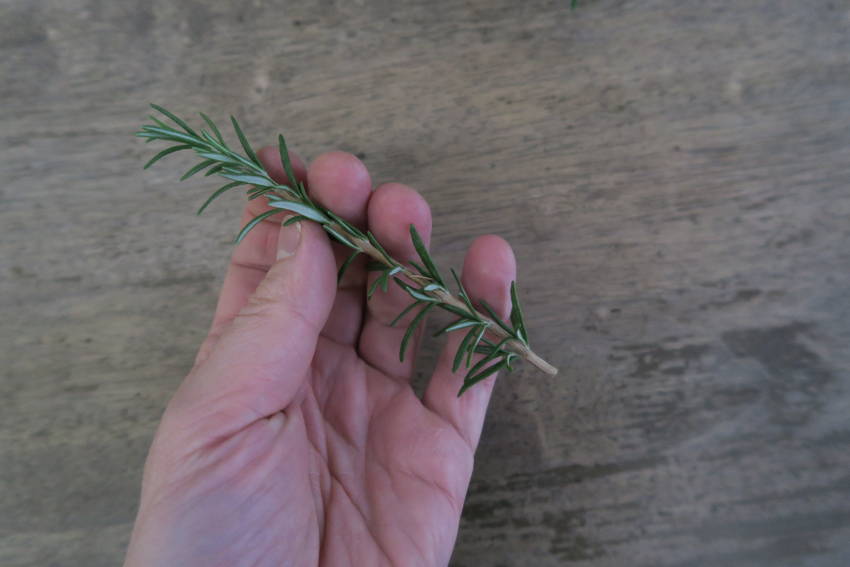
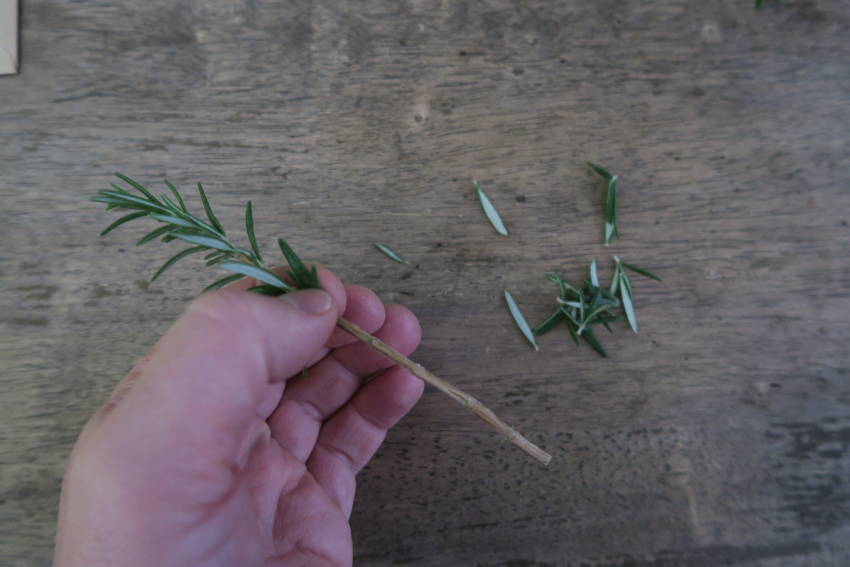
Cut off your chosen stem just below a leaf node, and remove all leaves except for a couple of smaller ones at the upper end. Your cutting will still need foliage for photosynthesis while it roots, but too many (or too big) leaves will divert precious energy away from the developing roots.
If the stem has a soft growing tip, pinch this out to discourage vertical growth.
Some guides suggest partially slicing through the lowest leaf nodes with a sharp, sterilised razor. The idea is that this opens the nodes out to encourage faster growth, but the potential for serious damage is high. If you decide to do this, use a steady hand and a light touch.
5) Stimulate Rooting
You can improve your cuttings' success rate by stimulating rooting with a commercial hormone powder or gel. These products replicate and add to the rooting hormones the stems produce naturally, and will speed up the process.
This step is by no means essential, but if you're dealing with reluctant rooters, it can spur them into action.
Use the hormone powder according to the packet instructions, but in general, dip the bare leaf nodes in water, then the powder, and then shake off the excess.
Alternatively, you can use a more natural approach to rooting stimulation. Dipping the lower stems in raw honey will help protect the cut edges from bacteria and fungus while they develop roots naturally. Many organic gardeners find honey works perfectly well as a rooting stimulator, although it takes longer than a specialist hormone powder.
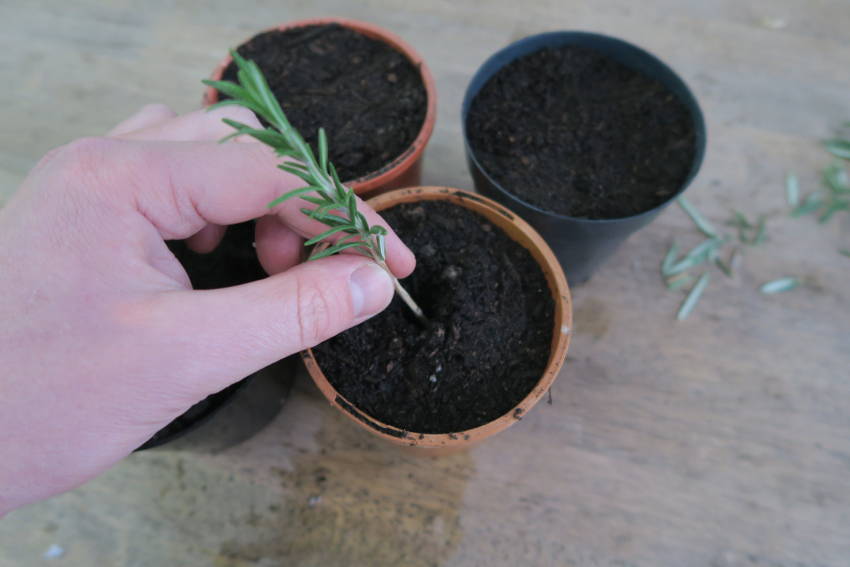
6) Plant Your Cuttings
Place the cuttings into the compost holes, making sure the lower leaf nodes are below the surface, and firm down gently.
Cover the pots loosely with clear plastic, forming a mini-greenhouse, and leave them in a warm place away from direct sun. Monitor the soil's moisture levels over the next few weeks: if water drops condense on the inside of the plastic, the compost is too wet, so remove the cover to let it dry a little.
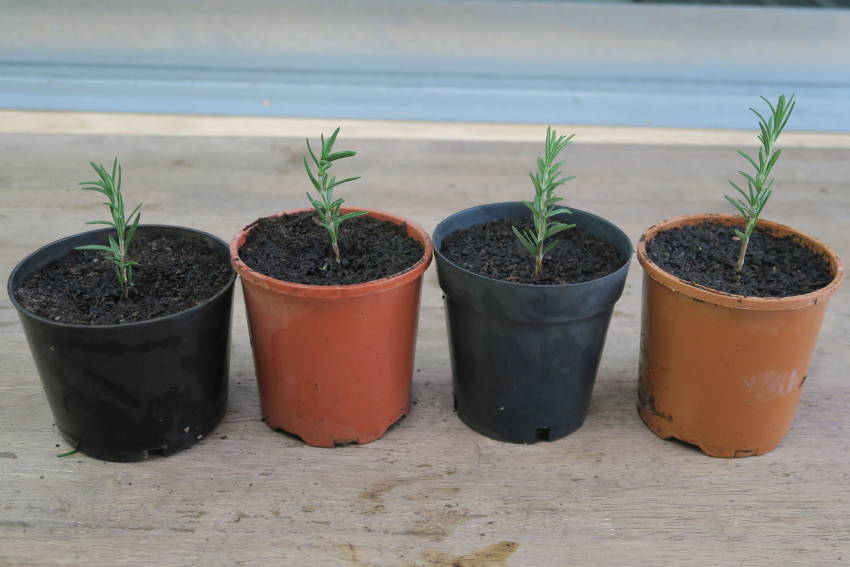
In time, some of the cuttings will begin to sprout new growth, while others will wilt and die. That's to be expected, but make sure to remove any mouldy or dead cuttings as soon as you spot them.
Once there's visible new growth, remove the plastic covering, place in a sunny spot, and keep watered.
7) Transplant the Young Plants
Once new roots are starting to poke through the bottom of the pots, or if the cuttings are visibly outgrowing their containers, the plants are ready for potting on or transplanting to their final location.
However, bear in mind that young plants from cuttings don't have well-developed root systems, and so should be treated gently. Take extra care over hardening off, soil preparation, and the rest of the transplanting process to give them the maximum protection.
Important Precautions
Although the basic cutting method is straightforward, a few extra precautions can improve your success rate.
- Take cuttings in early morning, when the plant is well watered and the weather isn't too hot.
- Keep your cuttings out of direct sun at all times, to keep them as fresh as possible.
- It can help to place the cuttings straight into a jar of cool water to prevent wilting.
- Prepare all your equipment in advance, so you can work reasonably quickly.
- Take the seasons into account when planning your cuttings. In around one or two months, you'll have a batch of young, tender plants which will need suitable growing conditions to become fully established.
Plant propagation is definitely a step up in expertise and accomplishment compared to buying grown plants from a nursery. However, there's nothing difficult about it if you prepare properly and take your time. And once you've mastered the technique, you'll enjoy an endless supply of healthy young plants for free.