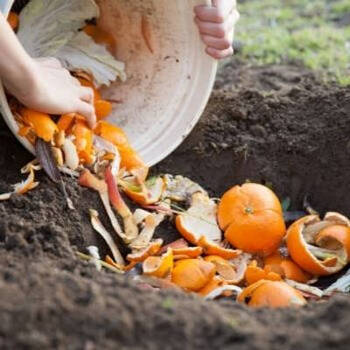
The produce coming out of your garden can only be as good as the soil it feeds on. We live in a unit, but luckily I can do what I want with my little postage stamp of a garden that comes with it. In the five years that we have lived here I have managed to convert the grassy backyard into a wriggling mass of huge earthworms. More importantly my little food forest supplies us with nutritious fruit and vegetables year round. The benefit of not having much space is that I looked at smaller, contained systems of converting our waste into beneficial compost.
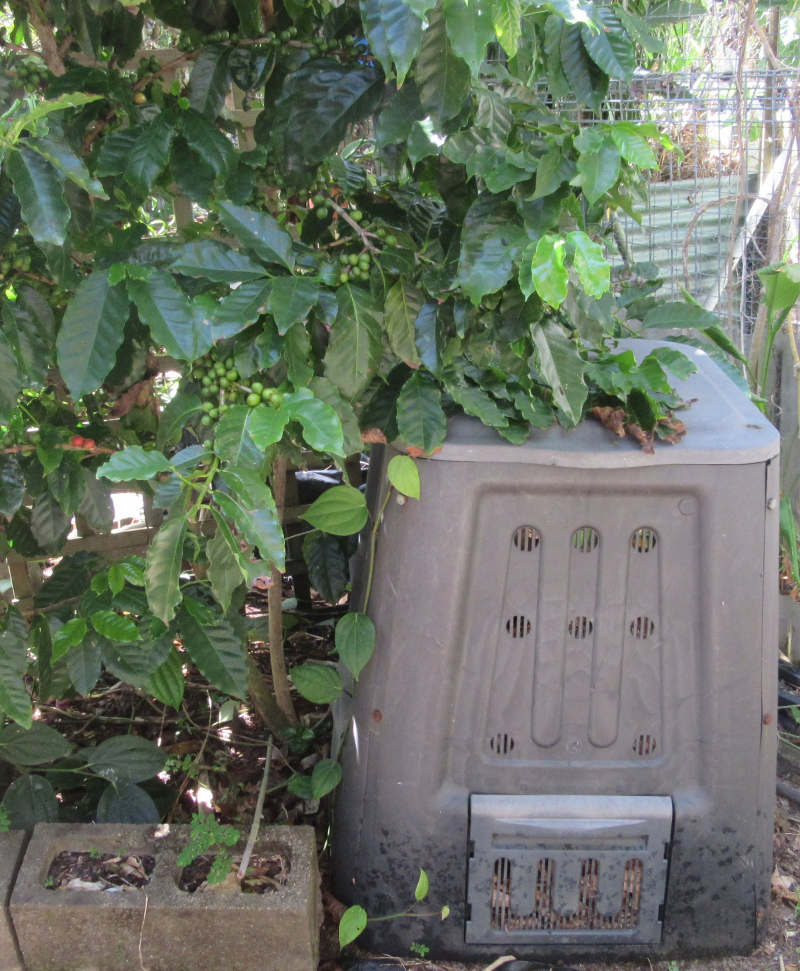
Our first compost bin was a standing, bottomless bin which lived in the back corner of the yard. I noticed that when I took the time to chop everything small that was added to the bin and to turn the contents regularly that it managed to build up quite a bit of heat. It is hard work turning the compost, but the good thing was that I couldn’t really reach the very bottom part, so that tended to sit and mature. Every now and then I would open one of the little doors and begin to pull out the composted contents. It is fine to dig down right into the dirt under the bin as this is where earthworms collect, and this allows the new compost to fall down. This can increase the area of compost by at least a third. Here is my bin happily living under the coffee tree.
I realized that one of the really important factors in fast composting was turning and moving the contents regularly. When I lucked out on a hardware gift certificate I knew exactly what I wanted to buy and it was a compost tumbler.

Luckily we have a constant supply of dry leaves from our lychee tree, and these were added regularly, along with kitchen scraps. The compost was processing really fast, but as I kept on adding kitchen scraps daily, there was never really finished compost in the tumbler. I needed a system that would make use of more of the kitchen scraps while the compost finished off in the tumbler. I didn’t want to be spreading rotting vegetables out in the garden!
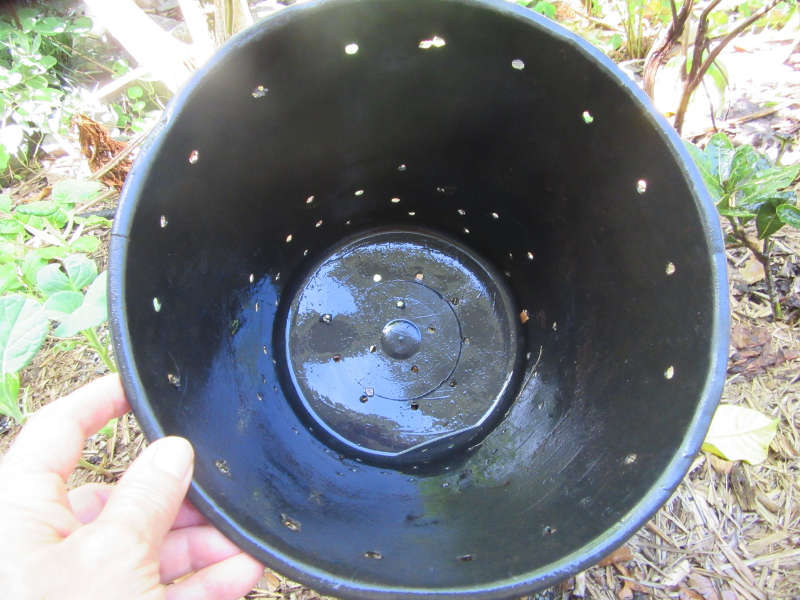
The obvious choice was a worm bin, but up here in the tropics I had heard of too many problems with worm bins. I had seen compost tubes, where supposedly earthworms wandered in and out, but you couldn’t harvest the worm castings, and earthworms really don’t process kitchen waste as quickly as the tiger worms found in worms bins. I acquired some tiger worms from a friend and proceeded to create a worm bucket – submerged into the soil enough that the temperature remained constant. (This works in cold climates just as well as hot ones!) . A lid keeps the worms happy and dark and keeps out critters. The bucket has a few small holes – for aeration and to allow moisture to seep out into the surrounding soil. Tiger worms do not wander out into the soil.
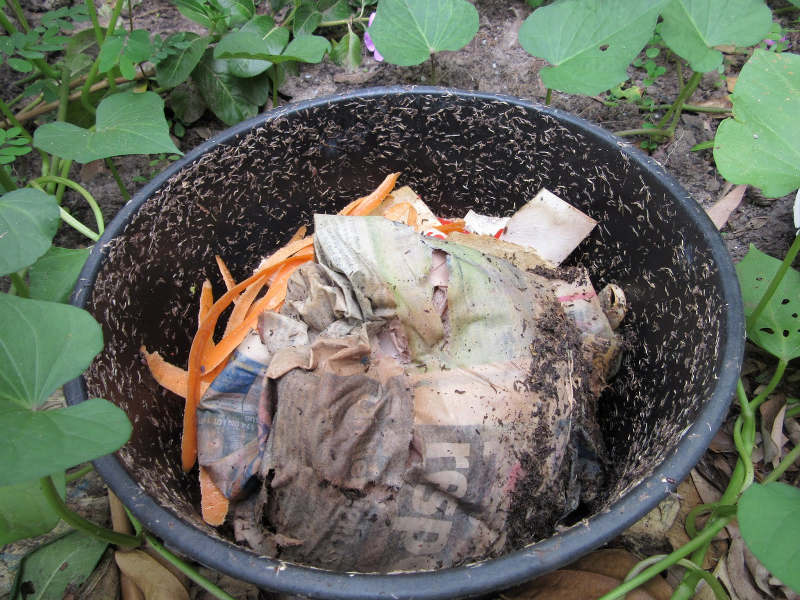
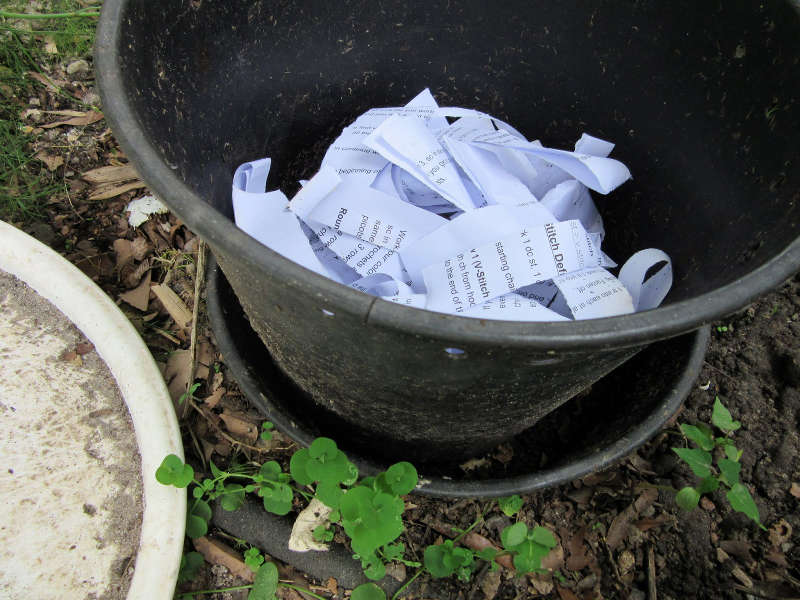
Every now and then I place an empty bucket on top of the one full of worm castings. I add in some juicy offerings, cover with a bit of shredded newspaper, and the worms climb up into the second story – leaving all the rich worm castings behind. If you collect your kitchen scraps into a newspaper bundle you can simply place the bundle into the top of the bucket, and this gives them a little newspaper on the top, and keeps everything nice and moist.
It is easy to move those buckets around and amend a new area of my little garden. Just this last season I noticed that the ginger that was grown where a worm bucket had been was noticeably more productive than the other half of the bed.
I think two are just perfect in my little garden, as I like to have kitchen scraps to put into my compost tumbler as well. I find it is easy enough to rotate the top bucket between the two buckets. Here I have just placed a bucket on top of one that I want to harvest the castings from. Potato peels or soft fruit are their favourites and will entice them upwards into the empty bucket, with just a little shredded paper on top. You can also use a bit of hessian or an old cotton shirt!
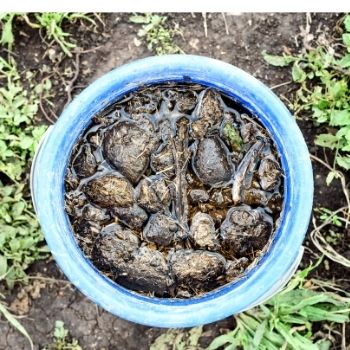
Within a week the worms will have moved up and you can harvest the castings from the bottom bucket.
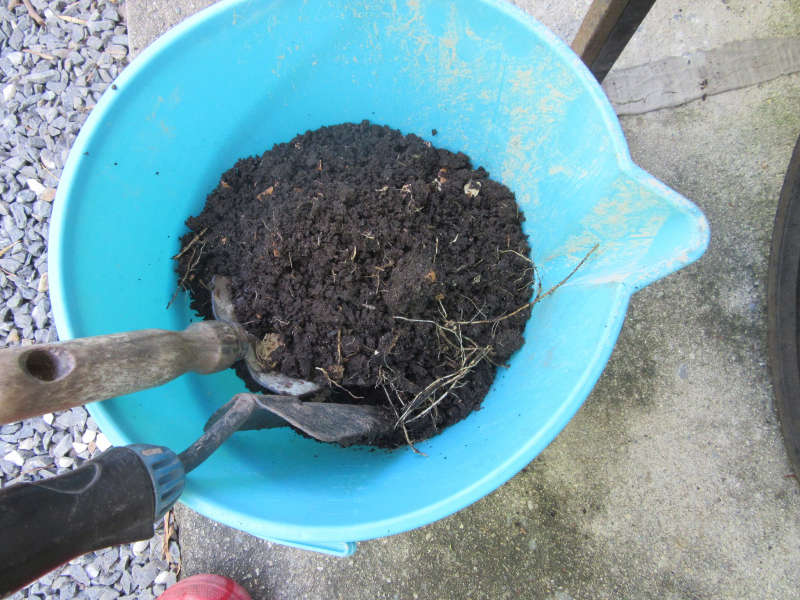
The top bucket then becomes the new bottom bucket. I normally just add a few shovelfuls of the castings under the mulch to pots, or any plants I feel need a bit of a boost. I have also made a worm casting tea to spread the goodness around.
I don’t collect any leachate, as that just naturally flows into the ground around the buckets.
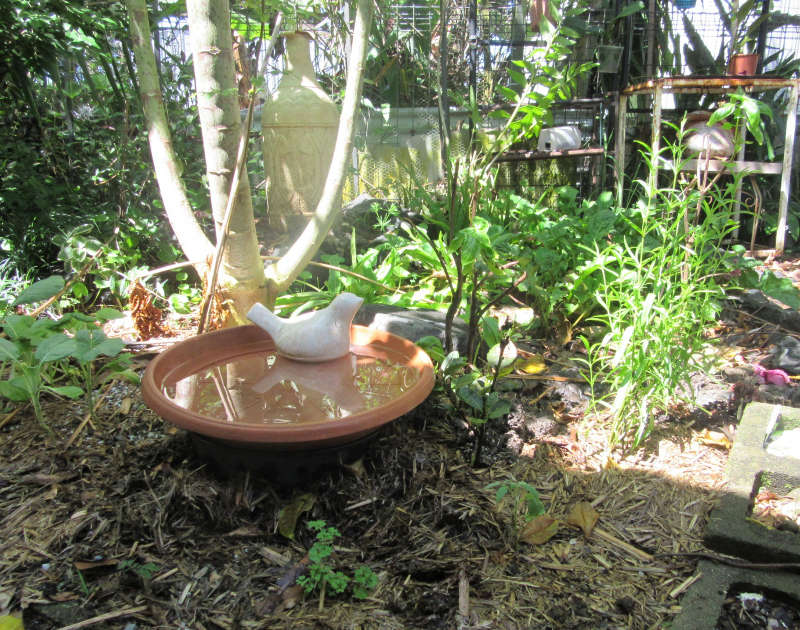
The buckets need to be covered with a lid so that critters can’t get in and steal the food from the worms. Here I have one in the herb spiral acting as a little bird bath - I find dappled shade is best.
Since I started the buckets I notice the same tiger worms in my compost tumbler, so not sure how they migrated there, but they do make sure it all gets broken down very quickly, and it stays lovely and moist. Every now and then I remove some of the compost from the tumbler into the standing bin, and there it can mature and break down even further.
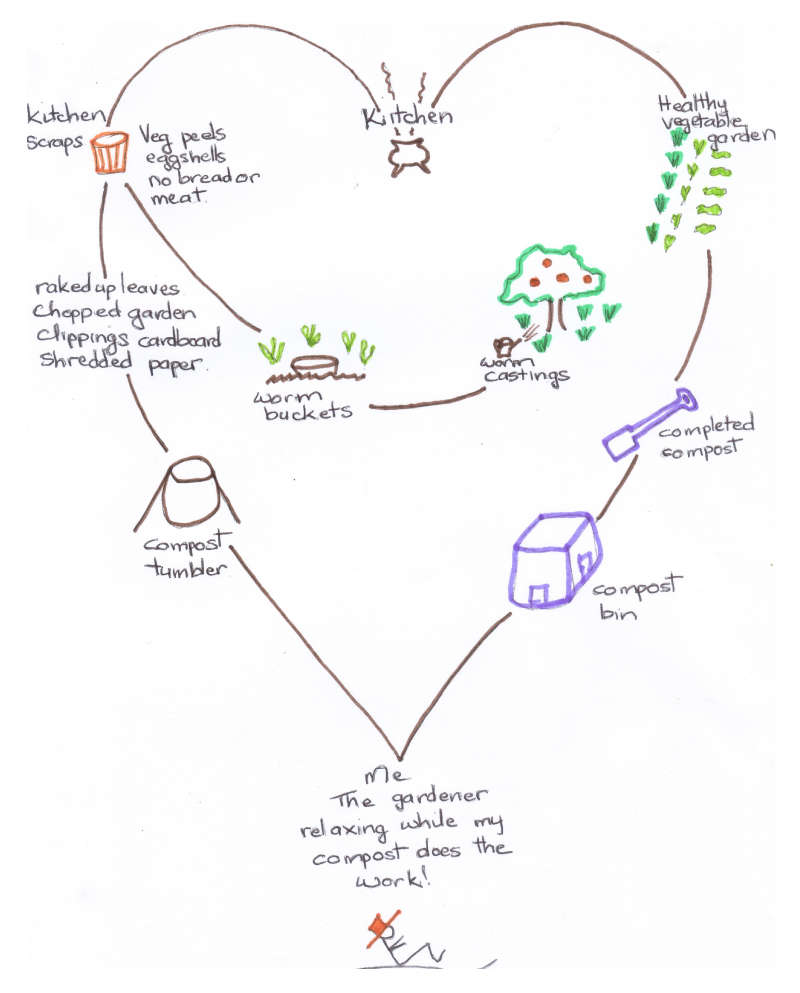
I love the synergy of this circular system as shown in the below diagram, making sure that all waste is fed back into the system.
Looking at my process it seems that I have developed my own three bay compost system like all the big gardens have!
Article and photos by Gillian Vance