Propagation is a great way of expanding your plant collection. When it's successful, it produces new individuals from your favourite plants, genetically identical and almost guaranteed to thrive in your garden or home.
To a beginner, propagation can seem like a difficult technique. But in reality it's very straightforward, even if it does take a little time to bear fruit. One of the best ways to get started with propagating cuttings is by the water method, and here's what to do.
Why Propagate Cuttings in Water?
Propagation can be done in any suitable growing medium, from compost to sand. However, water is a great choice for beginner or expert alike. It lets you see exactly what's happening to the cutting rather than hiding the action under the soil's surface.
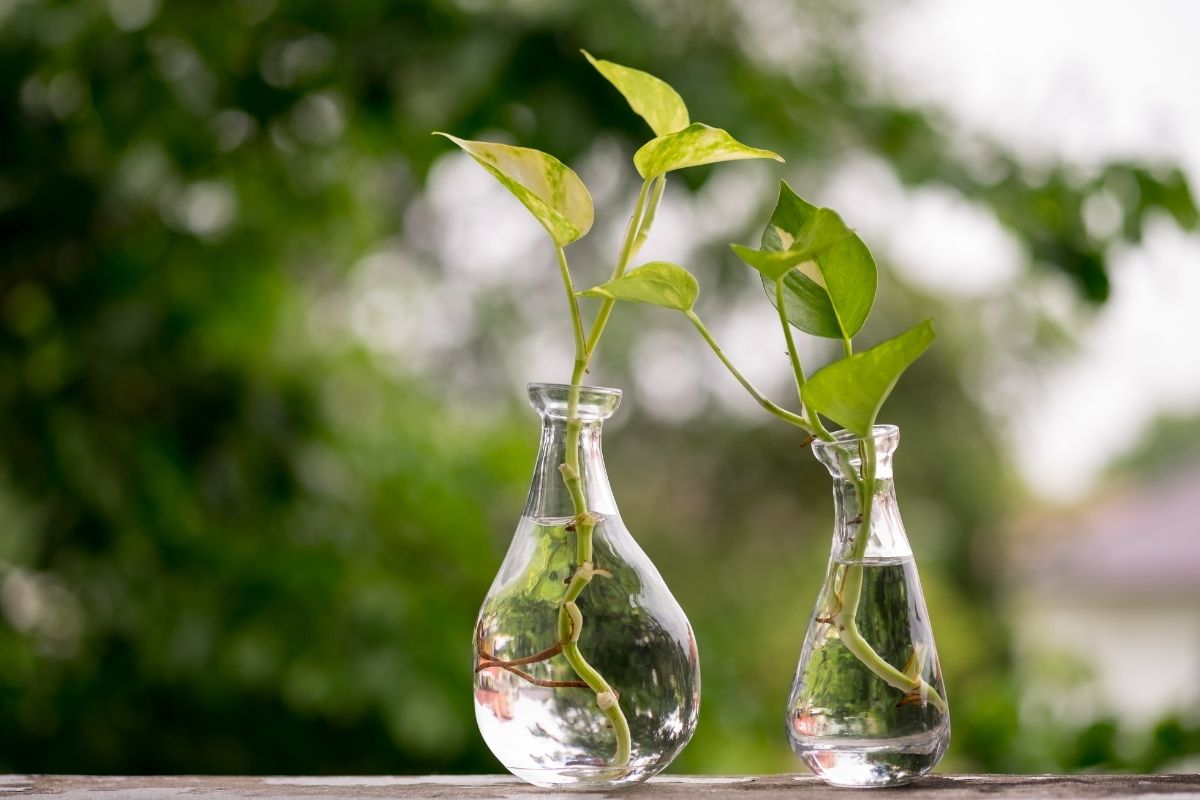
Using water rather than soil is also a little less messy, and so great for doing indoors, and if you use attractive containers such as our propagation stations they can make design statements in their own right. However, the water propagation method can also be done with no special equipment at all, using just a clear glass or plastic jar and ordinary tap water.
Which Plants Are Good for Water Propagation?
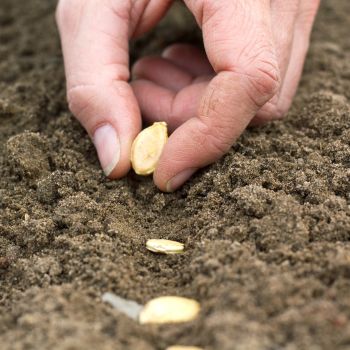
In general, perennial plants are most often grown from cuttings, due to their longer life cycles. However, some annuals such as geraniums or basil can be propagated in autumn and overwintered to provide new plants to grow on with a head start in spring.
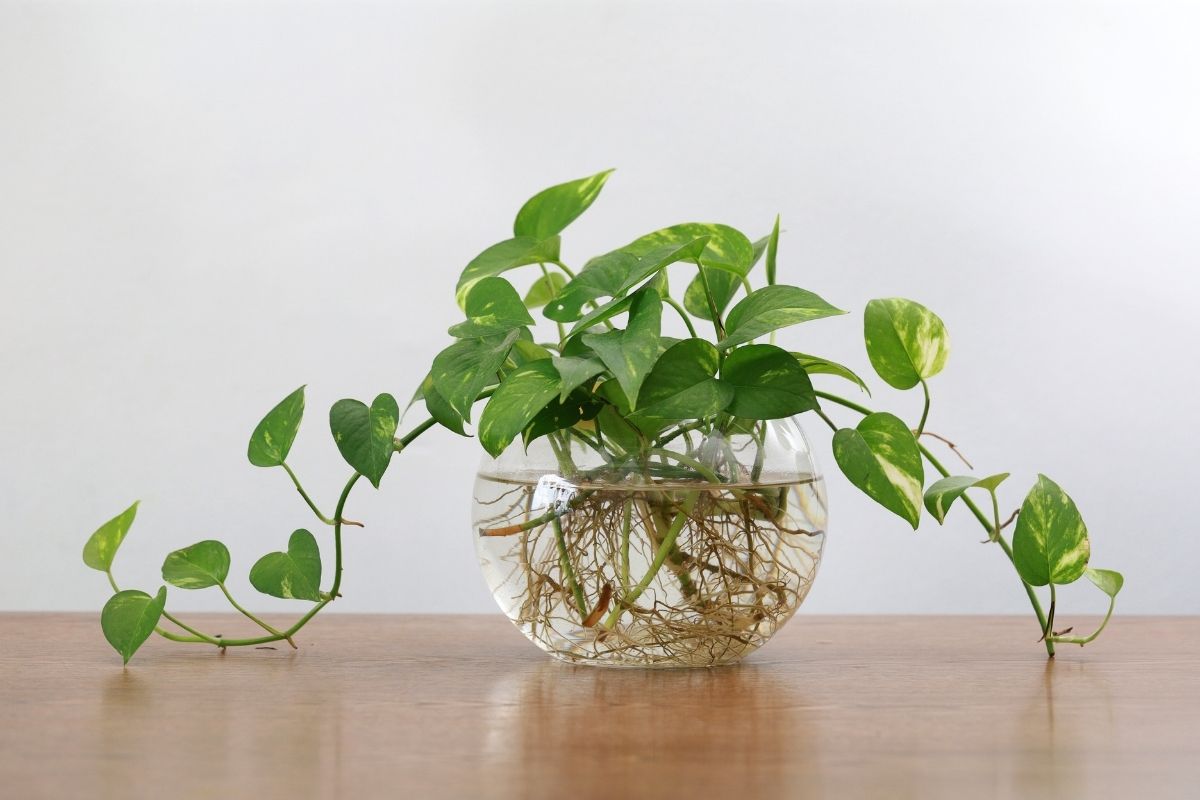
Also, the best plants for propagating in water are those which have a high water content themselves. Indoor plants including Devil's ivy, coleus and pilea can be propagated this way, as well as many succulents, figs, hydrangea, and soft herbs like mint or basil.
Whichever kind of plant you choose, the key requirement is that it produces root nodes on its stems or vines. These are the small buds or bumps just below a leaf or a side stem, and are the parts of the plant which can sprout new roots to support a new plant.
How to Propagate Plants in Water
The propagating process follows three straightforward steps. Depending on the plant, conditions, and time of year, if all goes well you can expect to have a new potted plant in around three months.
1) Take the Cuttings
The best time to take cuttings is in spring or summer when the plant is actively growing. However, it can be done at any time of year, although with slower results in cool weather.
First, choose a healthy, vigorous parent plant that's growing well, preferably one you'd want to prune anyway to keep it under control. Find a healthy stem that has root nodes, and using a clean, sharp pair of scissors or secateurs, cut through the stem about 1-2cm below the node. Make sure there are several healthy leaves above the cut, and depending on the plant, the stem should be around 5-10cm long.
It's vital when cutting and removing leaves that your scissor are clean, ideally sterilised in rubbing alcohol or similar. Any pathogens present while cutting can rapidly harm the plant in its weakened, cut state.
2) Wait for Roots to Develop
At this point, the cutting should be placed in a clear container filled with room-temperature water, with the root nodes fully submerged. Remove any leaves which would be below the surface, while ensuring that a couple remain above to give the plant energy while the roots are growing.
Place the container in a warm spot that's out of direct sun but still gets plenty of light. Keep an eye on the water levels and top up if necessary to ensure the root nodes remain submerged. Replace the water at least once a week, or more regularly if it starts to discolour. Adding a touch of activated charcoal to the water can help reduce bacteria buildup and keep the water fresh for longer.
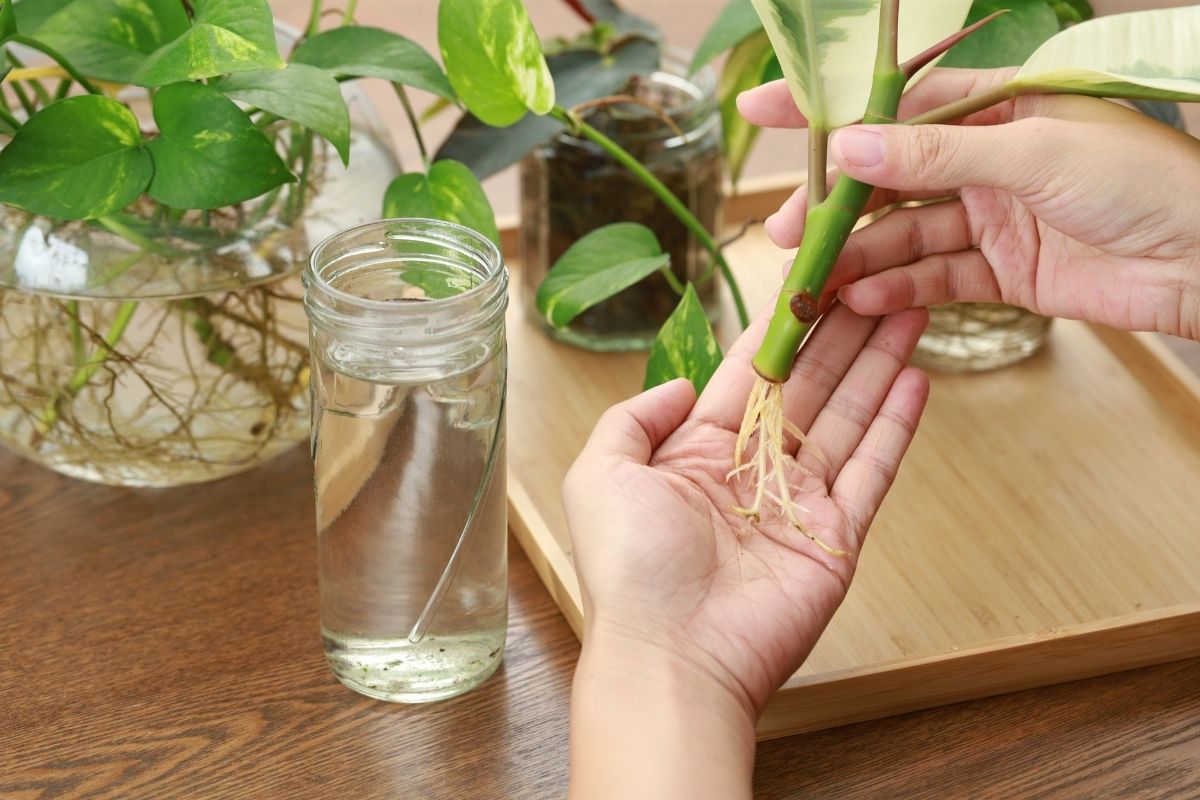
You'll likely see new roots emerging within a month to six weeks, but don't panic if it takes longer – three months isn't unusual depending on the plant and the time of year. Just keep checking the water levels until either roots appear or it's clear that the stem has died and you'll need to try again.
3) Transplant to a Pot
Once the new roots are about 3cm in length, the cuttings can be transplanted into small pots to continue their growth. Take care to hold the plant by its stem as the roots are delicate. Use good quality potting mix and water well to settle the soil rather than pressing it down, which can compact it. You can also choose to continue growing the cuttings in a suitable vessel, remembering to change the water when needed.
Keep the pot in the same conditions as the water cutting for a few days to let the plant adapt, then grow on in its permanent location. For outdoor plants in cool climate zones, it’s a good idea to introduce them to the outdoors over a few days so they aren’t set back by the conditions outside.
Propagating your favourite plants takes a little longer than a trip to the nursery to buy plants. But it's fun to do, inexpensive, and you'll gain plenty of healthy new plants that are a proven fit for your area's growing conditions.
.jpg)