To the novice gardener, the prospect of starting an organic garden can seem daunting. There are a lot of confusing terms; even the word "organic" can have multiple meanings. You might not know where to buy what you need, especially if you live in a part of the country where organic gardening has not yet taken root. You might not even know what you need to get started, and what, if any, supplies you already have that will be suitable. Relax. You will find that once you have a basic understanding of standard terms and techniques, going green in your garden is simple, healthy, and fun.
What is Organic?
What does organic mean, exactly? To be honest the word organic often means different things to different people but normally for us gardeners organic simply means that no artificial fertilizers, pesticides, or genetically modified organisms are used during the growing process. Artificial, or synthesized, fertilizers are made from non-living materials, and can be damaging to the soil over the long term, as well as potentially toxic to humans and animals. Nitrogen fertilizer is typically made with ammonium sulfate, prepared by mixing ammonia and sulfuric acid. Artificial herbicides and insecticides are chemically derived poisons, which may remain on plants even after washing. Use of chemical pesticides may contaminate the soil and groundwater, and pose a potential health risk for pets and children. As these toxins are largely indiscriminate, by using them in your garden you might kill beneficial insects, such as bees and butterflies, or even kill your carefully cultivated seedlings.
To avoid introducing any artificial chemicals in your garden, look for soils, and fertilizers labeled as Certified Organic. Most garden centers, and home improvement stores have these in stock.
Things To Do Before You Start
Before you start planting, do a little preparation. Taking some time to conduct research and craft a well-thought-out plan will make every aspect of your garden easier to manage as it grows.
- Check your soil structure. "Sandy loam" is the ideal soil for gardening, which means that your soil has a good balance of sand, clay, and silt. Soil can be tested by taking a handful, preferably two days after a good rainfall, and pinching a portion between your thumb and forefinger. If the soil feels slimy or slippery, this is an indicator of an excess of clay, and a powdery feel means there is too much silt. Gritty-feeling soil will tell you that it has too much sand. You can adjust the consistency by adding organic materials, such as compost, manure, or worm castings (earthworm droppings).
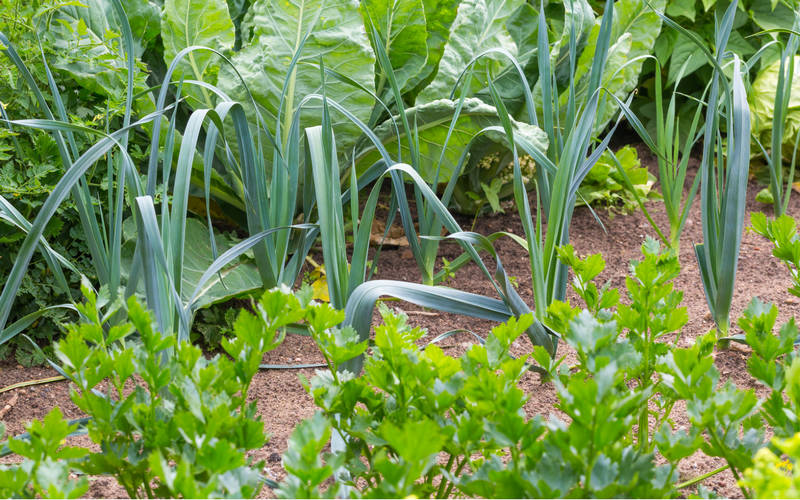
- Decide what to grow in your garden. Dedicate space for growing flowers, herbs, fruits, vegetables, or any combination of these. Opting for plants suited to your region will help to reduce stress on the seedlings and produce a better crop yield.
- Look for plants that reduce pests, especially when planted next to a different species; this is called "companion planting." Good plant pairings include beets and onions, carrots and dill, garlic and roses, and spinach and strawberries.
- Choose your location wisely. Allocate enough space for your plants to flourish and place your garden away from areas that see heavy foot traffic or activity. Check the growing instructions of your selected plants to determine how much sun or shade they require and lay out your garden space accordingly. Also, take into account the drainage properties of your garden; you want to make sure that the area you choose to plant in does not get too much or too little water after a rainfall.
- Draw a map of your garden space, and plan the layout of your garden in advance. Most gardeners prefer an organized structure, with carefully plotted rows and sections. Some gardeners, however, like the look of a "random" garden, where there seems to be no formal layout. Choose whatever structure you find most appealing, and which will be the most useful to you.
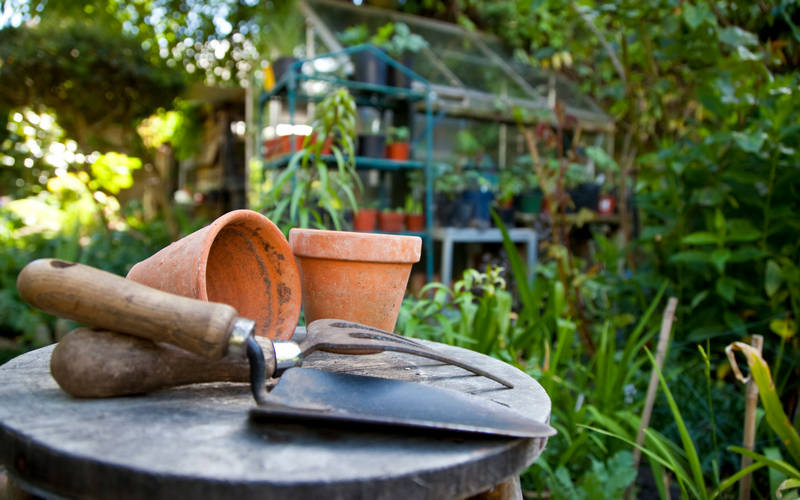
- Assemble your tools. Your needs may vary depending on the size of your garden, and your plant selections. Every gardener should have a trowel, a gardening fork, a watering can or hose, a shovel, secateurs and either a gardening cart or a wheelbarrow.
Getting Your Space Ready For Planting
Now that you have chosen your site and drawn up the plans, you need to get your soil ready to accept your plants. There is most likely a layer of vegetation growing in your garden which will need removal before you can start planting. The most efficient method of removing this vegetation, and most commonly used in conventional gardening, is to excavate the top layer of soil. While this will ensure that any plants already contaminated with artificial pesticides are eliminated, and will help keep the unwanted plants from returning, it will cause a loss of topsoil, which is not ideal.
One alternative is a "lasagna garden." This method involves covering the area you have selected for your garden with a layer of corrugated cardboard. Wet the cardboard thoroughly, then cover it with alternating layers of "greens" (such as grass, plant trimmings, and vegetable scraps) and "browns" (peat moss, coffee grounds, fall leaves) to a depth of 60cm. The disadvantage is that it will take some time to break down and be ready for planting, and it can only be set up in Autumn. In the long run, however, it will provide a much healthier base for your garden and a happy home for earthworms while allowing you to retain topsoil.
If you will be planting directly in existing soil, and your soil structure is less than ideal, this is the time to till in your compost, manure, or any other soil amendments you might be using. You should avoid tilling frequently; a good rule to follow is "once, then done." Tilling strips the soil of nutrients, dries the earth, and reduces topsoil to dust, which then blows away. Colonizing your garden with worms is an effective and environmentally friendly method of achieving similar results, and will help keep your soil and plants healthy.
If you have serious concerns regarding pre-existing soil contamination from fertilizers or pesticides, consider planting your garden in raised beds or containers instead of directly in the ground. Using containers or raised beds allows you to regulate exposure to chemicals, keeps the pest population down, and keeps you from having to strip away precious topsoil.
Planting and Transplanting Seedlings
Most gardeners can plant seeds directly into the soil and achieve excellent results. If you are starting early in the season or live in a cool climate it might sometimes be necessary to cultivate your seeds indoors or in a greenhouse.
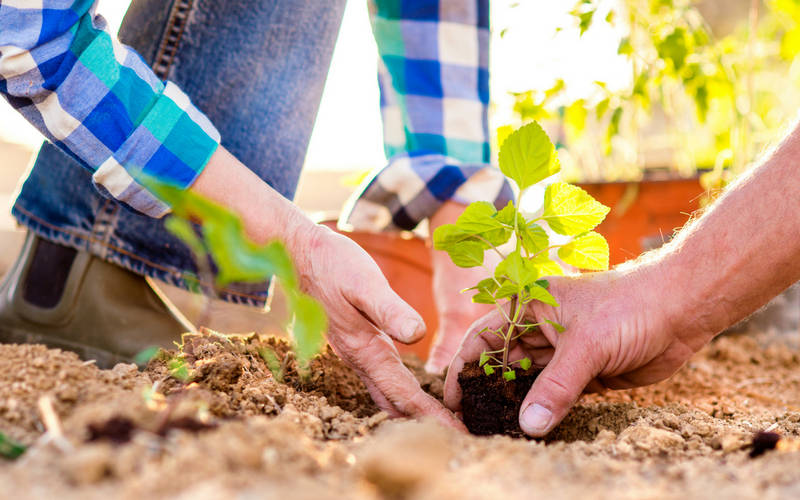
The night before you plant your seedlings, give them a proper watering. The best time to transplant your seedlings is in the afternoon or early evening; try to aim for a day that is overcast and slightly cool. When digging your holes, it is best to dig a hole that is about twice the size of the plant's root ball. The extra space gives you some room to work with and helps you adjust the height of the plant. Create a pile of soil in the hole; your goal is to have the same depth of soil surrounding the plant in the ground as it had while in the container.
Remove your plant from the container by turning the pot upside down while gently holding the plant in place while tapping the bottom of the pot until the plant slides free. If the roots of the plant seem compacted or have grown tightly around the soil in the shape of the pot, gently loosen and spread them apart with your fingers. Set your seedling on the mound, and add or remove soil to achieve proper depth. If you cultivated your seedling in a biodegradable peat pot, be sure to score the sides to help the roots reach the surrounding soil. Either trim down the top of the pot or make sure to cover the rim thoroughly. If the lip is exposed, it will wick moisture away from the roots, and your seedling will quickly perish.
After seating your seedling to your satisfaction, fill the remaining space in the hole with soil. Water your new plant immediately, and be sure that it is kept well hydrated for the next week. Keep your seedlings shaded if it is hot and sunny, and be sure to give them plenty of attention.
Mulch
As soon as you finish planting your garden, the time has come to apply mulch. Mulch is extremely helpful to the organic gardener, as it provides a natural pest barrier, inhibits weed growth, retains moisture and helps to regulate the temperature of the soil, plant, and root. There are almost as many types of mulch as there are plants, and it can be hard to know which to choose. For vegetable or herb gardens or for annual flower beds it's important you choose a mulch that decomposes quickly as mulches that are slow to break down can make the soil hard to manage. The easiest option is compost, as you are probably already using it in your garden, and it will continue to add nutrients to the soil. Other great options are lucern and straw.
If you are planting a perennial garden, longer lasting mulches like stones or woodchips are great options. The most commonly used mulch is made from wood chips, although you should try to avoid pine mulch if your soil is acidic, as this contains a relatively high acid content. The best way to decide which mulch is right for you and your garden is to experiment.
Whichever mulch you choose, the application remains the same. Spread a layer of mulch on your garden bed, approximately 6 cm thick. Keep the mulch from touching your plants directly; ideally, the mulch should be about 3cm away from the stems.
Compost
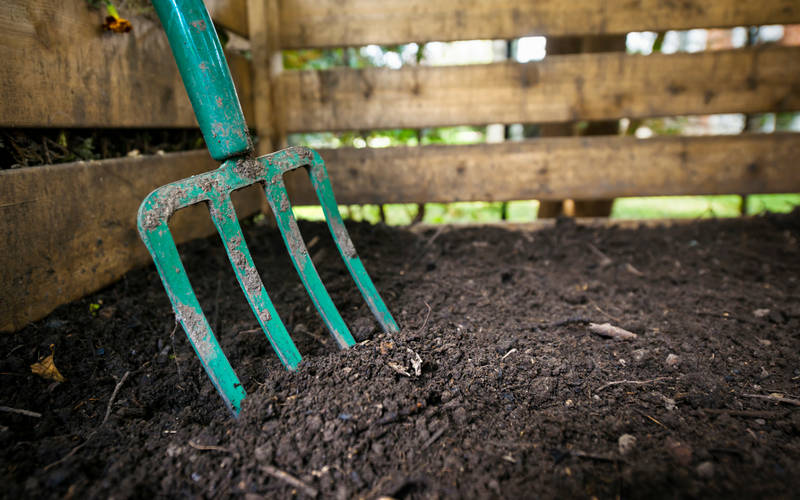
The best fertilizer for your garden is compost, which you can make in your backyard, or even in your kitchen. Compost is composed of kitchen or yard waste, typically vegetable scraps or lawn cuttings. To start composting, find a suitable container to collect your composting material. Boxes and barrels are common choices, or material can be heaped in a backyard pile if space is available. As the plant material decomposes, compost is formed. Starter kits and containers are easy to come by; typically, they are available at department stores, grocery stores, and home improvement centers. If you do not have time, space, or inclination to make your own compost, bags are available for purchase wherever gardening materials are sold.
Maintenance
The best way to avoid garden problems is to catch them when they are small. Weeding can be fast and easy if you can make the time to do it every day. Young weeds, sometimes called "volunteers," are easy to remove from the soil, but get harder to dislodge as they get older.
The same rules apply to insect visitors. The safest and most ecological method for pest control in an organic garden is hand-removal, though there are many safe organic pest control options available commercially. Using worm compost, also called vermicompost, can help control aphids and caterpillars. You can also cultivate companion plants which will attract predatory insects and birds, or plant herbs like mint, garlic, horseradish, and rosemary to keep beetles, moths, flies, and mosquitoes at bay.
Be sure to keep your garden well watered. Hopefully, there will be ample rainfall during the growing season, but there is never a guarantee. A good option is a soaker hose, made of either plastic or canvas, which allows a slow, steady trickle of water to reach the garden in a controlled release. Soaker hoses can be attached to rain water tanks, which are in turn connected to your house's downpipes; any rain that reaches your gutters is funneled into your tanks and through the hoses to your garden. This system allows efficient collection and distribution of rainwater and can help reduce pollution and erosion.
The Fruits of Your Labor
Now that your garden is growing well, you can start to reap the rewards from all your hard work. Soon you will have a tranquil retreat, full of beautiful flowers, fragrant herbs, and delicious, nutritious vegetables. Moreover, you will have done it all naturally, without any unpleasant chemicals or negative impact on your environment. So take pride in your work, give yourself a pat on the back, and most importantly, enjoy.