
The beginning of spring is a fantastic time to start giving your garden a boost. But this year, rather than rely solely on store-bought plastic containers of liquid fertiliser, I started experimenting with new techniques to give my plants that extra push to grow foliage as the weather warms up.
Using the resources I had on hand, I set about creating a rich elixir to feed my plants that I can keep making without a huge amount of effort. I’ve already seen a difference in only a few weeks, with my plants looking much lusher than they normally would at this time of year.
Making a “weed tea” fertiliser doesn’t require a lot of work, but a little bit of planning goes a long way. Here’s the technique that worked the best for me.
1. Grab A Bucket
Find yourself a vessel that can hold about 10 litres or more, preferably with a lid. I used a big white bucket that we previously used to store feed for our chooks. It doesn’t need to be sterile, but give it a quick wash out if needed.
Tip: Pick a spot to keep it in early as this bucket will be filled with water and will be left for a few weeks. It gets heavy and you won’t want to be moving it regularly.
2. Pick Some Weeds
All gardeners are familiar with weeding. While they can be a nuisance, there are some weeds that are actually beneficial for your veggie patch. It’s all about picking the right ones.
How do you choose the right weeds? The short answer is: select nitrogen-rich plants that look healthy.
In practice, this often simply means picking the most common weeds you will find in your garden. Nettles, mallow, chickweed, purslane and even grass clippings are all great options. I selected a variety from overgrown areas of my property ahead of the pre-summer slashing. And I took the opportunity to weed my garden beds and chucked those into the bucket too. Aim to fill the bucket about two-thirds or more, tightly packed.
A word of caution: Avoid using weeds that are going to seed (unless you want to spread the plant). In particular, it’s worth skipping Paterson’s curse for use in your fertiliser. You should also avoid invasive weeds considered high risk by official government sources. Use common sense and check your state government website for details.
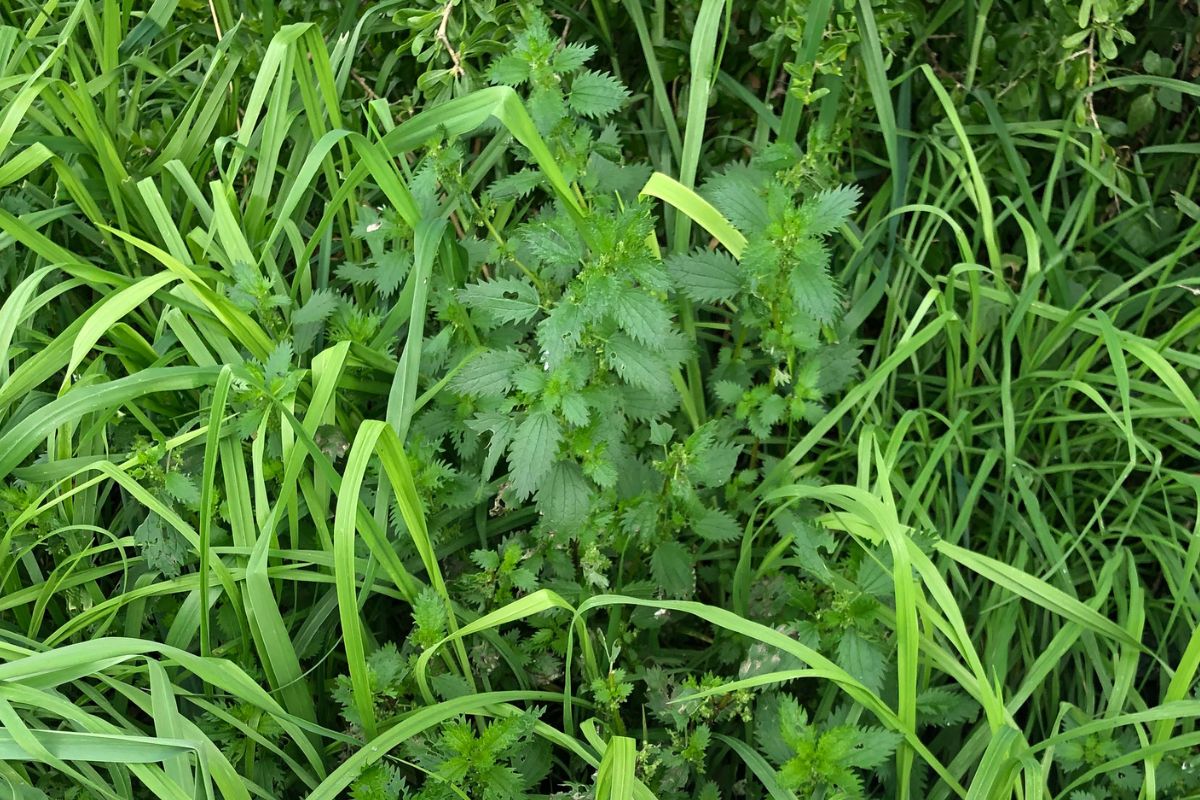 Nettles are a great option; just make sure you’re wearing gloves!
 Mallow tends to grow large and out of control, perfect for picking for this project
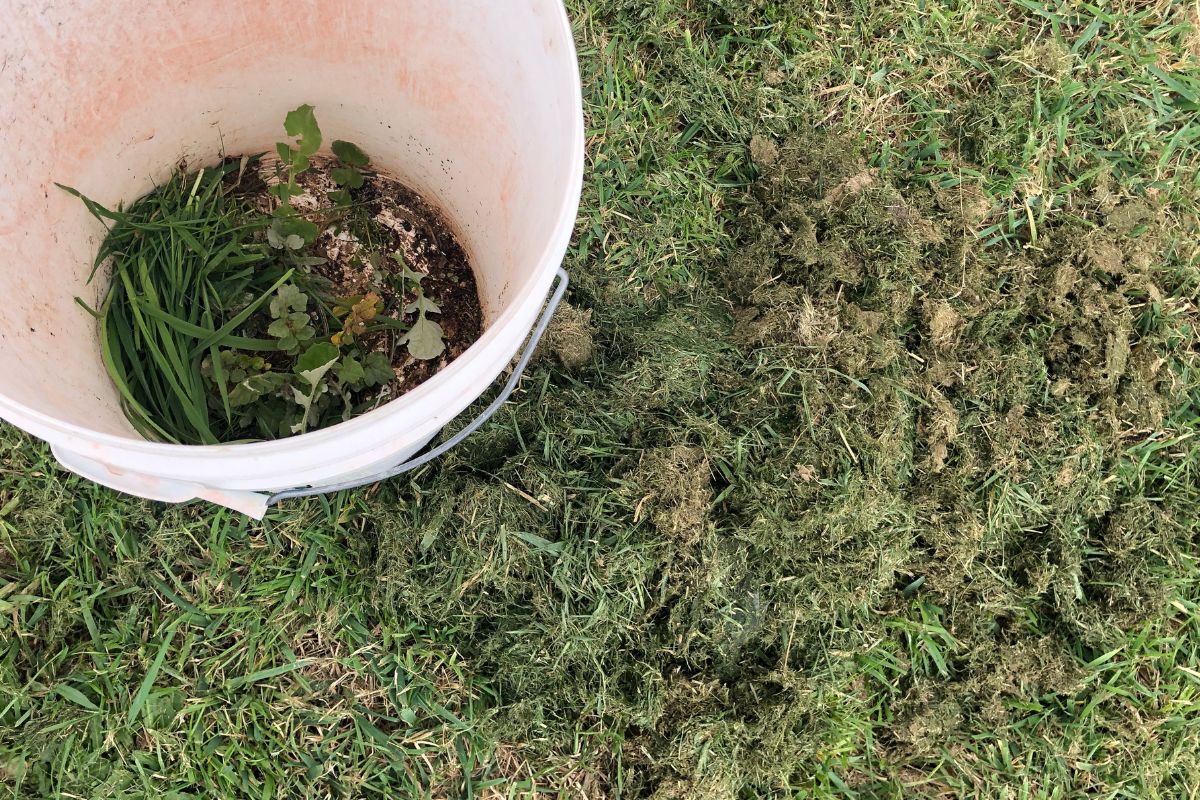 Grass clippings are one of the easiest add-ins to your bucket
3. Chopping
Get out your garden shears and cut the weeds into smaller pieces. This isn’t a precise art, so don’t worry too much but get the size down as best you can. Ideally, cut into 2 to 3cm pieces. The smaller the better.
4. Add Water
Fill up your bucket to almost the top with whatever water you tend to water your garden with and put the lid on to cover. If you don’t cover the bucket, you run the risk of bugs getting interested!
Make sure you have fully submerged the chopped up weeds. If you find you’re getting a lot of floating material, use a brick or a big stone or even a large ceramic bowl to weigh everything down. Another option is to put another smaller bucket inside to keep everything under the water. Keeping the weeds submerged stops the top layer going mouldy and keeps flies out.
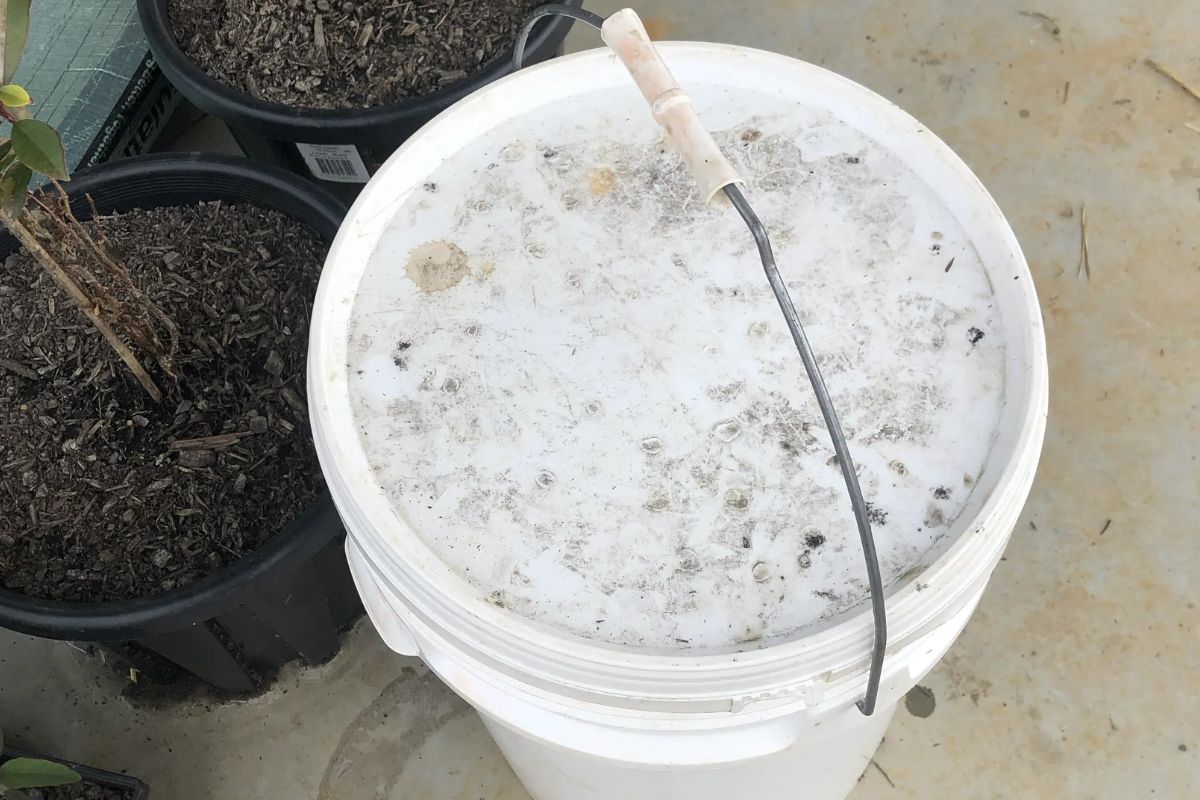 I keep the bucket of fermenting fertiliser covered, in the carport, which keeps it out of the way and in the shade
5. Wait
Bubbles are a sign the mixture is working. Take your weight out if you want to have a look at the weeds.
Hit the pause button and give your mixture some time to work its magic. How long? It’s up to you. In warmer weather, with the bucket in a sunnier location, up to two weeks is plenty. In colder weather and with a bucket in the shade, you might need four weeks or more.
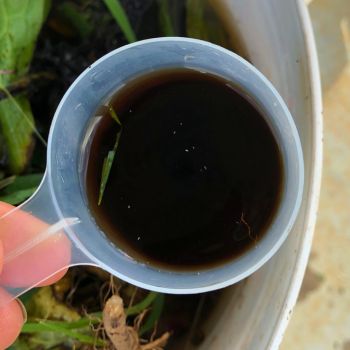
When the mixture starts to look dark, it’s doing well.
You should check it each week to get a sense of timing. The fertiliser will be fermenting, which is how the nutrients become more bioavailable for your plants. During the fermenting period, you should see bubbles or foam forming on the top of the bucket and it may smell unpleasant. When the bubbling activity stops and the liquid has moved from a light khaki green to a deep brown with the weeds turning to a mushy brown pulp, you’re ready for the next step.
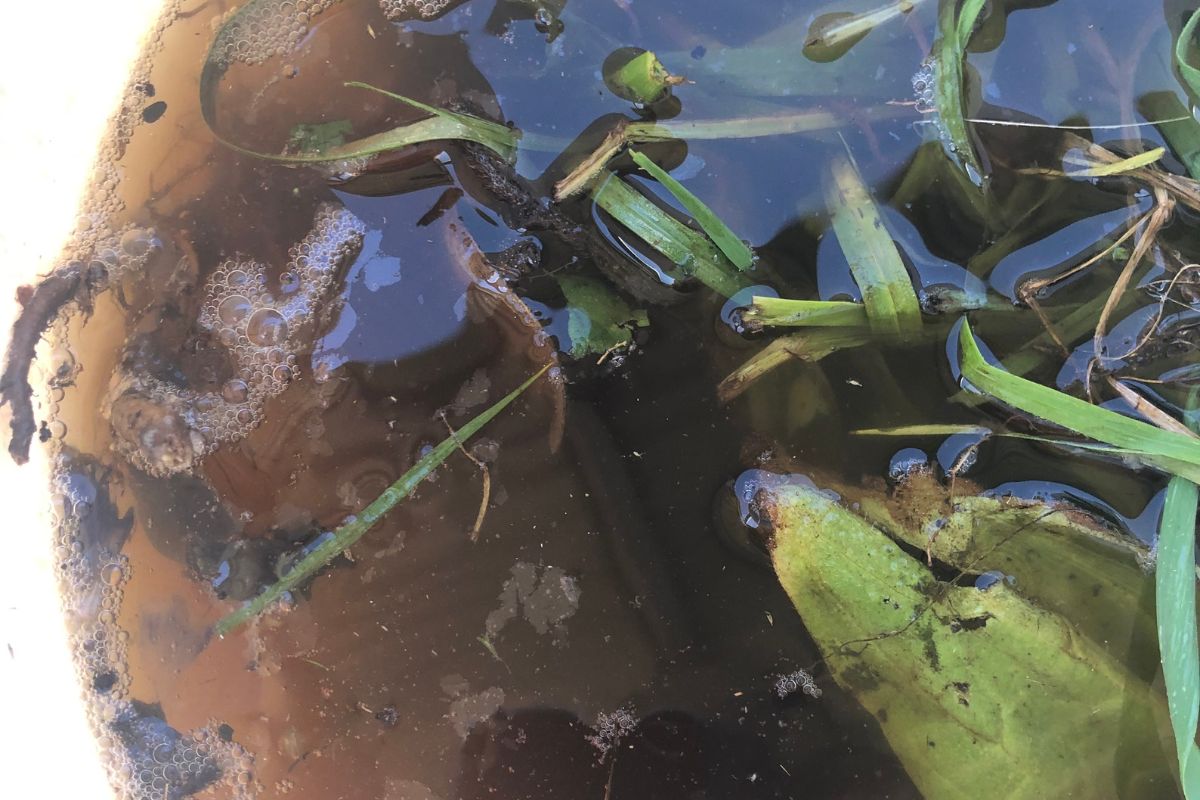 Mixture has noticeable bubbling
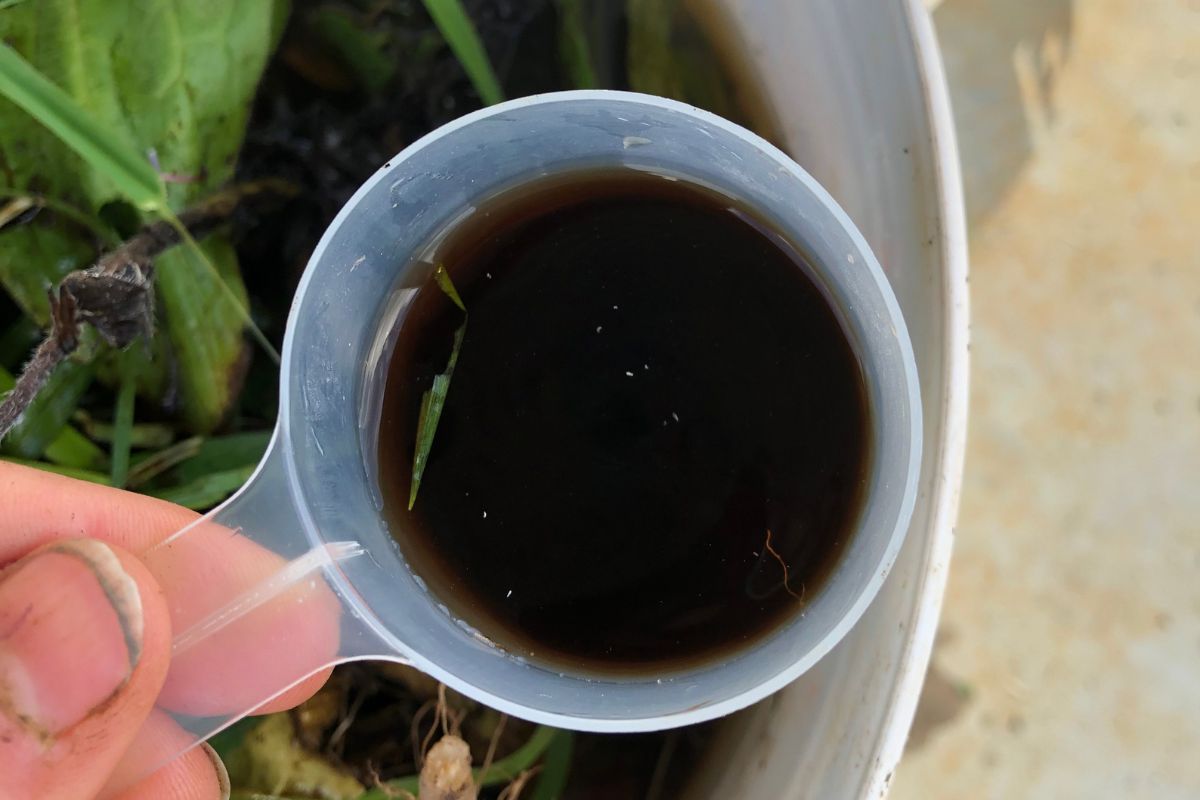 A dark colour is a great indicator to know your fertiliser is ready
6. Bottle The Liquid
There are several different options here. You can stick a bottle straight into the bucket (which is my personal preferred technique) to quickly get the liquid while the material is still weighed down. Definitely wear waterproof gloves for this part.
Another option is to thoroughly strain the liquid before bottling. The leftover weed solids can be added to your compost bin. I haven’t had any problem ending up with a few minor bits of plant material in my fertiliser.
Storing ideas: I use old juice bottles to store weed fertiliser. Make sure to label them! I store them in a shed at a cool temperature for up to a month at a time during the warmer season, and now keep a batch of weed fertiliser on the go to keep refilling bottles so that my garden isn’t caught short.
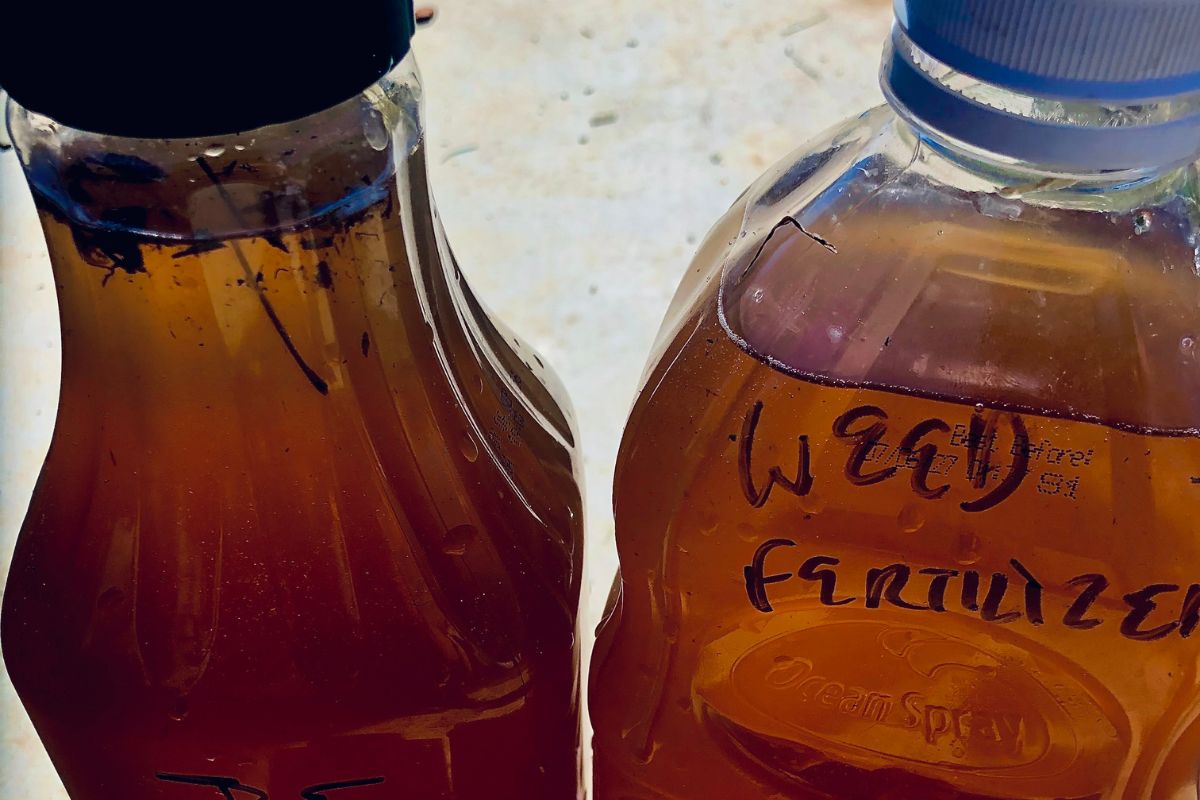 Keep your bottles stored somewhere cool for up to a month
7. Feed Your Plants
It’s now time to feed your plants and benefit from your hard work. You don’t want to pour the weed tea fertiliser directly onto your garden. Instead, dilute the mixture down, one part fertiliser to 10 parts water, in a watering can. That’s just less than a litre for a standard nine litre watering can.
Use it in your garden liberally once a month for young plants alongside your usual watering schedule. I find established plants like this mixture once every week to every two weeks. Avoid using fertiliser on bare-root plants that are getting themselves established during the colder seasons.
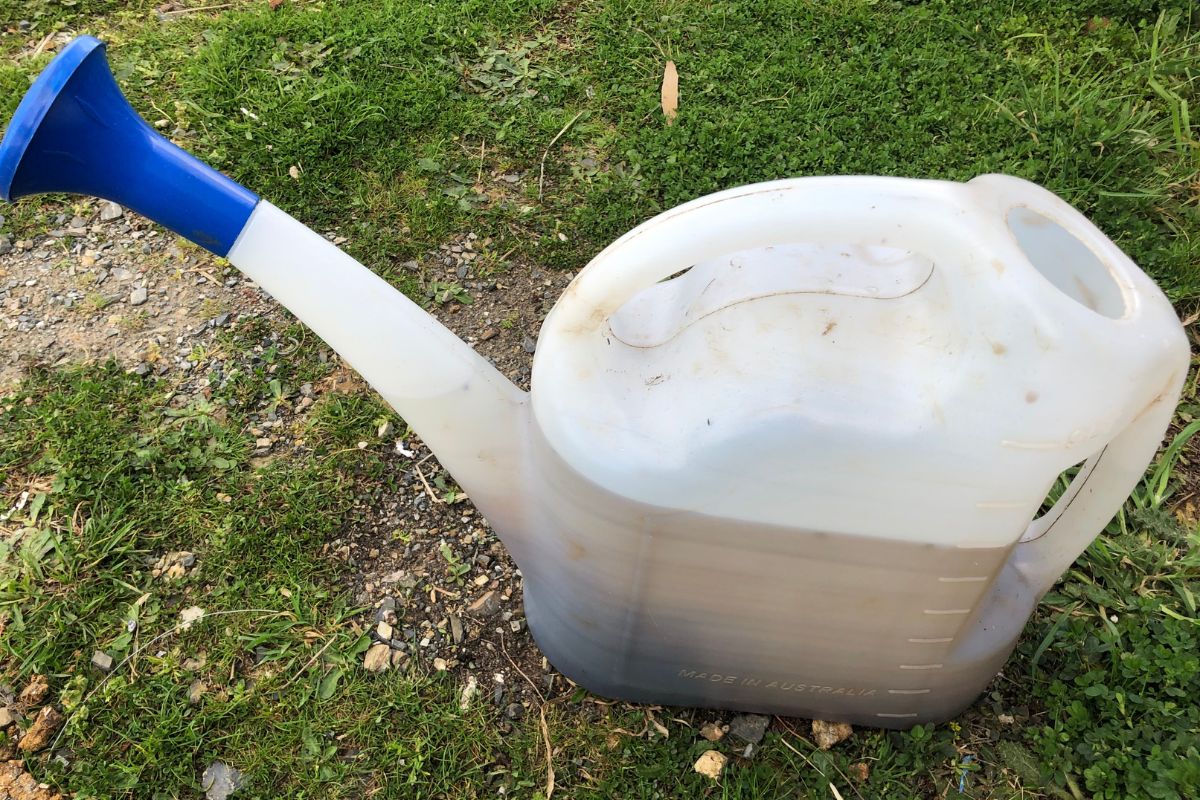 Add the fertiliser into your watering plans
Optional Extras
After step three, you have the chance to customise your fertiliser and make use of your resources and creativity. It’s a chance to really pump up the nutrition that your plants will drink.
I take about two cups of worm castings from my worm farm and add it to the mixture, but make sure not to drop in any live worms! When I have them, I also use banana peels, chopped up finely. A spoonful or two of molasses also helps feed the beneficial microbes.
Some gardeners report success adding untreated fish tank water and crushed egg shells but I have yet to experiment. It’s worth giving lots of different organic matter a go and seeing what works best for you.
A Powerhouse Option: Comfrey
One plant that I can’t help but give a special mention to when discussing fertiliser is comfrey. This leafy plant is fast growing, has a deep tap root that gets nutrition from far lower in the ground than many other plants can reach, and it is fine to grow in poor quality soil.
A word of caution: Comfrey is a permanent resident. It regrows from any piece of root left in the ground and is very hard to remove once established, so choose its spot carefully and keep it away from beds you might want to dig over later.
I purchased some comfrey root cuttings from a gardener and liberally planted them around my compost bin and worm farm to soak up the nutrients that run off in the rain. I also planted a few in pots, gave some to family members for their gardens and made a small patch just for comfrey.
This is a fantastic plant to add into your weed fertiliser, or to “chop and drop” for a slow-release mulch. It will be going straight into my weed tea when it’s big enough. Plan ahead for future years so you’ll always have plenty of options for creating fertiliser to feed your veggies.
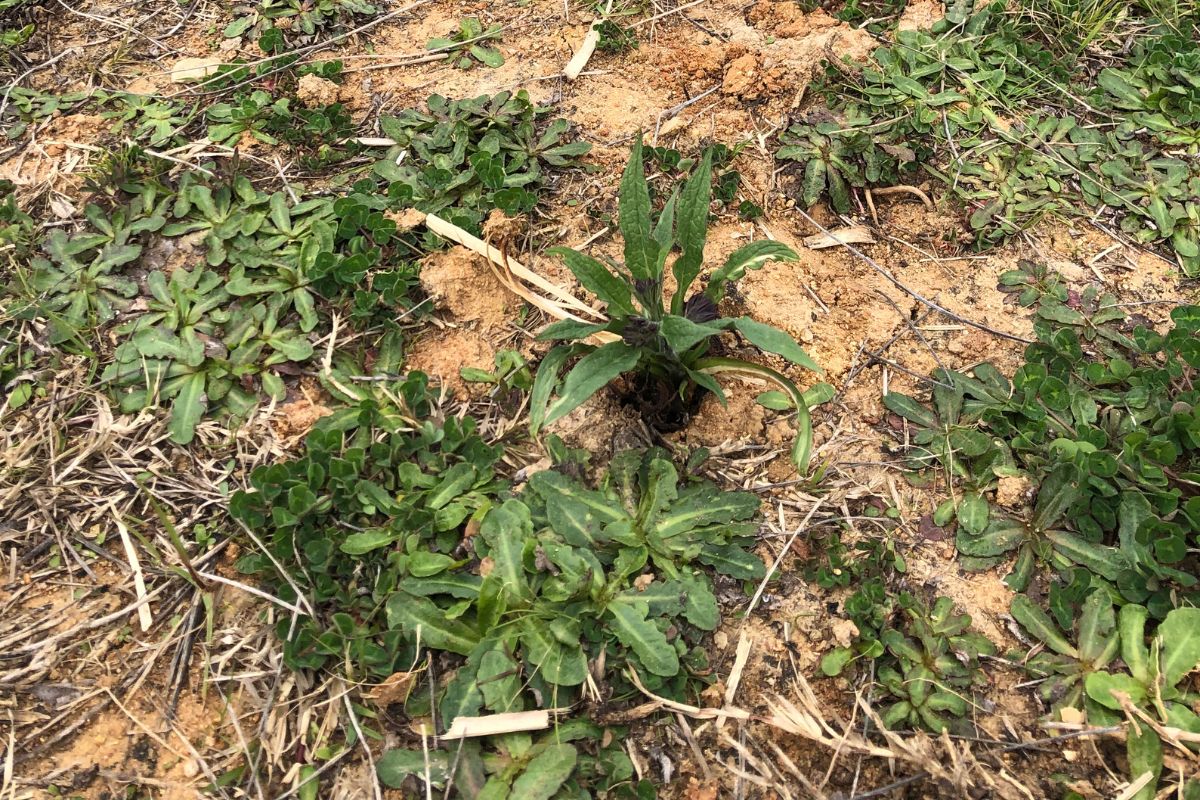 I’ve planted some comfrey in grassy areas to make the most of the space
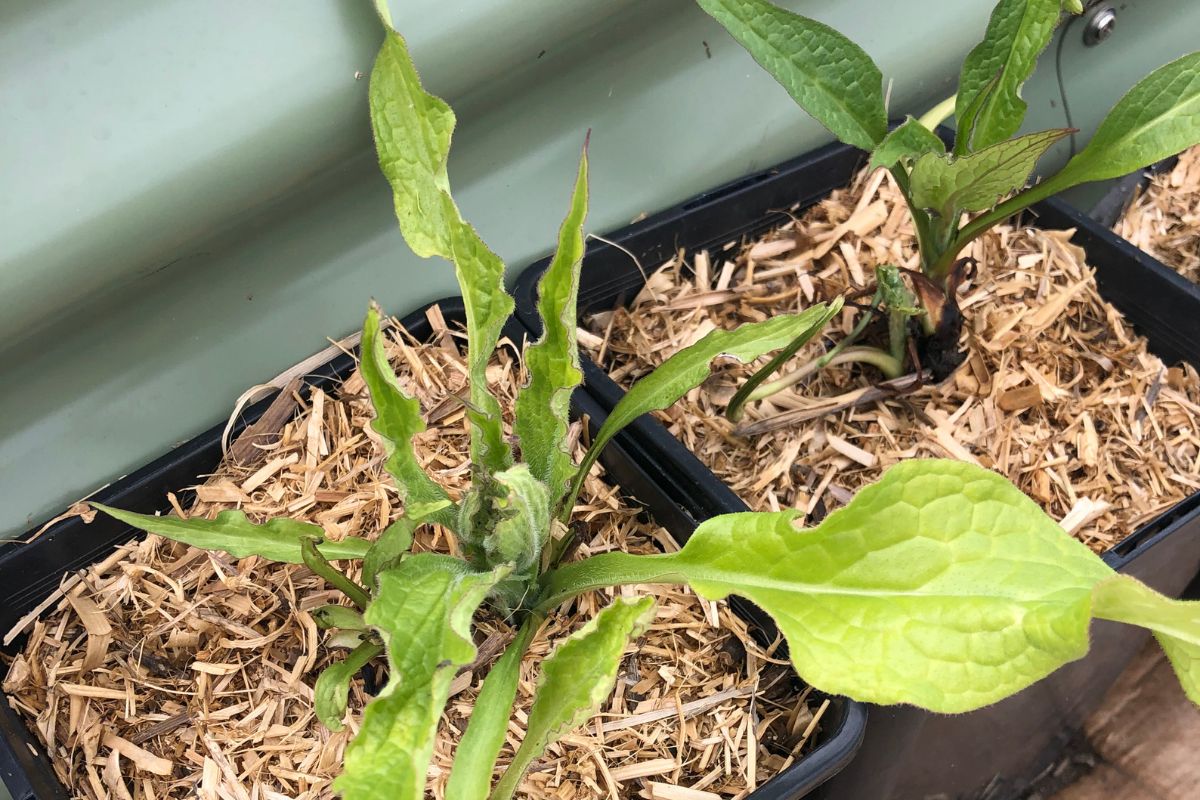 Back-up comfrey, in pots, that I give extra attention to. These will eventually be planted out on the outside edges of my raised garden beds
Article & Photographs by Jennifer Brown