
Starting Corn: Why I Don’t Direct Sow
While most sites advocate for direct sowing, corn is one of those crops you want to get right from the beginning. Sometimes direct sowing can be rife with issues. Corn is popular with rats, mice, and birds, making it one of the more appealing seeds for pests to eat as soon as it’s planted.
I find the best success comes from sowing into seed-raising mix in deep-celled punnets or tubes. I sow two seeds per cell as the little seedlings support each other while growing, and this method basically guarantees no empty cells if some seeds don’t germinate.
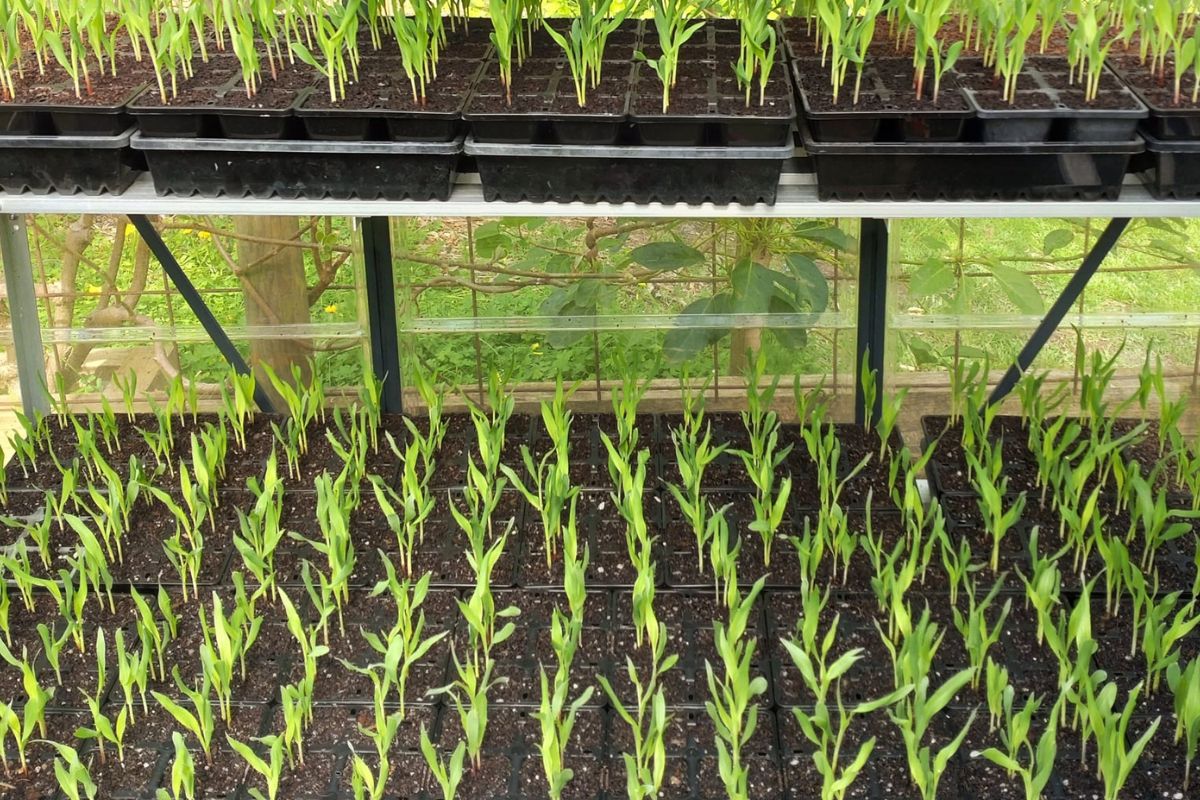
Corn is a monocot (monocotyledon), so as a seedling emerges it only has one leaf rather than a pair of leaves like most other vegetable seedlings. Corn is part of the grass family (Poaceae). Corn should be planted around 2cm deep but can be sown up to 5cm deep in sandy soils. Planting too shallow can result in poorly supported seedlings and poor establishment of the roots. This means mature crops can be more easily blown over by wind.
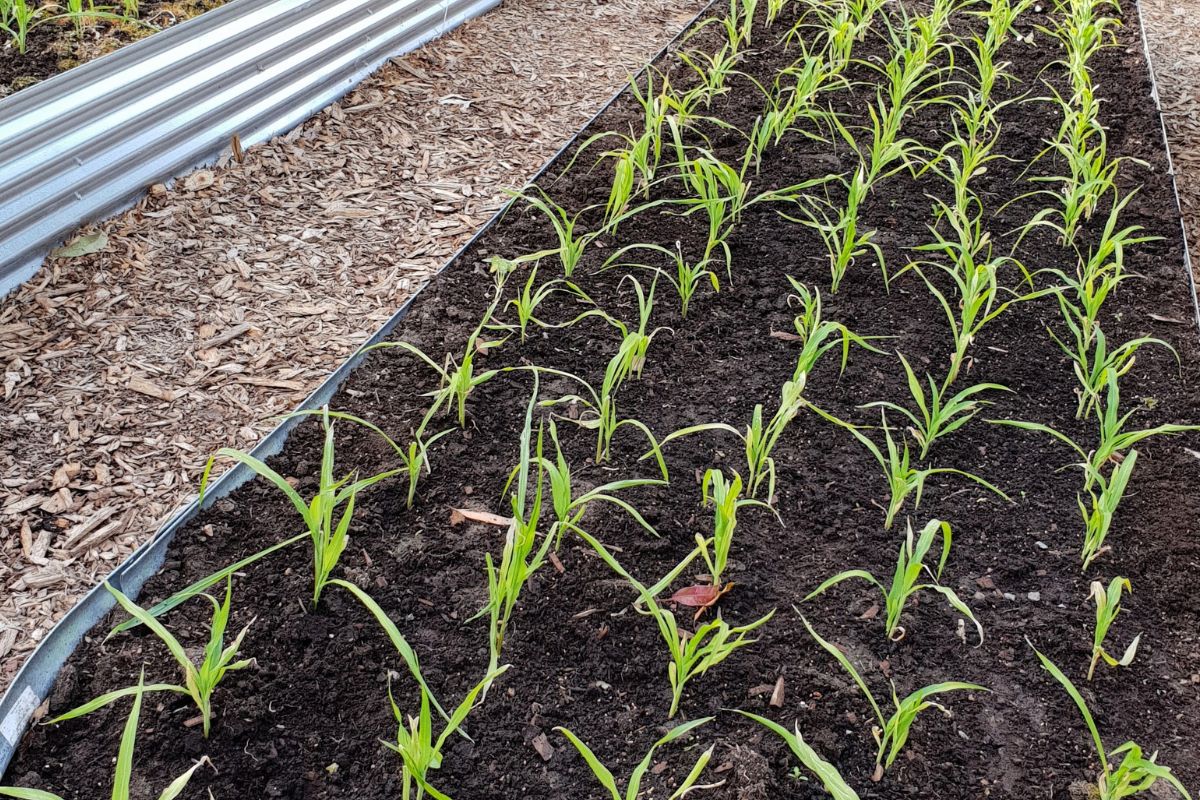
Once the seedlings have germinated and are ready to plant out, usually after 2–3 weeks, you may find you have cells with two seedlings. You can plant them out together or prune off the smaller seedling. Cutting the leaves to the ground or pinching them off will stop the second plant continuing to grow while minimising root disturbance which young corn seedlings dislike.
If you have enough water and nutrients in your soil, the two plants can grow together quite happily. If not, thinning to one seedling is ideal.
Corn Likes It Warm
Corn likes warmth. Most varieties prefer to be sown in warmer weather, with a soil temperature around 20°C. However, maize varieties are often a little more cold-tolerant than sweet corn and will happily germinate in soil temperatures above 15°C.
The first 5–6 weeks are particularly important. During this time, corn is competing for light, nutrients, and water while establishing itself, so starting with good-quality, manure-enriched soil will help maintain moisture and nutrient availability.
A good time to prepare your beds is after you’ve sown into punnets, when you have approximately 2–3 weeks until the seedlings are ready for planting out. This gives the soil time to settle and means everything is ready to go when your seedlings are big enough.
Think Blocks, Not Rows
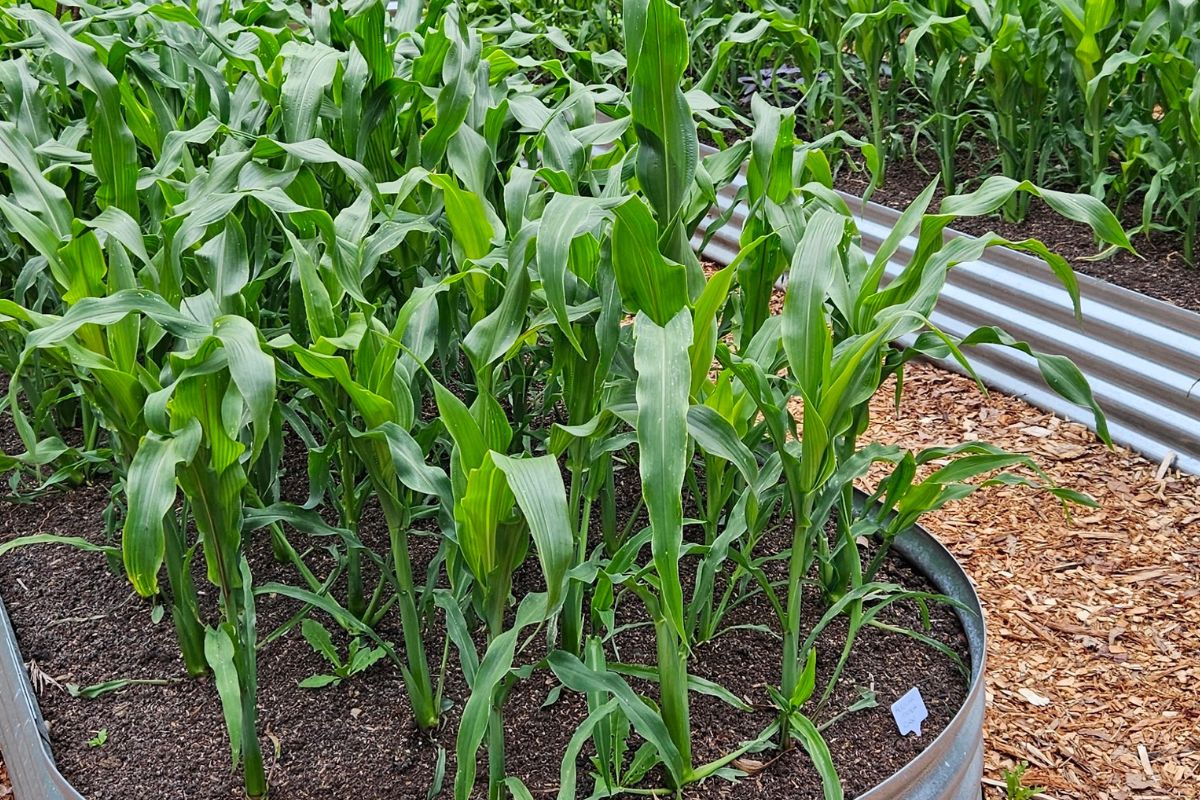
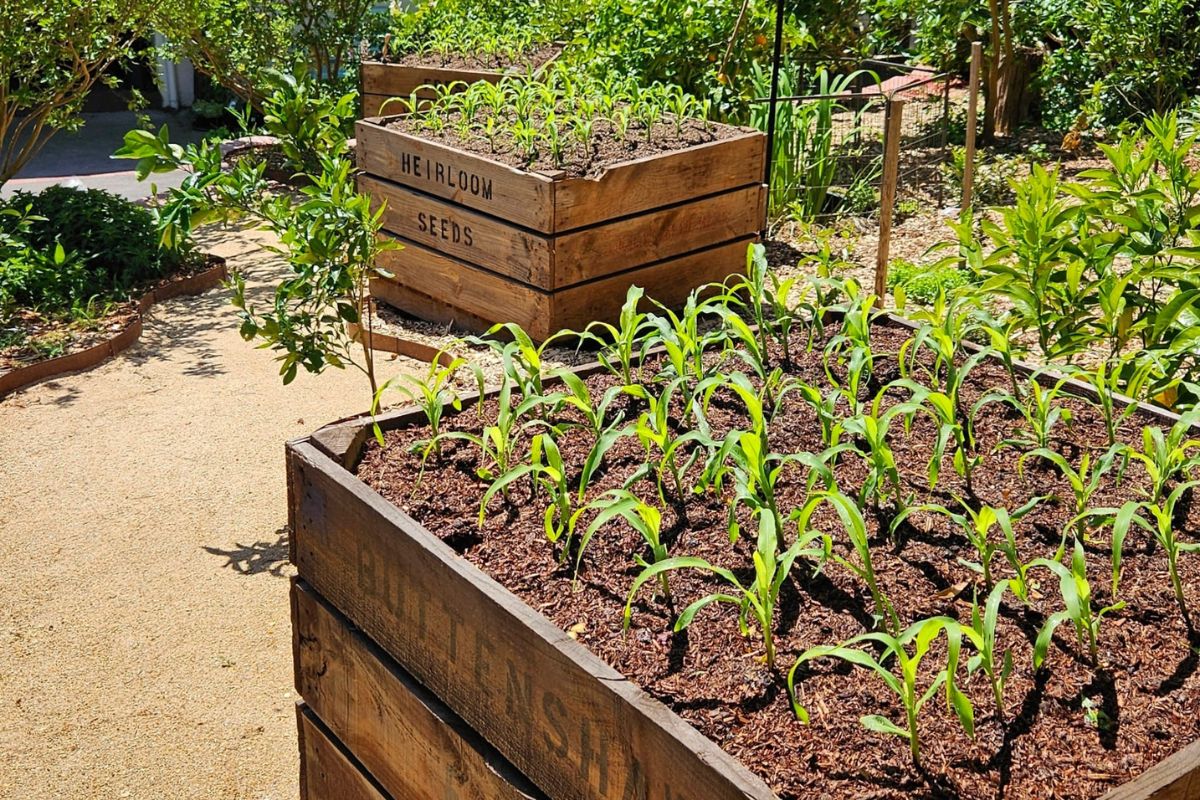
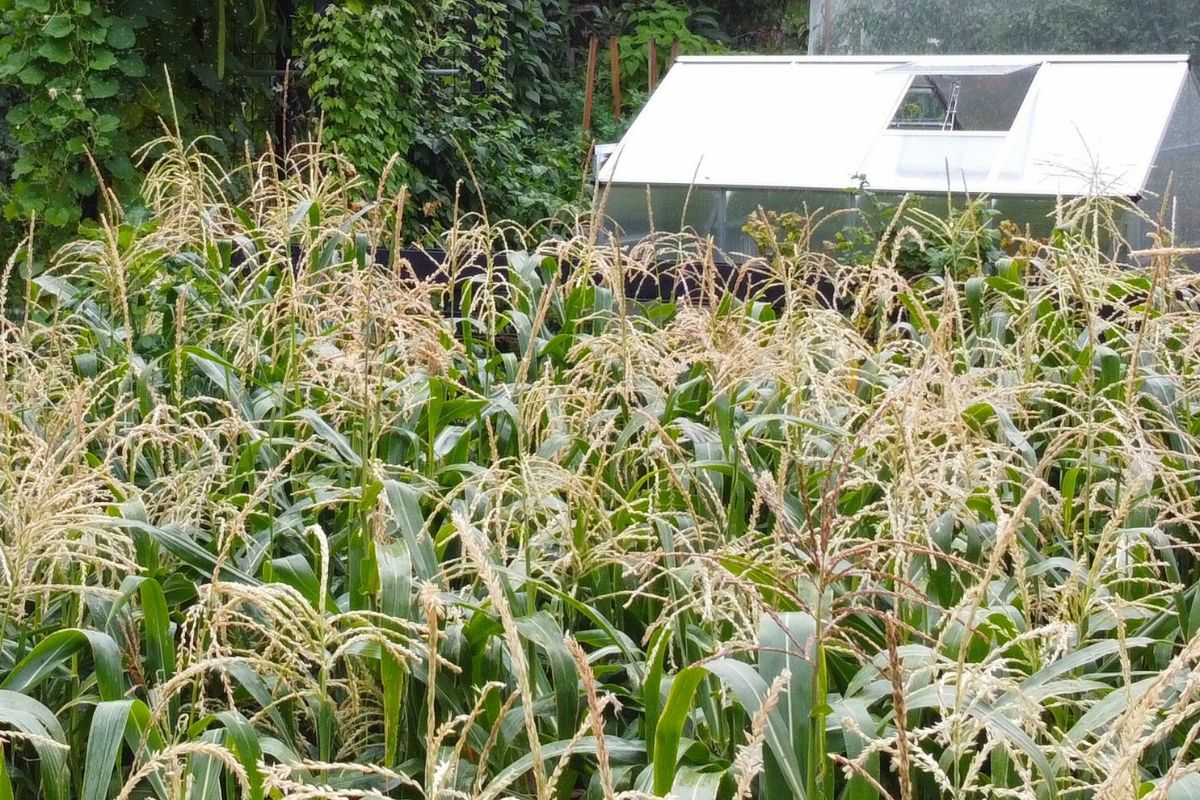
If there is one thing to remember when planting corn, it’s this: plant it in a block, not a long straight row. Corn relies on wind for pollination, so planting the plants close together in a block gives the pollen a much better chance of reaching the silks.
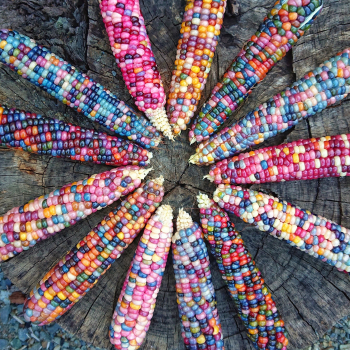
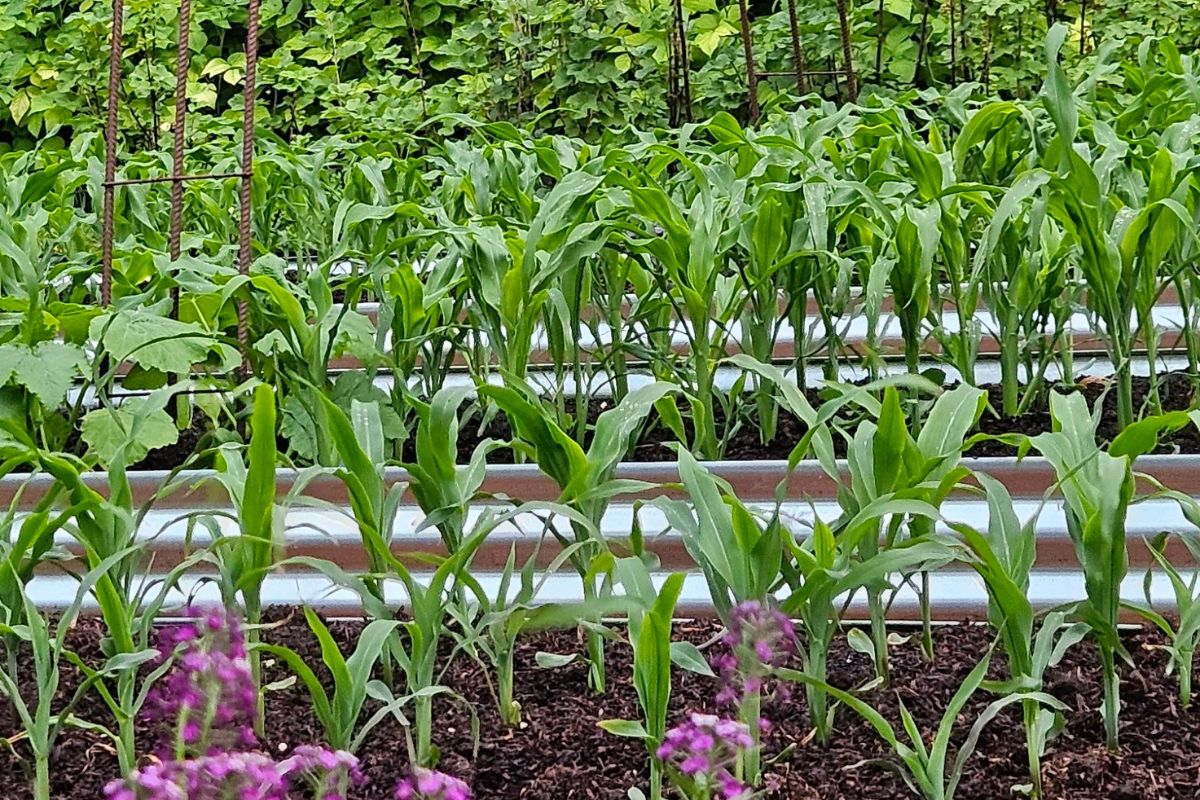
20 cm apart is ideal for sweet corn varieties, while smaller varieties, such as glass gem corn and strawberry popcorn, which don’t grow as tall, can be planted as close as 15 cm apart.
Spacing seedlings the same distance in every row and column is called block planting. A minimum of 12 plants, planted in a 4 × 3 grid, is ideal to get good pollination. The more plants you have in a block the better your chances are of getting well fertilised cobs.
Let Wind Do the Work
Corn doesn’t require bees or insects for pollination — it’s pollinated by the wind. So, if you see bees on the tassels, they’re actually not assisting with pollination; they’re just harvesting the pollen as corn pollen is a rich source of protein for bees. Luckily corn produces such prolific amounts of pollen, allowing bees to collect some for themselves won’t have an impact on your harvest.
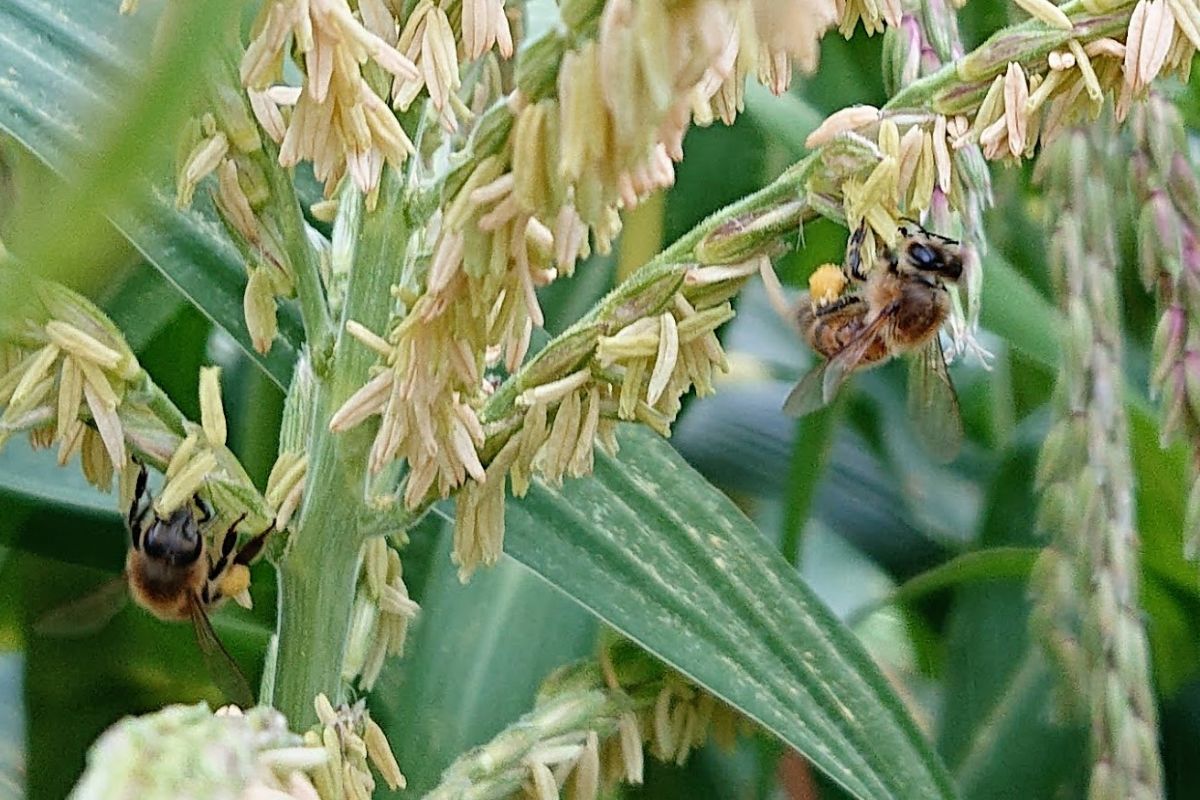
The tall corn plant forms flowers at the top known as tassels. These are the male part of the plant. At the same time, it begins forming cobs on the lower part of the plant, at the junction between the stalk and leaf. These are the female part of the plant.
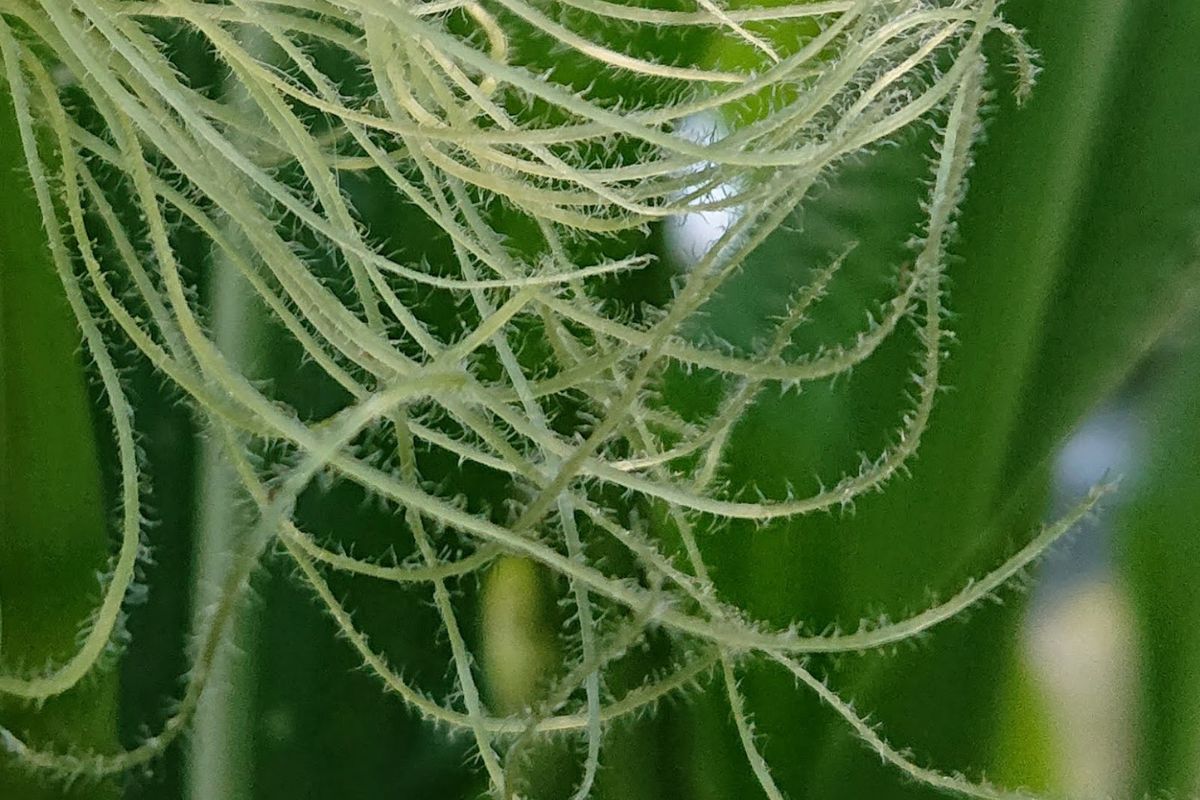
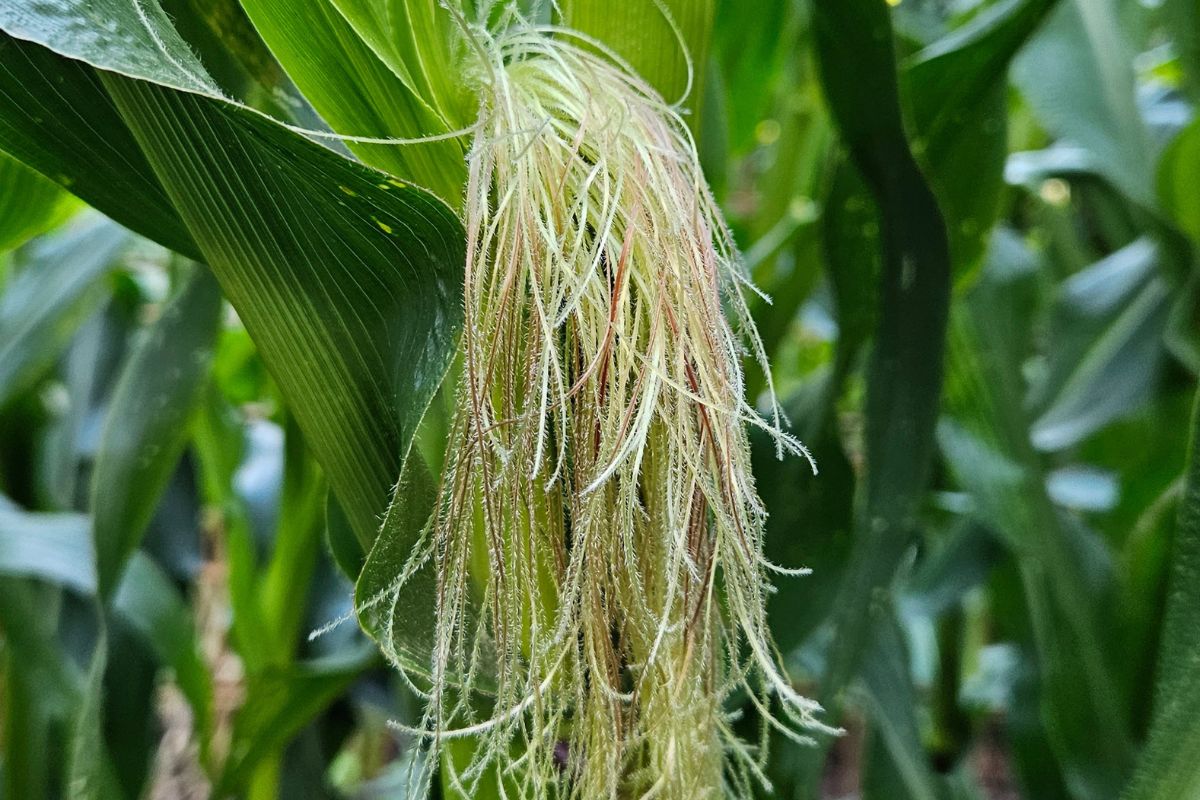
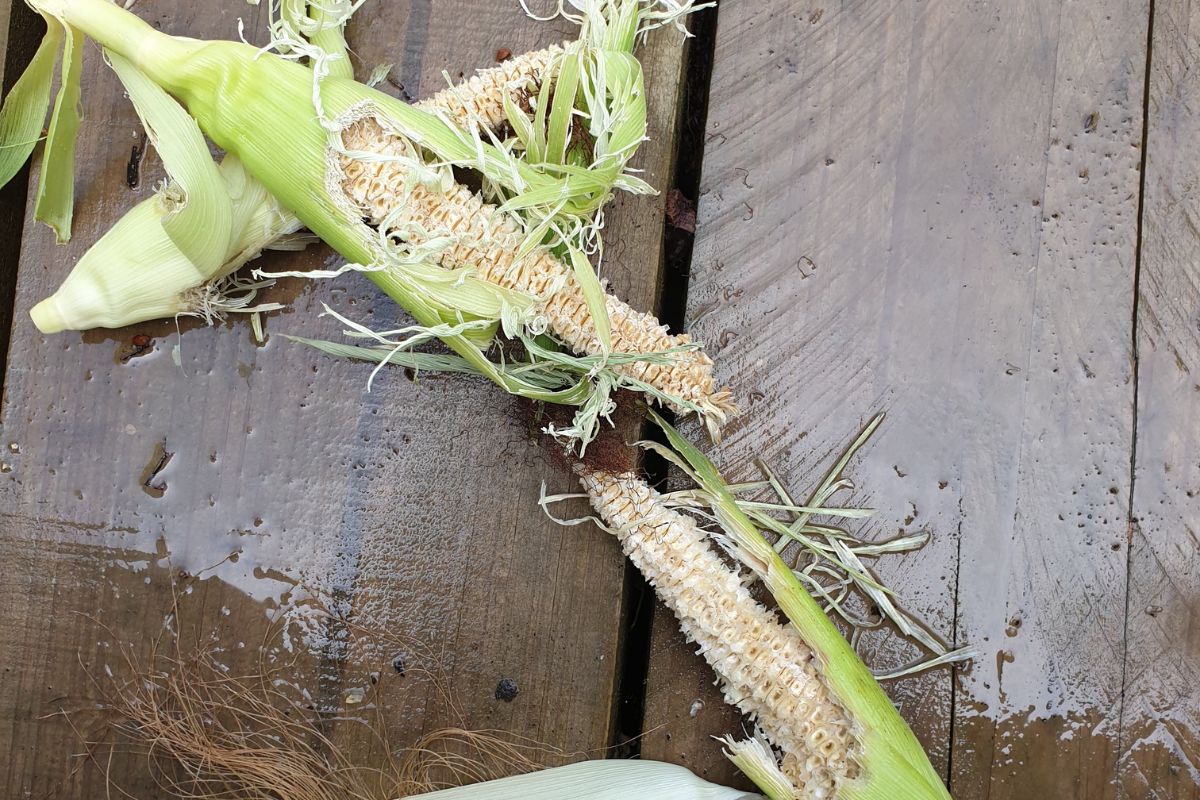
As the tassels open and the anthers begin producing pollen, the cobs start producing silks, which hang out the end of the corn cob. Each individual silk is connected to a kernel and must receive pollen for that kernel to develop. This is why you can end up with those frustrating gaps in a cob of corn. An individual silk didn’t receive pollen, so the kernel it was attached to never developed.
The silks are covered in fine hairs, making them feel a little sticky and allowing them to receive and hold the super-fine corn pollen. To get a nice, full cob of corn, you need to get the pollination right.
Hand Pollinate Like a Pro
Corn pollination can be impacted by many things: lack of wind, too much wind, too much rain, too much humidity, and a whole range of other conditions.
Corn tassels will produce pollen once they are fully expanded and the anthers have dropped.
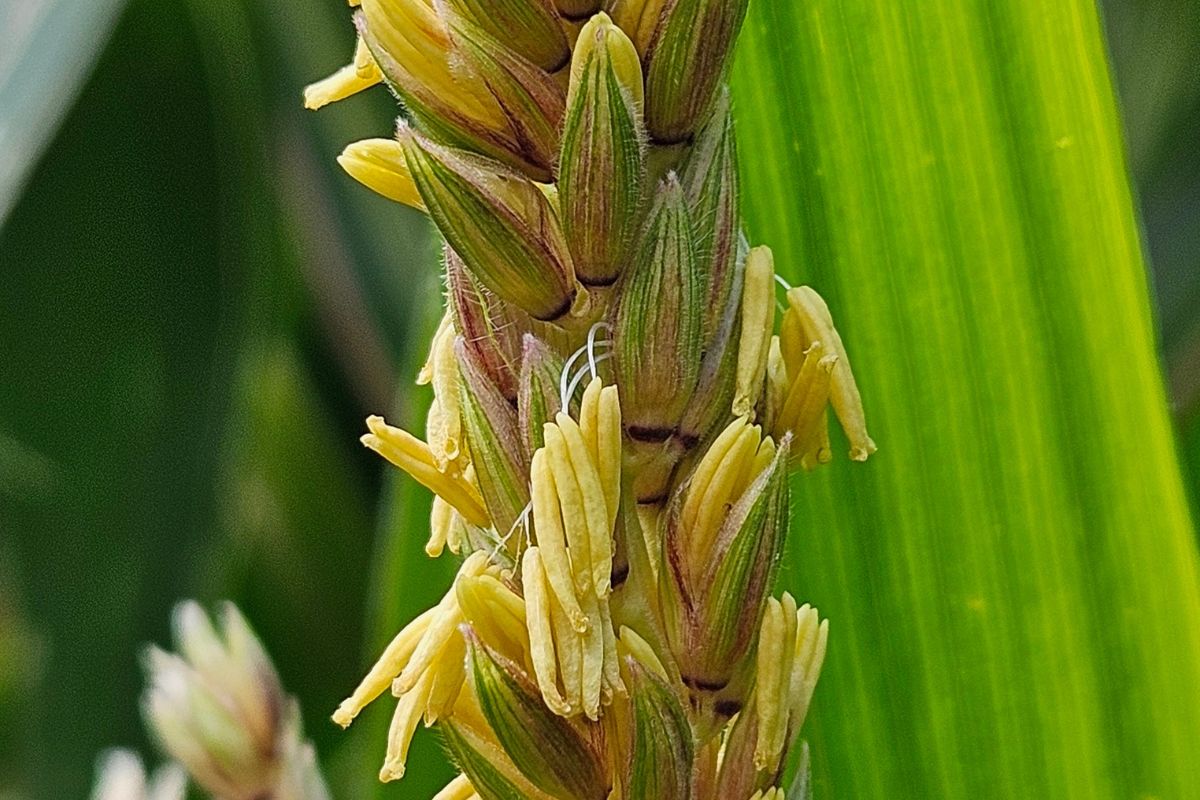
Corn will produce pollen for about 1–1.5 weeks, with peak pollen drop happening around mid-morning, once the morning dew has evaporated.
The good news is that corn is incredibly easy to hand-pollinate.
Simply collect the pollen on a large tray or in a bowl — gently shake or tap the tassels and hold the container underneath. The pollen is very fine, but after you do it with a few tassels, you’ll easily gather an abundance of pollen.
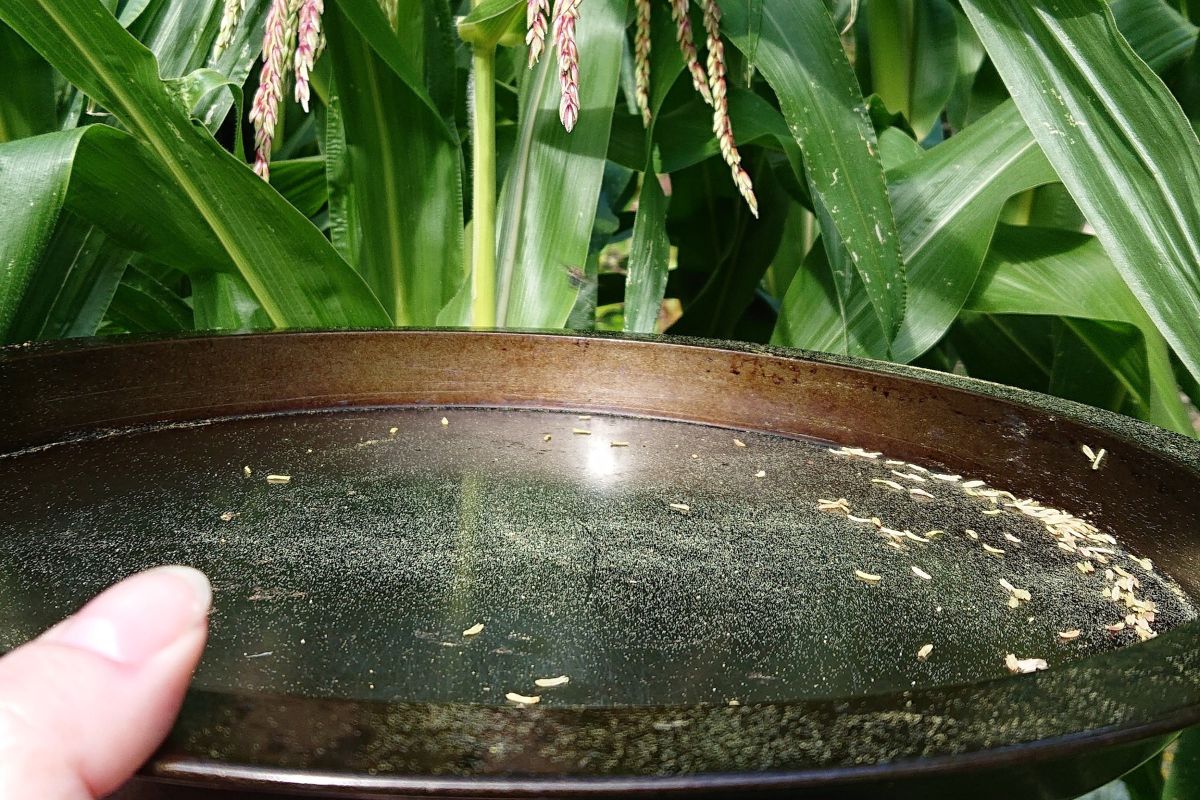
The pollen can then be transferred directly onto the silks either by hand or using a brush. A paint brush, makeup brush — whatever will do, as long as it holds enough pollen to allow for the transfer.
I repeat this process every day for 10 days to get the best result, as the duration of pollen shed can vary depending on the weather and cultivar.
Do not be tempted to follow the Instagram videos that encourage you to cut off the tassel and drag it over the silks. You are effectively sterilising your plant when it will continue to produce pollen for days if you simply leave the tassel attached to the plant.
If the plant has not produced silks yet but the tassel anthers are dropping pollen, don't panic. The pollen can be collected and saved until the silks are ready.
Watch Those Silks
If you have fully formed tassels and you’re not seeing silks yet, then the corn is likely water-stressed.
Corn silks are made up of a high percentage of water, so they require adequate soil moisture to create enough pressure to elongate and protrude evenly. Silks are very water-sensitive.
Providing adequate water to the plants will help maintain healthy silk emergence. Healthy, well-developed silks give you a better chance of good pollination. The silks are a good guide to tell you when water is inadequate as they will shrivel and brown quickly when heat stressed.
Corn is a thirsty plant preferring consistent moisture. This can be achieved with frequent deep watering at the base of the plant when there has not been adequate rainfall.
Cross-Pollination: What You Need to Know
Corn pollen is incredibly fine and easily spread by wind making cross pollination difficult to prevent. Corn pollen can travel up to 800m in the right conditions. Thankfully for gardeners corn pollen is heavy and in most domestic settings it will not travel that far due to surrounding vegetation and the amount of corn producing pollen.
Corn is an unusual crop because cross-pollination can show up in the first generation. If your crop accidentally cross-pollinates, it can impact the cobs on your plants this season.
This means if you’re growing a maize corn variety and a sweet corn variety, they may accidentally cross-pollinate and the resulting sweet corn cobs can be starchier and less sweet than expected.
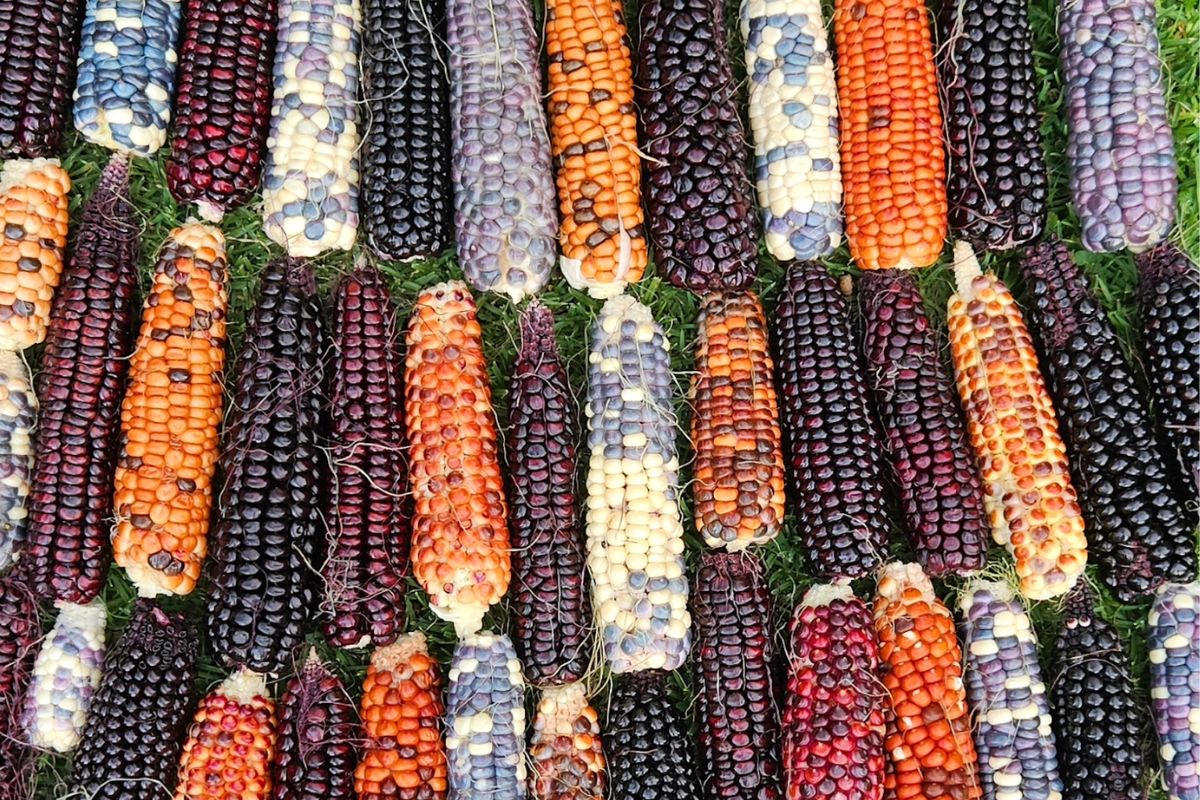
Likewise, if you’re growing a coloured variety and a yellow variety, you can end up with the odd coloured kernel in your yellow corn and far more yellow in your coloured corn than you would normally get.
The safest method of ensuring your corn doesn’t cross-pollinate is to only plant one variety each year.
Want Multiple Varieties? Plan Ahead
If you want to grow multiple varieties regardless, there are ways to achieve this.
The first is staggered planting.
Four to six weeks between sowing the corn types is ideal; any less and they may catch up to one another. A six-week window should give you the best chance of ensuring they aren’t producing pollen at the same time whilst still allowing you enough time in the season to grow a couple of crops.
You can also use a physical barrier between crops.
Planting corn on either side of a building, such as your house, should reduce the risk of the pollen from being carried by the wind between crops. Dense, tall hedges and solid fences can also act as effective barriers.
If you’ve already planted two varieties close together before reading this article, there are manual methods such as bagging the tassels and bagging the silks, meaning your crop would rely solely on hand pollination.
It’s a bit more work, but it can be done.
Corn: More Than Just Sweet
There are four main types of corn: flint corn, dent corn, popcorn, and sweet corn. Each has its own characteristics and uses.
Flint corn is very hard, with a smooth outer shell, and often comes in multiple colours. It gets its name from being as hard as flint stone and can be used for grinding into cornmeal or polenta.
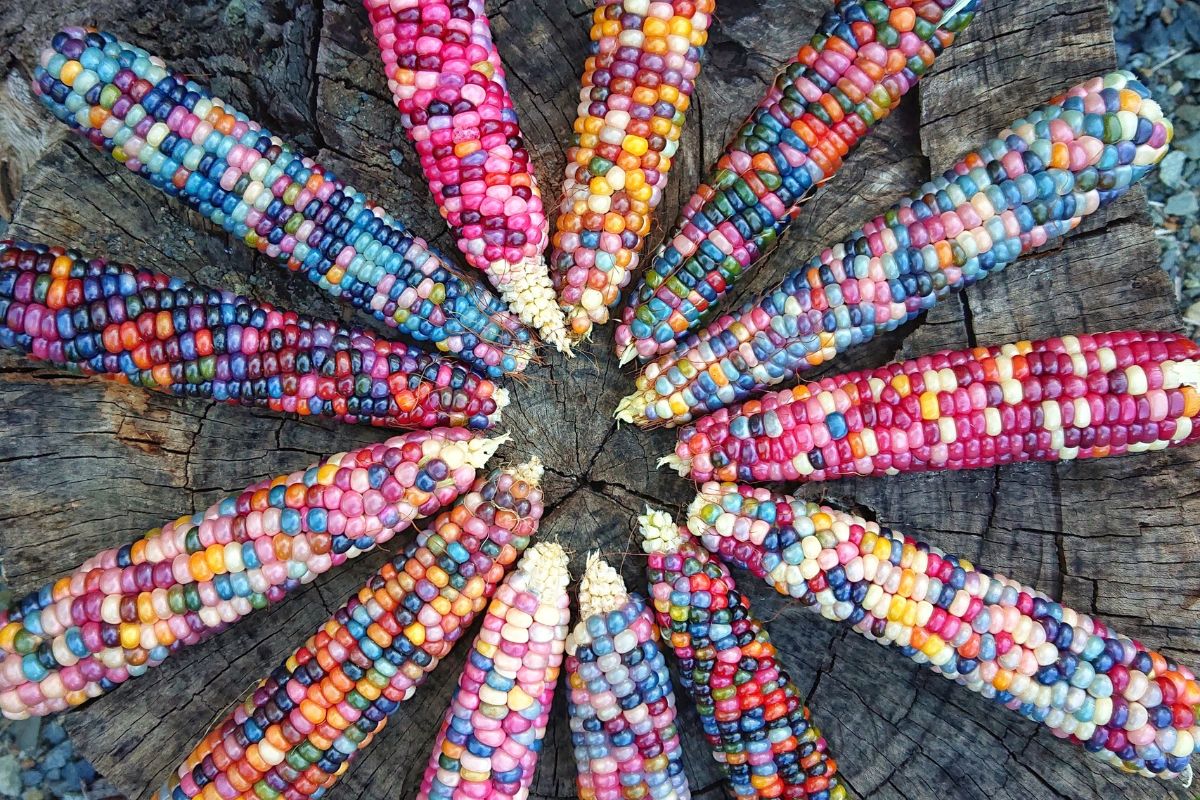
Dent corn has a mixture of soft and hard starches. Mature kernels develop a small dent in the end. It is commonly used for cornmeal, animal feed, and products such as corn syrup.
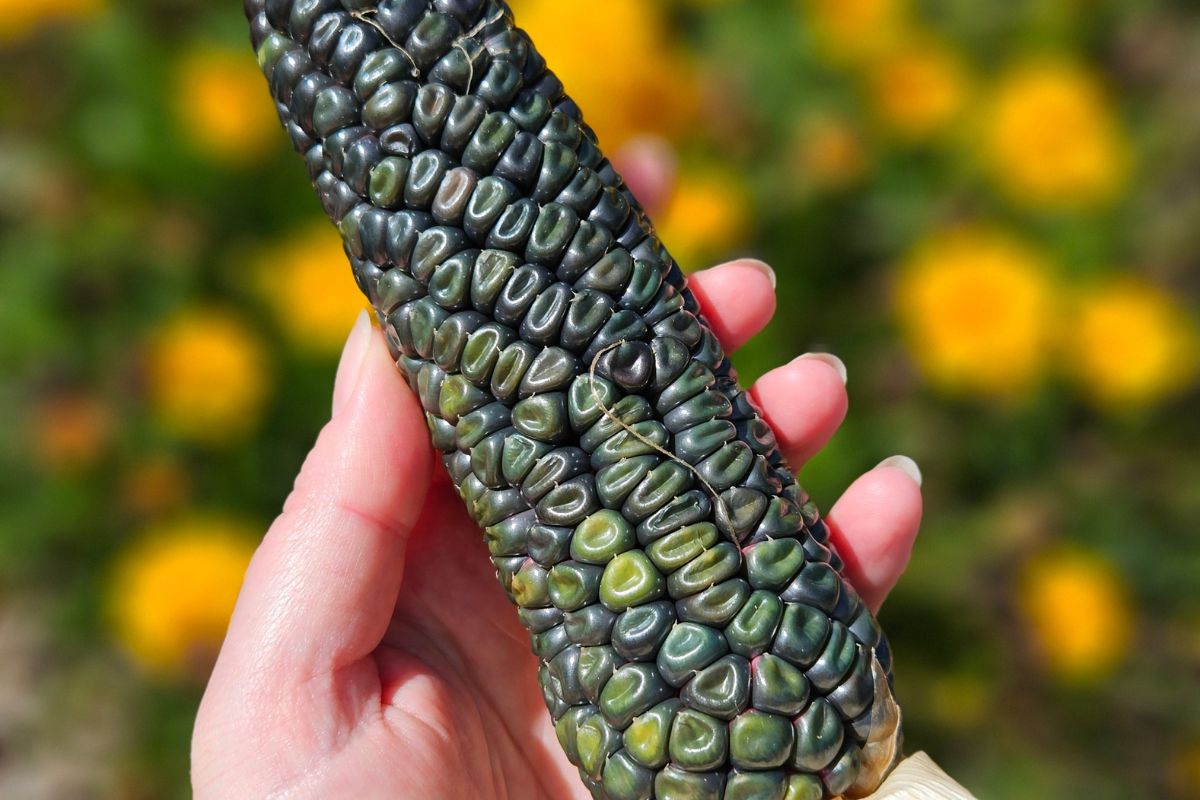
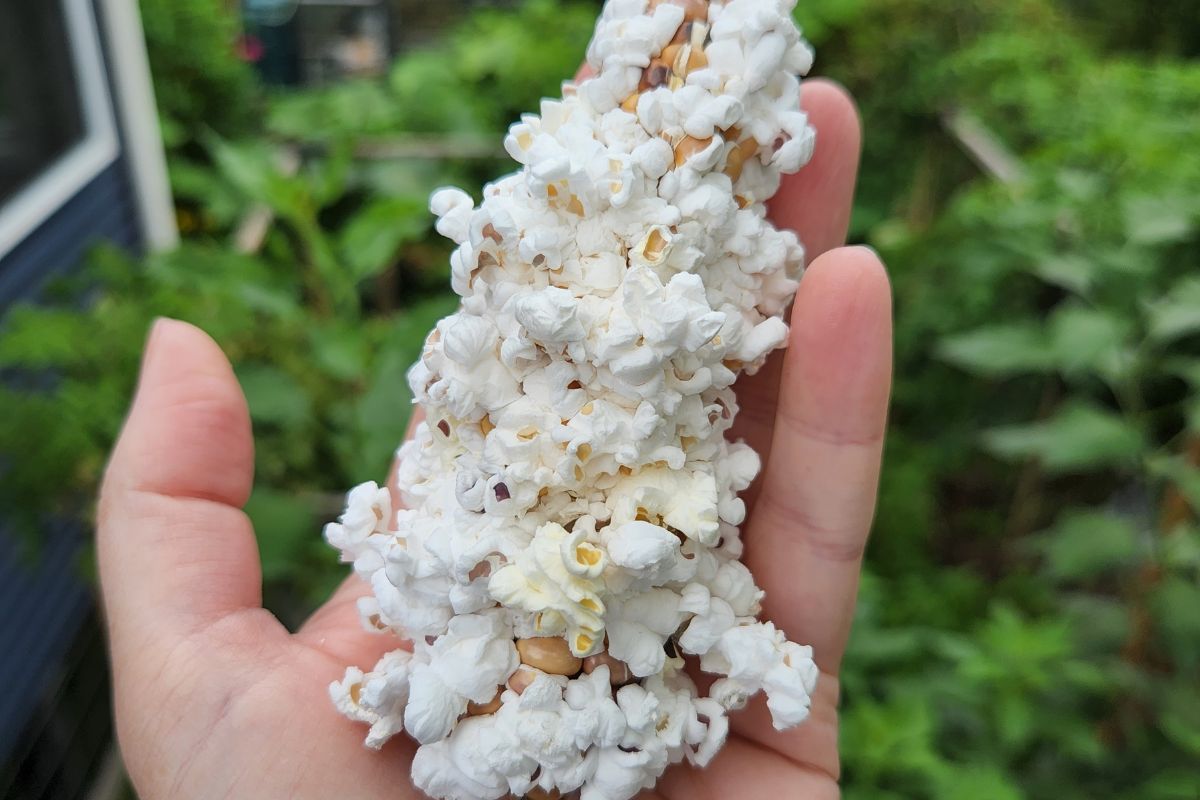
Popcorn is a type of flint corn, but its seed coat retains enough moisture to allow the kernel to pop when heated.
Sweet corn is eaten when immature and has genetic mutations that cause the corn kernels to retain more sugar and remain sweeter and more palatable than standard field corn. Mature dried sweet corn kernels will be shrivelled.
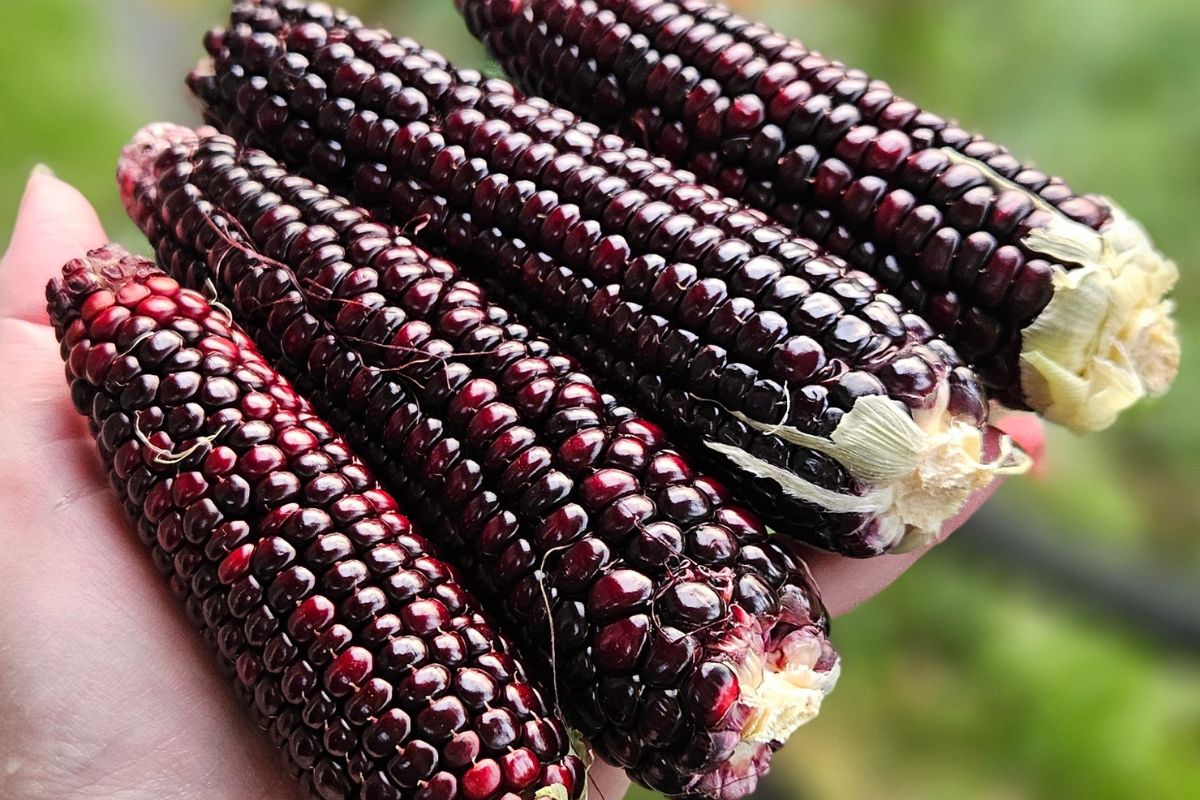
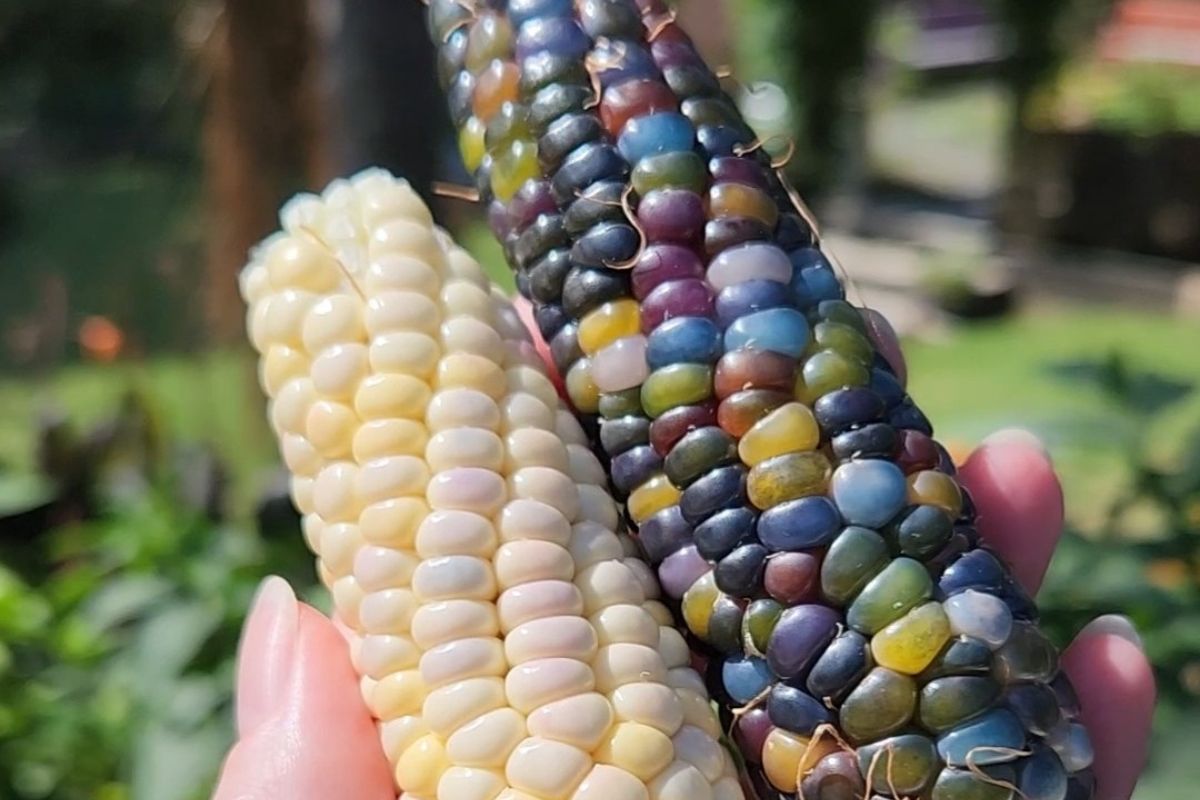
Beyond those basic types, corn comes in an incredible range of colours, patterns, heights, and cob sizes. Some varieties have striped kernels, some produce multicoloured cobs, some plants are short while others grow extremely tall. Even tassel and foliage colour can also vary greatly.
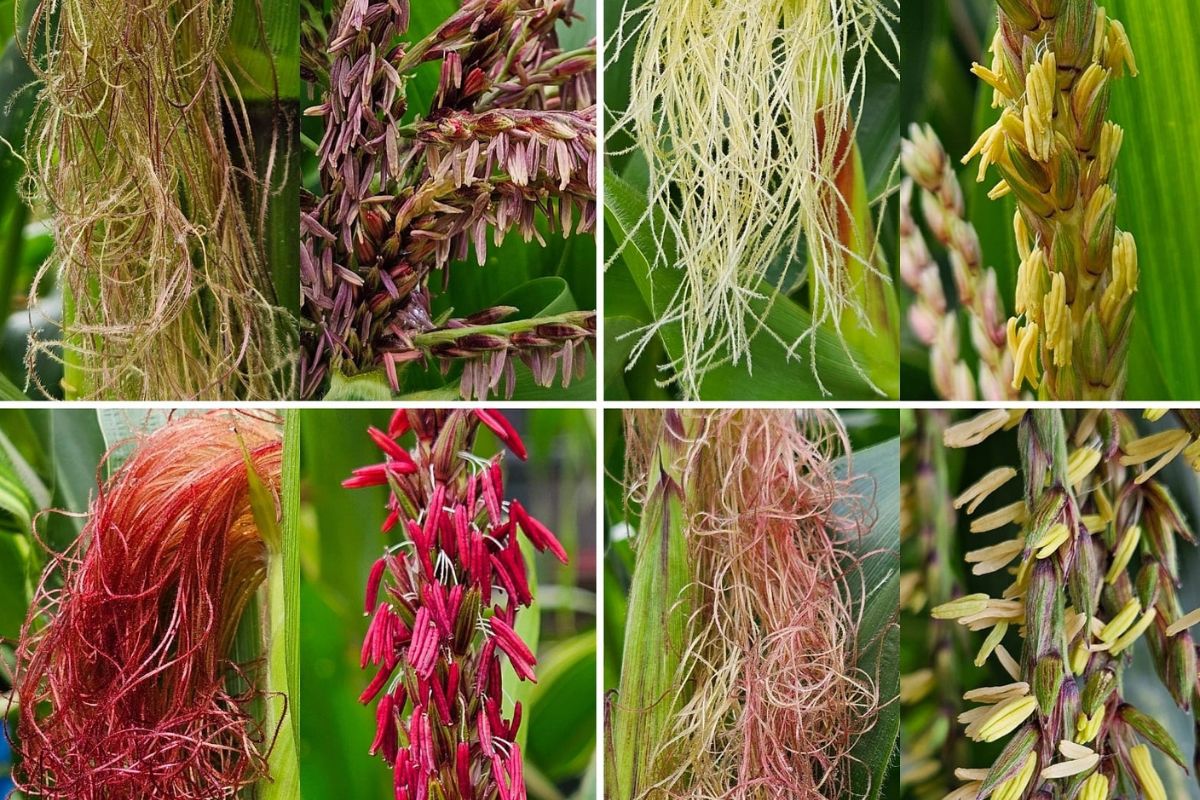
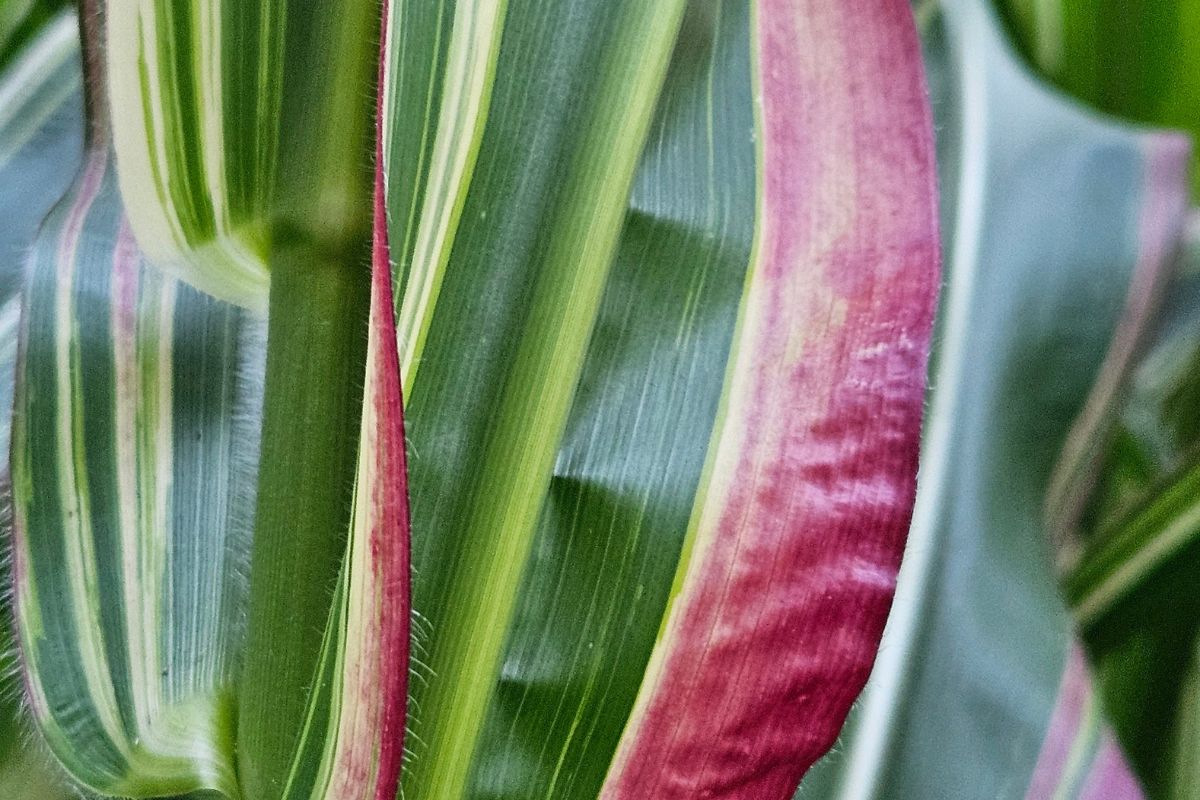
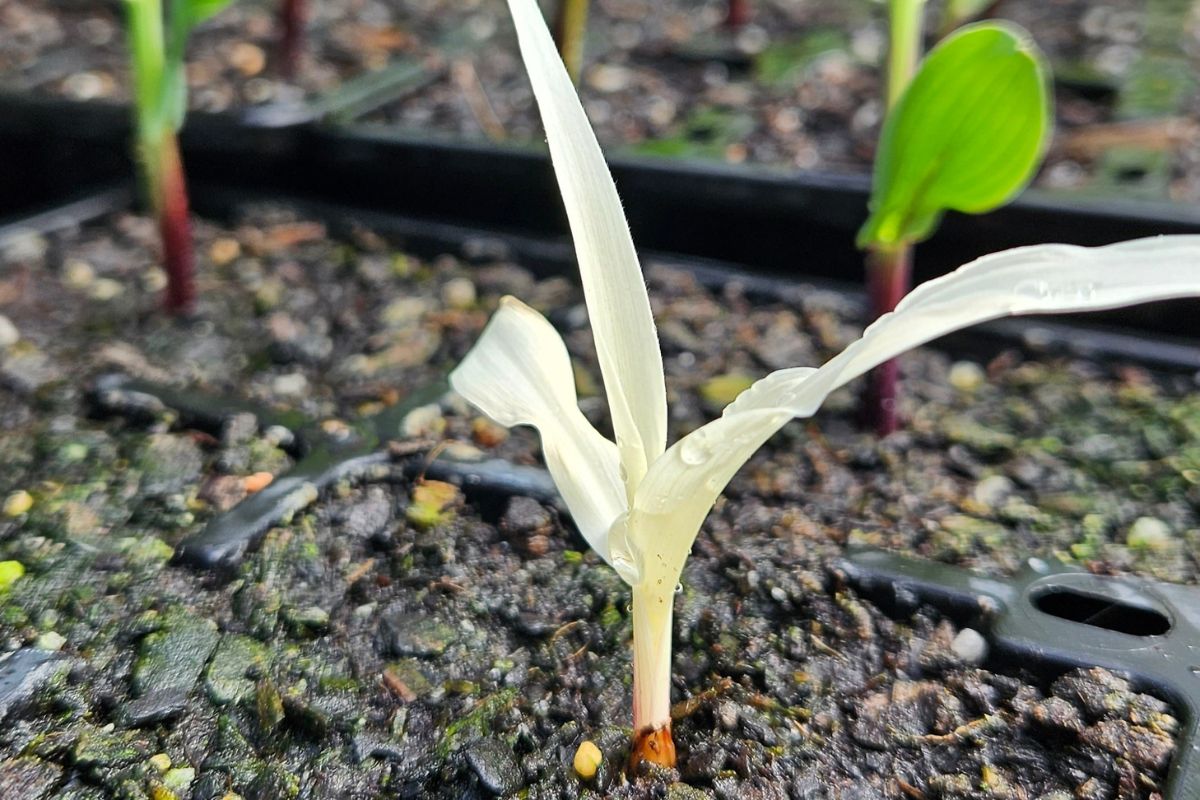
Variegated varieties will occasionally produce an albino seedling, these will usually only grow for about a week before dying due to their inability to photosynthesise.
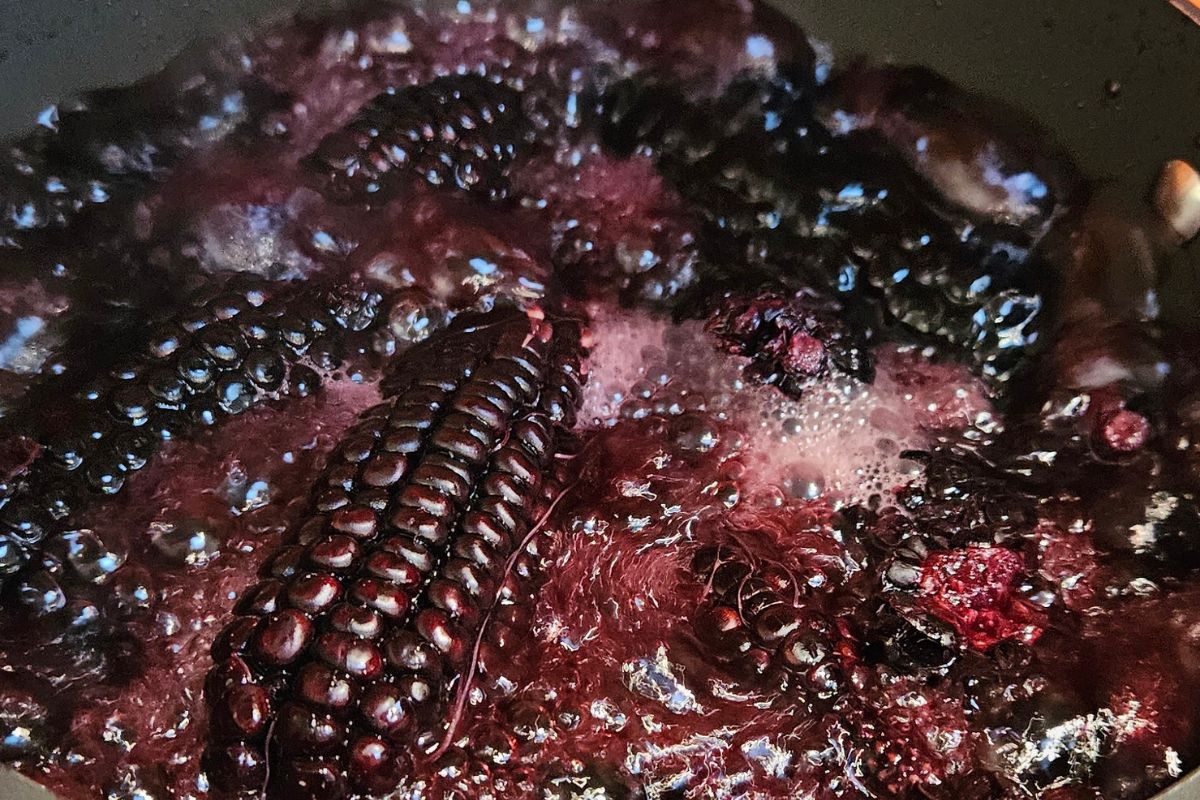
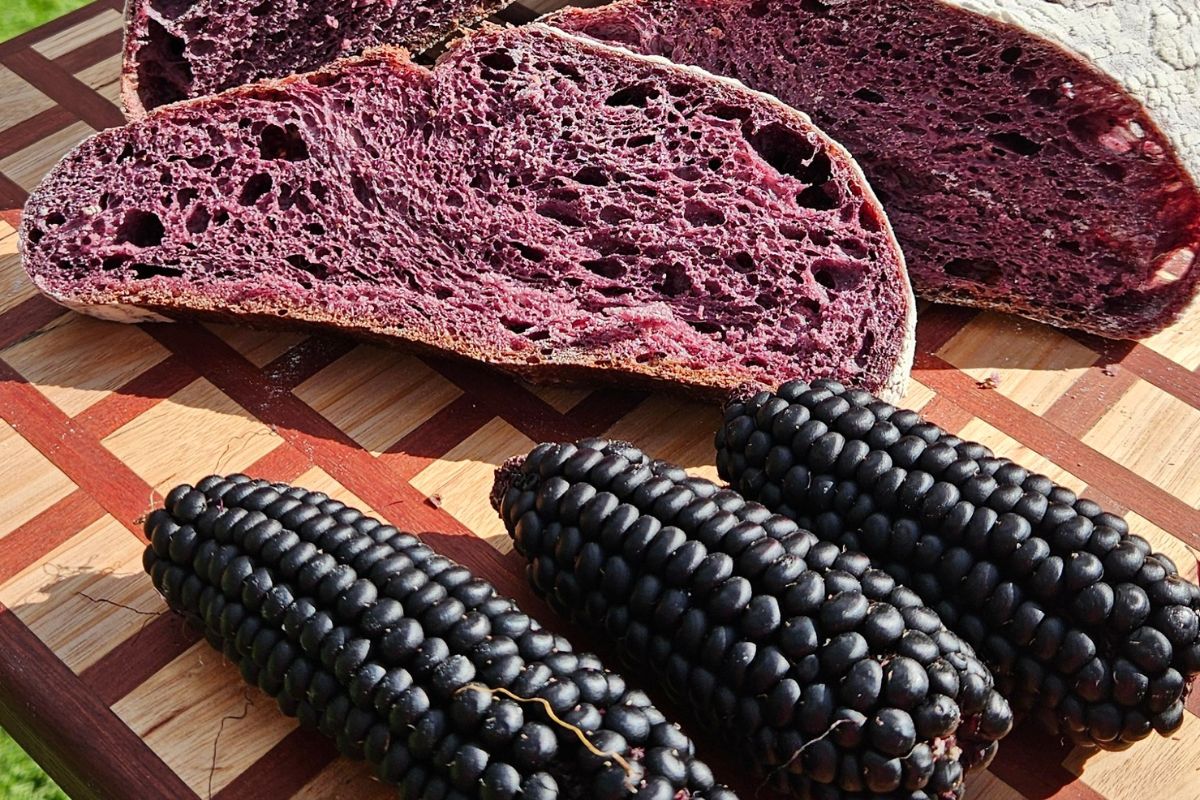
Red and purple varieties are rich in anthocyanins and some varieties can be boiled to extract colour for natural dye.
Don’t Pick Too Soon
Harvesting corn depends very much on what type of corn you’re growing.
Sweet corn typically takes approximately 20 days from the time you finish hand-pollinating to harvest.
The simplest way to check if it’s ready is by peeling back the husk enough to expose a few kernels. Using your nail, gently pierce the skin of one kernel. If the liquid is clear, it’s not ripe yet. As soon as it turns milky white, it’s ready.
Don’t be tempted to leave them too long past this point, the longer they stay on the plant the more sweetness is lost and the kernels will become tough and starchy.
For Flint, Dent & Popcorn the cobs need to remain on the plant much longer. It’s best to wait until the husks lose their colour and become paper-bag dry. If it looks and sounds like a paper bag and the kernels are hard, they are ready for harvest.
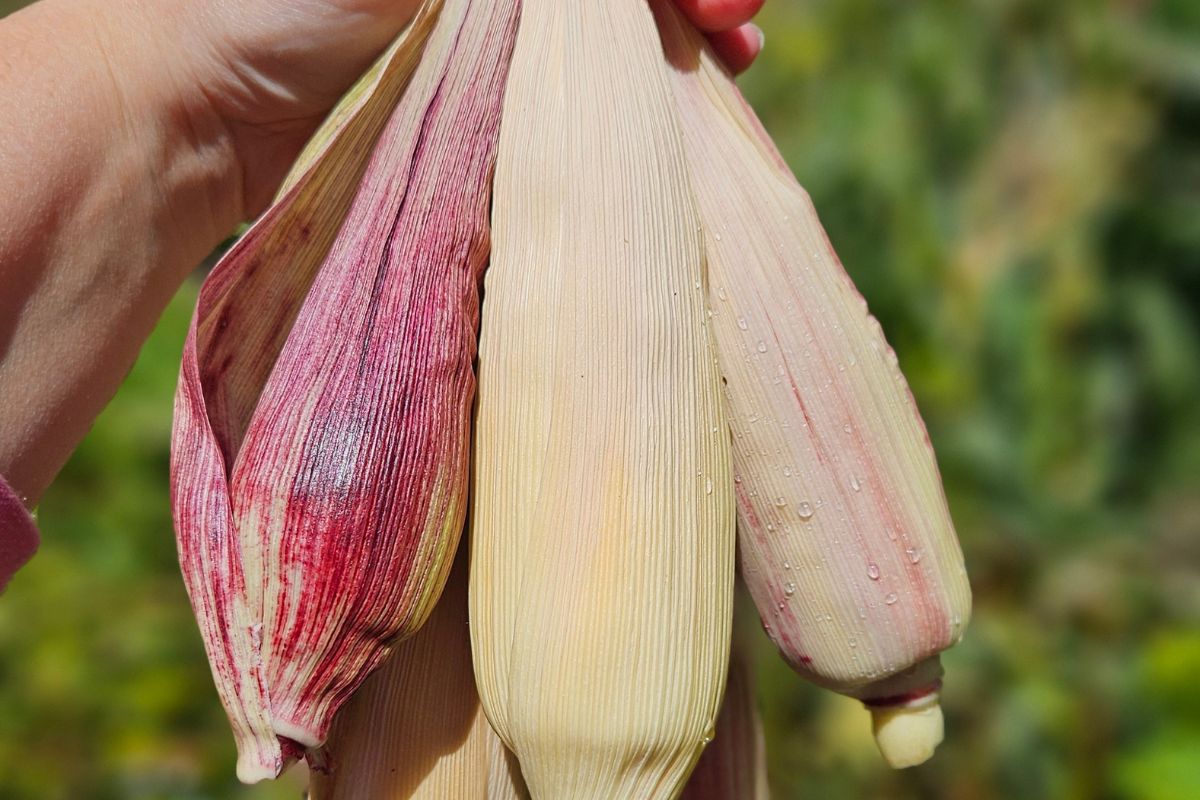
Coloured corn varieties in particular need time to develop their colours fully, so harvesting too early can mean the colour will not be fully developed. Dent corn should show a little depression at the end of each kernel when ready for harvest.
Saving Seed: Start With the Best
When saving seed, choose open-pollinated varieties rather than hybrids if you want the plants to reproduce the characteristics of the parent variety.
Corn seed can be easily saved with minimal effort for all varieties except sweet corn, which needs to stay on the plant longer than it would for eating.
For saving corn seed, aim to save from a minimum of 50 plants. The more plants the better your chances of maintaining the genetic diversity of the variety.
Choose the seeds from the best, strongest plants with the longest, straightest cobs for replanting next year.
Corn should be left to dry on the plant until the husks are dry. It can then be brought indoors and dried on a wire rack for a further 2–4 weeks. Once the kernels are fully dried and hard, they should be easy to remove from the cob by hand.
Sweet corn seeds are more fragile than maize varieties. Sweet corn seed will remain viable for 2–3 years if stored correctly, while maize corn varieties will be viable for at least 5 years.
Outsmart the Rodents
Ripe corn can attract a range of pests, most commonly mice and rats. There are a few control methods I’ve found useful.
Defoliating the crop — once successful pollination has taken place, I often remove around 30% of the leaves from each stalk. This opens the plants up and leaves less room for rodents to hide or move easily between the plants. Opening up the density also encourages rodent predators such as kookaburras, magpies, and owls.
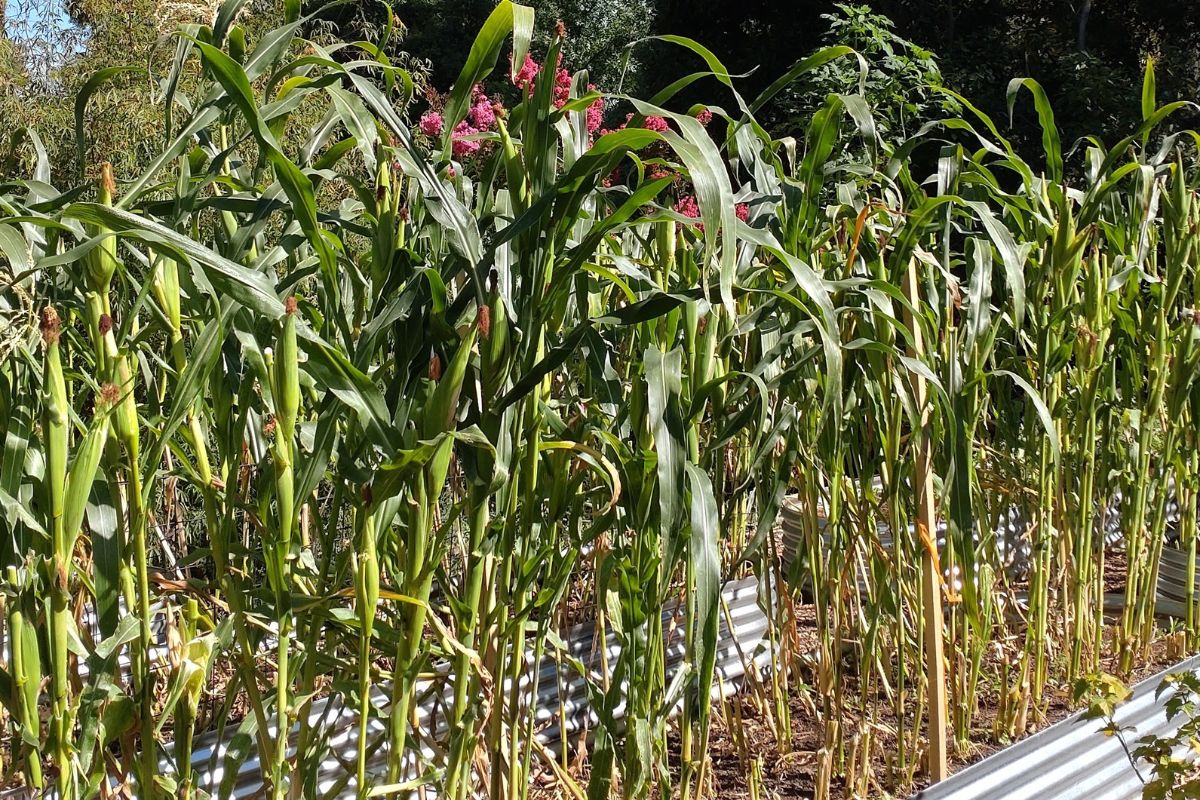
If you are growing varieties where you need to wait for the husk to dry, allowing better airflow and sunlight into the crop can help the cobs mature faster.
Mice and rats also dislike the smell of peppermint, so using peppermint oil and soaking a few cotton rags, then hanging them around the corn, can help mask the smell of the fresh corn.
You can do the same with sliced onions, but they have to be reapplied every 48 hours to help with masking the smell.
These methods are not an absolute solution for rodents, just a natural deterrent that I have found useful.
Random Fun Facts
Corn husks are also a common by-product used for weaving. Coloured corn with high anthocyanins can produce beautiful natural-coloured woven products.
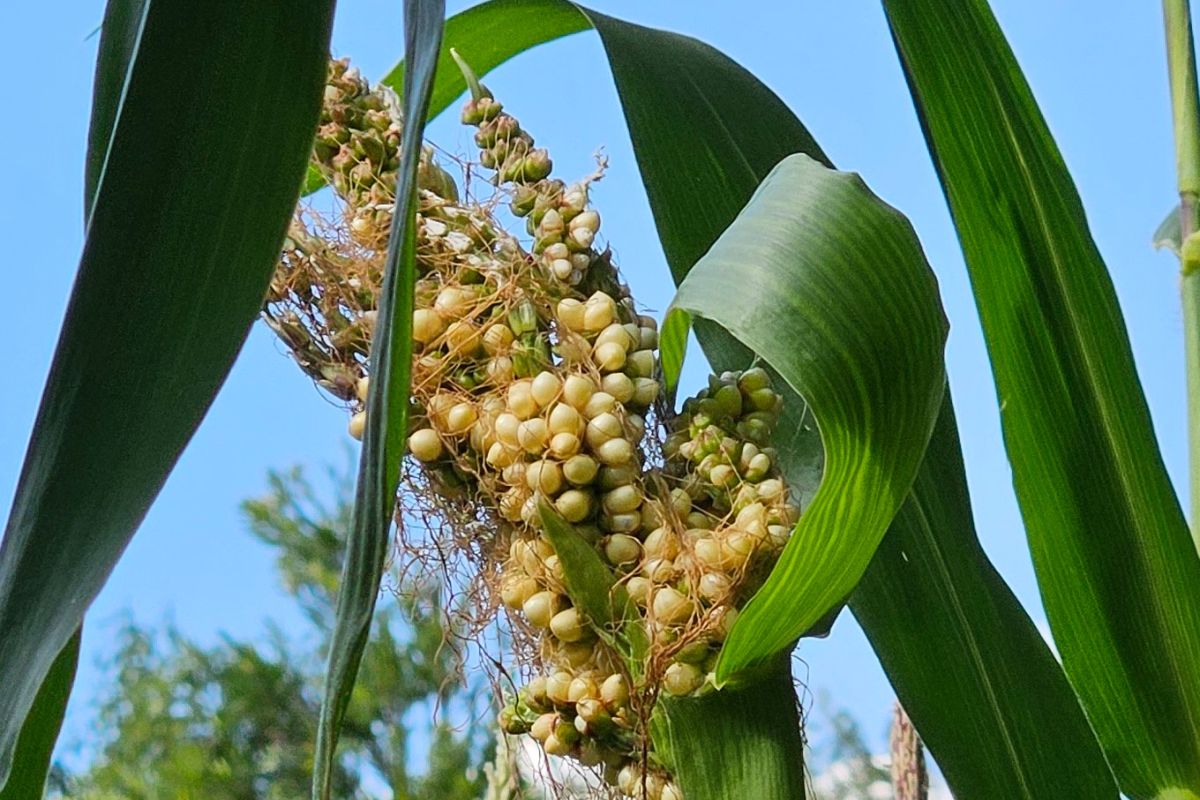
Occasionally, you may see a small number of kernels or a mini cob at the top of the tassel flower. These are known as tassel ears and are a common abnormality — completely harmless.
Final Thoughts
Growing corn isn’t difficult, but it is one of those crops that rewards you for paying attention to the details.
When you understand how the plant grows, how it pollinates, and what it needs at each stage, you set yourself up for a harvest that actually reflects the work you put in.
Whether you’re growing sweet corn for eating or colourful heirloom maize for drying, the same principles apply:
Start strong. Water well. Plant in blocks. Watch your silks. Respect the pollination window.
Do that, and you’ll give your corn the best chance of producing the full, beautiful cobs you were hoping for.
Article, Photography & Video by Nat Buttenshaw