Parsnips, often overlooked in the veggie world, are long overdue for a makeover. These underappreciated roots, related to carrots and scientifically named Pastinaca sativa, shine when roasted, simmered in a cosy winter stew or transformed into crispy chips. Yet they've been unfairly cast as the wallflowers of the vegetable patch, perhaps because they're a little trickier to cultivate than their carrot counterparts. Fear not! Armed with a handful of tips from experienced growers, you'll soon be harvesting sweet, nutty parsnips like a pro. Who knows, you may potentially spark a parsnip renaissance in the process!
The climates of Tasmania and southern mainland Australia are well suited to cultivating these delicious roots, which need warmth for germination but benefit from cold temperatures close to harvest time. Parsnips can also be grown in warmer climates following the planting advice below.
Here are 10 tips for growing the sweetest parsnip roots in your garden:
1. Prepare the Soil
Cultivate the soil to a depth of at least 40cm to provide ample room for root growth. While parsnips, like carrots, can thrive in relatively poor soil, good drainage and aeration are essential for optimal results.
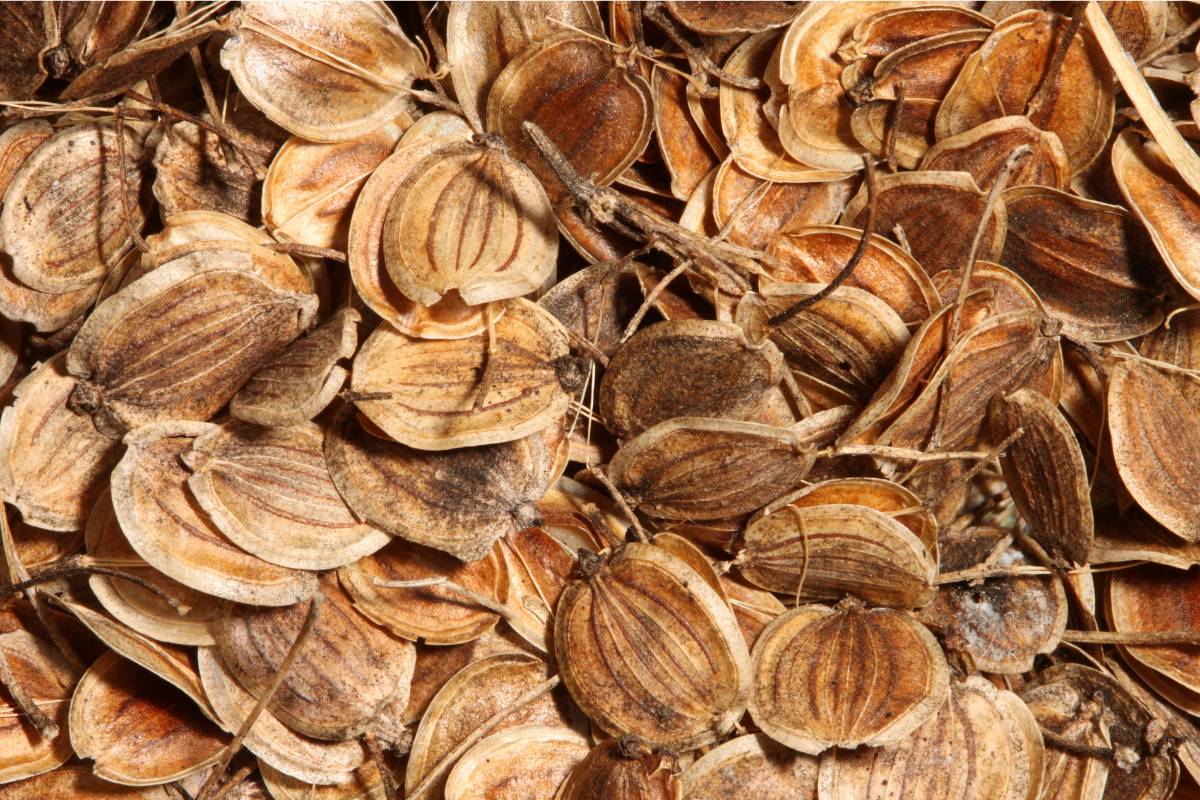
2. Use Fresh Seed
When it comes to parsnip seeds, freshness matters. Purchase your seeds close to when you intend to plant them. For the best germination rate, avoid using seed that has been stored for more than a year.
3. Plant at the Right Time
Parsnips will only germinate in warm soil, with a minimum temperature of 10-12°C up to around 20°C needed for success. In cool climates, plant from September or October through to May. In warmer climates, sow seed in autumn and grow the roots through winter. Keep in mind that germination is highly temperature-dependent and can take anywhere from a week to four weeks, so be patient.
4. Direct Sow
Unlike some vegetables, parsnips don't take well to transplanting. This is due to their long and sensitive taproot, which begins to develop before the leaves. It's best to sow seeds directly into well-cultivated soil, thereby avoiding any disturbance to the delicate roots.
5. Maintain Moisture for Germination
It's crucial to keep the soil consistently moist until seeds germinate. One handy trick is to place a wooden board over the soil to help retain moisture. Lift the board to check for germination every few days. Alternatively, spread a fine layer of vermiculite or mulch over the seed rows, with thicker mulch either side to help conserve moisture.
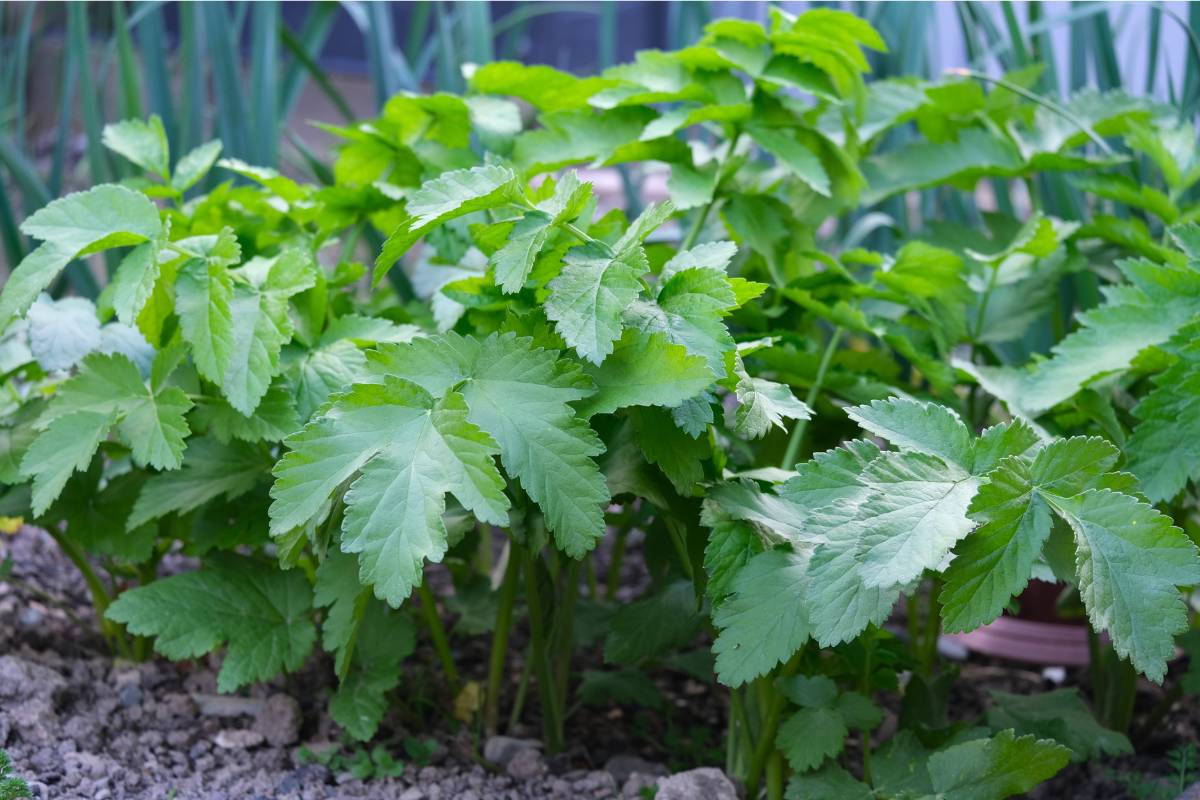
6. Space Plants
Parsnips require plenty of room to flourish, as their tops grow large and play a vital role in providing energy for root development. Thin out seedlings as needed and aim for spacing of 15cm to 25cm between plants and 30cm to 40cm between rows to prevent overcrowding.
7. Go Easy on the Fertiliser
Like carrots, parsnips prefer soil that's not overly rich in nutrients. There’s usually no need to fertilise during the growing season, as too much nitrogen can result in oversized tops and forked roots.
8. Mulch for Weed Control and Moisture
Mulching around your parsnip plants serves multiple purposes. Not only does it help suppress weeds, but it also helps maintain soil moisture, preventing the roots from splitting. A lucerne or sugar cane mulch that breaks down during the growing season works well.
9. Harvest for Sweetness
In cool and temperate climates, the best time to harvest parsnips is in late autumn or winter, ideally after a few frosts. Cold weather helps convert starches in the roots to sugars, enhancing their flavour. Typically, parsnips are ready to harvest around four months after sowing but can be left in the ground in cool temperatures until they’re needed.
In warmer climates, harvest at the end of winter, before plants bolt and warm weather prompts roots to develop a tough inner core.
10. Remove Tops at Harvest
After harvesting your parsnips, remove the leaves so they don't draw moisture from the roots. Store roots in a cool, dark place until you're ready to enjoy their delicious flavour in your favourite recipes.
By following these 10 tips, you'll be well on your way to growing your own deliciously sweet and nutty parsnips. Happy gardening!