Composting is a process which involves converting kitchen and garden waste into humus which is then added to your garden soil. It re-introduces vital nutrients and builds soil structure which encourages better plant growth and better soil fertility. It’s very easy to do, and can be done at little or no cost.
(What is humus? Humus is the organic component of soil, formed by the decomposition of plant matter by soil microorganisms.)
Just a few of the benefits derived from composting include:
• improving the soil quality and vitality of your garden by releasing rich nutrients into the garden soil and building soil structure
• preventing greenhouse gas emissions by encouraging aerobic breakdown of organic material
• reducing the volume of garden and kitchen waste which would otherwise go to a landfill
• recycling valuable nutrients without using artificial fertilizers
• the microscopic organisms within compost help to prevent plant disease and aerate the soil
• it saves money by not having to buy fertilizers
How does it work?
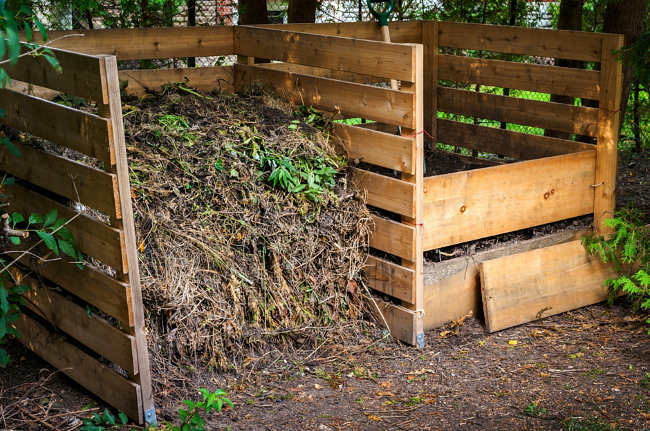
Within a composting system, organic material is confined, which accelerates decomposition, releasing nutrients more quickly into the soil. Starting your own composting system can be as easy as purchasing an old garbage can, a large wooden box, or a purpose made compost bin, and then regularly filling it with kitchen and garden waste.
Effective composting
An effective composting system involves the 5 following components working together:
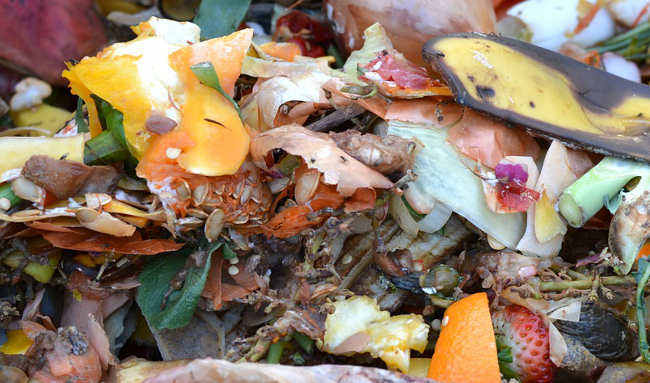
• Nitrogen (green ingredients) – your compost heap must have a generous supply of nitrogen, which stimulates the growth and reproduction of organisms that oxidize the carbon components. These are considered the green and wet components of a compost system, and include kitchen scraps, fresh lawn clippings, and weeds pulled from your garden. While these green and wet components are critical to the process, your heap should not be comprised entirely of this material, or it will become too sloppy, and will not make effective compost.
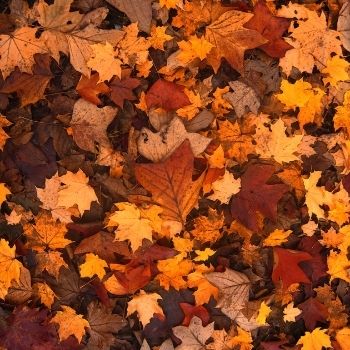
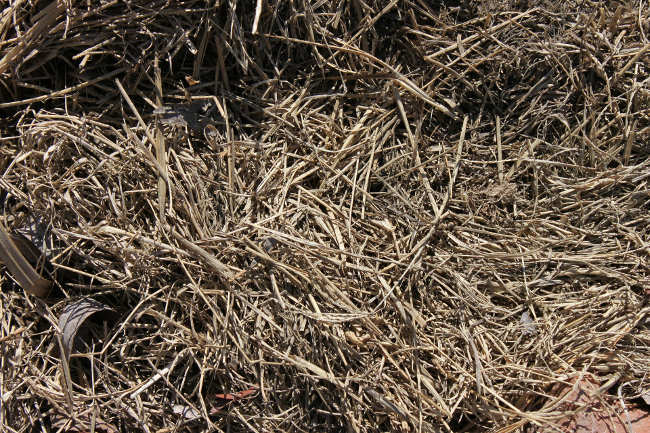
• Carbon (brown ingredients) – the carbon elements supply the heat for your compost pile. Things containing carbon are generally drier and are brown, such as autumn leaves, branches and straw. An excess of these components is not good for the compost heap either, because the carbon by itself will take a very long time to break down.
• Water – your compost pile should be moist without being soaking wet. Moisture enables and encourages decomposition but too much moisture can lead to waterlogged anaerobic(no air) conditions.
• Oxygen – this component facilitates the decomposition of the other components. To introduce oxygen into your heap, all you need to do is turn over the components periodically.
Compost ingredients
Some of the best things to include in your compost heap are:
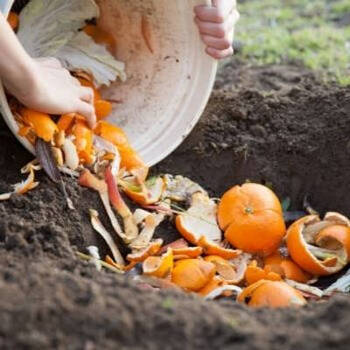
‘Green ingredients’: kitchen scraps, fruit scraps, vegetable scraps, grass clippings, lawn and garden weeds, flowers, seaweed, kelp, green fleshy garden trimmings, garden weeds, coffee grounds, and tea leaves.
‘Brown ingredients’: leaves, dead plants and plant prunings, straw, hay, pine needles, wood ash, shredded newspaper, cardboard, corn cobs, dryer lint, and sawdust.
DO cut up all ingredients into small evenly sized pieces. This encourages decomposition to occur faster and in a more uniform manner.
DO remove any seeds from weeds or pruning’s before adding.
DON’T add any plants or weeds that are too aggressive or that propagate through runners, e.g. couch grass, or blackberries.
DON’T add any large chunks of material to your compost pile, because they will take too long to break down.
DON’T add any newspapers or magazines with coated or glossy print.
DON’T add diseased plants.
DON’T add dairy products, meats, bones, fish scraps or bread. These can attract unwanted pests.
DON’T add any inorganic materials, ie: plastic, glass or metal.
Composting in four simple steps:
Step one – choose your compost site
Your compost pile should be situated in an area that is well-drained and receives daily shade. The reason for this is that too much sun will dry out the compost pile, and will require more frequent watering to keep all the components active and moist. If you are starting your compost pile in a large bin, make sure it has good drainage in its base so that water doesn't accumulate at the bottom, if necessary cut or drill drainage holes. It’s normally beneficial to start your pile on bare earth, because it allows worms and other organisms to penetrate the pile and aerate it, and when your compost is ready for use, those same worms are introduced to your garden soil.
It should also be noted that although there are benefits from composting in some sort of ‘compost bin’ this is not completely essential; an effective composting system can also be made by simply starting a compost heap on an unused patch of garden soil.
Step two - choose your compost components
Make sure that you have a good mixture of the components listed above, i.e. green ingredients, brown ingredients and moisture. Additionally it is generally beneficial to add some mature compost or actual garden soil to the compost mixture to introduce microorganisms which will accelerate the process.
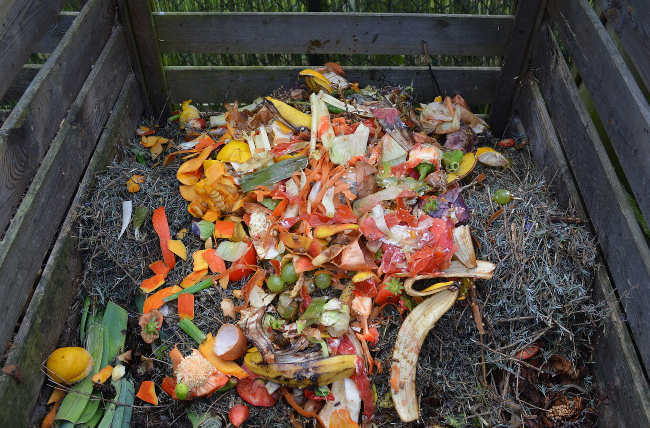
Step three - establish layers in your pile
At the bottom of your compost heap, you should have the thickest, coarsest material (around 10 - 15 cm thick). This should include the twigs and small branches which will facilitate drainage. The next layer should be comprised of garden clippings and kitchen scraps (which are the green ingredients), followed by the dryer brown ingredients like leaves and straw. With each layer added make sure to include enough water to keep the heap moist (but never wet). Continue alternating between green and brown layers until you have used all your composting ingredients or filled your bin. Finally add some garden soil or mature compost to the top of the pile to some introduce microorganisms to the pile.
Step four – maintain your compost pile
Use a garden fork to turn components over every week or two, this will make sure that your compost heap stays well aerated allowing oxygen to do its work in facilitating the decomposition process.
Water your compost heap as required, being careful not to overwater; the compost heap should be kept moist but never wet!
Potential compost pile problems
There are a few problems which can develop in your compost heap, and you should be on the alert for these so that any problems can be corrected as soon as possible. A good time to check on your compost pile is during periodic watering or turning.
• Smelly compost – one reason for this may be that your heap is too wet, or that not enough oxygen has been introduced to the pile. Another common cause is having too many green ingredients and not enough brown ingredients. This can be corrected by adding in dry leaves, garden lime, dolomite, or ash, to reduce the acidity. Turning the heap more often can help, as can providing a floor of wooden planks to improve drainage.
• Pests– If you follow all of the instructions above it is very unlikely that mice or rats would be attracted to your compost heap but some additional preventive measures include: turning the compost frequently to discourage habitation, including a layer of fine wire under the compost bin or heap, and immediately covering any food that is added to the pile with other garden waste or soil.
• Slow-maturing compost heap– sometimes this means that one of the key components is missing or is present in insufficient quantity, such as oxygen or water. It could also mean that the compost pile is not hot enough. This can be corrected by adding nitrogen-rich material like kitchen scraps or garden vegetation, turning the heap frequently to add oxygen or adding more water to the heap.
• Components are matted together – this can happen when wet materials are introduced to the pile. The problem is matted materials inhibit aeration so these should either be broken up with a pitchfork, or set aside altogether until they dry out.
• Insects of flies buzzing over the pile – this is a natural occurrence, but it can be discouraged by covering any organic materials which may be attracting the bugs or flies. A layer of grass clippings is great for this, and so is lime or calcium.
• Steaming compost pile – this is not a bad thing! This is exactly what you want to see – it indicates that the microorganisms are doing their job, and decompositon is underway!
How do I know when my compost is ready?
The amount of time it takes to convert your kitchen and garden waste into usable compost varies significantly, anywhere from a 3 weeks to 6 months is normal. It all depends on weather, the ingredients you have added and you composting method. Generally speaking though you can expect your compost to mature much faster in the Spring and Summer months than in Autumn and Winter.
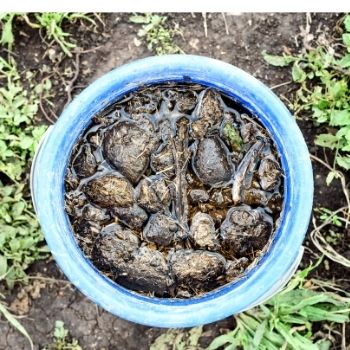
Identifying when it is ready for use is very easy: simply inspect your compost heap regularly; to begin with your compost heap will look and smell like a mix of garden and kitchen scraps, over time though you will notice it beginning to change, at first it might smell like rotting vegetable matter but over time this smell should lessen. In the end your compost heap should look and smell like dark soil and be crumbly in texture, when you have compost like this it is ready to use!
It is completely normal to have some un-composted material left in you mature compost. These are generally larger or woody items that need a little longer to decompose such as sticks, corn cobs, fruit pips and nut shells. Generally speaking a few stray sticks or shells in your compost are not a problem but if you have an excess of un-composted materials in your mostly mature compost you may want to remove them. They can be picked out by hand or alternately the entire mix can be screened through a large garden sieve. All removed items can be simply added back into your next compost heap.
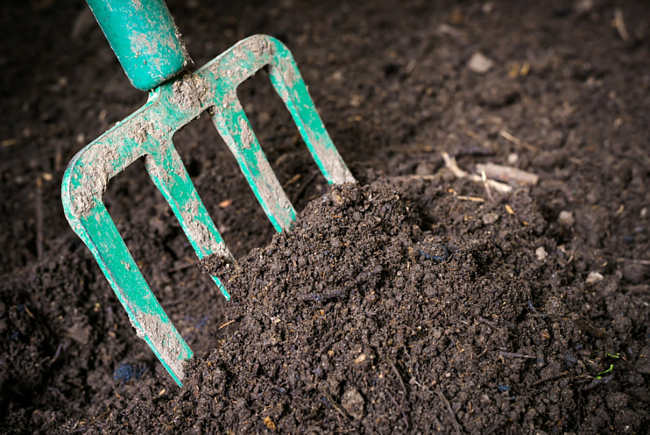
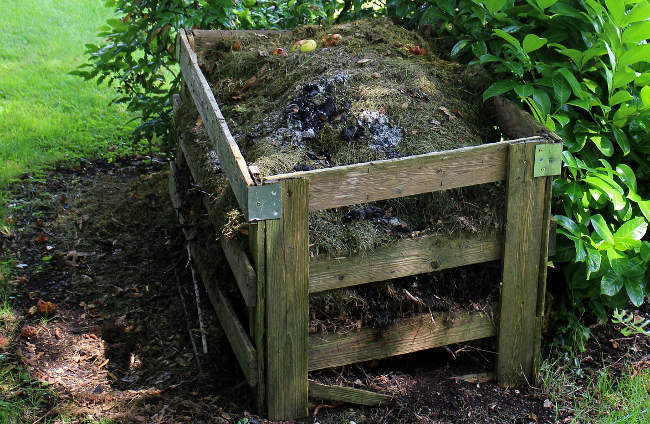
Above: Mature compost ready to add to the garden! Yay!