If you're about to plant a garden in an area you haven't planted before, or if your garden hasn't been producing very well, it's a good idea to test your soil. You could buy a do-it-yourself soil test kit. But what fun is that?
What if you could test your soil with a bucket of water, some vinegar and baking soda, your bare hands, and ordinary earthworms? Not only will you get some of the same information other tests provide, but you'll also learn something about your soil composition and whether you have good drainage. Here's how to do it...
Squeeze It!
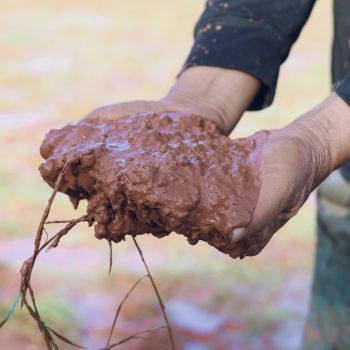
If your soil composition is off, that should be rectified before you worry with testing acidity and drainage. This is because adding organic material and possibly some high-quality garden soil to change your soil's composition would also change the results of those tests. You'll need to determine whether your dirt is sandy, has a lot of clay, or is loamy. Loamy is best because it retains nutrients and moisture without staying too wet.
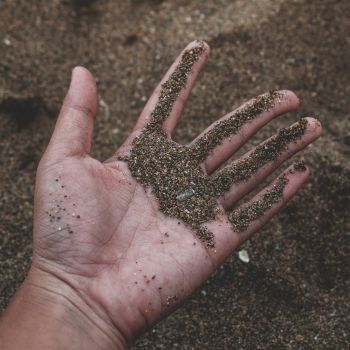
To determine your soil's composition, start out by grabbing a hand full of dirt from your garden. For the test to work properly, the soil will need to be damp, but not too wet. Squeeze it, then open your hand. If it begins to fall apart as your hand opens, it contains a lot of sand, is probably low in nutrients, and does not retain moisture very well. If it holds together and doesn't fall apart easily even if you jostle it around and tap it with your finger, it likely contains too much clay. If it is somewhere in between, meaning it will mostly hold its shape unless you jostle or tap it, it's loamy and you're off to a good start. Repeat the test in several areas of the garden, as the soil composition may vary.
Dig and Pour
As with determining soil composition, finding out whether you have drainage issues before worrying with testing acidity is also a good idea. Dig a hole in your garden that is around 30cm deep and 30cm across. Put the dirt from the hole into a container and set it aside - you'll need it for the next test. Fill the hole with water and walk away for now. Move on to the next step.
Count Your Worms
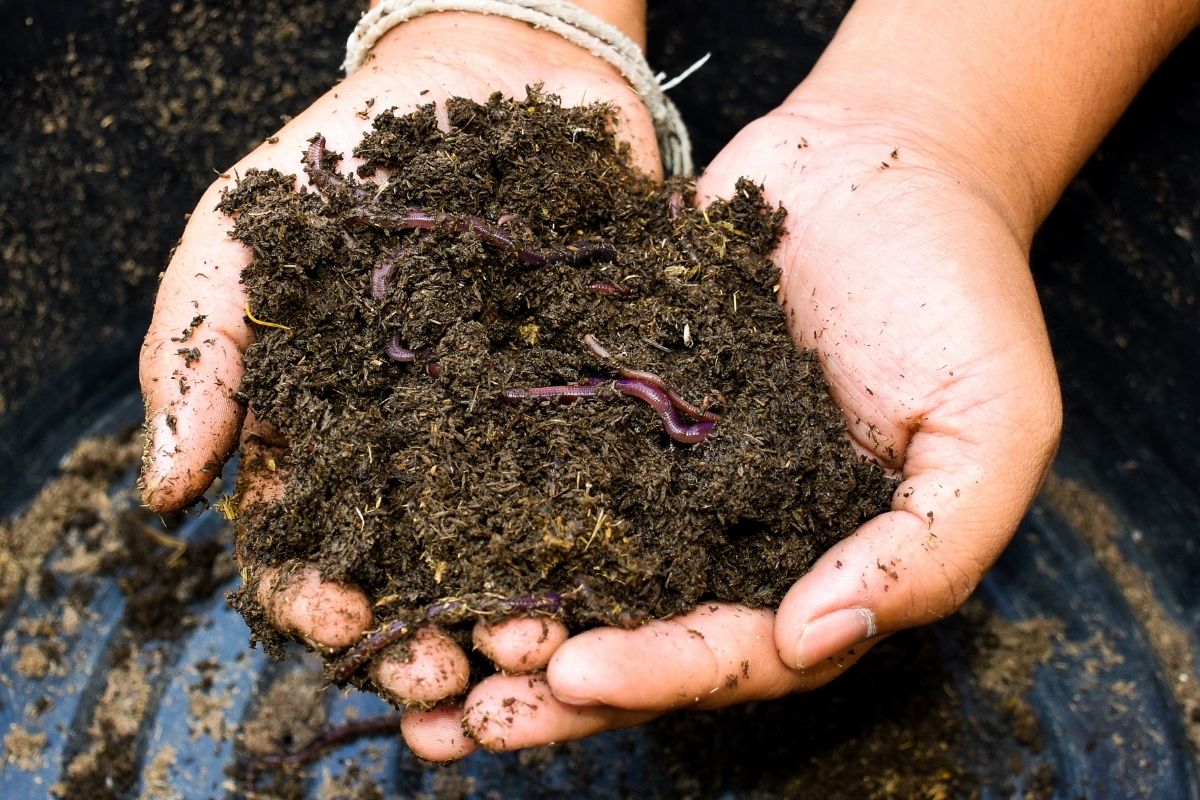
So long as your soil is at least 10 degrees Celcius and is moist, there should be at least ten earthworms in the soil you dug in the previous step. Go through the dirt and count them. If you find ten or more, you have sufficient organic material in your soil and your worms are busily producing more fertiliser. If you found less than ten, you'll need to add some organic compost to your garden soil mix. It's now time to go back to the hole you filled with water.
Refill the Hole
Once all of the water has drained from the hole you previously filled, fill it with water again and take note of the time. Periodically check the water level and, once it has completely drained, determine how long it took. If the water drained in less than four hours, your drainage is adequate. If you still have water standing in the hole after four hours, you'll need to improve your drainage, either by building a raised bed for your garden, planting in raised rows, or, if your soil composition is off, adding more organic material to make it loamy. Now you can return your worm dirt to its hole.
Chemical Testing
Once you've tested composition, organic content, and drainage, there are two pH tests you can perform with items you probably already have in your cabinet - baking soda and vinegar. You'll use them to check the pH balance of your soil to determine whether it has a high or low level of acidity, has an alkaline pH, or is neutral. There are several steps involved.
- Get a soil sample: The pH level within the area of your garden will probably vary slightly, so scoop up some dirt from several places within the garden and mix them together in a clean plastic container. About a cup of dirt, in total, should be more than enough.
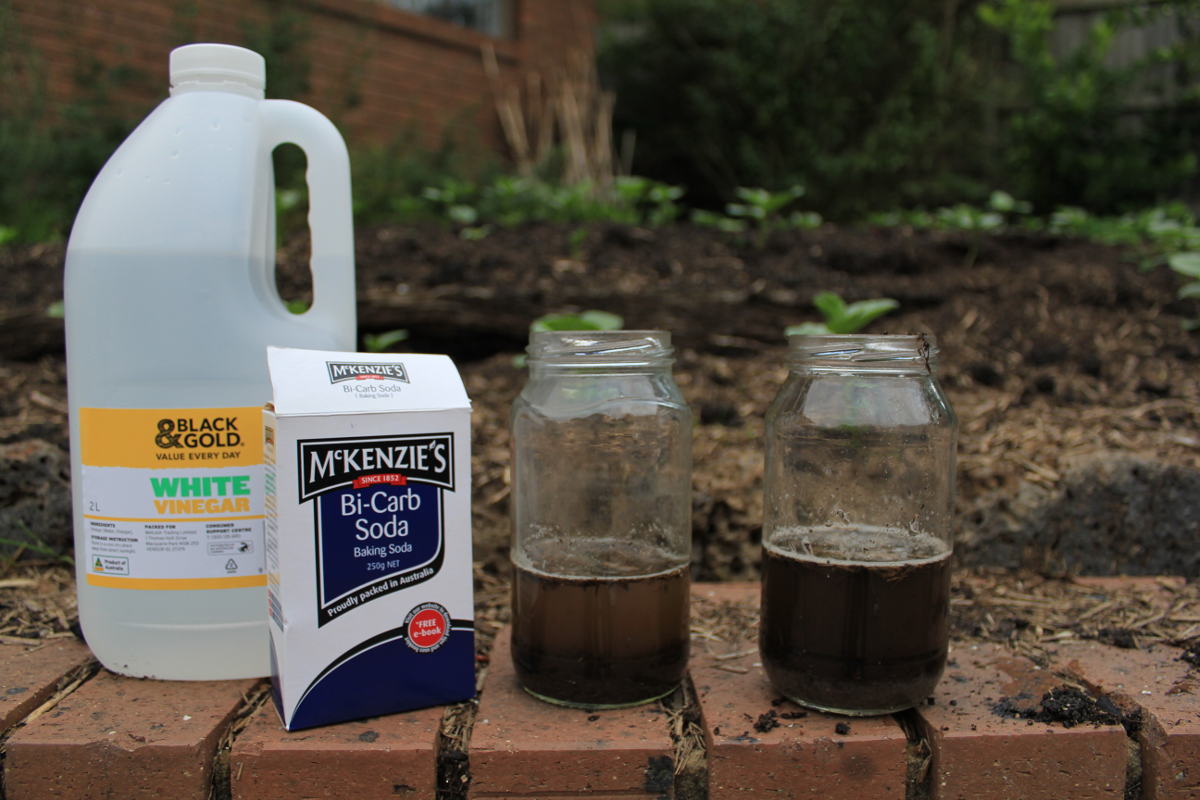
- Testing alkalinity: Just as baking soda is a base, so are all alkali substances. Vinegar is acidic, and mixing it with a base causes a fizzing reaction.
Take two tablespoons full of soil from your sample and drop them into a jar of vinegar. If the mix fizzes slightly, then your soil pH is a little on the alkaline side. The more it fizzes, the higher the alkalinity. - Check the acidity level: Take two more tablespoons of your soil sample and put them in a clean jar. Add a half-cup, each, of water and baking soda. In the previous step, any fizzing was the result of combining alkali base with acidic vinegar. In this step, if you see any fizzing, it is the result of acidity in your soil sample reacting to the baking soda base. Slight fizzing indicates slightly acidic soil. More fizzing indicates a higher level of acidity in the soil.
- TIP: If your soil pH is fairly neutral the results from the vinegar and baking soda tests will be very subtle; inspect carefully for bubbles and listen carefully for fizzing!
What do these results mean? Well, if you observed a great deal of fizzing indicating either high alkalinity or high acidity, you may want to go ahead and pick up a pH test kit or have your soil tested by a lab. Using a pH test that provides more specific information will give you a better idea as to whether you should amend the soil by adding natural materials such as wood ash or pine needles, or find plants that will grow well in your soil without amendments. For example, blueberries love acidic soil.
Some Things to Think About...
If you complete the steps in this article, you will have used soda, vinegar, worms, and your bare hands to test your garden soil's composition, organic mix, drainage, and pH. You'll save a little money and actually come up with some of the same results as scientists would using sophisticated lab equiptment . With your newly-acquired skills as a soil-squeezing, worm counting acidity tester, you could even garden off-grid. Could any of your neighbours say the same? Perhaps you could share some of your wisdom with them.