Collards, also known as collard greens, is a staple in the regional cuisines of the Southern US, where it’s often cooked with smoked ham hocks or bacon for a flavorful and hearty dish. This delicious and nutritious leafy green vegetable is easy to grow in your own backyard.
Here’s what you need to know to sow, grow and cook collards.
What Are Collards?
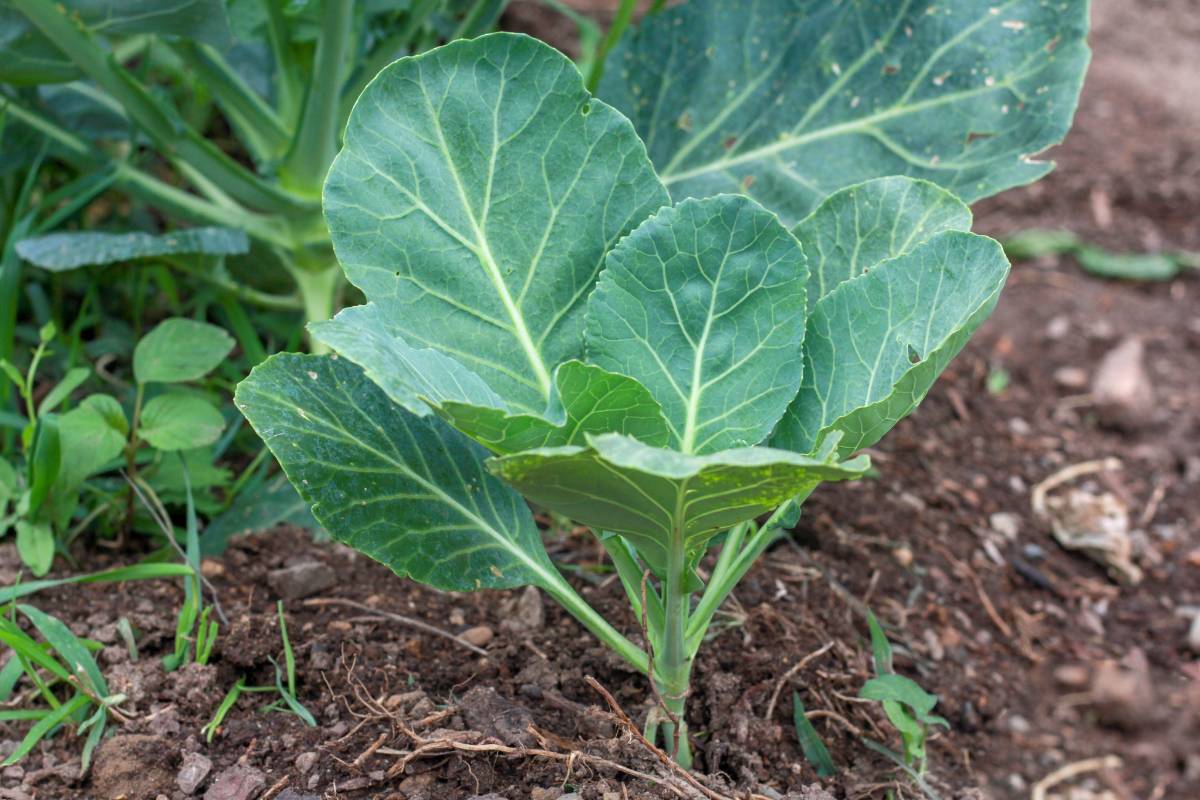
Collards (Brassica oleraceae) is a dark green leafy vegetable with rigid stems. When you remove the stems, the remaining leaf is what’s commonly called ‘collard greens’. This vegetable is a kissing cousin to cabbage, mustard greens and kale.
The word ‘collards’ comes from a medieval term, colewort, alluding to non-heading brassica crops. It’s estimated that humankind domesticated collard greens about 5,000 years ago. If you are a fan of this vegetable, you’re in good company. The ancient Greeks may well have nibbled on collards!
Collard greens is a mainstay of Southern style American cooking. It’s also popular in Africa, the Mediterranean and Asia Minor, where it’s thought to have originated.
Collards in the Garden
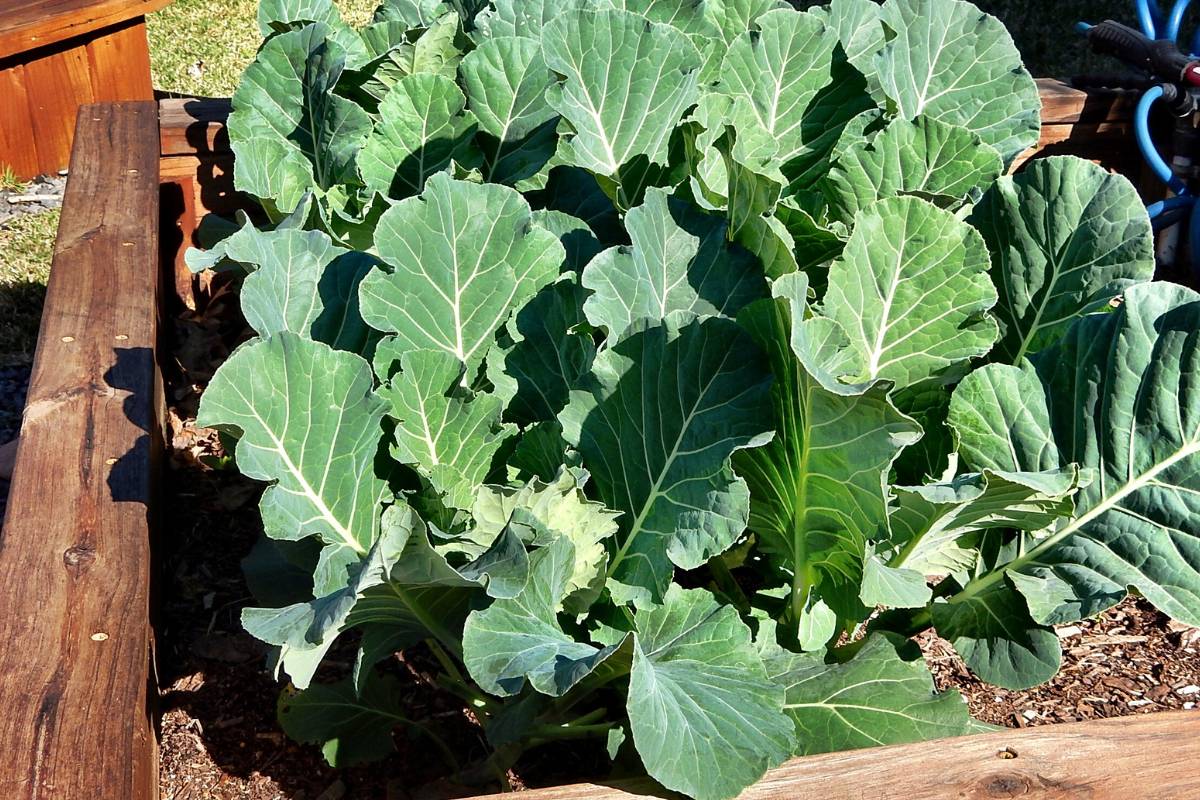
Collards is as easy to grow as other members of the brassica family. It's both heat resistant and cold-hardy.
Preparation
Collards plants prefer full sun to part shade and moist, nutrient-rich, well-drained soil with a pH between 6.5 and 6.8. Plants should receive at least 3 hours of direct sunlight each day, and ideally 6 hours if growing them through winter in cool and temperate climates.
Prepare the soil in the same way as for any brassica. Dig it over, adding compost or aged manure and remembering that brassicas are heavy feeders. Collards roots can grow up to 60cm long, so a deep well-dug soil will be beneficial.
How to Sow Collards
It is often more manageable and successful to begin seeds indoors. You can kick-start your plants by growing them inside for four to six weeks, so you have strong seedlings when they’re transferred to the garden.
Sow the seeds 6mm deep in either late summer or autumn. The perfect sprouting temperature is between 8 and 30 degrees Celsius. Keep the soil moist but not wet. Collards germinate in 3 to 7 days, so you won’t have to wait anxiously for too long before you see the first leaves.
If raising seedlings, transplant them into the garden when they’re large enough to handle, spacing them 120cm apart to allow plenty of room for growth. From there, it’s another 70 days before plants mature, though early harvests of baby leaves are far more tender than mature ones.
Cultivation
Thankfully, collards is fairly low-maintenance. Make sure the soil doesn’t dry out. If you’re struggling with moisture, put some mulch or even coffee grounds around the plants to slow evaporation.
Like most brassicas, collards are heavy feeders. Once the plants are several inches high, give them a feed with either compost or a slow-release fertiliser recommended for leafy greens. Follow this with a second application a month later.
As they grow, watch for any development of flower stalks, a sign that your plants have bolted. Cut off any stalks at the base before they develop fully. If you let plants flower the leaves will become bitter.
Keep an eye out for pests that commonly feed on brassicas. Aphids, cabbage moths and butterflies, cut worms and thrips have all been known to enjoy the taste of collards. Most critters like feeding on the underside of leaves. Pick as many off as you can, then wash the rest off your plants using a garden hose.
Harvesting Collards
You do not have to take the entire collards plant all at once when you want some leaves. Instead, you can harvest greens throughout the growing season, using the plants as ‘cut and come again’ crops. Use secateurs or a sharp knife to snip off the dark outer leaves; they are the most mature. Then, continue taking care of your plant as you had been. The inner leaves will keep growing.
Collards in the Kitchen
Collard greens pair beautifully with smoked or salted meats. This vegetable is useful as an addition to salads or steamed as a side dish, and the leaves can also be used as wraps.
Of course, how people prepare collards varies by region. Some regional recipes include:
- Brazil: Thinly sliced and made into a healthy green broth called caldo verde.
- East Africa: Sauteed with onion and salt and served as a side dish.
- Southern Europe: Cooked with cured pork, smoked mutton and root vegetables.
- Southern United States: Prepared with other greens, smoked turkey and ham hocks, and spiced with black pepper, chilli and a pinch of sugar.
- Zimbabwe: Wilted, fried or sauteed with onions, tomatoes and beef or pork.
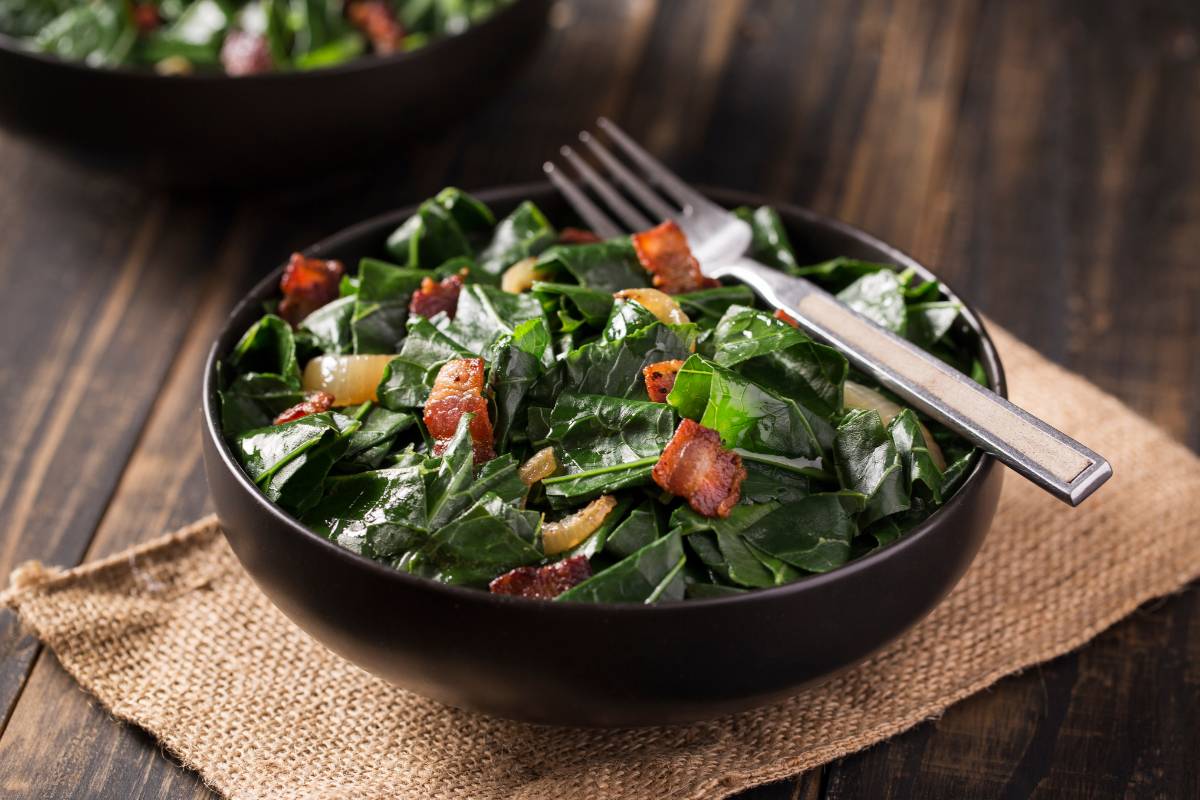
Recipe: Simple Collards with Bacon
Ingredients:
| 0.5kg fresh collard greens | 2 cloves garlic, minced |
| 1/2 tblsp extra virgin olive oil | 250 ml chicken stock |
| 4 slices of smoky bacon | salt and black pepper |
| 1 large white onion, chopped | 1 pinch of chilli flakes (optional) |
Method
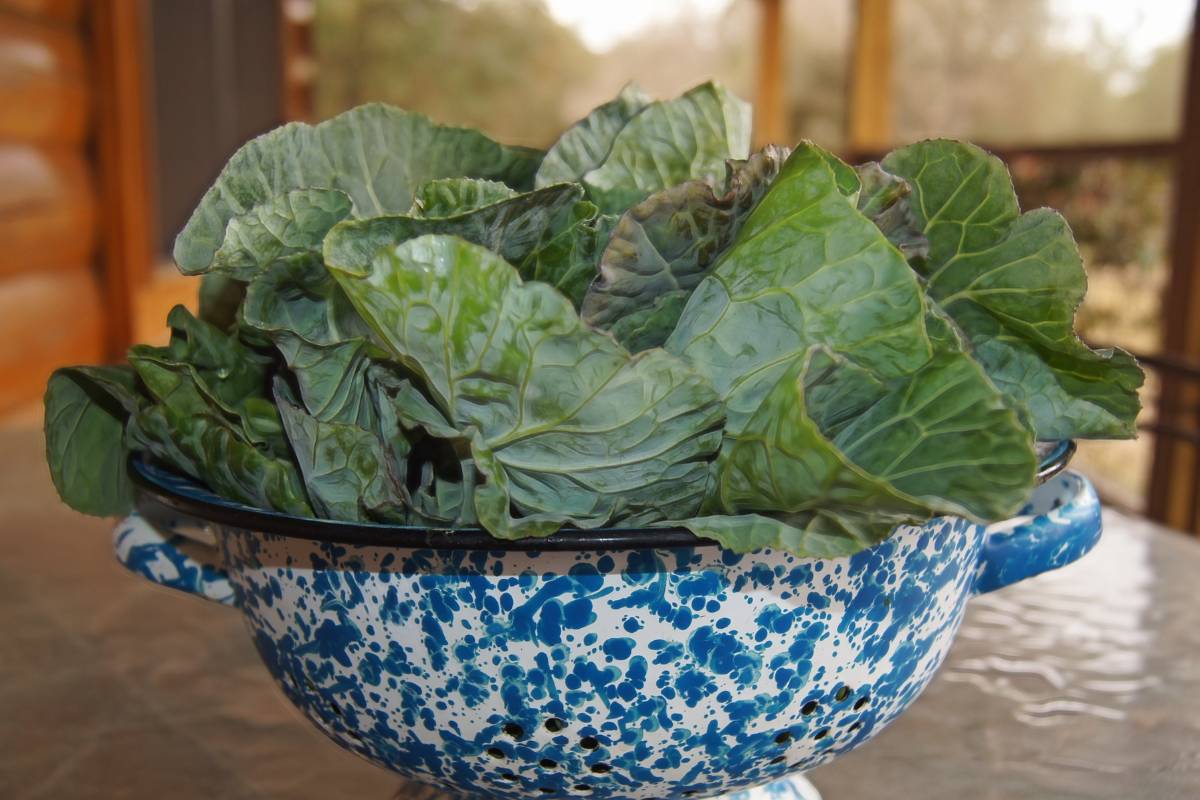
1. Clean and wash the collard greens by cutting off the roots, submerging them in cool water, gently stirring then draining off the water. Repeat the process until the water runs clear.
2. Cut the collards into 3 cm pieces.
3. Using a high-sided frying pan, heat the olive oil.
4. Add the bacon and cook until it’s crisp.
5. Remove bacon from the pan, drain it on paper towels and crumble it into small pieces.
6. Add the bacon bits back to the pan along with the onion and garlic.
7. When the onion is tender, stir in the collard greens.
8. Continue cooking until the greens wilt.
9. Add the chicken stock to the pan.
9. Season with salt, pepper and chilli flakes.
10. Simmer for 45 minutes or until the greens are tender.
Grow collards and add some Southern flavour to your menu while enjoying the many health benefits of this tasty and versatile vegetable.