Herb spirals are an idea originally borrowed from permaculture. Their clever design takes advantage of vertical growing, gravity and the different growing requirements of different types of herbs. The result is an efficient and compact herb garden that makes the best use of water and sunlight. Read on to learn more about herb spirals and to see if they’re an idea worth trying in your garden.
What is a Herb Spiral?
Herb spirals are a type of raised garden bed that, as their name suggests, are typically built in a spiral shape. The centre of the bed is taller than the surrounding layers, which circle down to ground level. The raised spiral design means that while one side of the bed will receive full sun, the other side offers a more shaded and protected growing space. Similarly, water drains from the top of the bed to the bottom, ideally into a small pond or swale, creating zones for dry tolerant herbs and those that need more water. The beds can be made from any natural material, most typically stone, bricks or timber.
Benefits of Herb Spirals
The raised spiral shape provides several microclimates in a single garden bed, making them suitable for growing a wide variety of herbs in a single space. For example, herbs like rosemary that need dry conditions and more sun can be placed on the north-facing side of the spiral near the top, while soft-leaved herbs like mint that need more shade and moisture can be placed lower down on the south-facing side.
Because of their vertical design, herb spirals are compact and efficient, making them especially well-suited to small gardens. The compact design ensures that harvesting the herbs easy, as all plants are accessible. Finally, herb spirals are easy to build and care for, and a budget-friendly option if repurposed or recycled materials are used.
How to Make a Herb Spiral
- Choose a sunny spot. Many herbs need at least 6 hours of sunlight per day.
- Dig over and weed the area, and rake it flat. If the herb spiral is being constructed on lawn, lay down a thick sheet of cardboard to smother weeds.
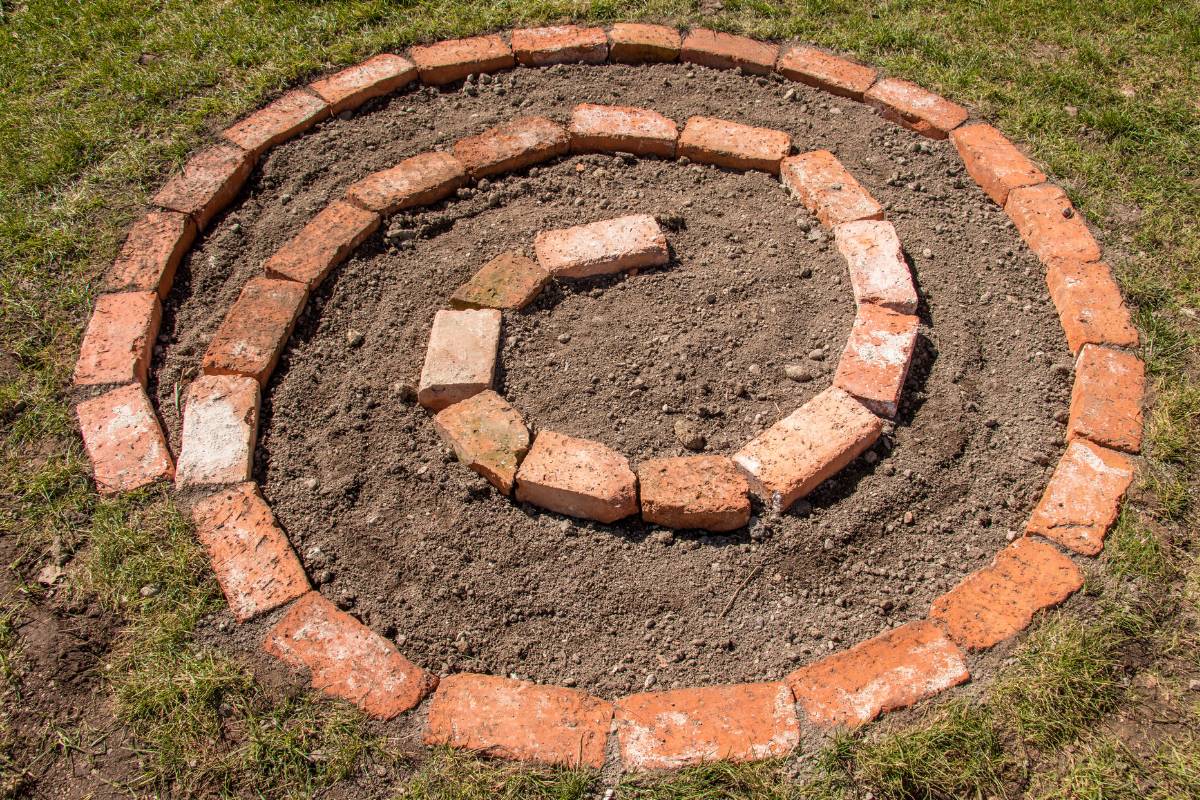
- Use a single layer of brick, stone or timber to lay out the shape of the spiral. While there’s no set size for herb spirals, a size of 1.5m wide and 1m high allows for easy maintenance and harvesting. Make sure that the outer end of the spiral is on the south side of the garden bed - this will create a shady microclimate where there is the most moisture.
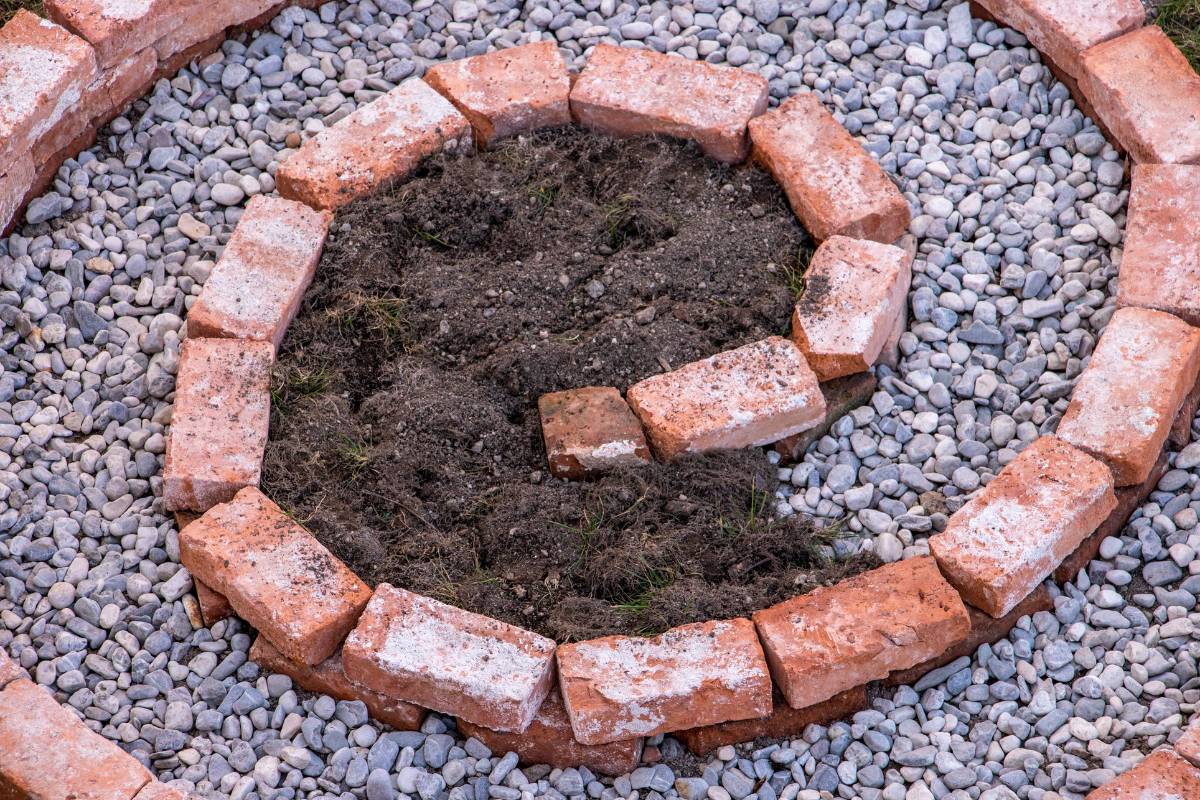
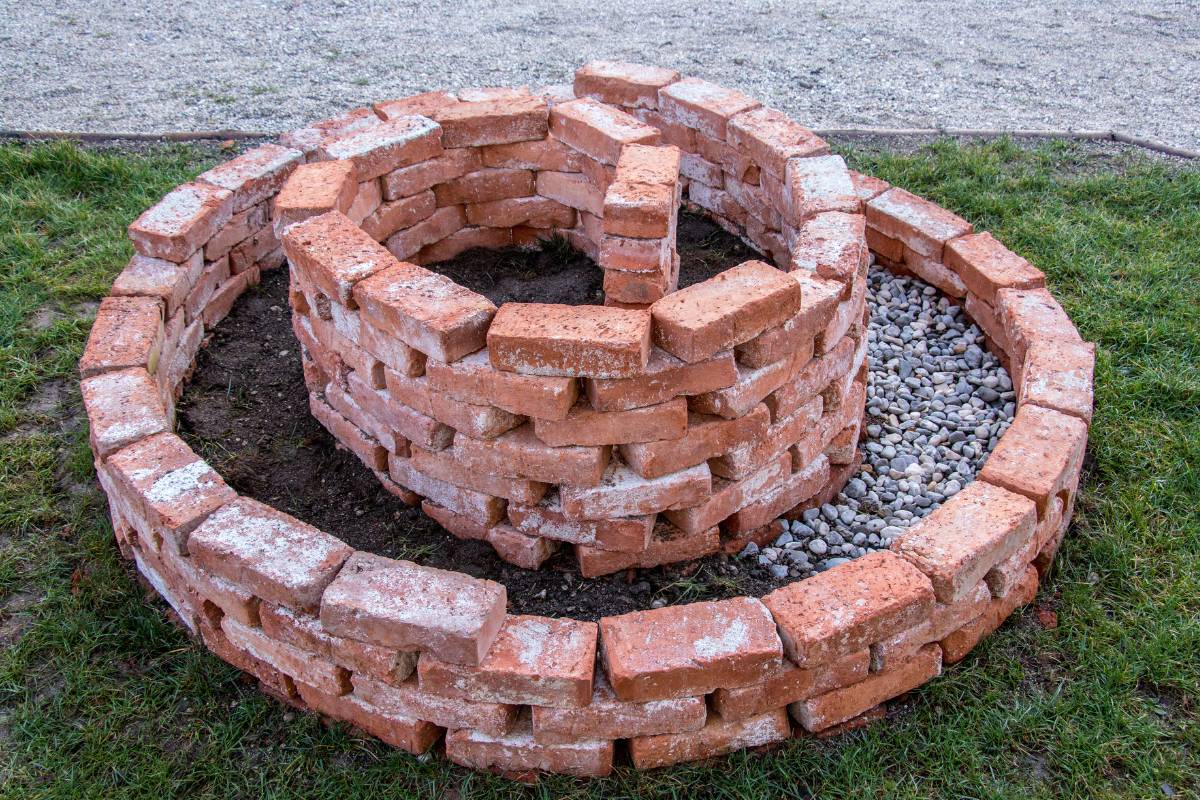
- Add more layers to the spiral so the height gradually increases towards the centre.
- Add a layer of gravel or scoria at the base of the garden to improve drainage.
- If desired, dig a swale or small pond lined with pebbles at the bottom end of the spiral to capture excess water.
- Fill the spiral with good quality soil, or a mixture of soil and compost.
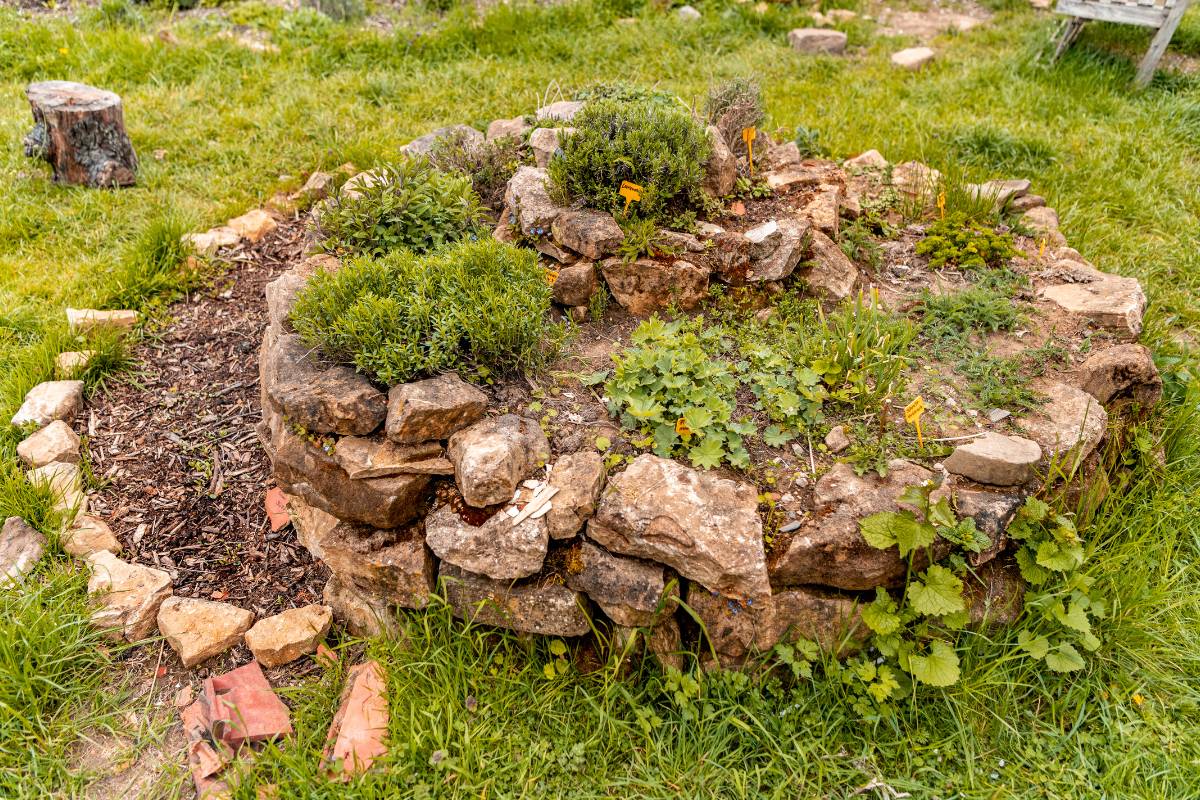
- Plant the garden with seedlings or seeds according to their preferred microclimate:
Position Microclimate Suggested Herbs Top and north side dry, sunny rosemary, thyme, oregano, tarragon, sage Middle and sides part-sun, medium moisture coriander, parsley, chives, basil Bottom and south side shady, moist mint, lemon balm - Water in well.
- Add organic mulch such as lucerne or sugar cane.
By following these simple tips, you can enjoy fresh herbs grown in a compact space and in ideal conditions.