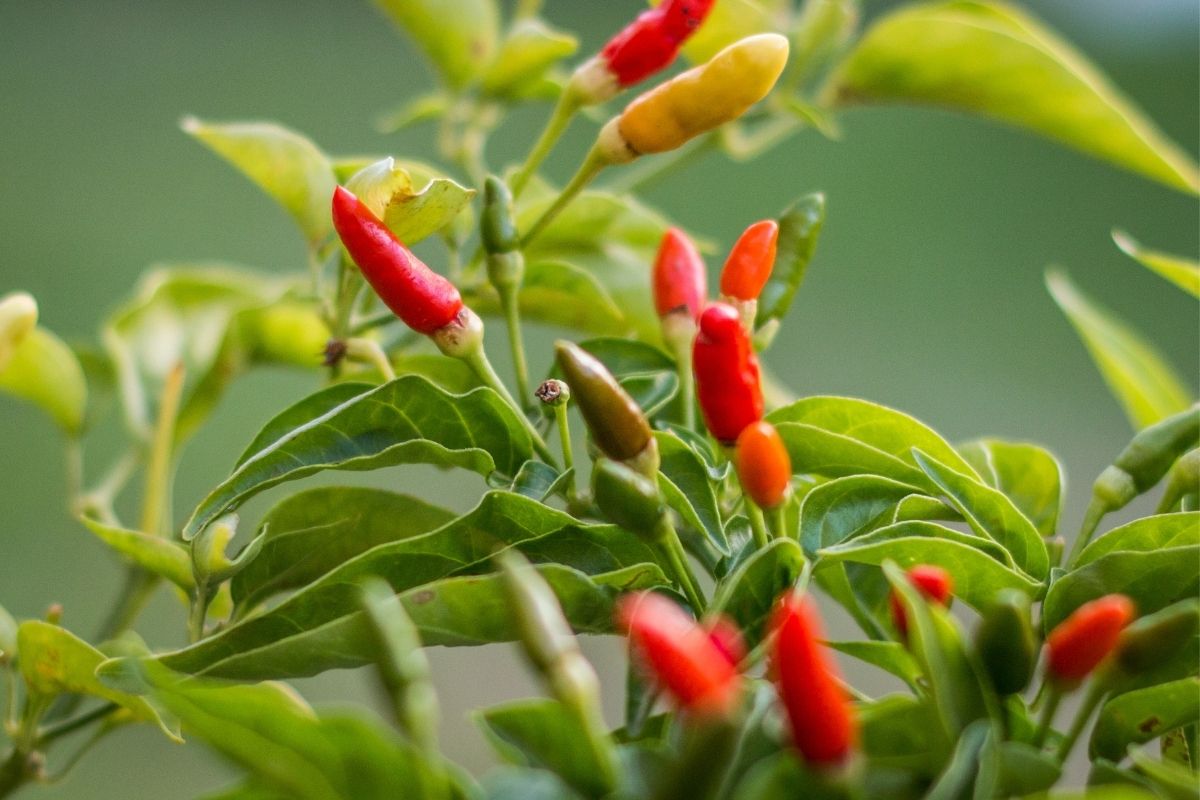
Chillies are one of the most popular vegetables to grow in home gardens. There are literally hundreds of varieties to choose from, in all sort of colours, shapes and heat ratings.
Chillies also have some of the easiest seeds to save. They're easily separated from the fruit and simple to dry, with no special equipment needed. Here’s what you need to know to give it a try.
1. Avoid Cross-Pollination
Chilli flowers are self-fertile and self-pollinating, meaning that a single bush can produce fruit without the help of bees or other insects. Even so, if you grow several varieties of chilli or capsicum close together, cross-pollination by insects may occur, meaning that the seeds you save may not grow to resemble the parent plant.
All chillies belong to the capsicum genus, but there are several individual species that are all commonly called 'chilli', including Capsicum annum, C. frutescens, C. chinense and C. pubescens. With the exception of C. pubescens, these species all have the potential to cross-pollinate with each other. While this is great if you want to discover a new variety of chilli, it's not desirable if you want your chilli seeds to grow and produce fruit similar to its parent.
Isolating varieties 200m from each other will guarantee seed purity but is not practical for most home gardeners. An alternative is to grow a taller crop between different varieties to discourage insects from transferring pollen from one to another. Better still, cover individual plants or branches with shade cloth or insect exclusion netting or bags before flowers open. The covering can be removed once fruit has developed from the flowers.
2. Harvest the Chillies
Caution: it’s a good idea to wear disposable gloves and even eye protection when handling chillies, especially the fiery hot varieties. Avoid contact between the chillies and your skin and eyes, and remember that it's the white membranes holding the seeds to the inside of the fruit that contain the most capsiacin, the compound that gives chillies their 'heat'.
Once you've grown the crop, the first step is to harvest the chillies. Make sure you’re harvesting from a non-hybrid variety, as the seeds of hybrids won’t grow true to type.
As with all seed saving, harvest the best quality fruit from the healthiest, most productive plants. Pick chillies when they’re fully ripe but the skin hasn’t shown signs of shrivelling or drying out. Each individual fruit contains a lot of seeds - probably equivalent to a packet’s worth - so don’t go overboard with the number of chillies you pick.
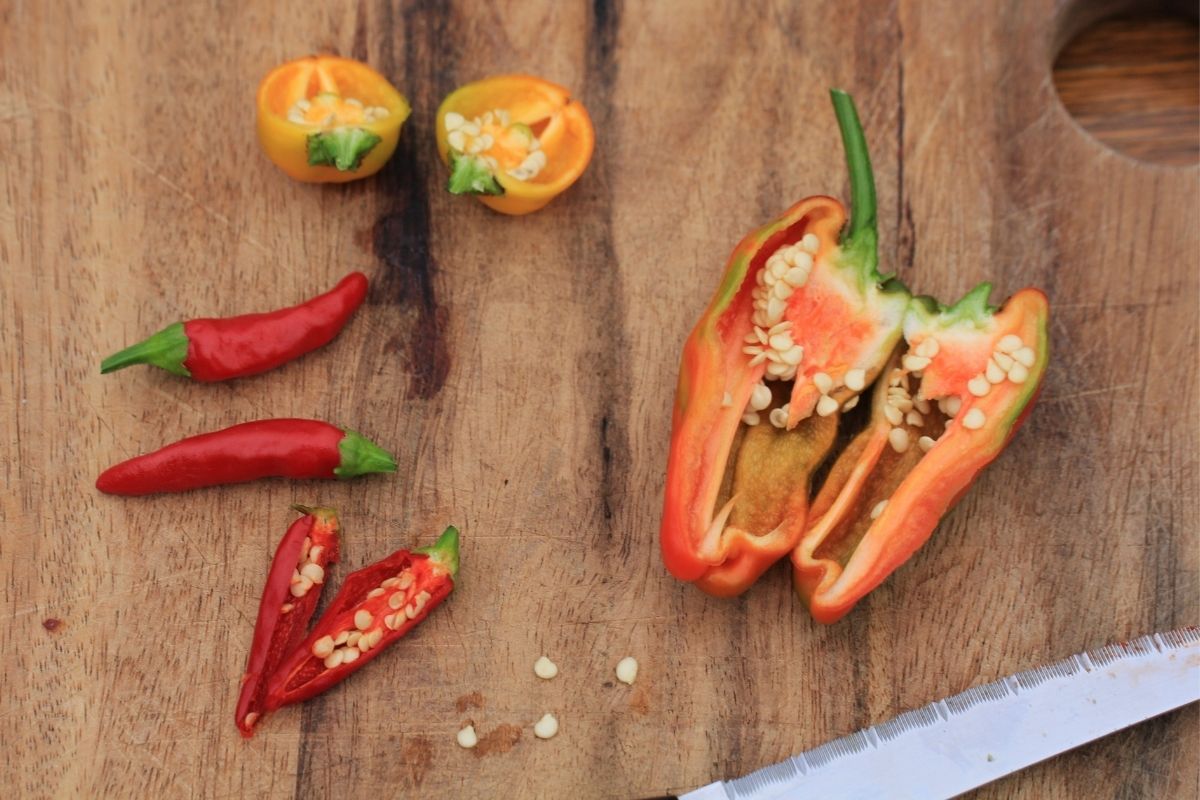
3. Remove the Seeds
Cut each chilli in half and remove the seeds, putting them in a single layer on a paper towel. You can leave the seeds attached to the white membrane that holds them to the fruit if you wish, or separate them totally so you have individual seeds.
If you have a large harvest, you can try separating the seeds from the flesh using a blender. Put the chillies in the blender and cover them with room temperature water. Blend on low speed for a few seconds at a time, removing any flesh that floats to the top after each blitz. The seeds will sink to the bottom of the blender. Once you’ve removed the flesh, strain the mixture so you’re left just with the seeds. Work in a well-ventilated area and wash equipment thoroughly after you're finished. (Note: this method should be used cautiously, use a dull blade and a low speed to avoid damaging seeds)
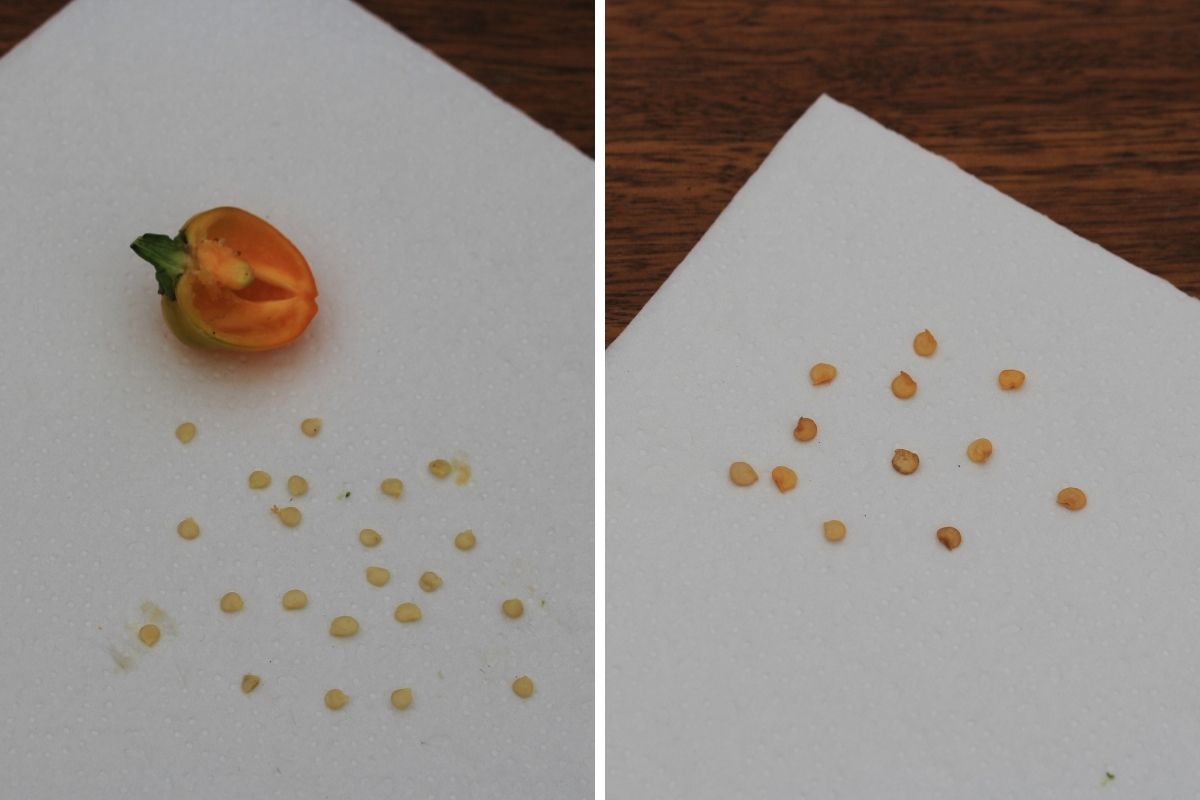
4. Dry the Seeds
Spread the seeds in a single layer on a paper towel. If the seeds are still attached to the membrane, spread them as thinly as possible (they will take a little longer to dry than individual seeds). If you’re saving more than one variety of chilli, label the paper towel so you can identify one variety from the next.
Place the paper towel in a warm, dry place out of direct sunlight for a couple of weeks. The seeds will be dry enough to store when they’re flat and dry to the touch. If you dried the seeds with the membrane intact, they should now fall off on their own or with some gentle movement. Remove any discoloured seeds, small pieces of flesh or other debris before storing the seeds.
5. Store the Seeds
Put the seeds into a seed saving envelope or zip lock bag, with a silicone pouch or a teaspoon of rice to absorb any excess moisture left in the seeds. Label the envelope or bag with the variety of chilli and the date you saved the seeds.
Store your seeds in a cool, dry place such as a cupboard, or for longer term storage, keep them in a sealed container in the fridge. Your seeds should be viable for 2 to 3 years, after which their germination rate will gradually decline.