Whether you’ve grown a plant from seed or purchased it at a nursery, you want to give it the best start when it’s planted out in the garden. Before you rush in, it’s worth learning a few basics to avoid transplant shock and other potential setbacks.
Settling a new plant into its new home without a hitch requires some care and a bit of know-how. Here's a simple nine-step guide setting out all you need to know to plant your plant.
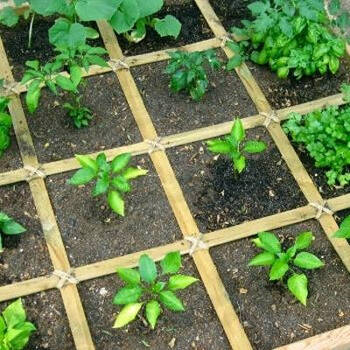
1. Choose Your Spot
Moving a plant is always a shock to its system, no matter how carefully it's done, and to ensure you don't need to repeat the process it's important to choose its new home carefully. Make sure the position you select has the right amount of sun, proper drainage, good soil quality and so on. This not only gives your plant a head start after transplanting, it will also provide the conditions it needs into the future.
2. Prepare the Soil
After choosing the best spot, it's important to prepare the soil as thoroughly as you can. Dig the area over to at least the depth of the plant pot plus 5cm to 10cm more, breaking up clumps and removing stones, while mixing in compost or fertiliser if needed. Now's also the time to remove any weeds and root pieces you find to help your plant settle in without competition.
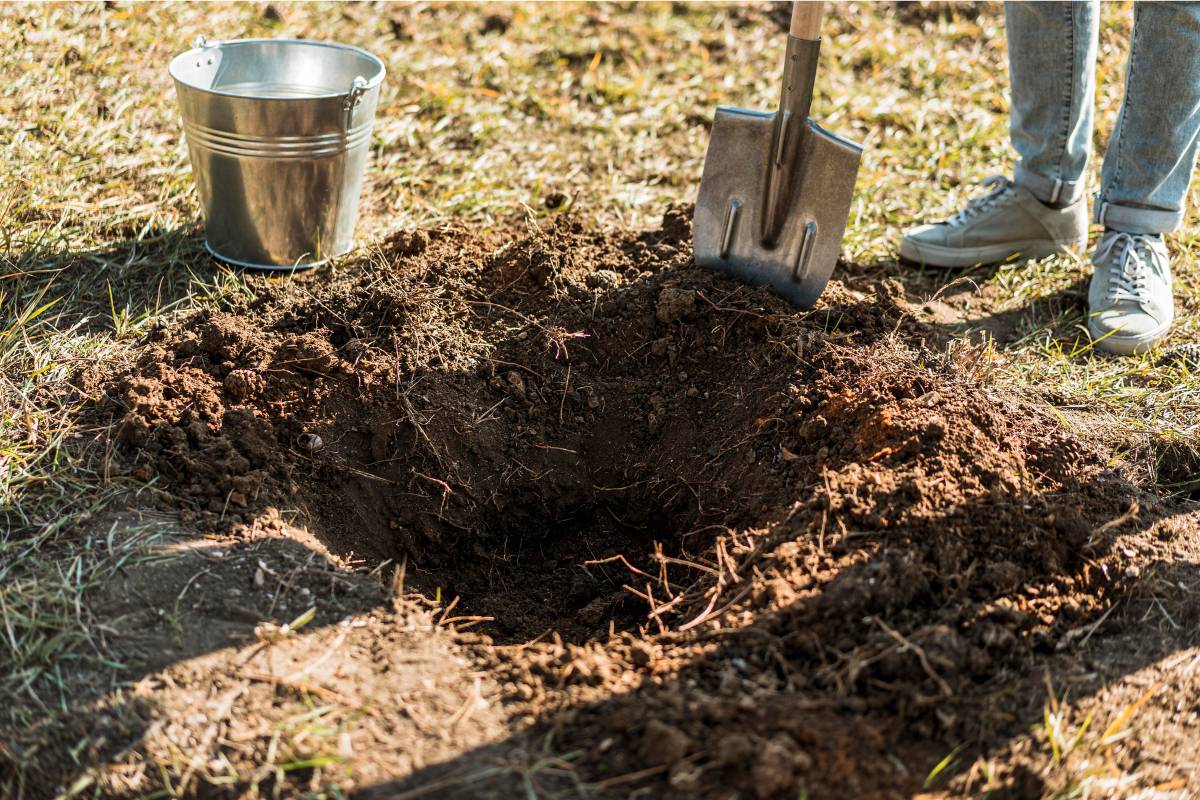
3. Dig and Soak the Hole
Next, dig the hole you're going to plant into, making it twice as wide as the pot and only a few centimetres deeper. The width is important to prevent roots circling around the hole and to make sure the soil around the root ball is loose enough to allow easy root growth outwards. The depth is important to ensure the plant's stem sits at the same height above the soil surface as it was in the pot. Importantly, keep the soil you've dug out for later use.
Once dug, fill the hole with water and let it drain fully away. This will let you check that drainage is good enough to avoid waterlogging while adding some moisture to the area around the planting hole at the same time.
4. Prepare the Plant
Ideally, leave plants in their pots in a sheltered position outdoors for a few days before planting them so they can get used to the conditions in their new environment. Keep the pots well watered so plants are unstressed and in good health before they’re planted out.
Just before planting, give the pot a final water to thoroughly soak the potting mix. This will hydrate the plants’ roots and help you to ease the plant out of the pot. If the potting mix seems particularly dry it's a good idea to sit the pot in a bucket of water for a few minutes, ensuring a full and even soaking.
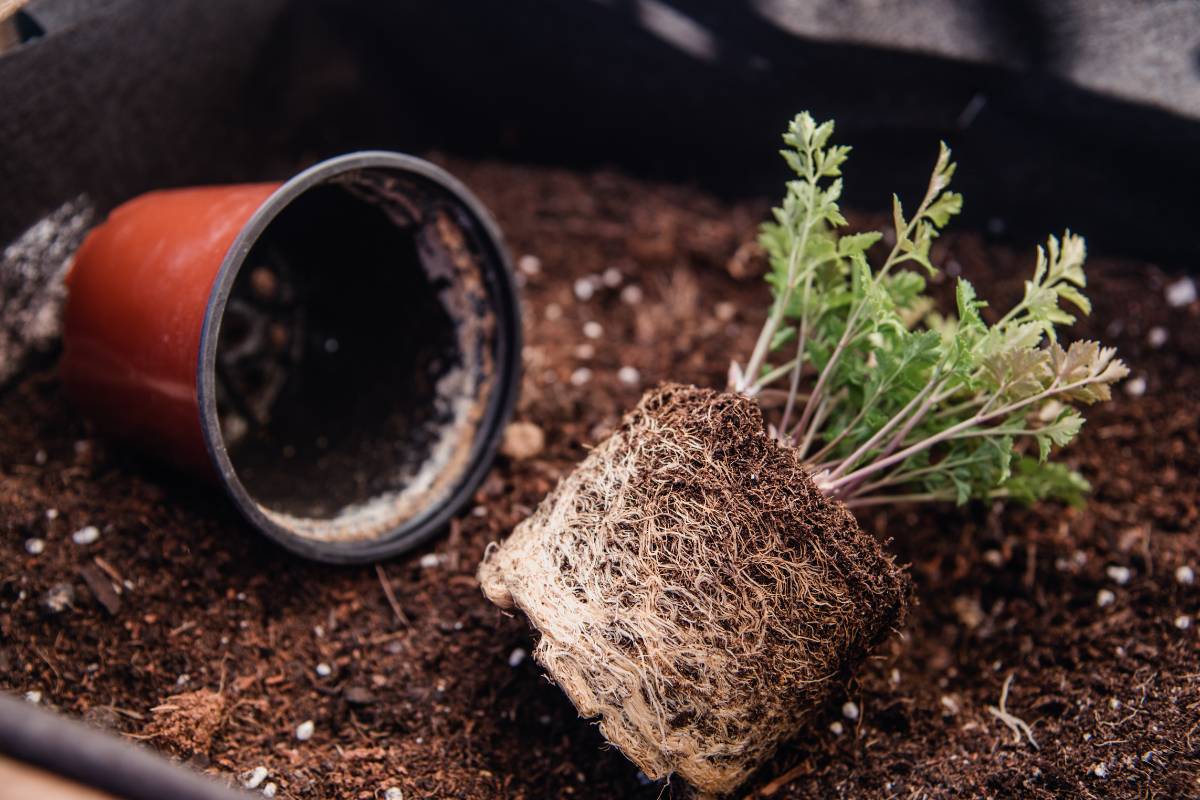
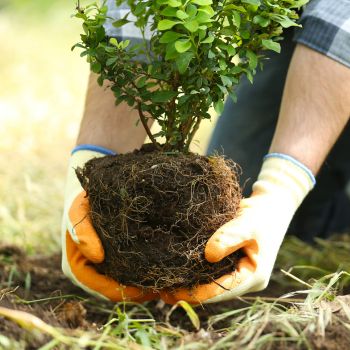
5. Remove the Plant from the Pot
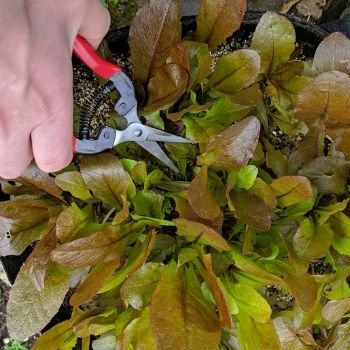
Before taking the plant out of its pot, check for roots coming out of the holes in the bottom, and either prune them off or free them up as best you can. Next, slowly turn the pot upside down with one hand while steadying the soil around the stem with the other, avoiding touching the plant as much as possible. The plant and its root ball should slide out under little more than gravity. If it seems stuck, tap around the outside of the pot to loosen the soil, give the pot a gentle squeeze, or carefully insert a thin, blunt object around the edges to free it up.
Next, inspect the roots of the plant. In some cases, there will be plenty of free soil around the roots. In others, there may be a tangle of roots circling around the outside. If this is the case, use your hands to untangle small roots, or use secateurs to cut through larger, circling roots. It’s better to have a slightly smaller root system that can grow freely outwards through the soil than to have a tight, restricted root ball that may not grow large enough to support the plant as it grows.
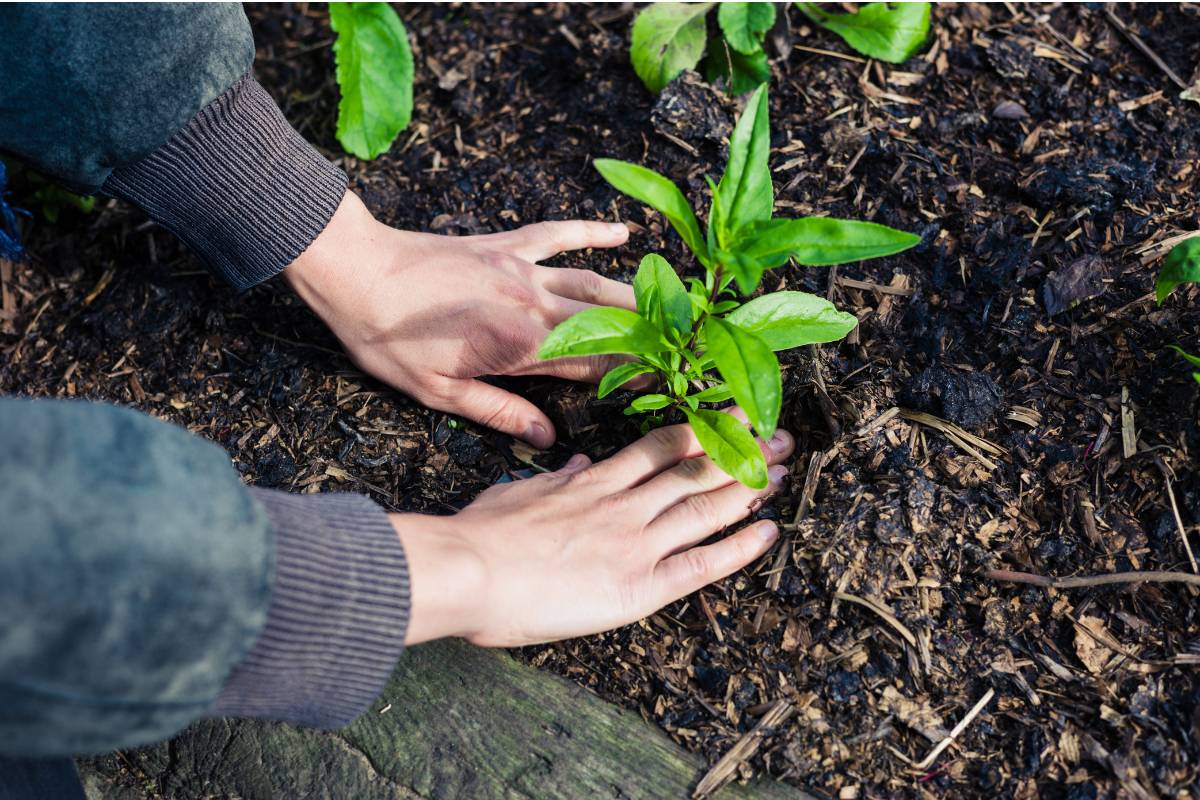
6. Transfer the Plant
Place the plant the right way up in the hole, again touching it as little as possible, checking that the soil surfaces are level. If in doubt, the plant can be a centimetre or so lower so that part of the stem is buried rather than leaving any roots exposed.
For grafted plants such as fruit trees, take extra care to plant at the same level as it was in the pot. It’s important that the graft union, where the top part of the tree meets the rootstock, is not buried.
Then stand back and have a look at your plant from a distance. Make sure its stem is straight and that it looks good in relation to the plants around it. You may want to rotate the plant slightly so its most attractive side is facing towards the front of the garden bed. Look from a couple of vantage points before you move on to backfilling the hole.
7. Backfill the Hole
Use the soil you've kept to refill the hole, working gently and keeping the plant as upright as possible. While it’s tempting to add new soil or fertiliser to the hole, using the soil you've kept earlier is the best option. If you use different soil with different drainage characteristics, you run the danger of either waterlogging or parching your plant. What’s more, you want to encourage root growth outwards from the planting hole; providing rich soil in the planting hole doesn’t do this.
If you’re concerned that your plant needs extra nutrients, wait a few weeks until it has settled into its new home and you see the first signs of new growth. Then apply compost, manure or fertiliser on the surface of the planting hole and surrounding soil.
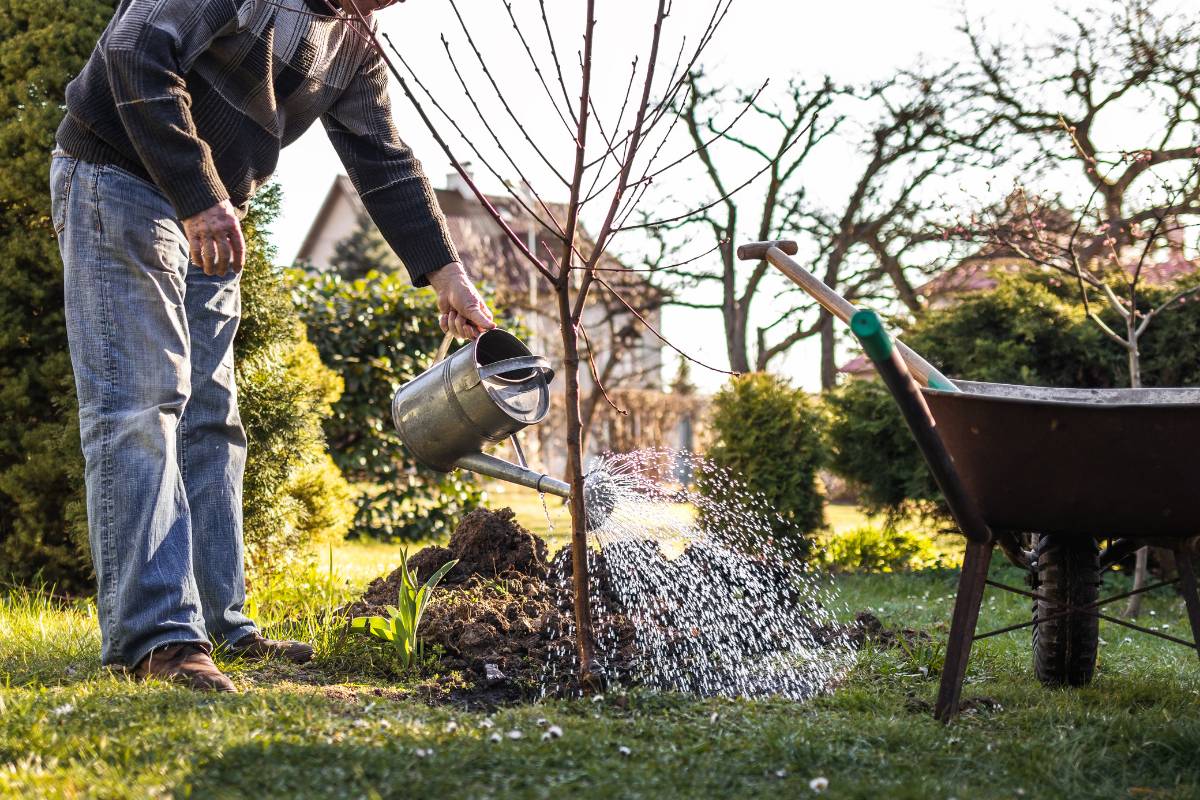
8. Tamping Down and Watering In
Once the hole is refilled, gently tamp down the surface to remove any air pockets without over-compacting the soil, then water well around the plant and the surrounding soil. Top up the soil as needed to create a level surface, then water lightly again. Keep to a frequent watering schedule over the next few weeks, erring on the generous side until growth has clearly resumed, showing that the plant has settled in. After that, return to your normal watering and feeding routines, as your plant should now be fully adjusted and happy in its new home.
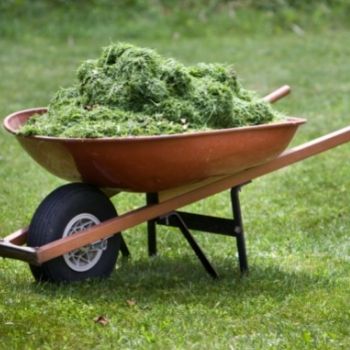
9. Mulching
It’s a good idea to mulch around your newly planted plant. Mulching will suppress weeds in the recently disturbed soil, hold in moisture and gently break down to feed the soil. Spread a 5cm to 10cm layer of mulch around the planting hole and surrounding soil, leaving about 5cm clear of the stem in all directions, and water in well.
By following these nine simple steps, you can confidently add new plants to your garden, ensuring that they will thrive in their new home. So go forth and plant!