Growing your own food doesn't need to involve sprawling vegetable patches or patios stuffed with containers. Microgreens offer an enticing combination of easy cultivation and delicious flavour, and growing them is a project you can take on no matter how much or how little space you have.
What are Microgreens?
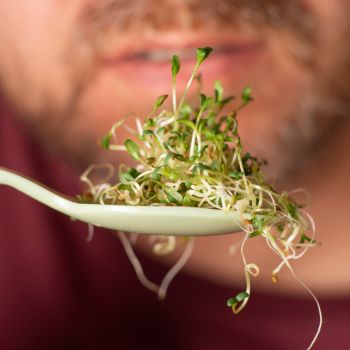
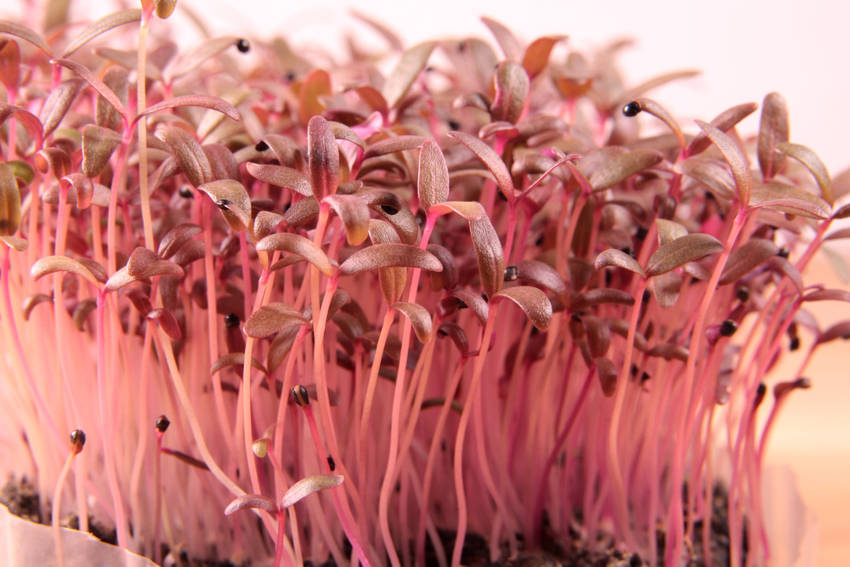
Simply put, microgreens are the very young shoots of edible plants, including salads, herbs, and vegetables. The seedlings are harvested shortly after germination when they're highly tender, full of youthful nutrition, and packed with vibrant colour and flavour.
How Do They Differ from Sprouts?
Microgreens have a lot in common with sprouts, but with several key differences. Whereas sprouts are germinated in water and eaten, seeds and all, before any leaves have formed, microgreens take the process a step further. They're planted in soil and are harvested only once the first pair of 'true leaves' has developed. Usually, but not always, it's only the stem and leaves which are harvested, leaving the root behind.
Perhaps the best-known form of microgreen is the childhood favourite of garden cress, grown in soggy punnets on windowsills around the world. However, there's far more to the microgreen arena than that.
Microgreen Advantages
Microgreens make an excellent crop for those with little time or space, but who still want to enjoy home-grown produce. They're also a great choice for growing a little extra produce out of season when outdoor veggie patches are recuperating before spring.
They take very little equipment or technique to grow, provide usable results within a fortnight or less, and they're a thrifty way of using up spare seeds when your vegetable patch is full to bursting.
But perhaps most important of all, they bring a huge amount of taste and interest to your kitchen and are highly nutritious to boot.
Which Plants Can You Grow as Microgreens?
The microgreen technique can be used for any plant whose roots, stems, and leaves are all edible. The great advantage is that by harvesting the seedlings so young, you can use plants such as carrots whose stems and leaves become tough and unpalatable in later life.
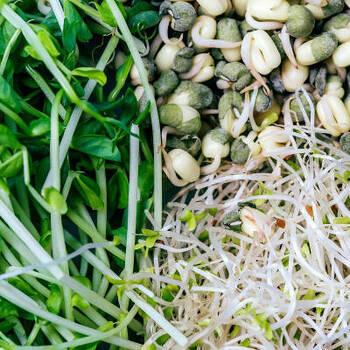
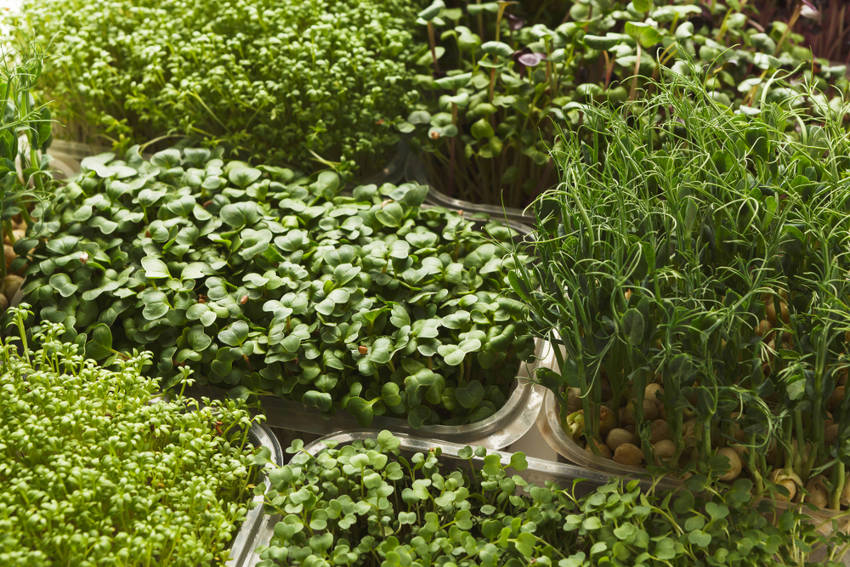
Although microgreen possibilities cover a vast range, some seeds are particularly popular, combining easy growth with excellent taste.
- Lettuce, rocket, mizuna, and other salad leaves.
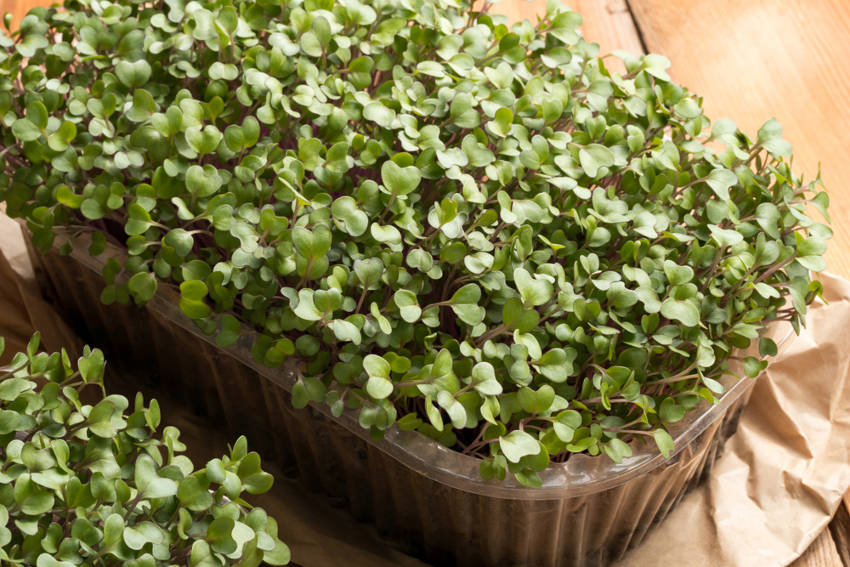
- Brassicas including cabbages, cauliflower, broccoli, kale, mustard, spinach, and watercress.
- Peas and beans.
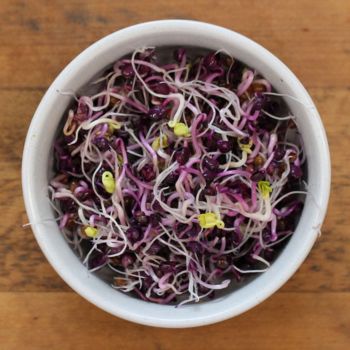
- Radishes of all kinds.
- Beets, carrots, and other roots, except for parsnips which have toxic foliage.
- Tender green herbs such as basil, coriander, and parsley.
- Wheat, barley, and other cereal grasses.
- Sunflowers.
It's important to avoid members of the nightshade family such as tomatoes, potatoes, and eggplants, as these have poisonous leaves at every stage of growth.
Lastly, it's best to use high-quality seeds that haven't been chemically treated. Because of microgreens' short growing time, any chemicals or other additives have no time to disperse or dilute before harvest.
The Method:
One of the great beauties of microgreens is that they're remarkably easy to grow, needing only a couple of weeks and some very basic equipment:
- A shallow container with drainage holes, such as a seed tray or a used fruit punnet.
- Paper towel to use as a liner.
- A growing medium such as seed compost, preferably sterilised to prevent fungus.
- A garden mister with filtered water.
- A sunny location such as a windowsill, or alternatively, a grow lamp or other wide-spectrum light source.
To get started, soak larger seeds overnight in a little warm water to speed up germination (it won't hurt to soak smaller seeds, but it'll make them more difficult to sow).
Next, line your container with a few layers of paper towel to help retain moisture without blocking drainage. Fill the container with approximately three centimetres of your growing medium, filling up to around three-quarters of the container height, then moisten the compost well without drenching.
Sprinkle the seeds liberally but evenly over the surface. Although larger seeds should be spread slightly further apart than smaller ones, there are no great issues around spacing as there are with plants grown to maturity - aim for a fairly dense covering but without the seeds actually touching.
Cover the seeds with a thin layer of soil, no more than a few millimeters thick, pushing larger seeds gently downward beforehand if needed. Mist lightly, then cover the container with a clear lid or plastic wrap, leaving gaps for the air to circulate.
Place the container in a sunny spot or close to a suitable light source. In poor light levels, the germinated seeds will quickly grow 'leggy' and spindly. While this is undesirable in any plant, it's particularly bad news for microgreens: there's no time to correct the problem by growing on in better conditions, and your final crop will be weak, pale, and relatively tasteless. On the other hand, take care that the tender seedlings don't scorch through excessively strong direct light.
Mist the surface at least once a day to prevent the seeds drying out, but be careful not to waterlog the soil as this risks rotting the seeds.
Once the seeds have germinated, you can remove the container cover. Continue misting at least daily until the seedlings are ready to harvest.
How to Harvest Microgreens
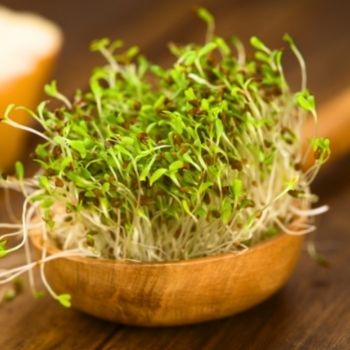
Microgreens are ready to harvest once the first 'true leaves' have developed and gained a healthy colour. Depending on the plant variety, the seedlings will generally be between two and six centimetres high.
This is the prime time to pick the seedlings as their taste and nutrient levels are at their highest, although you can leave them to develop further. However, the longer you leave them, the tougher they'll get, the less delicate the flavour, and the higher the chance they'll bolt to seed thanks to the dense sowing.
To harvest, either cut each stem with scissors just above soil level, or pull the entire seedling out, roots and all, before washing gently in filtered water and patting dry.
The first harvest method is usually preferable as it risks less harm to the delicate seedlings, and it also offers the chance of a second harvest with some cut-and-come-again seeds.
Always harvest as soon as possible before eating, as microgreens will quickly wilt and lose their flavour once cut. Any cuttings you don't use can be stored in a sealed plastic bag in the refrigerator, but don't expect them to last more than a day or so.
How to Use Your Harvest
Microgreens aren't going to fill many hungry stomachs, but that's really not the point of growing them. Instead, they add interest, colour, texture, and most of all flavour to any dish. They're perfect as a garnish, added to hot or cold salads, sprinkled into light summer soups, or simply used to perk up a lunchtime sandwich.
But however you use them, remember that microgreens' strong points are their fresh crunch and taste, so always use a light touch with both heat and competing flavours.
Dining fashions come and go, and in recent years it's definitely been microgreens' turn to enjoy the limelight in modern kitchens. However, they're far more than a passing fad, and their simple deliciousness means they're worth a place in the sowing timetable of any food-loving gardener.
Browse our range of microgreen seeds.
Browse our range of microgreen seeds.