Growing your own food is a hugely satisfying achievement for any gardener with a keen sense of taste. But that doesn't need to mean hours of digging in a muddy potato patch, or months spent tending tomatoes toward ripeness. Bean sprouts and other sprouting seeds are a quick, easy, and rewarding way of putting home-grown produce onto your plate.
Why Should You Grow Sprouts?
Sprouting seeds is extremely straightforward, and something anyone can do at home. You don't even need a sunny windowsill, far less a vegetable patch. No specialist equipment is required, and although the process itself takes a little time, care, and attention, you can have an edible harvest within just a few days.
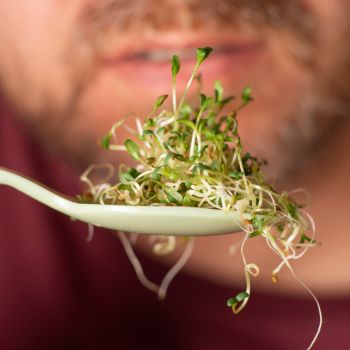
What's more, sprouts offer an excellent combination of health and taste, packing all the nutrition and flavour of a mature plant into a versatile, crunchy vegetable that you can use in salads, stir fries, soups, and more.
Which Seeds Can You Sprout?
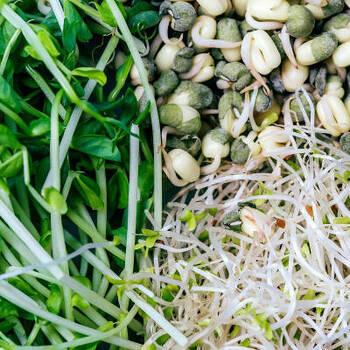
Almost any seed which produces edible adult plants can be used for sprouting, some of the most popular sprouting seeds include:
- Mung bean, the most widely known sprouting legume and featured in favourite stir fries the world over.
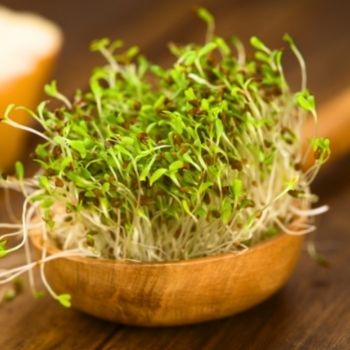
- Alfalfa, mildly flavoured but with a great crunchy texture, ideal for salads.
- Snow pea, vibrantly fresh and excellent raw or stir-fried.
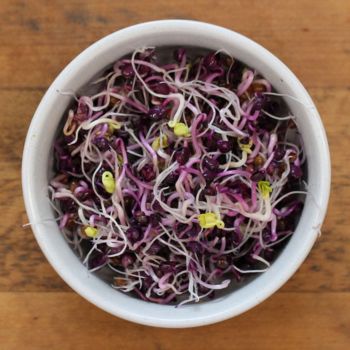
- Radish, deliciously peppery although milder than you might expect.
- Broccoli, a nutty flavour with gentle pepper hints.
- Wheat, sweet-tasting and an excellent source of dietary fibre.
- Fenugreek, aromatic and a little bitter, you'll either love it or hate it.
Whichever type of seed you decide to use, it's important to use ones specifically described as suitable for sprouting. Depending where you got your seeds from, sometimes seeds are chemically treated to prevent fungus and rot, and some even have added insecticides. The short growing life of sprouts means that any chemical residues have no chance to dissipate, and so only non-treated seeds should be used. Don't be tempted to sprout leftover seeds whose history you can't vouch for.
Sprouts Growing Guide
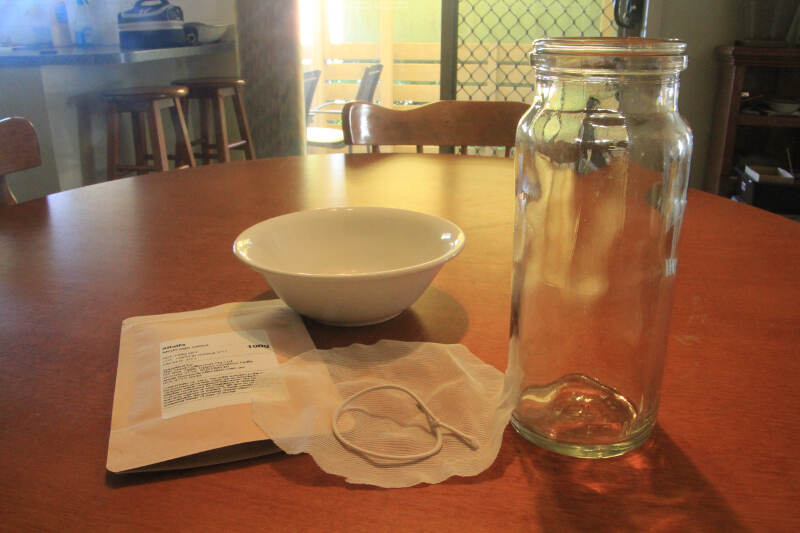
Serious sprouters can buy specially designed jars with a mesh lid to make draining easy, but to begin with you can use common household items and achieve equally good results. You'll need:
- A glass jar, such as a large jam jar. It should be big enough that your seeds take up no more than a fifth of the volume.
- A piece of muslin, stocking material, or other fine linen to use as a cover.
- A rubber band to hold the cover in place.
- A shallow bowl, such as a dessert bowl, for draining.
- Two or three teaspoons of small seeds, or more for larger types.
- Filtered water is recommended at all stages.
The Method:
- Before starting, pick over your seeds to remove damaged ones along with any grit or debris, and then rinse clean using water and a fine sieve.
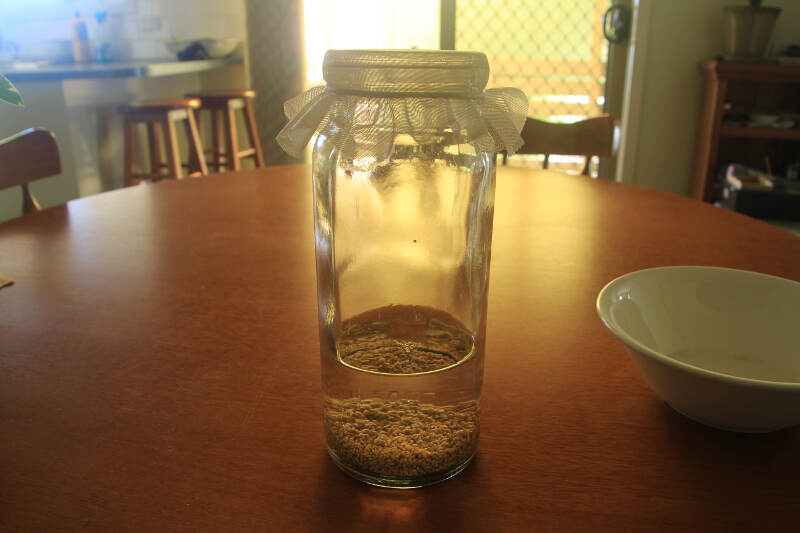
- Put the seeds into the jar and cover with approximately four times their volume of water, filling the jar to no more than three-quarters full. Cover the jar with the muslin and secure with the rubber band.
- Put the jar in a cool, shaded place with good air circulation - a cupboard is ideal, but anywhere out of direct sun is fine. Leave the seeds to soak for between eight and twelve hours. As a general rule, the seeds should double in size during soaking.
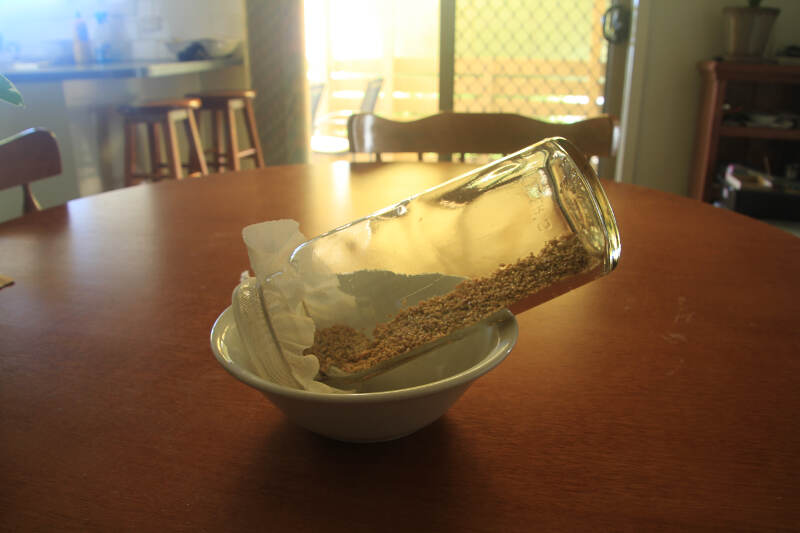
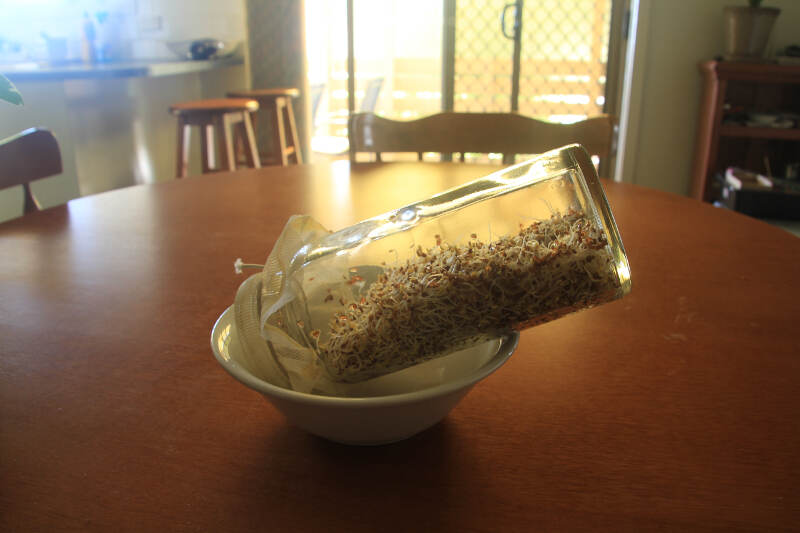
- After soaking, drain the seeds by upturning the covered jar. Rest upside down at an angle in the dessert bowl so that the seeds can fully drain - they need to stay damp, but will begin to ferment if left standing in water. Fermented sprouts can be a fast route to a stomach upset or worse.
- Once the seeds are properly drained, return the jar to the cupboard.
- At least twice a day, fill the jar with cold water and drain. This rinses away any bacteria or fungus traces which can spark fermentation while at the same time gives the seeds the moisture they need to continue growing. Rinsing should be done more often in warmer weather.
Keeping the sprouts in the dark throughout the whole process will produce sweeter shoots, but you can also put the jar on a sunny windowsill for the final day to give a greener, stronger-tasting result.
Harvesting Your Sprouts
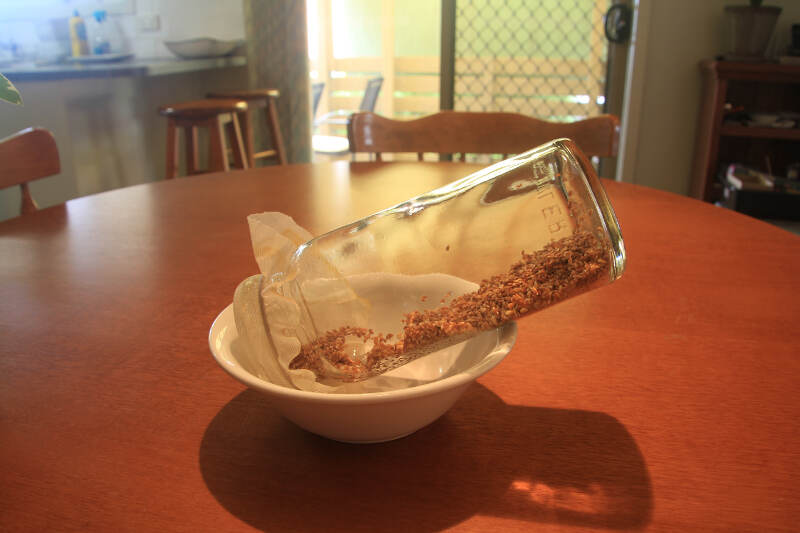
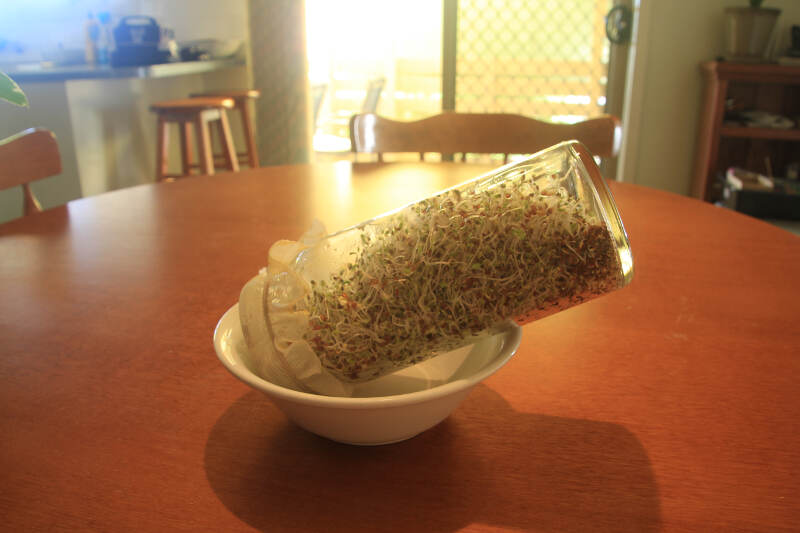
After around three days of repeated rinsing and draining, your seeds should have sprouted. They're ready to harvest from when the sprouted tail is the same size as the original seed. Grains can be used now, while legumes and other seeds can be left to develop for a day or two longer - try sampling a sprout at regular intervals until they've reached the right taste and texture point for you. However, you should always halt the sprouting process before any leaves develop.
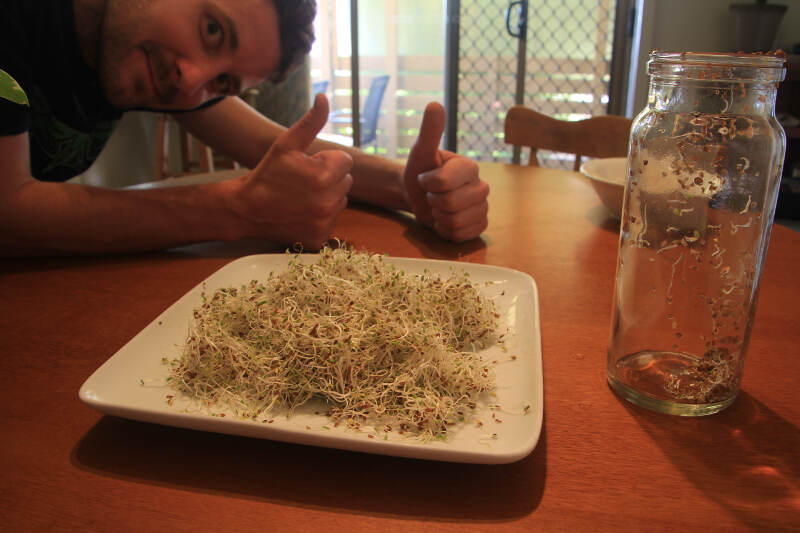
Once they're ready to harvest, give the sprouts a final rinse, and drain them thoroughly. Take the sprouts from the jar, discard any unsprouted seeds, and leave to dry on kitchen paper. Damp sprouts won't store well, quickly turning slimy or mushy.
Use the sprouts as soon as possible, although they can be kept for three or four days sealed in the refrigerator. Discard immediately if there any signs of mould or any unpleasant smell. Ideally, grow small batches at staggered intervals so you can always eat the sprouts at their freshest.
Using Your Sprouts
Most sprouts can be eaten raw or cooked, although soybean sprouts require cooking to break down the toxic proteins they contain. In general, don't eat any raw sprouts where you couldn't also eat the uncooked mature plant.
However, the good news is that nearly all sprouts are delicious in stir fries, soups, or served as a simple steamed vegetable. The exception to this is alfalfa, which degenerates into an unappetising mush after only a little heat. Other seeds can start to turn slimy if overcooked, so in general keep cooking times to a minimum to retain the crunch and flavour.
Before using any type of sprout for the first time, give one a taste test. A few seeds such as wheat or sunflower can have bitter roots, so these will need to be snipped off before using. However, the vast majority of sprouts can be eaten whole.
Despite their usefulness in cooked dishes, perhaps the most common way of serving sprouts is as part of a fresh salad or sandwich, particularly dressed with Asian-style flavourings such as lime and chilli. For best results, grow a range of different sprout types as each has its own flavour and texture, and mixing several makes for an impressive and interesting meal.
Delicious though they are, the mung bean and alfalfa sprouts typical of supermarkets offer only a hint of what sprouting can do for your plate. Growing your own lets you try a vast number of alternatives, and it costs very little to experiment. It's easy and quick, and once you start your sprouting adventures you'll wonder why it took so long to begin.
Browse our range of sprouting seeds.

Browse our range of sprouting seeds.