Germination is the essential first step for growing your own plants from seed. And while most seeds will germinate reliably, any failure can be both disappointing and discouraging, especially for gardeners with less seed-sowing experience.
Testing the viability of a seed batch before putting the seeds into the ground lets you discover any potential problems early on, preventing you from putting your time and effort into growing seeds that may not be viable or may give disappointing results.
The quickest, easiest and least expensive way of testing seed viability is to use the DIY paper towel method. Start a few days to weeks before the recommended sowing time so you get your results before it's time to sow the seeds. Here's what to do.
Why Test Your Seeds?
When you test seeds, you can provide the ideal conditions for germination, ruling out the effects of bad weather, soil-borne disease or other environmental factors. If it fails, you know that it's the seeds that are likely the problem rather than any 'user' (or gardener) error. Newly bought seeds shouldn't need testing, but there are four common scenarios where taking the extra step makes a lot of sense.
- If you've got old seeds that you've kept for a couple of years or that have passed their packet's sow-by date. They may still be viable, but it's not guaranteed.
- If you have seeds of unknown age, for example, ones donated by a fellow gardener without proper labelling.
- If the seeds haven't been stored in ideal conditions, such as in direct light or high humidity.
- If you've saved seeds from your own plants and want to check that they're good to sow before trusting your next crop to them.
Which Seeds Can Be Tested?
Most seeds can be tested using this simple paper towel technique. However, seeds that take an especially long time to germinate are at risk of going mouldy before the test is finished. Similarly, seeds that need soaking, stratification or scarification before sowing may rot before germinating successfully. These more difficult seeds can be sown in vermiculite to test for viability, but for all other seeds, the paper towel technique is the quickest and most straightforward way.
How to Test Seeds Using the Paper Towel Method
As well as the seeds you want to test, you'll need four common items which can be found in a typical kitchen or a gardener's toolset:
- A double sheet of paper towel
- A plastic bag such as a zip lock or freezer bag
- A permanent marker or pencil for labelling
- A garden sprayer or mister
For seeds that usually need sowing beneath the soil's surface, follow these eight simple steps to complete the test.
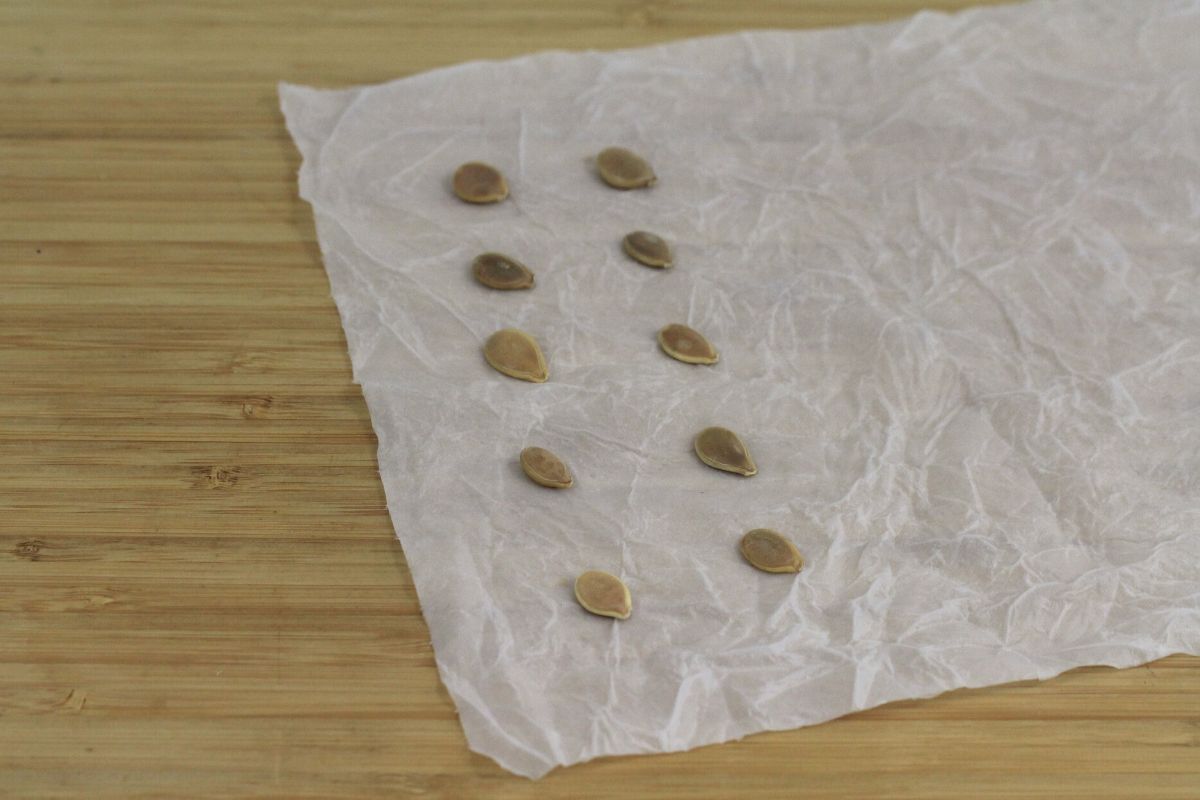
- Spray the paper with water so that it's evenly dampened but not dripping wet.
- Place 10-20 seeds on one half of the paper, ideally in neat-ish rows for easier counting, but smaller seeds can be simply scattered and spread apart using tweezers.
- Fold the paper over to cover the seeds.
- Roll it up into a tube.
- Put the tube in the plastic bag, sealing loosely, and labelling with the seed type and date.
- Keep the bag out of direct sunlight and at a temperature as close as possible to the germination requirements for that particular seed.
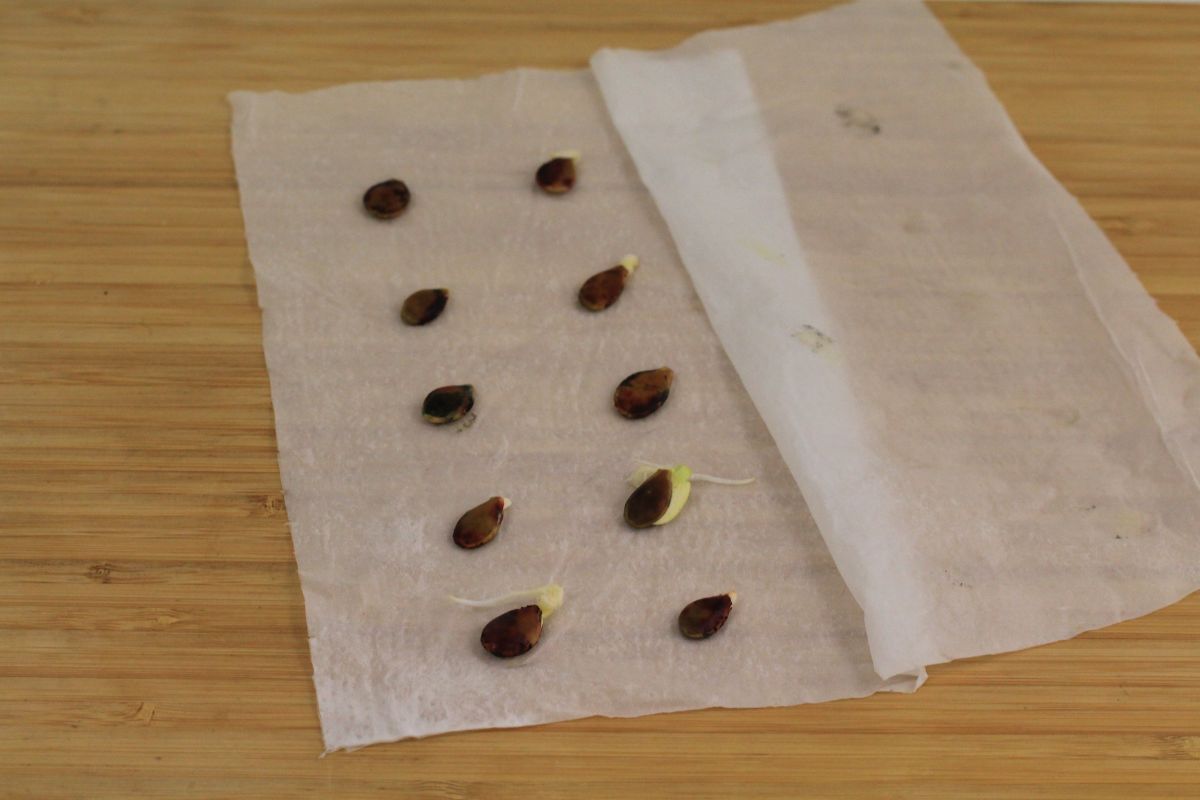
- Check every couple of days to make sure the paper hasn't either dried out or gone mouldy, both of which will spoil the test.
- Once the expected days-to-germination period is nearly over, check more often for sprouting. When it seems that all the seeds have either sprouted or won't now do so, the test is completed.
For those surface-sown seeds which require light to germinate, such as lettuce, testing is even easier. Simply place the seeds on the dampened paper sheet and leave uncovered in a well-lit place, misting regularly to stop the towel from drying out. You can also use plastic cling film to cover the seeds, which helps to keep the paper towel damp without blocking out the light.
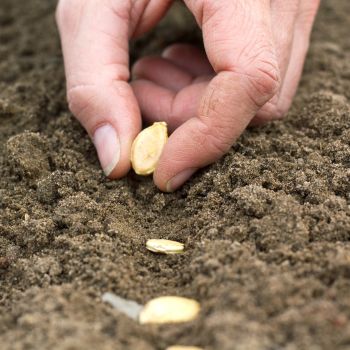
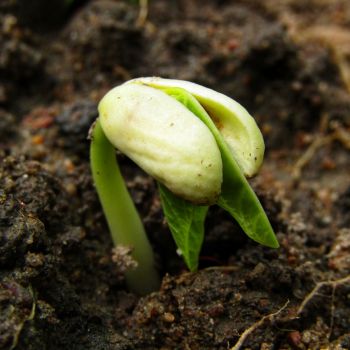
In both cases, any sprouted seeds can later be carefully transplanted into seed raising mix once they've sprouted. If you avoid damaging the delicate first roots, they should continue to grow on as normal.
Calculating the Germination Rate
Before planting the sprouted seeds, calculate the germination rate so you have a precise idea of the batch's viability. To do this, count the number of seeds with emerging radicles, or roots. Divide this figure by the total number of seeds tested, and multiply by 100 to give the germination rate as a percentage.
For example, if 7 out of 10 seeds sprouted, the calculation is 7/10 X 100 = 70%.
For most common veggies, a germination rate of 70-80% or more means the seeds are still perfectly viable and can be sown as normal. Flowers, many native plant varieties and some kinds of 'wild' herbs have naturally lower germination rates, but they should still be around the two-thirds or more mark.
If the figure for veggies falls to 50-70%, you can still use the seeds but sow a few extra for insurance, thinning the seedlings later if necessary. Alternatively, use these slightly less viable batches in seed bombs where predictable germination isn't necessary, or densely sow suitable varieties as microgreens where low sprouting rates won't matter.
However, once the rate falls much below 40%, it's best either to dispose of the seeds or use them with a 'nothing to lose' attitude where failure to germinate won't be a disappointment.