Sowing seeds doesn't always need to be about precision, carefully measured sowing depths or fussing over temperature and watering. Sometimes, it's fun - and effective - to take a more unstructured approach, especially when sowing large numbers of small seeds such as wild flowers.
DIY seed 'bombs' are an unusual way of sowing these kind of seeds. Not only do they provide good conditions for the seeds to germinate, but making them is also a fun project that's ideal for filling up school holidays or for creating eco-friendly gifts.
What Exactly Are Seed Bombs?
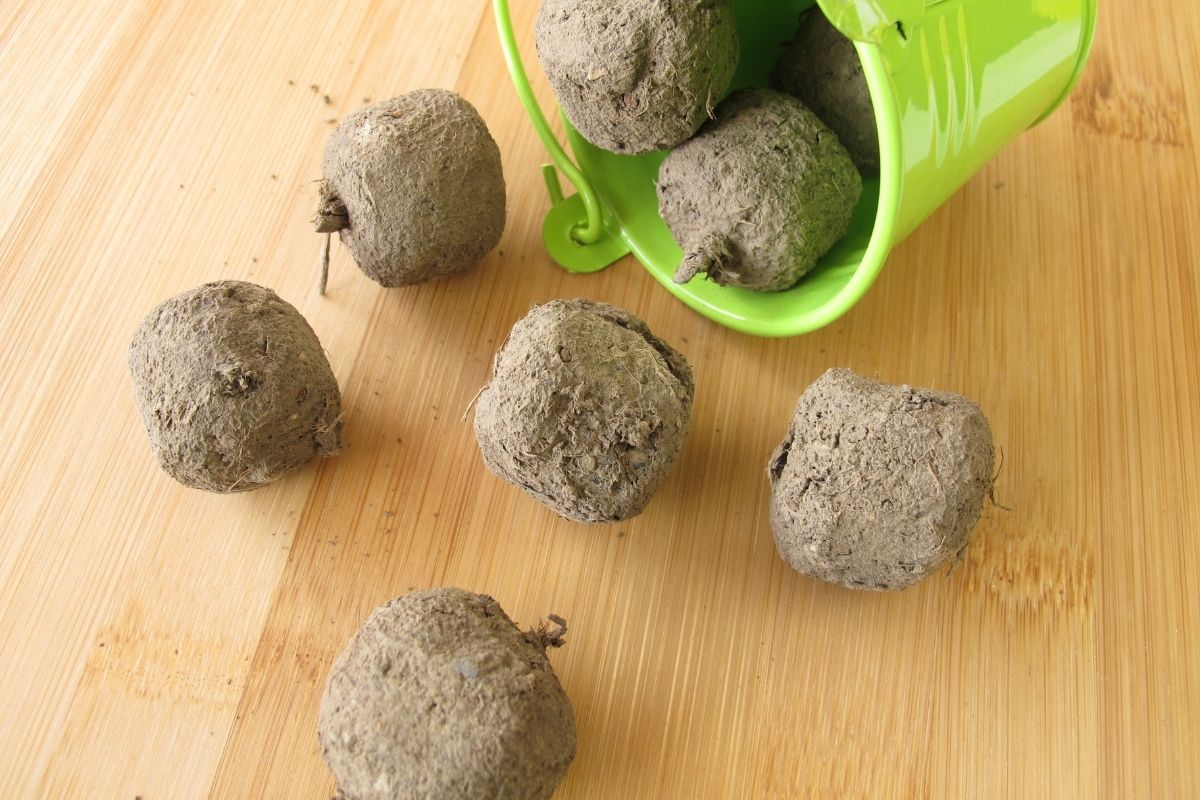
Despite the rather dramatic name, seed bombs are simply marble-sized balls of clay embedded with several seeds. They are an unusual way of reseeding larger garden areas, or can be used to start off groups of plants in a pot.
Compared to simply scattering handfuls of seed, using seed bombs has several advantages. The clay surrounding the seeds helps protect them against hungry wildlife, shields them a little against extremes of temperature, and weighs them down so they don’t blow away in the wind. And once rain arrives to 'explode' the bombs, the clay and soil mixture gives the seeds the perfect start for germination.
Which Seeds Are Best for DIY Bombs?
Seed bombs are a relatively hands-off and uncontrolled method of sowing, so it's best to use seeds that are naturally easy germinators. Also, avoid seeds that are too large as they can be damaged while rolling the clay balls. Bearing these two points in mind, some of the best seeds to use include:
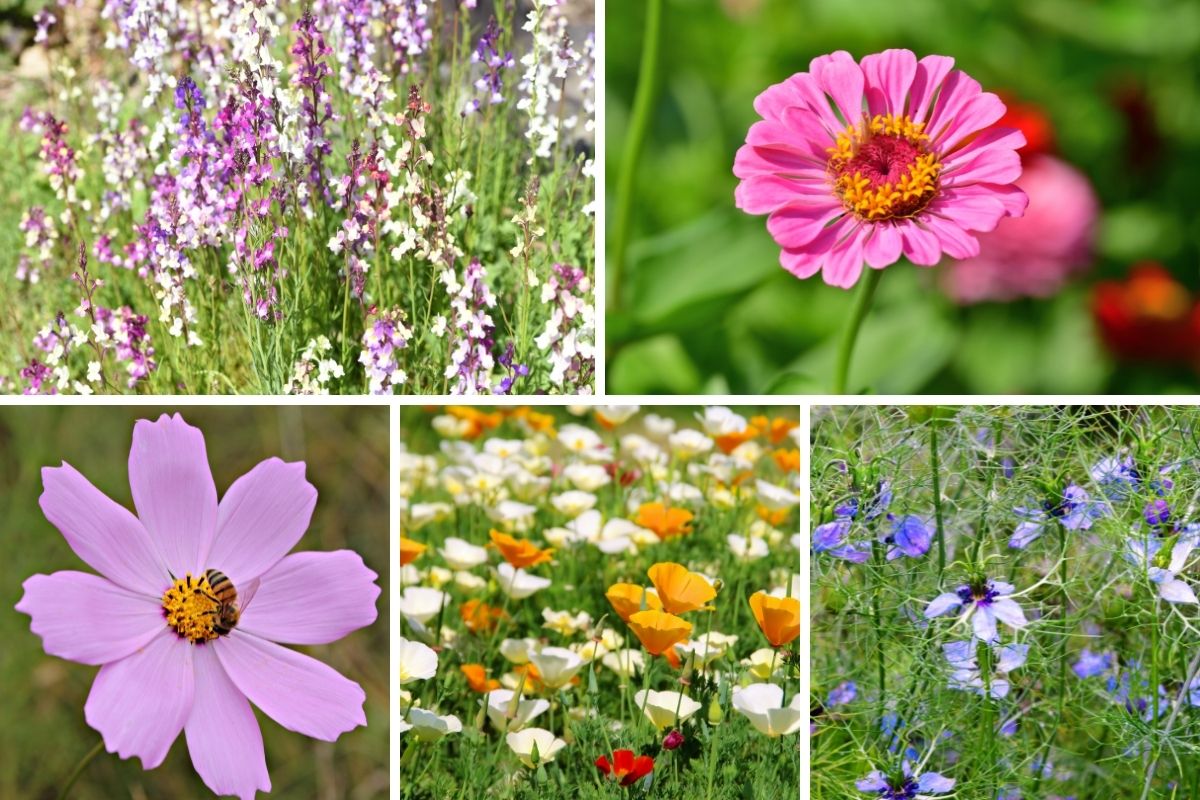
- Native wildflowers such as everlasting daisies or brachyscome.
- A meadow mix of cosmos, zinnia, alyssum, linaria, California poppies and nigella.
- A mix of fast-growing leafy herbs and salad greens including basil, dill, rocket, mustard and radish.
Whichever seeds you use, seed bombs are a great way to use up a mix of left-over seeds that would otherwise be left languishing in their packets.
Making DIY Seed Bombs: What You'll Need
Here's the basic recipe:
| ¼ to ¾ cup of seeds |
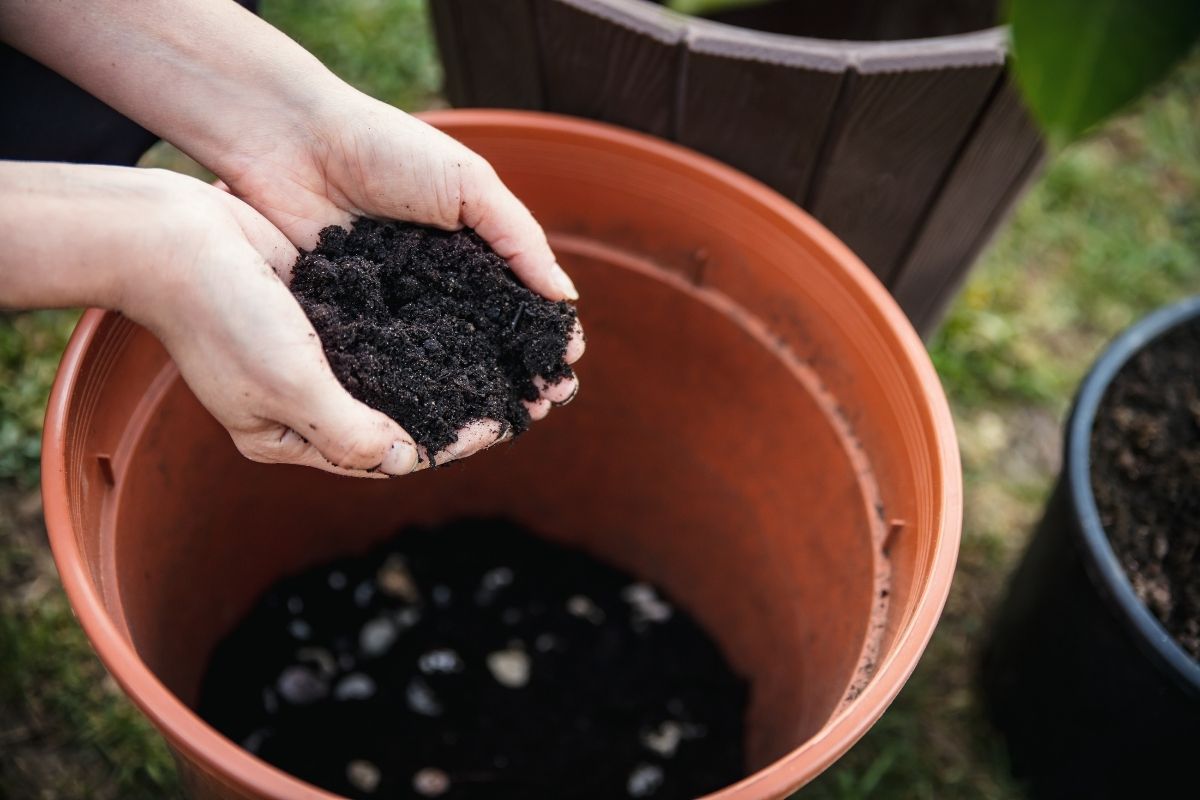
| ¾ cup of seed-raising mix or fine, sterile soil |
2 cups of either
|
| ½ to ¾ cup of plain water |
You'll also need a suitable container for mixing, a wire rack or sheets of cardboard for drying the finished bombs, and a container for storing them (a small cardboard box is ideal).
Note: If you're using garden clay, use relatively heavy clay rather than topsoil, make sure it doesn't contain any large particles or weed seeds, and dry the clay as much as possible before using it.
DIY Seed Bombs Method
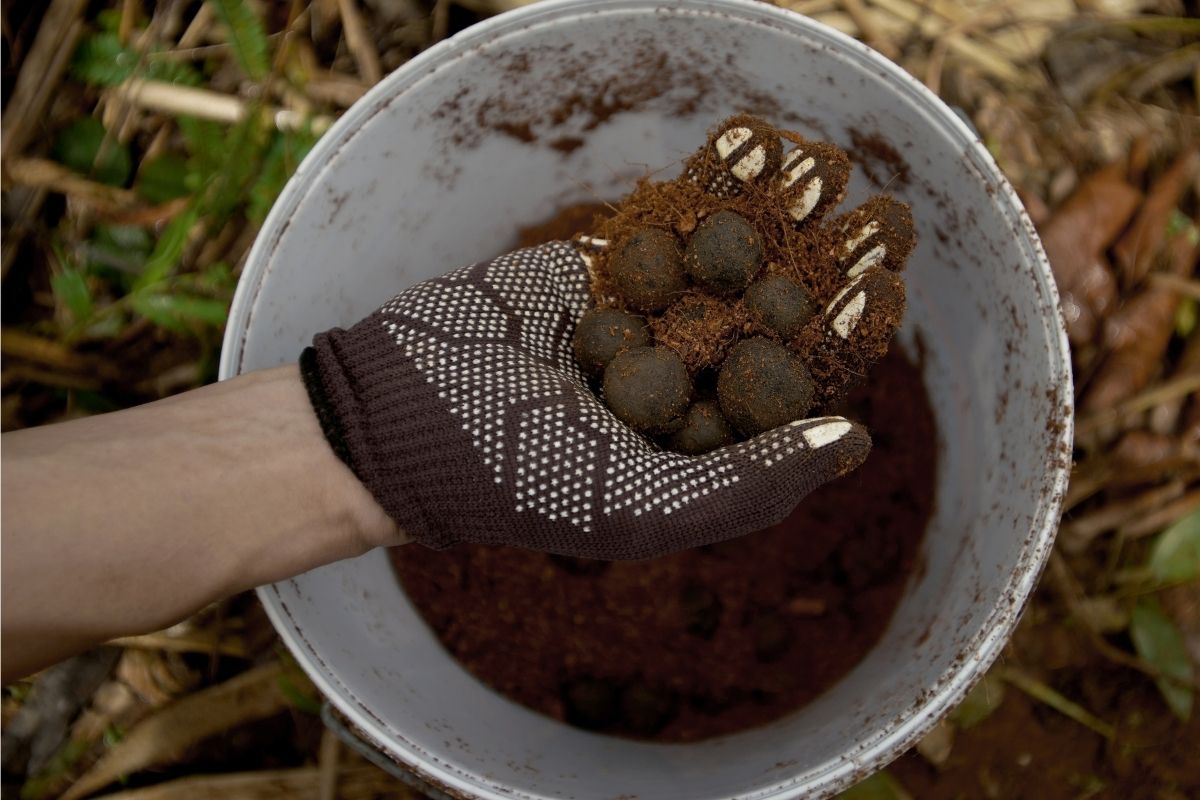
- To make the bombs, mix the soil, clay, and seeds with a little over half of the water to make a dough, kneading it gently until smooth. You should end up with a texture like modelling clay or Plasticine. Add more water a little at a time if the mixture is too stiff or doesn't come together.
- Shape the dough into marble-sized balls, using a little extra water if the mixture is too flaky. Moistening your hands a little can help the balls to form evenly, but avoid making the dough too wet and mushy.
- Place the shaped balls on the wire rack or cardboard sheet, and put them in a cool, shady place for a day or two to dry out.
- Store in the container until ready to use.
Using Your DIY Seed Bombs
The finished seed bombs can be tossed casually over the area you want to reseed and then left for the rain to activate them naturally. Or for a little more control, place the bombs directly on the surface of the soil or pots of compost and water gently to start the germination process.
In either case, use the bombs within six months and don't allow them to get damp, or you may see shoots appearing before you want to.