All gardeners know that seeds need careful attention and the correct environment for good germination. Similarly, giving cuttings just the right combination of heat and moisture is a balancing act that some gardeners find a challenge. A heated propagation kit can help create the perfect combination of warmth and moisture to get seeds and cuttings started.
As economical and useful as mini greenhouses are, a heated propagation kit takes things one step further, allowing for accurate temperature control as well as providing a humid growing environment. This added level of control keeps soil at the desired temperature day and night, even in colder rooms or in positions where temperatures vary due to heating or other factors. It also allows higher temperatures to be achieved, for example when propagating tropical plants.
A heated propagation kit allows gardeners to start seed indoors weeks before temperatures are suitable outside. While they're not a 'set and forget' system, investing in a kit can take much of the guesswork out of raising seeds. Here’s how to set one up.
Positioning the Propagation Kit
Position the propagation kit in a well lit position that’s out of hot, direct sunlight which can make the greenhouse too warm. For safety, the thermostat and all electrical cords should be kept clear of any water.
The heat mat is designed to heat the root area 10-20°C above the room temperature; avoid placing it on very cold surfaces such as unheated tiled or concrete floors, as these will make its operation inefficient. To improve efficiency, a layer of insulating material can be placed between the heat mat and the surface; a thin piece of polystyrene board works well.
Set up the Heated Propagation Kit
1. Heat mat
Remove the heat mat from its packaging and spread it out on a flat, solid surface.

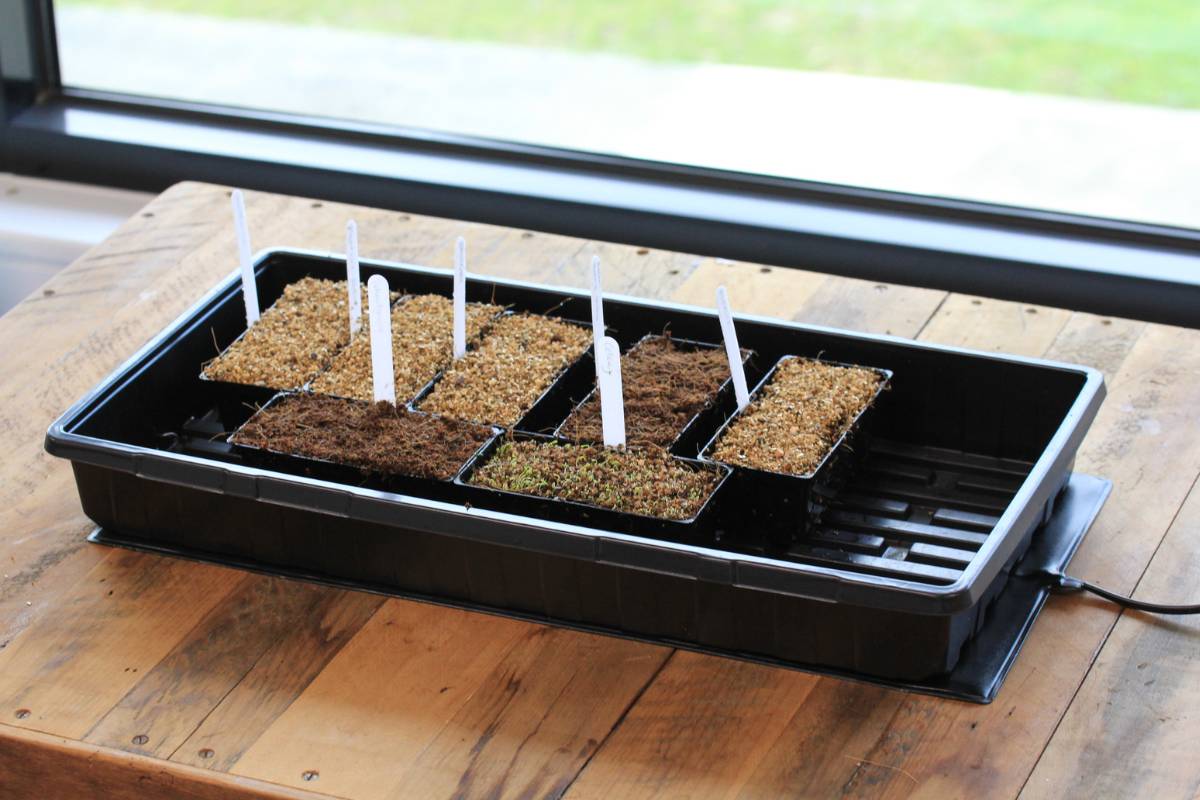
2. Greenhouse tray
Place the base of the greenhouse on the heating mat. Prepare the seed trays, jiffy pots, punnets or tubes that will be used in the greenhouse. It’s a good idea to try the ‘layout’ of the containers in the greenhouse to make sure they will all fit in before the seeds are sown or cuttings are planted.
Fill the containers and plant the cuttings or sow the seeds, misting or watering them in as usual. Don't forget to label them!
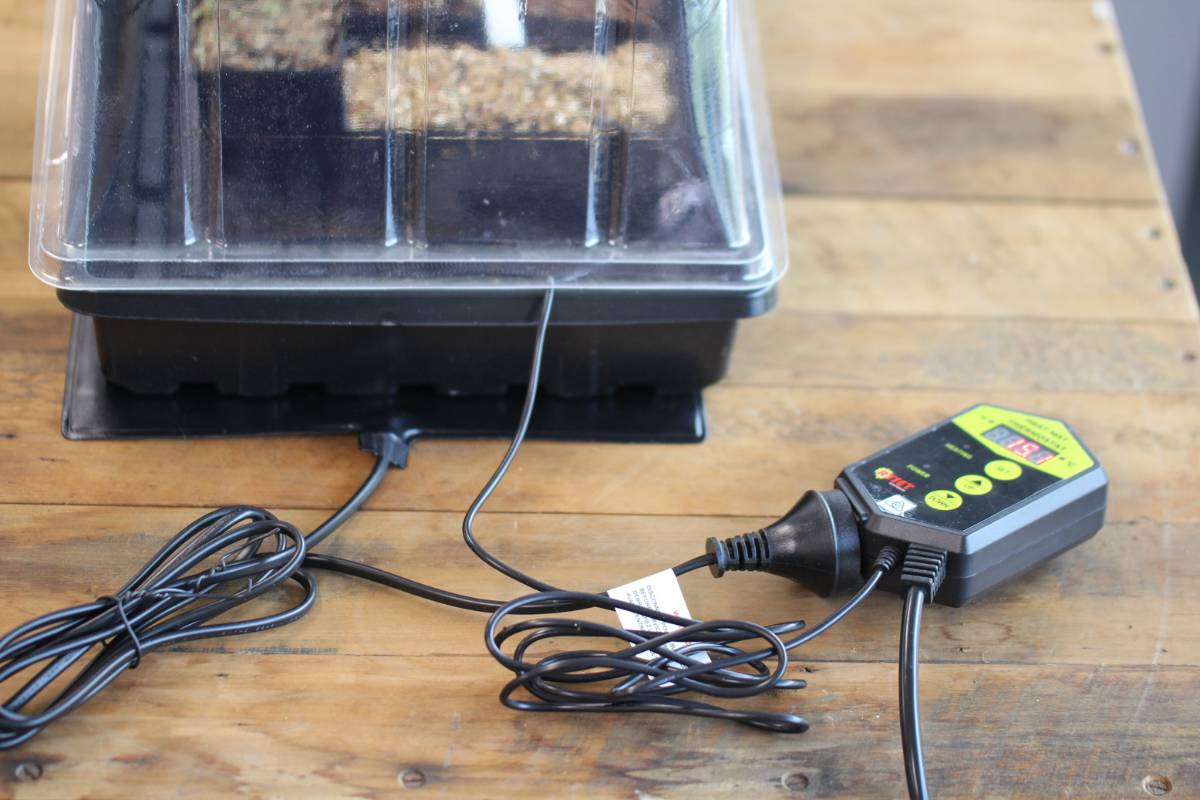
3. Thermostat
Plug the heat mat into the socket on the bottom of the thermostat. Then plug the thermostat into a powerpoint and turn the power on. The LED display on the thermostat should light up and the POWER light should turn on.
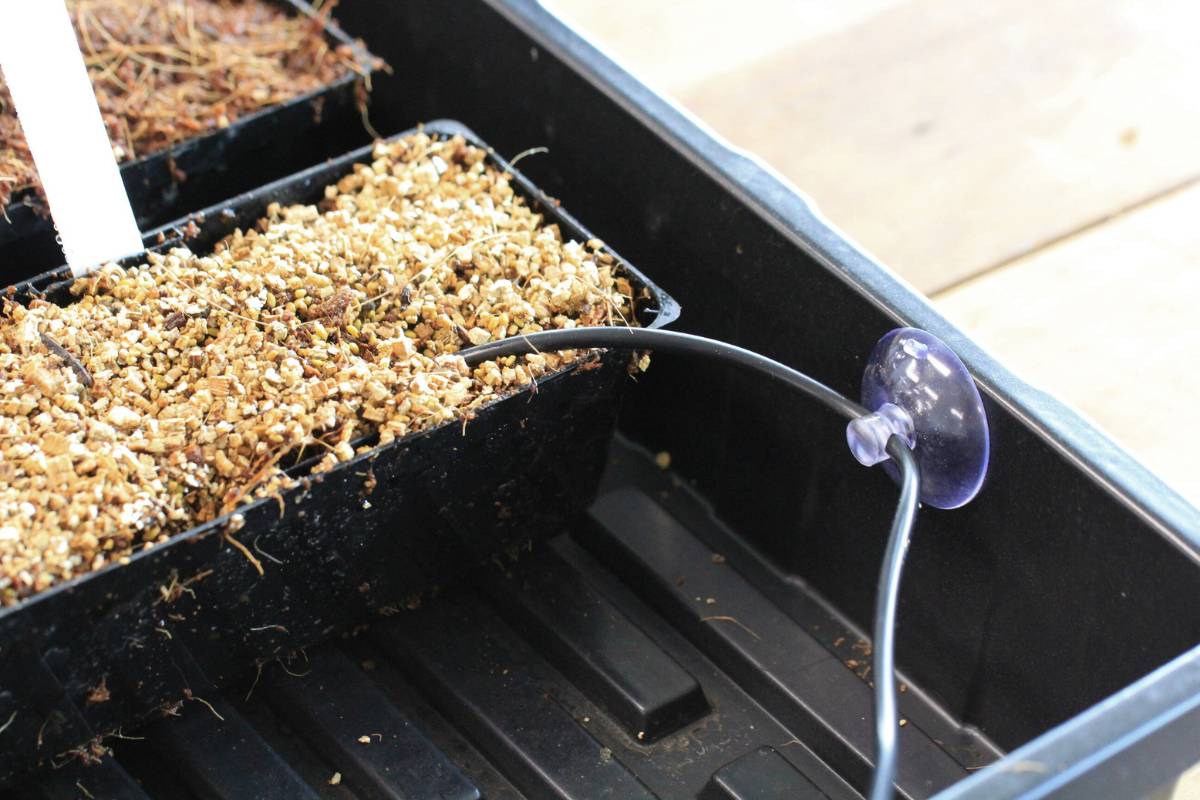
4. Thermostat probe
Insert the thermostat probe 2.5-4cm into the soil of one of the pots or punnets in the greenhouse tray.
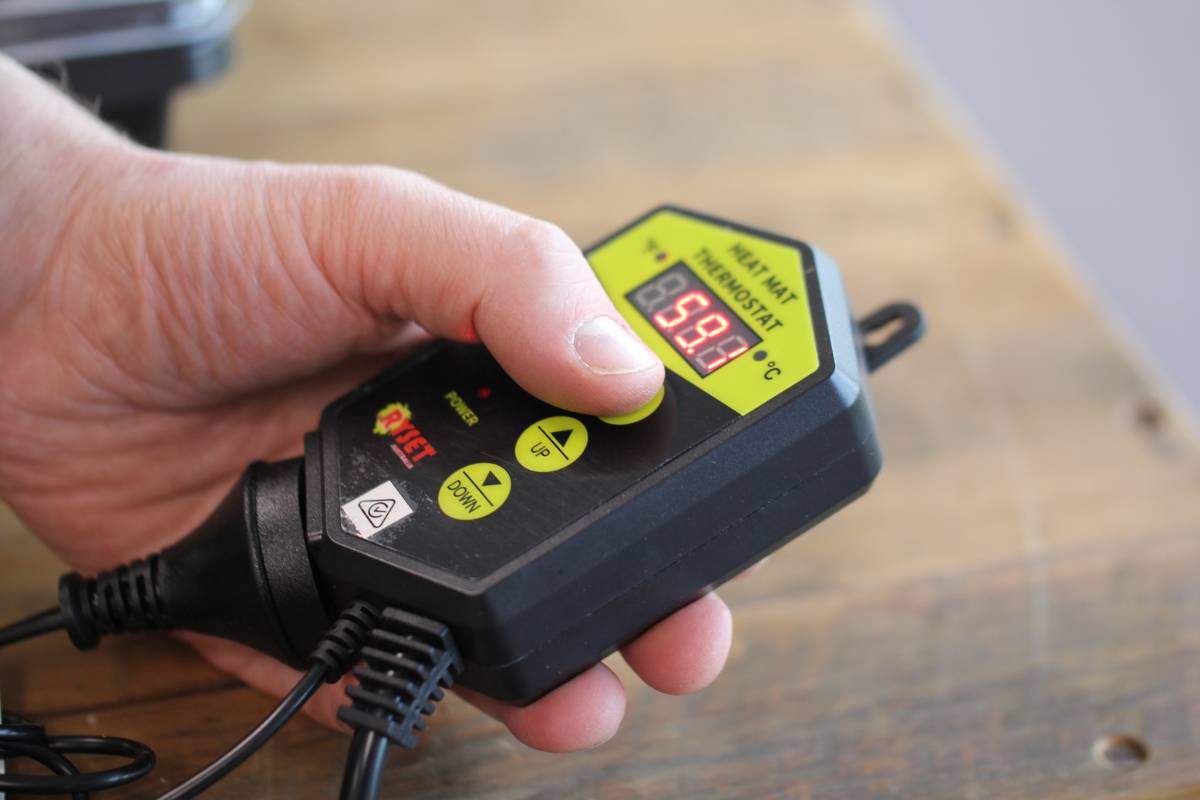
5. Set thermostat temperature
To set the desired temperature on the thermostat, press and hold the SET button for 3 seconds to enter the temperature selection mode. Then use the up or down arrows to adjust the temperature. Press the SET button again to set the desired temperature.
Check the grow guides for the seeds that have been sown to determine the desired soil temperature. A soil temperature of 21°C is generally used where the specific germination temperature isn’t known.
The HEATING light will turn on when the mat is in the process of heating. The light turns off automatically when the mat reaches the desired temperature.
To change the display from Celcius to Fahrenheit, press and hold the up arrow for 3 seconds. To change back to Celcius, press and hold the down arrow for 3 seconds.
6. Greenhouse lid
Place the lid on the greenhouse. The lid should sit lightly on the tray; there’s no need for the lid to fit tightly as a completely closed environment will become too moist and humid for optimal plant growth. Keeping the vents on the lid open allows a small amount of airflow which is useful for preventing too much condensation from building up.
Monitoring the Propagator
Check the temperature reading on the thermostat after a couple of hours to make sure it’s at the desired temperature - if the desired temperature isn’t reached within 5 hours, consider using some insulating material under the heat mat to increase its effectiveness.
The next morning, check the greenhouse for condensation; some overnight condensation is normal and will dry off during the day, but if water is pooling in the bottom of the tray, open the vents, leave the lid ajar or even remove the lid for a while; a too-moist environment will encourage mould which may rot seeds or seedlings.
Check the top layer of the soil in containers regularly and mist with water if needed to ensure seeds are kept continually moist but not waterlogged.
For safety reasons the heat mat will automatically shut down if temperatures over 42°C are reached.
Hardening Off Seedlings
Once seedlings or cuttings are nearing a size where they can be transplanted, begin hardening them off by removing the lid of the propagator during the day. You will need to water more frequently due to evaporation. Then remove the plants from the propagator for a few hours per day, before turning off the heat mat completely so they can adjust to the ambient air temperature. Read more about hardening off here.
Once one batch of plants has been transplanted into large pots or the garden, thoroughly clean and dry the propagator and lid to prevent transferring any pathogens to the next batch. The heated propagation kit is now ready to grow more seeds or cuttings.