
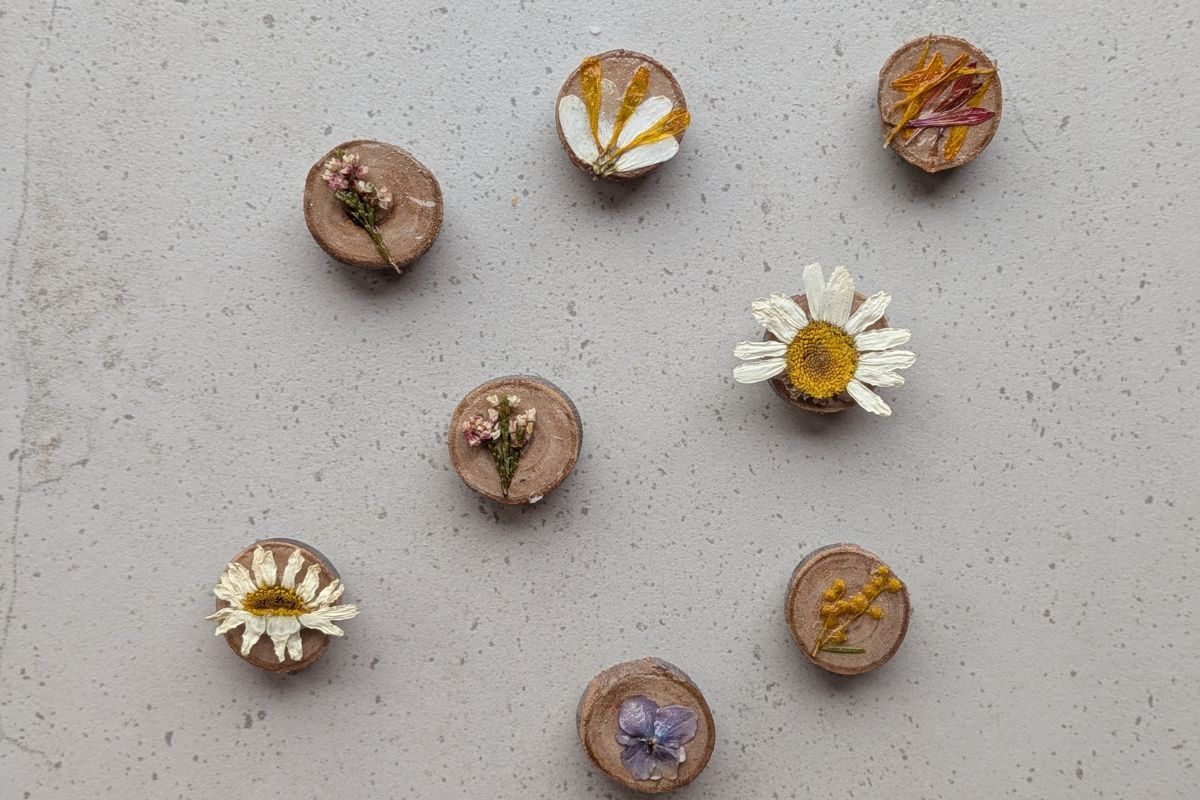
I love this time of year. Not just because Christmas is around the corner and I’m sure I was Mrs Claus in a past life, but because there’s so much on offer in the garden at the moment and I’m obsessed with making little homemade gifts. With the flowers in bloom and a minuscule budget I’ve created the sweetest pressed flower magnets.
If you’re anything like me, or maybe the person you’re gifting these to is, I’m sure your fridge is full of magnets laden with marketing barely holding together the little ones’ latest drawings. But alas, the spring clean has hit and those old giant magnets were the first to go and it’s time for a hard reset.
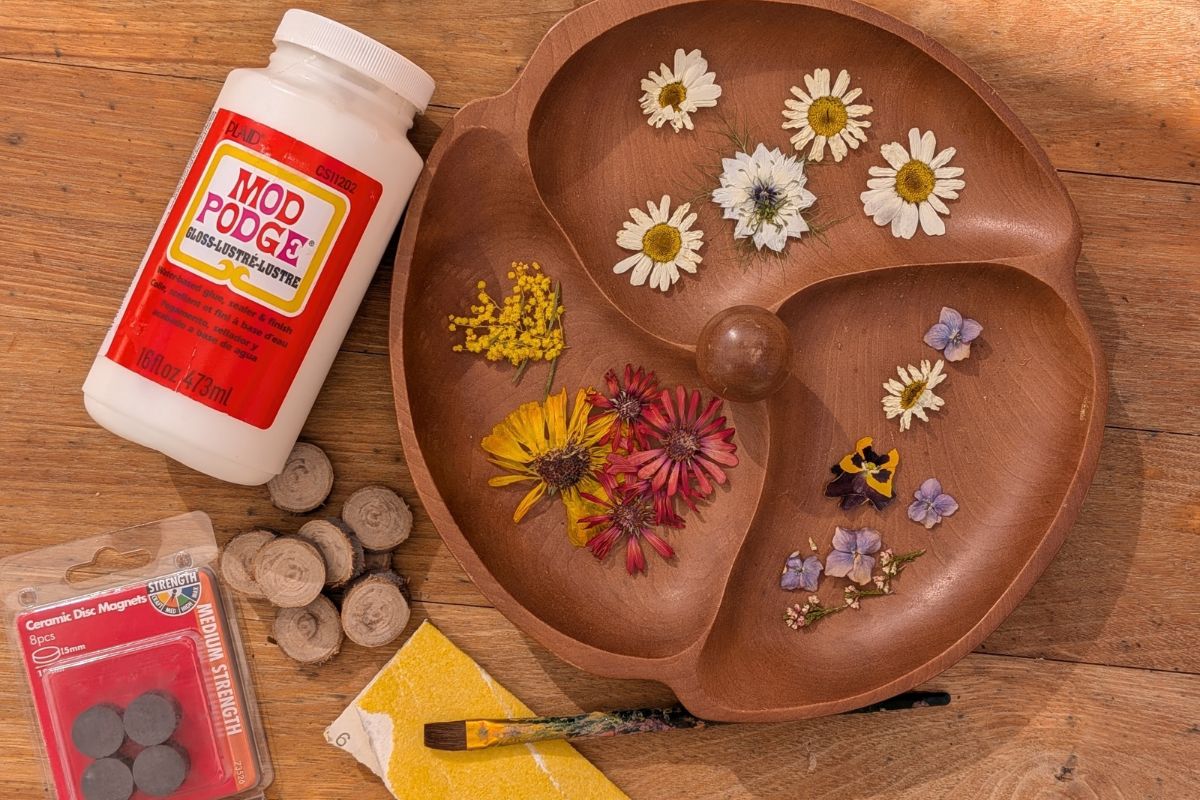
Here’s What You’ll Need
- Pressed flowers: I used wattle, daisies, hydrangea, calendula and rock thryptomene.
- A small branch: Look for something dead but not something that’s started to decompose on the ground
- Mod Podge (or another decoupage glue)
- Paint brush
- Sandpaper
- Hot glue gun
- Small magnets
- A hand saw or jigsaw to cut the branch
A Note On Pressed Flowers
First off, if you don’t have any pressed flowers awaiting your next craft project start with that. Experiment by sampling different flowers and leaves, keeping in mind sometimes they look completely different when dried so if you start off with a lot, you’re sure to have a small sample perfect for this project.
The other thing to keep in mind when selecting your blooms is the size of your magnets. For example, I love a grevillea that’s been pressed but the reality is no one wants a giant magnet so opt for something smaller with detail. I trialled using paper towels as my flower press (I had heard of people using cotton makeup pads so thought I’d try a paper towel as the closest option I had on hand), using the paper towel meant the flowers dried much nicer than my previous experiences with paper.
The petals were more intact and less like spindles. To press your flowers simply cut them from the plant, I like to remove all of the stem so I can keep them as flat as possible, sandwiched between paper towels with a few heavy books on top. I let them be, checking on them occasionally and swapping over the paper towel in those first early days to prevent mould. After about two weeks they should be good to go, if you’ve selected a flower that holds more moisture or perhaps has thicker petals you might need a little longer.
Method
- Use whatever tool is accessible to you and cut your branch. I selected a branch from a gum tree. Pick something that isn’t green but also hasn’t been decomposing on the ground. Keep in mind you want to avoid any sticky sap as well. The branch should be dry and smooth, if you select something with bark it is likely to fall off when you’re cutting your magnet shape. The packet of magnets I bought came with eight so I cut eight small rounds.
- Depending on what tool you used your wooden round might have a few splinters or rough edges. Smooth these over using sandpaper, lightly going over the edges until it is smooth to touch.
- Now the extra fun part. Make sure the surface you are working on is free from any dust or residue from your sanding. Start planning how you want to lay out your pressed flowers/leaves keeping in mind Mod Podge can dry pretty quickly so it’s best to have an idea before you start. Add a thin layer of Mod Podge (I went a little too heavy on mine and it’s left a thick finish so I recommend starting off really light), place your flowers onto the wooden round. Use tweezers if the petals are delicate or if you need more precision.
- Add another thin layer of Mod Podge to hold the petals in place. The key here is to keep it thin. I have a bad habit of panicking in these types of projects and just layering it on thick but by doing this you lose the detail in the flowers and it creates a very thick, shiny layer over the top.
- Leave it to dry. Mod Podge usually dries pretty quickly so you shouldn’t need more than 30 minutes.
- Lastly, we need to add the magnets onto the wooden round. Make sure your magnet is similarly sized to your wooden round so that it actually holds up and can be used practically. Using a hot glue gun secure the magnet to the wooden round, being mindful of burning your fingers with the glue as you press it into place.
- Leave it to dry and then gift wrap it ready for your special someone.
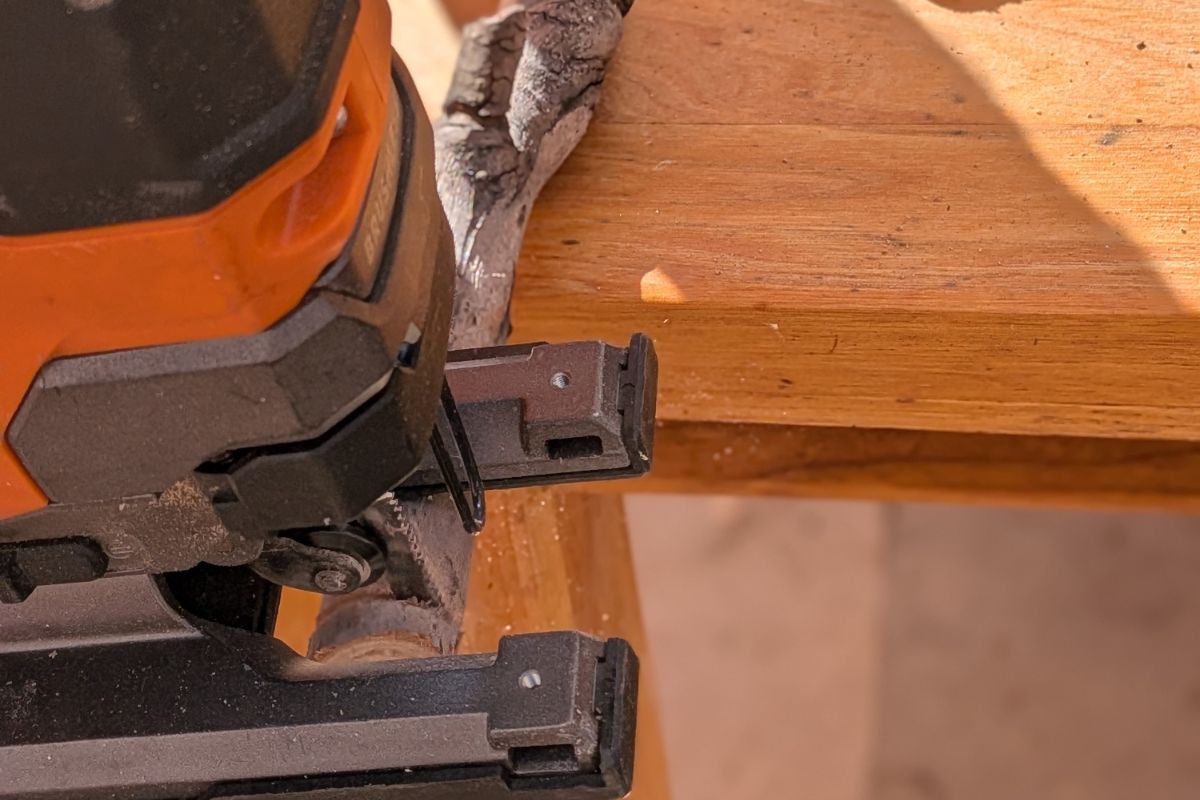 Cut your branch into smaller pieces
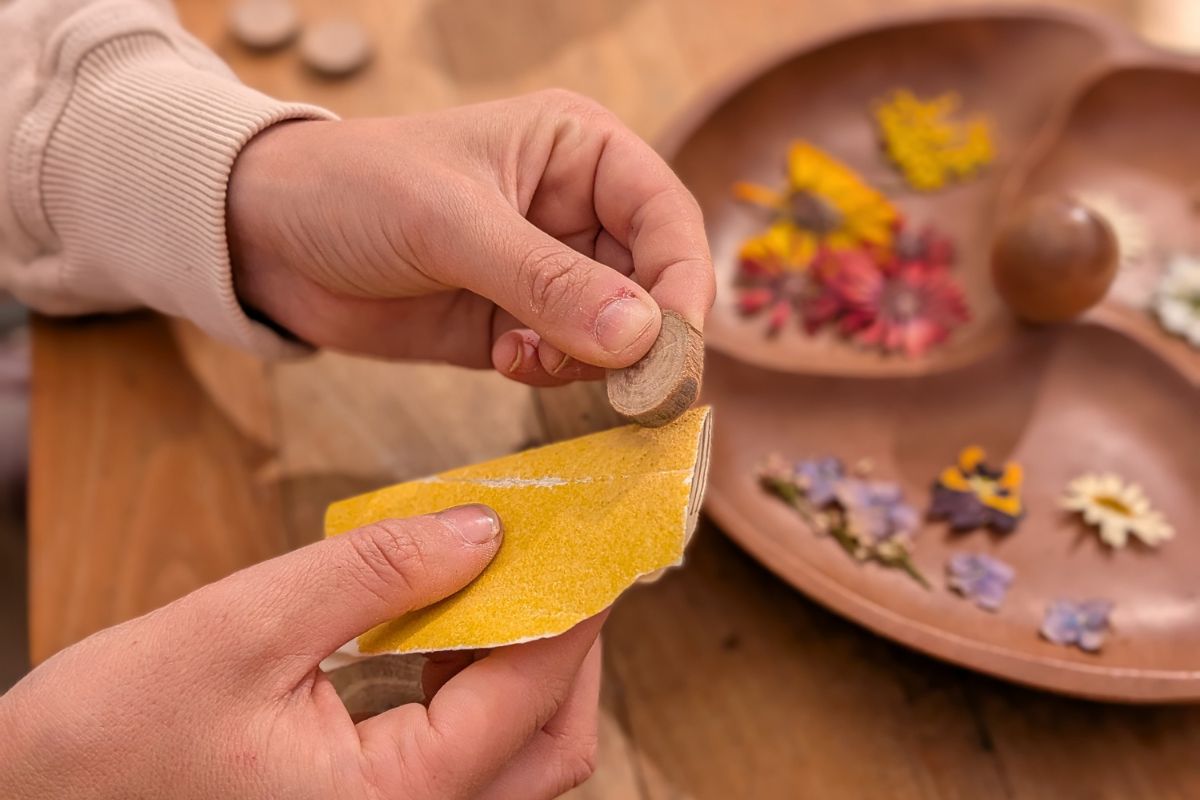 Sand any rough edges of your rounds
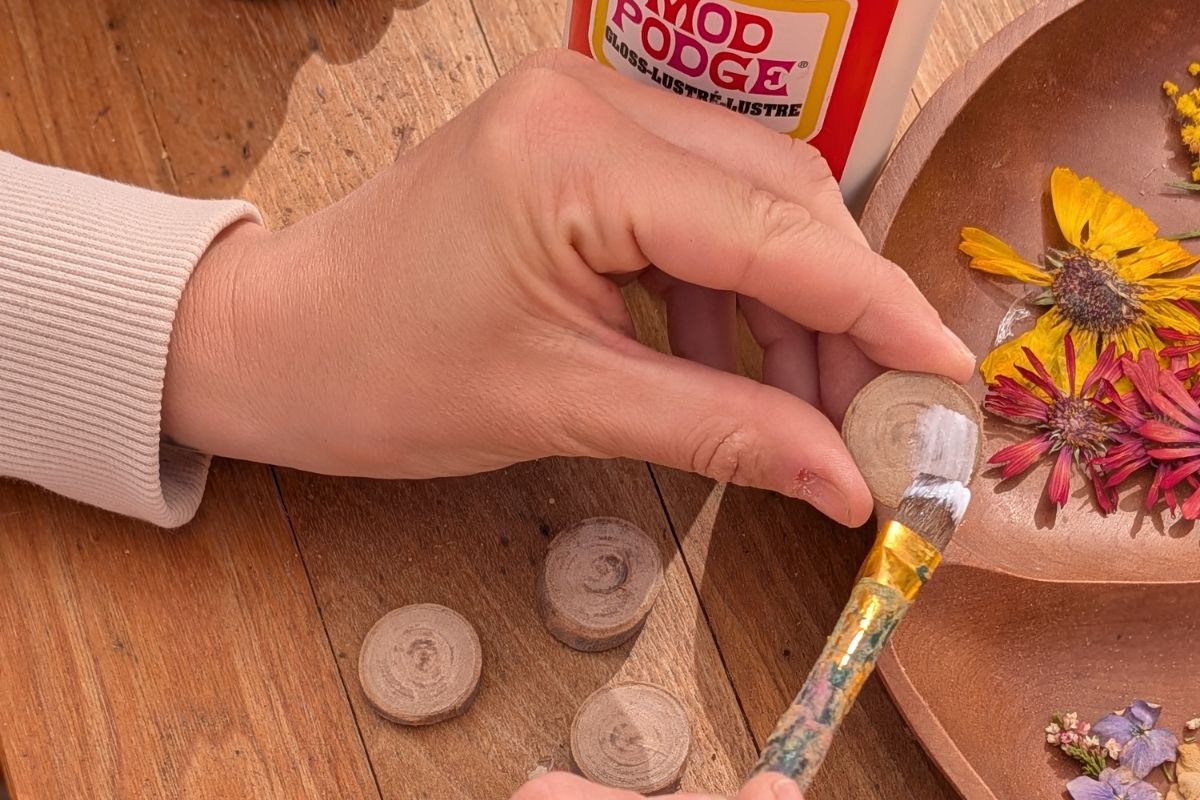 Add your Mod Podge to one side
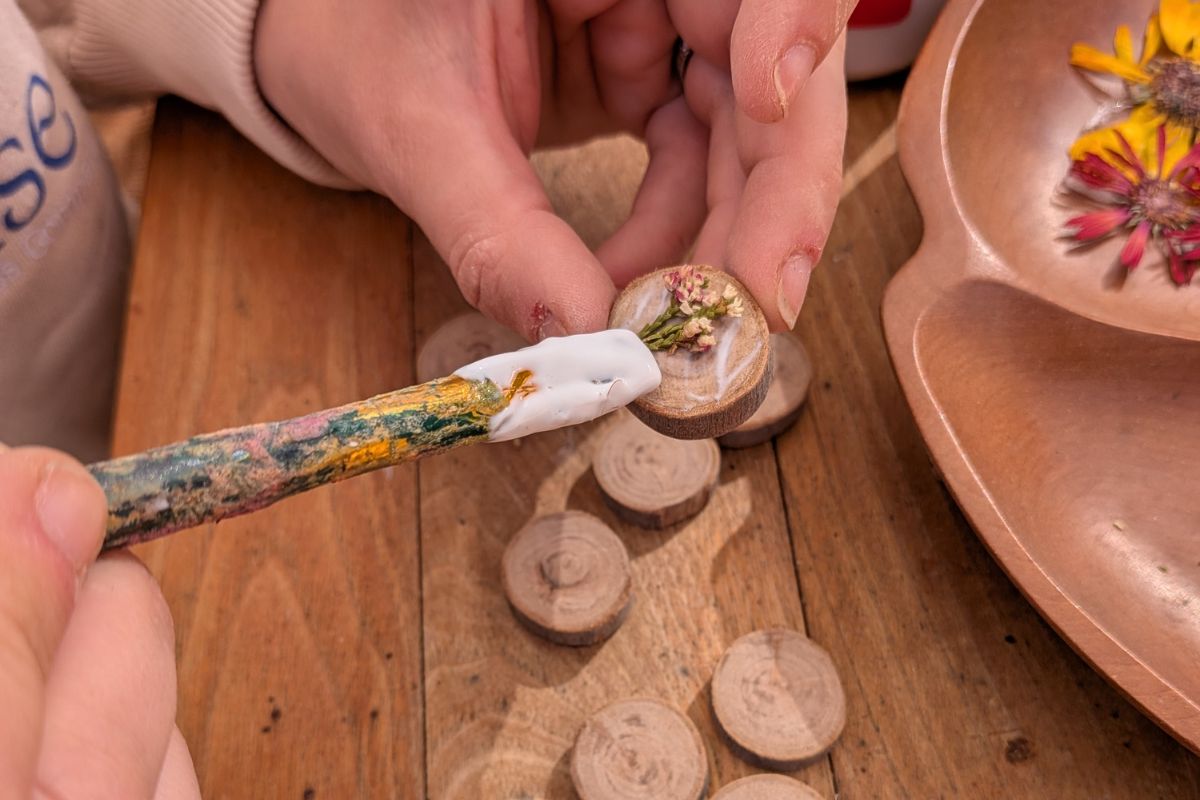 Add your dried, pressed flower to the Mod Podge and lightly cover to keep petals attached
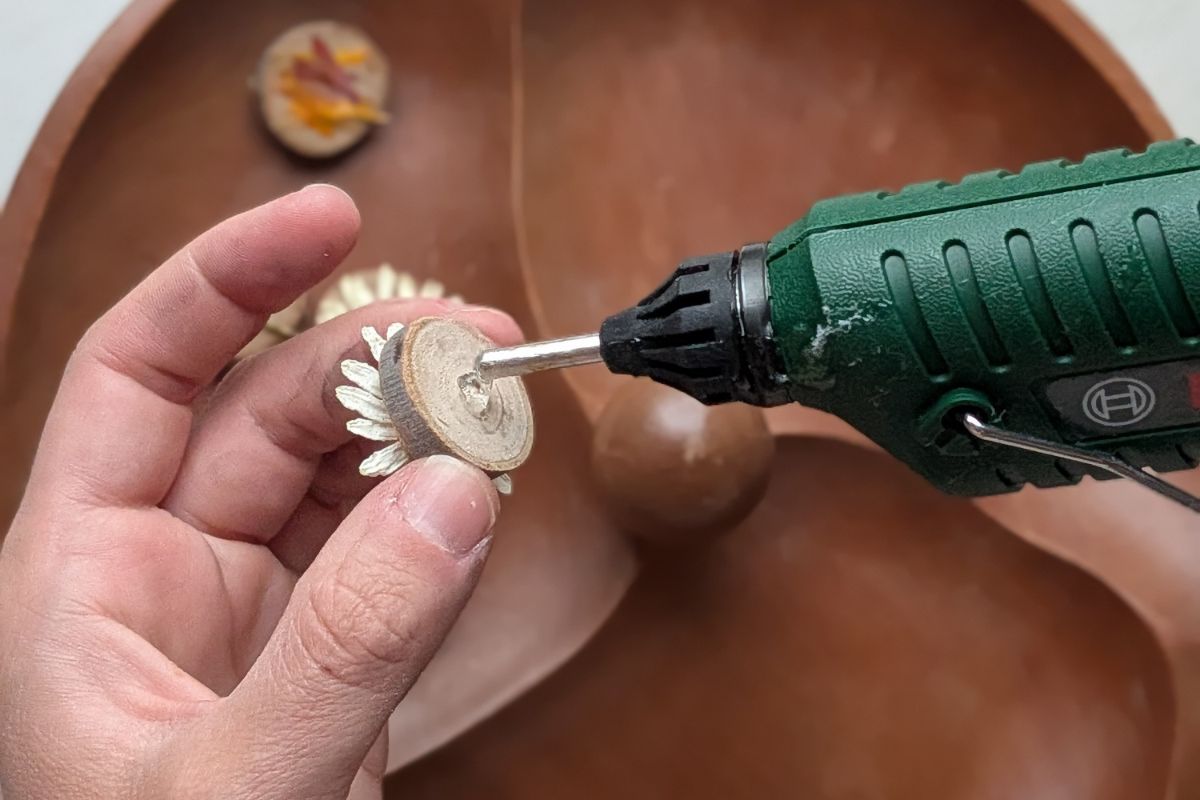 Use a hot glue gun to add some glue for the magnet
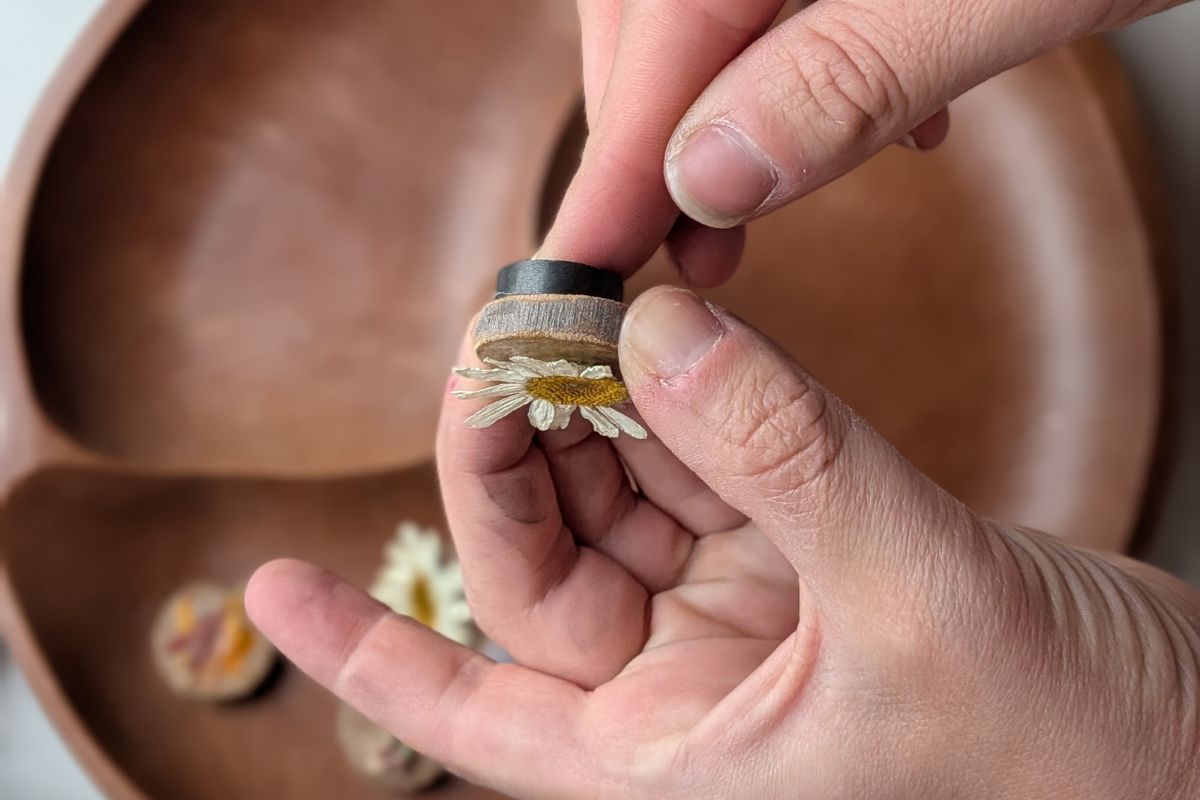 Attach your magnet to the glue
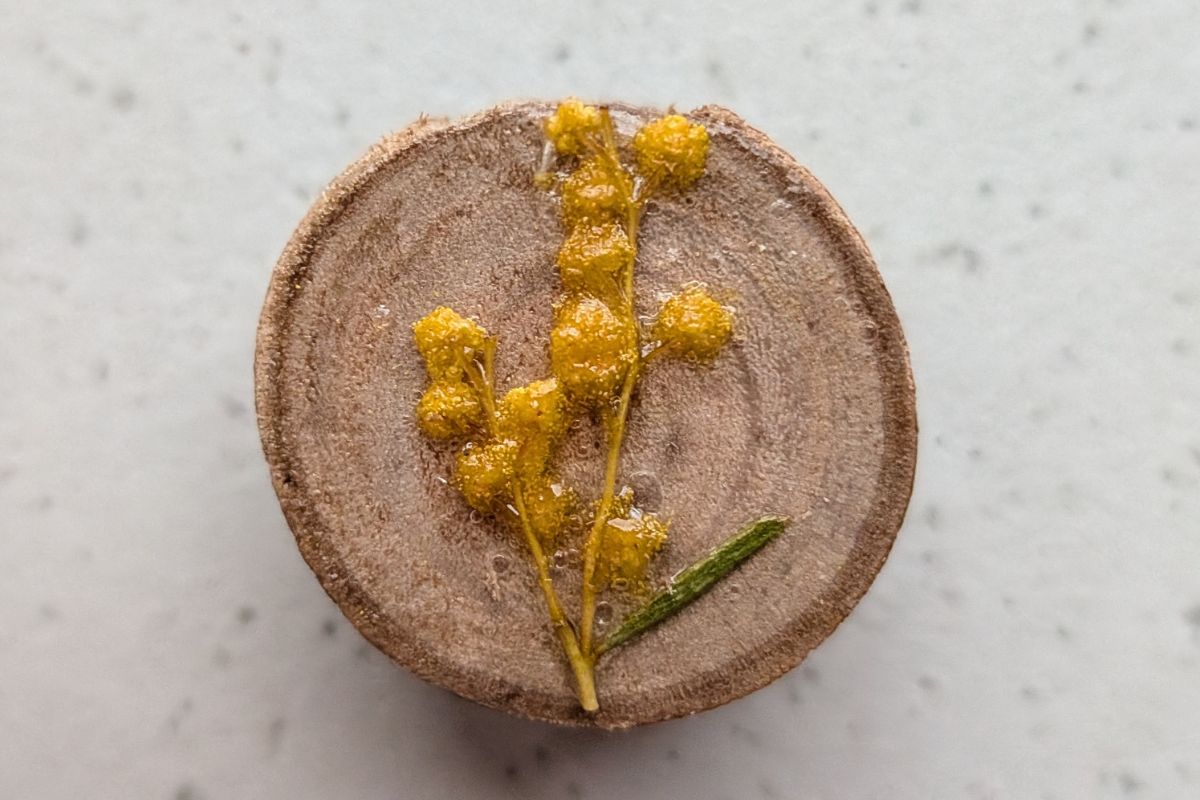 The finished magnets: wattle
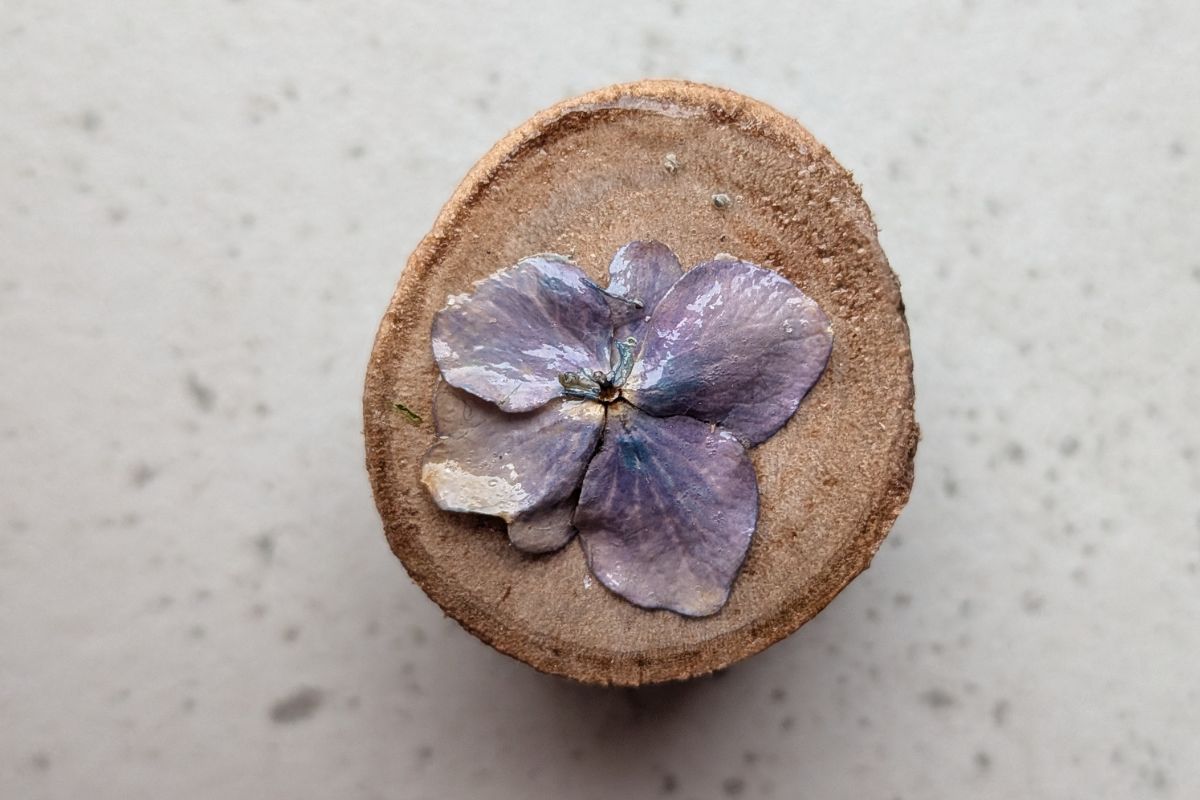 Hydrangea
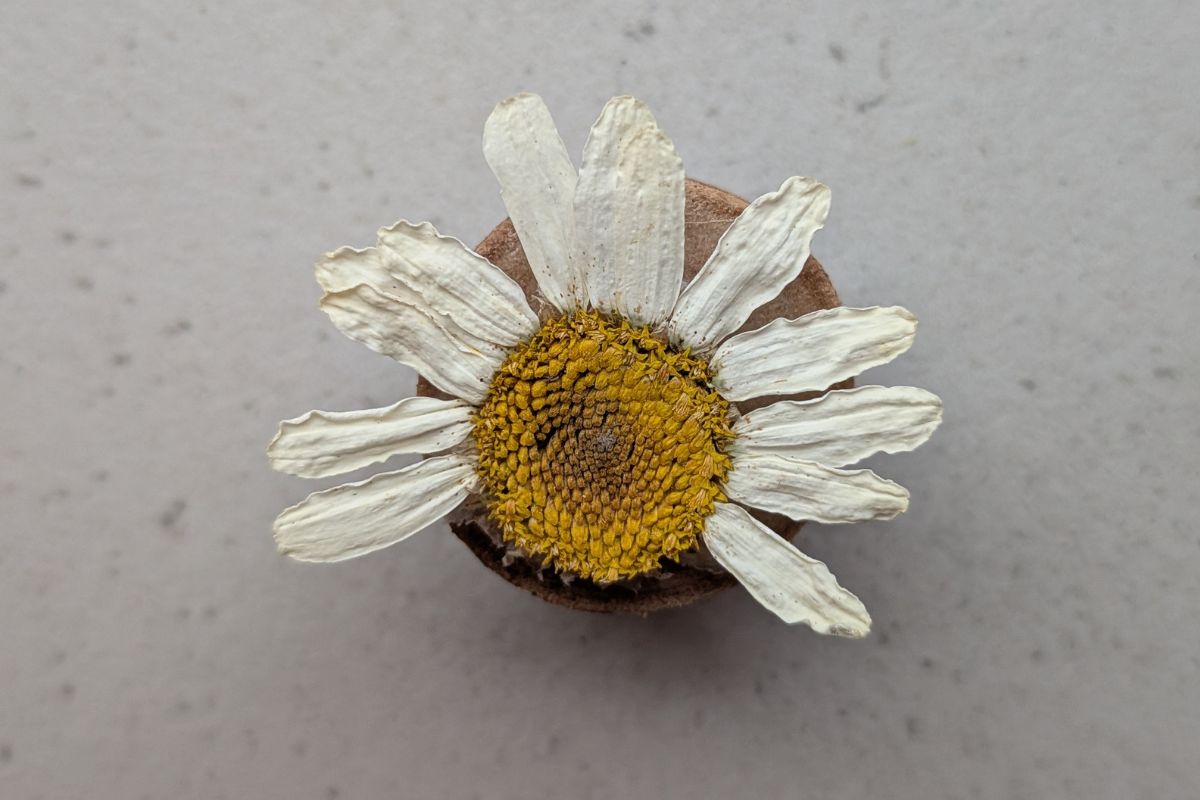 Daisy
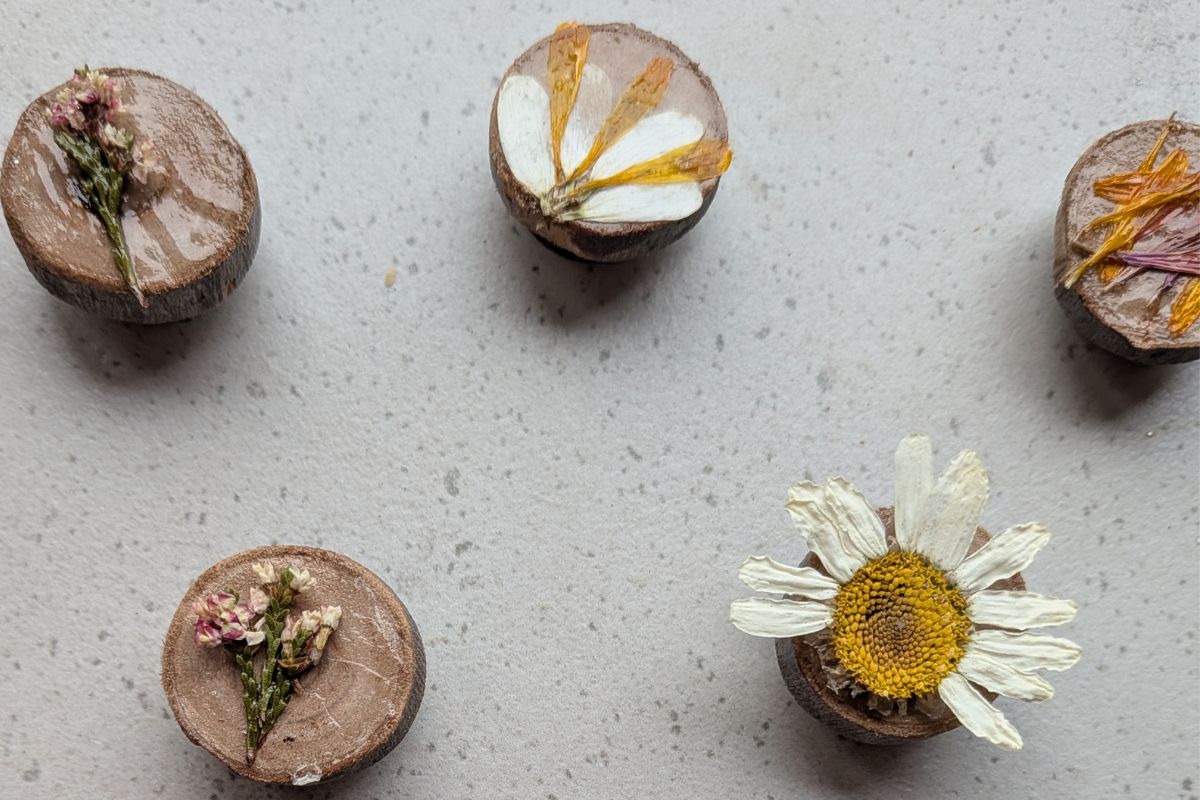 Finished magnets, ready to wrap
These make for a great DIY Secret Santa, teacher’s gift or a colourful addition to a gift basket. There’s nothing nicer than bringing the outside in and these subtle hints of nature add warmth to brighten any kitchen.
Article & Photographs by Bec Lawrence-Greenhalgh