
The garden is the ultimate learning environment for any child. It’s where sensory play, imagination and creativity can come alive even in a small space. Whether you’re a parent, grandparent, aunty, uncle or friend to a little one, getting them involved in the garden can be rewarding for you both and provide a beautiful moment for connection. This project is best suited to our youngest gardeners from ages 2 – 6 years old.
Calendula and marigolds are a wonderful companion to any vegetable garden and if you’re a keen grower, there’s a good chance you already have some in bloom. You’ll need a few for this project and if you don’t have any save this project for later, grab some seeds and pick this one up in a little while; or get creative and try experimenting with different plants. So, are you ready to get crafty? It’s time to get painting with your blooms.
What you’ll need
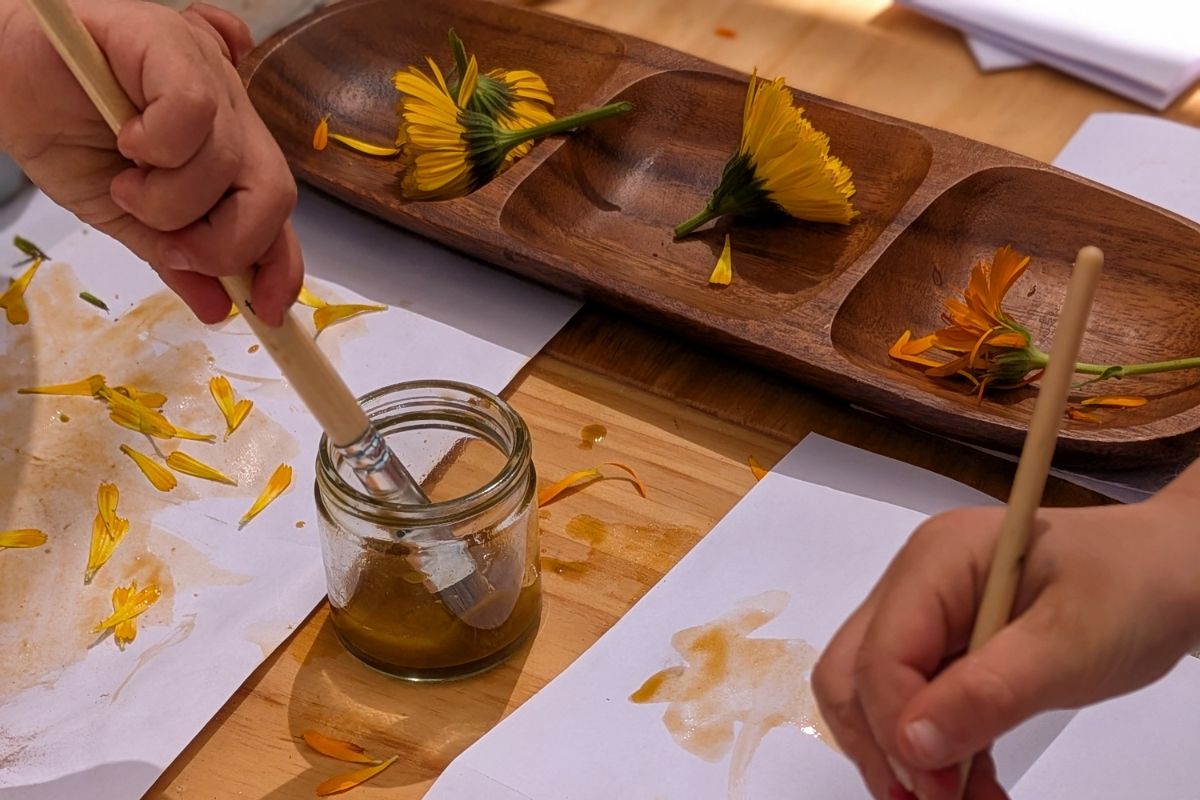
- Calendula or marigold flowers. At least five.
- Scissors
- Mortar and pestle
- Paint brush
- Watercolour paper
- An empty jar
- Strainer
- Water
*The weather is warming up, don’t forget your sun protection for you and your little one.
Method
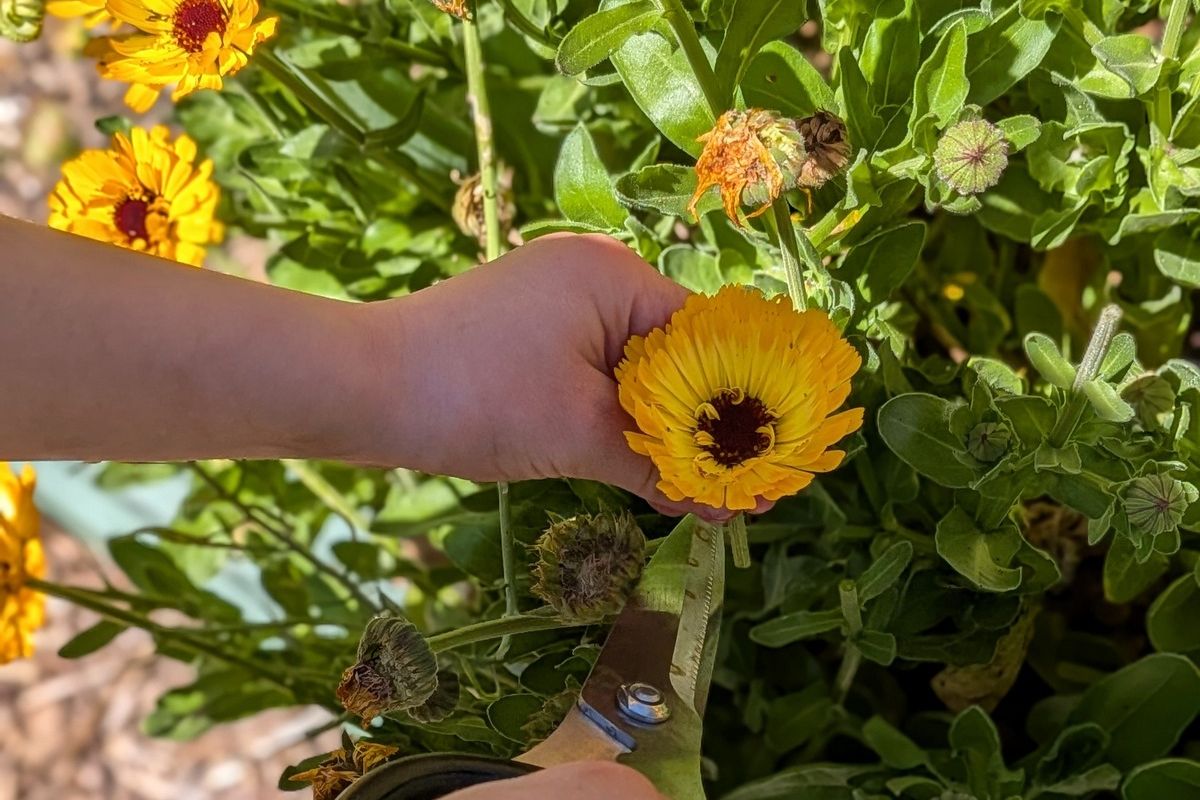
- Collect as much calendula or marigold from the garden as you would like. Keeping in mind to keep the stems short as you are cutting them. To maximise your little one’s interest in this activity get them involved right from the start. With guidance watch them use the scissors and talk to them about the flowers and what you are seeing. Perhaps you take a moment to spot a bee, or find a plant that’s gone to seed and you could explore what those seeds look like and talk about how they result in the very same flowers that you will be using for your paint. Don’t forget to bring along a basket or bowl to the garden to hold your flowers in.
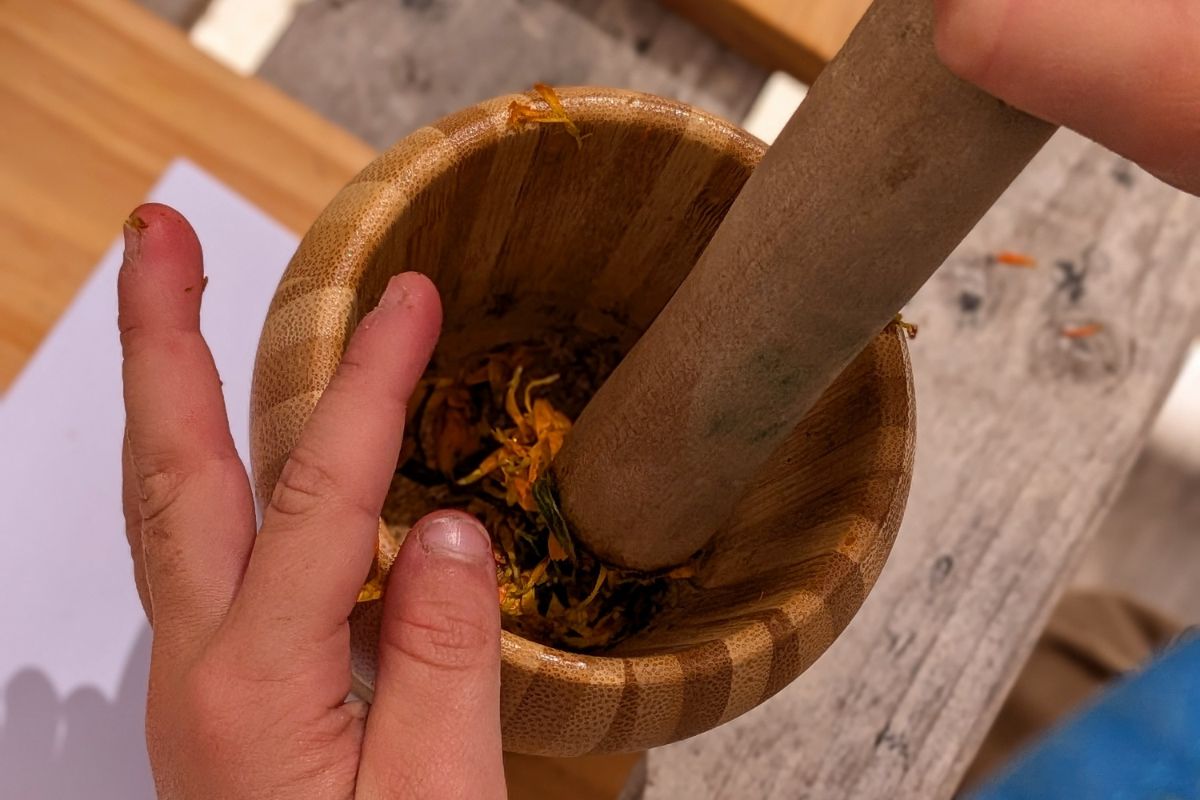
- Once you have collected all of your flowers (we used about five for this project), find a comfy spot to sit. We chose the kids table because it was sturdy enough for our next step which is where the mortar and pestle come in. One by one, add the flowers into the mortar and have your little one use their strength to hit it with the pestle until the flower starts to fall apart. Depending how much water the plant is holding you might start to see it resemble something goopy, continue to add in more flowers as you go.
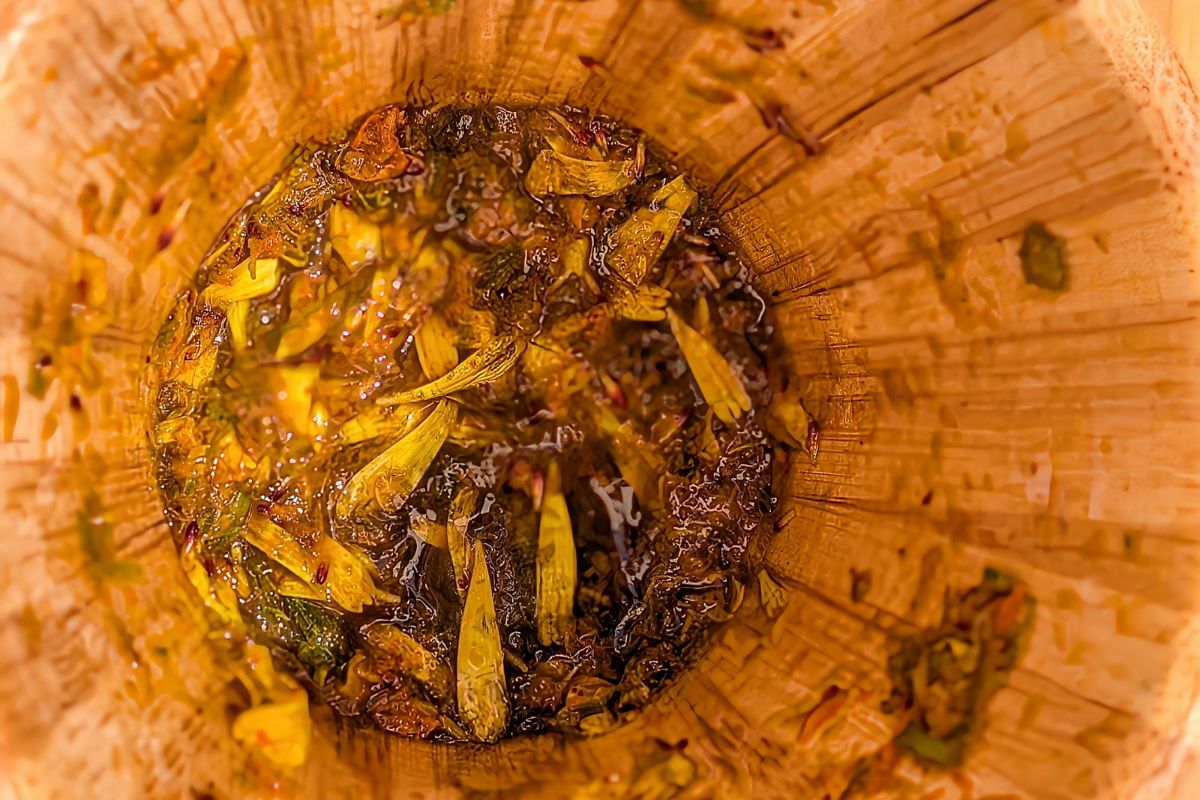
- Over time, once you’re happy with the number of flowers smooshed into the bottom of the mortar, add in about 1 tbsp of water. Mix and smoosh the contents of the mortar again and you’ll begin to see the colour start to form into a golden orange tone.
- At this point, if you aren’t happy with the amount of liquid you can add more flowers in and follow the steps again. You can also add more water at this point if you feel there isn’t quite enough. By the end of five flowers, we ended up adding about 3 tbsp of water.
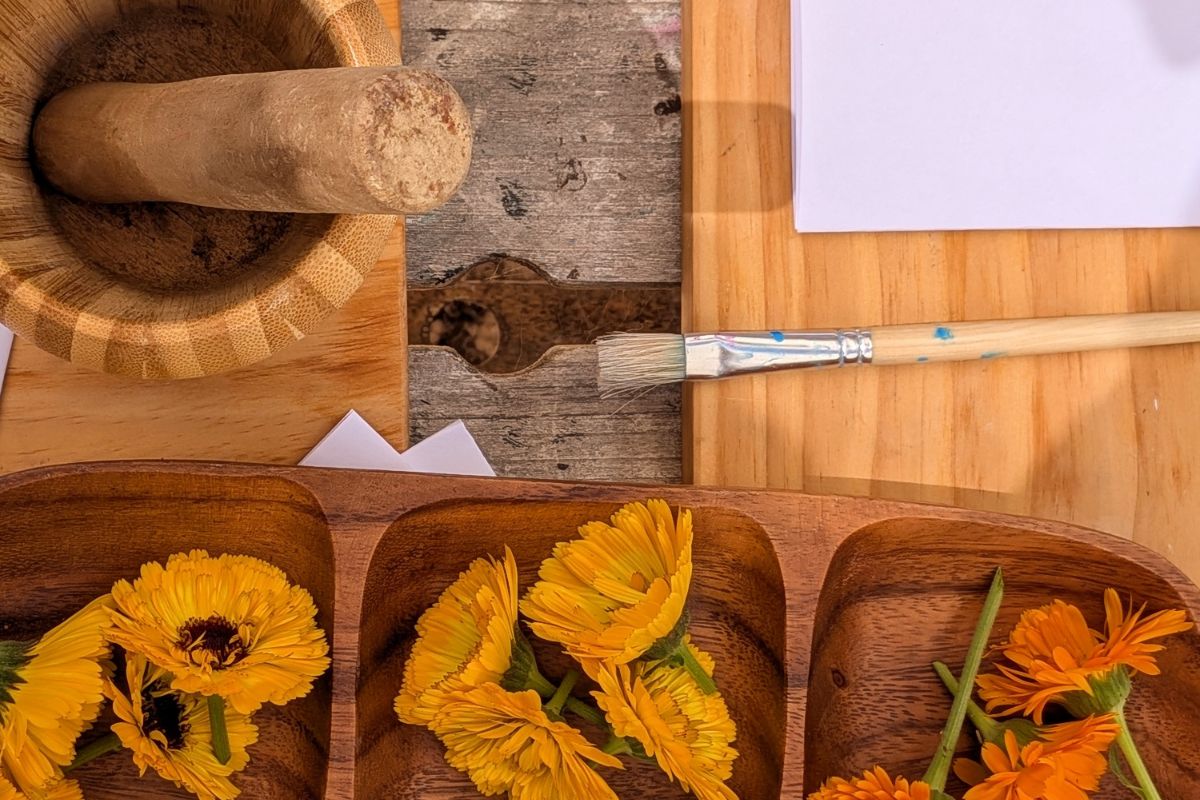
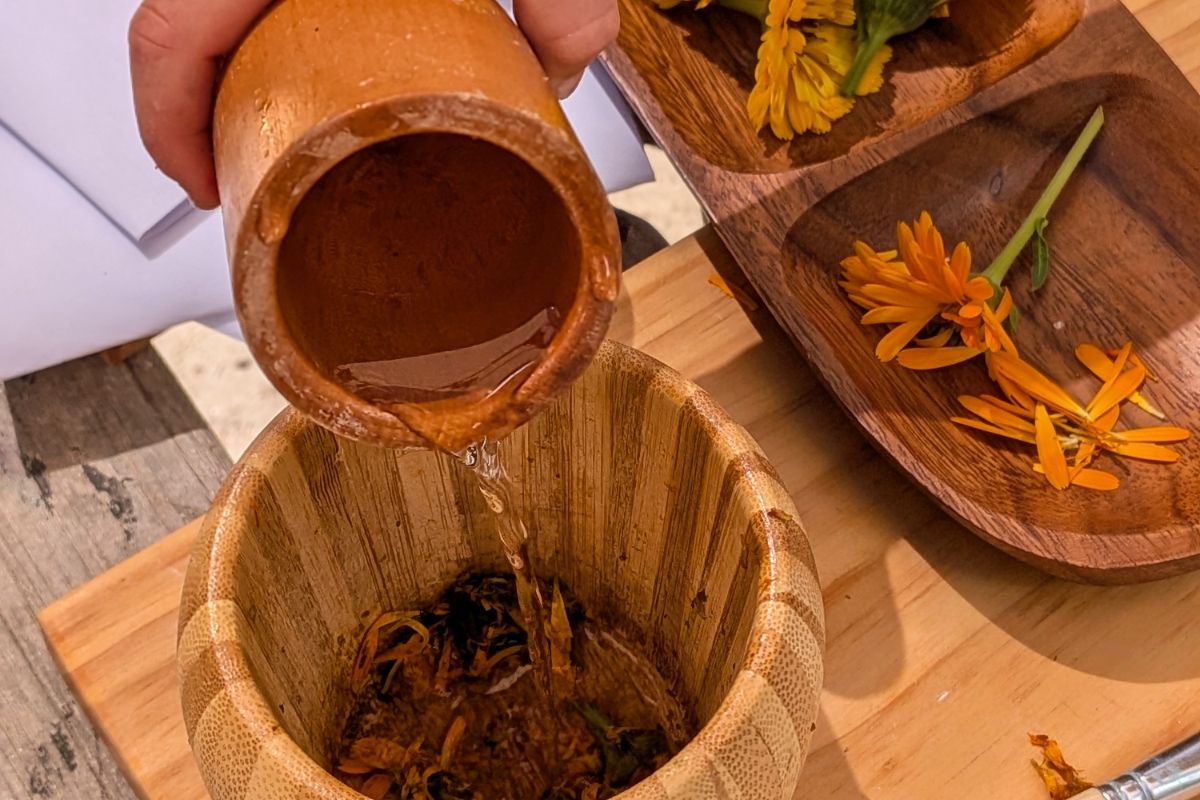
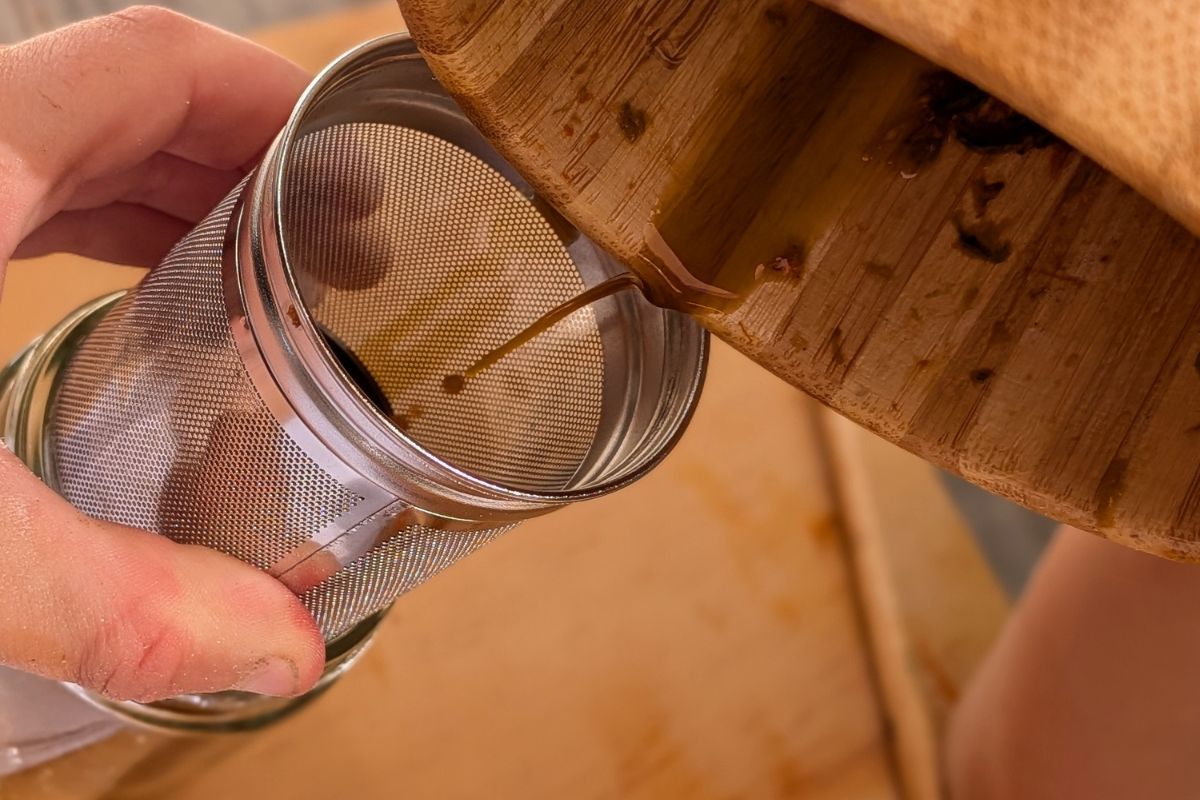
- Once your happy with what you see in the mortar. Have your little one hold a strainer (we used a tea strainer here to suit the small jar we were pouring into), as you tip the contents of the mortar into a jar. The liquid will pass through the strainer and any remnants of flowers will be caught and can be popped into the compost.
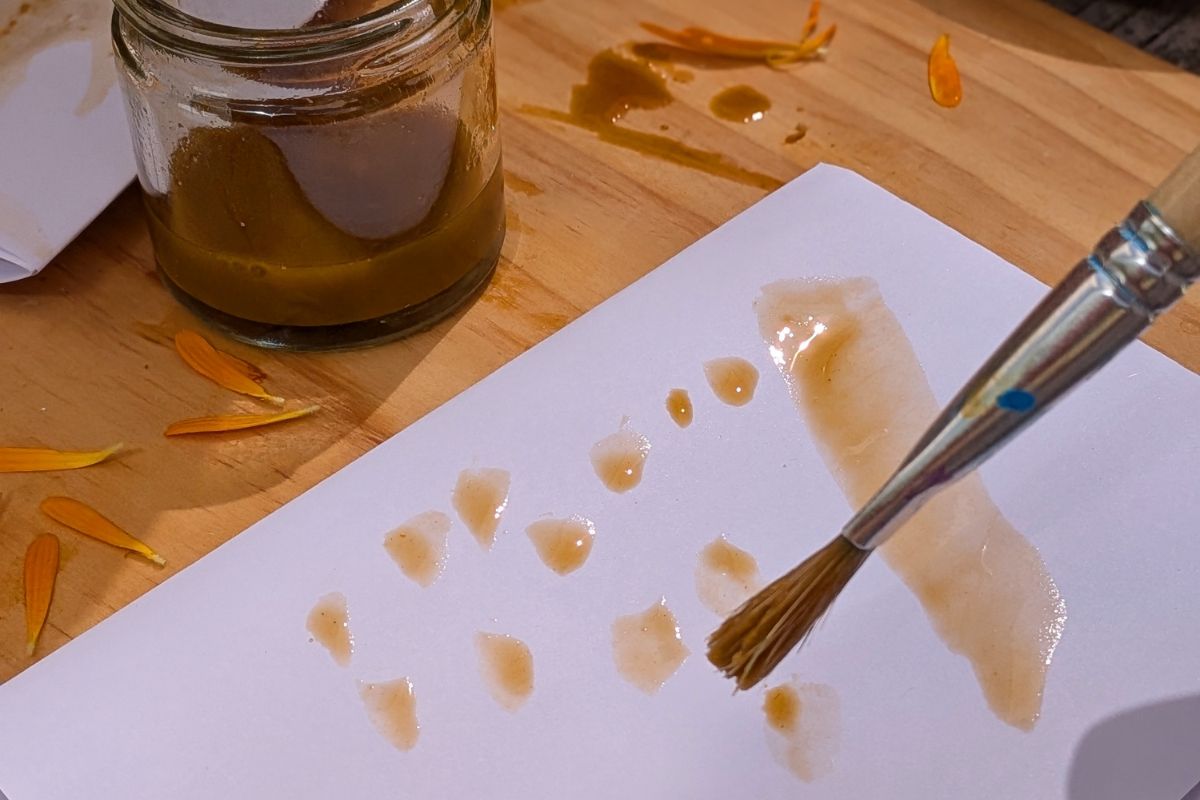
- Your jar should now be full of the golden orange liquid which is what makes our water paint. Grab your paint brushes and start creating together. Perhaps you could paint a picture of the flowers, creating a full circle moment from when you began.
Tips
- There is a way to make water colour paints that takes a little over a day but it isn’t as kid friendly and involves boiling water. Save that for your own craft day.
- If you don’t have water colour paper on hand (just like us) fold over a sheet of regular paper into quarters to stop the paint seeping through.
- The key to this project is quality time with your little one so keep the conversation engaging and reflective on what you are doing. You could talk about how we can use what we grow in our art, you could consider what other plants you might be able to try this with (spinach and silver beet also work great).
- To make the colour a little more vibrant add in a dash of vinegar. You could also add in cornflour to thicken the paint.
- Younger children might like to explore the flowers whilst they are creating so it’s a good idea to have a few left over. My 2-year-old loved pulling the petals apart and sprinkling them over his painting, it’s a great exercise in fine motor skills and creative expression.
- Lastly, your top tip from my five-year-old, he says adding in some bio glitter would make this project a little more magical or working with multiple colours.
This is the perfect example of green play for children, a method of ecotherapy that promotes sensory integration and expression. A wonderful way to foster curiosity and build confidence in young gardeners and artists. We hope your calendula painting gives you an opportunity for uninterrupted, screen free connection with a special child in your life.
Article & Photographs by Bec Lawrence-Greenhalgh