
Apple scrap vinegar is a simple way to give leftover apple scraps a second life while creating a wonderfully useful pantry staple. Unlike apple cider vinegar, which is made from fresh pressed apple juice, the flavour of apple scrap vinegar is often a little lighter and gentle. However, it can be used in many of the same ways, such as in salad dressings, sauces, marinades, baking, and even for everyday household cleaning when diluted.
Watch our step-by-step video guide on making and fermenting apple scrap vinegar, and follow along below.
1. Preparing the Apple Scraps
It is important to prepare your scraps properly to ensure a good fermentation process.
- Wash and Prepare: Wash and prepare your apples, saving the peels and cores for the vinegar and the fleshy parts for eating.
- Fresh Scraps: Place your scraps in a clean, sterilised wide-mouthed jar.
- Avoid Damage: Do not use any bruised or damaged fruit, as it could spoil your vinegar.
2. Adding the Liquid Base
Once your scraps are in the jar, it's time to create the environment needed for fermentation.
- Water and Sugar: Cover the scraps with filtered water. Add 1 tablespoon of sugar for every cup of water added.
- Dissolve: Stir until all the sugar is dissolved. This feeds the wild yeasts bacteria needed to begin fermentation.
- Optional Starter: As an optional step, add a tablespoon or two of apple cider vinegar to help kickstart the process.
3. Fermenting and the "Mother"
Next, you will need to give the mixture time to work its magic.
- Fermentation: Cover with a cloth or loose fitting lid and leave to ferment in a cool dark place for 6 to 8 weeks. If you can, remove the seal from the lid of the jar to allow any gases to release naturally. Note: Do not seal the jar tightly as the vinegar will produce gas, which can cause the jar to explode.
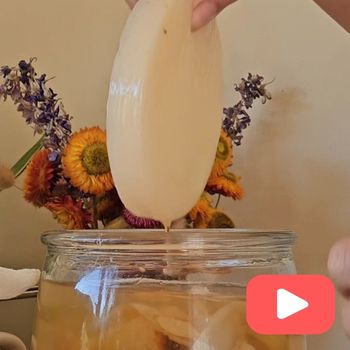
- The Vinegar Mother: A white layer on top is called The Mother or SCOBY, which is perfectly normal. It protects your vinegar from bad bacteria and is a good indicator that your vinegar is done.
- Important Note: If you notice any black, pink, or fuzzy growth forming on the surface of your vinegar mixture, you will need to discard this batch and start again. This can be avoided by making sure everything you are working with is squeaky clean.
4. Identifying when the Vinegar is ready
Before bottling your vinegar, it is important to ensure it is ready for safety purposes, as well as taste. There are a few different ways you can identify the readiness:
- Smell Test: The sweet, cidery scent will transition into a distinct, sharp vinegar aroma with no remaining hints of alcohol.
- Taste Test: After 4 to 6 weeks, it should taste pleasantly tart and acidic. If it is still sweet, let it ferment for another week or two.
- Visual Cues: Active bubbling will stop, the apple scraps will sink to the bottom, and a cloudy Mother/SCOBY will form on the surface.
5. Straining, Storing, and Using
Now the vinegar is ready, it's time to strain and bottle it.
- Remove the Mother: With clean hands, remove the Mother/SCOBY and put it aside.
- Straining: Strain the finished vinegar through a cheesecloth to remove the spent apple scraps.
- Daily Use: Store some vinegar in a smaller, tightly sealed bottle in the pantry for daily use.
- Storing your Vinegar: Store the rest of your vinegar with the Mother/SCOBY in a large tightly sealed jar out of direct sunlight. Think of this jar as your "vinegar hotel" you can refill your pantry bottle from it, use a little to help start future batches, and simply keep adding each new batch as it's ready.
- Shelf Life: Because this is a naturally acidic product, homemade apple scrap vinegar has a long shelf life. If stored correctly and free from signs of spoilage, such as mould or unpleasant odours, it can be enjoyed for up to two years.
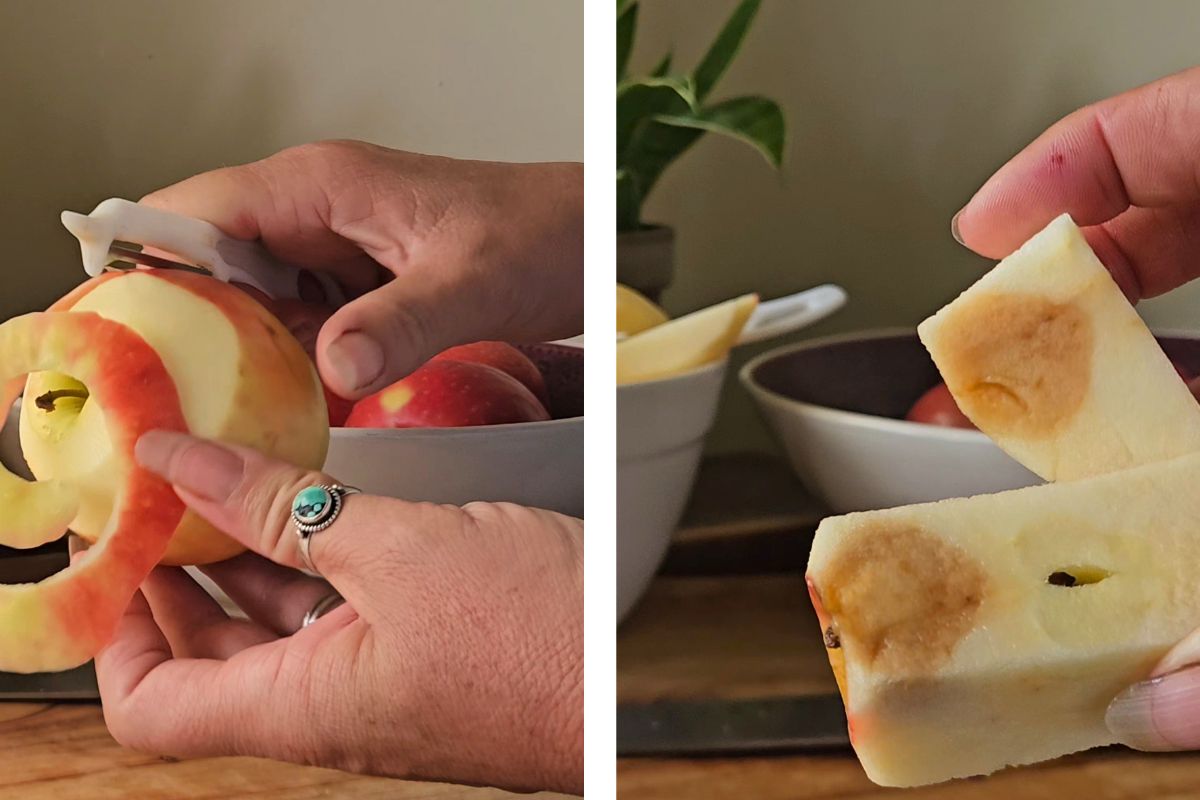 Left: Peeling the apples.
Right: Setting aside bruised fruit.
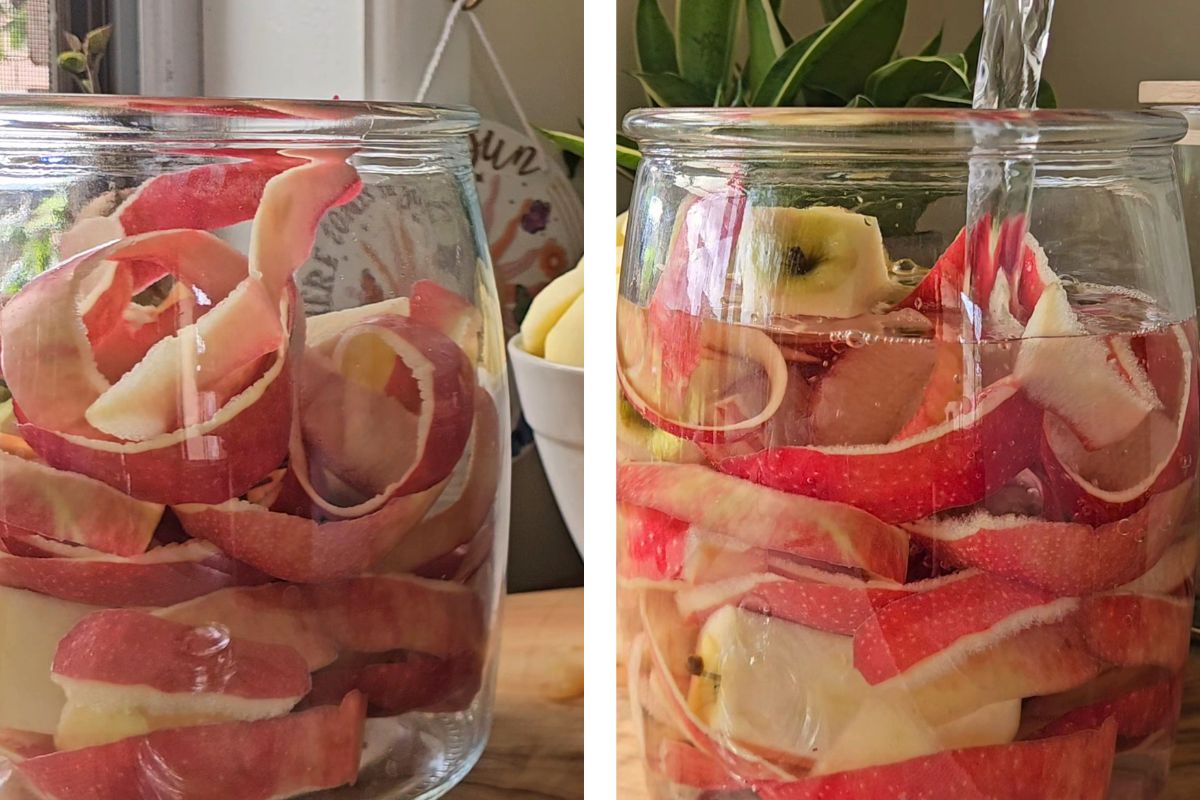 Left: Adding your scraps (Peels and Cores) to the jar.
Right: Adding water to the jar.
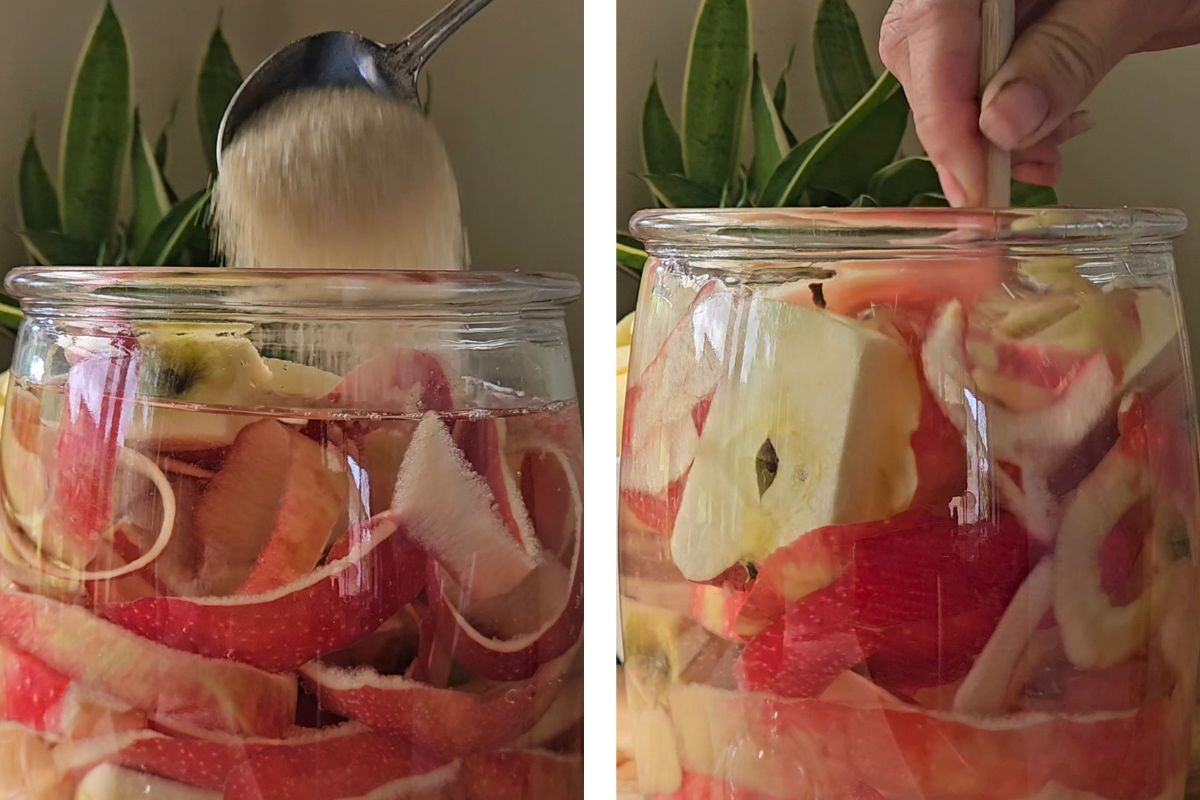 Left: Adding sugar to the jar.
Right: Stirring everything together.
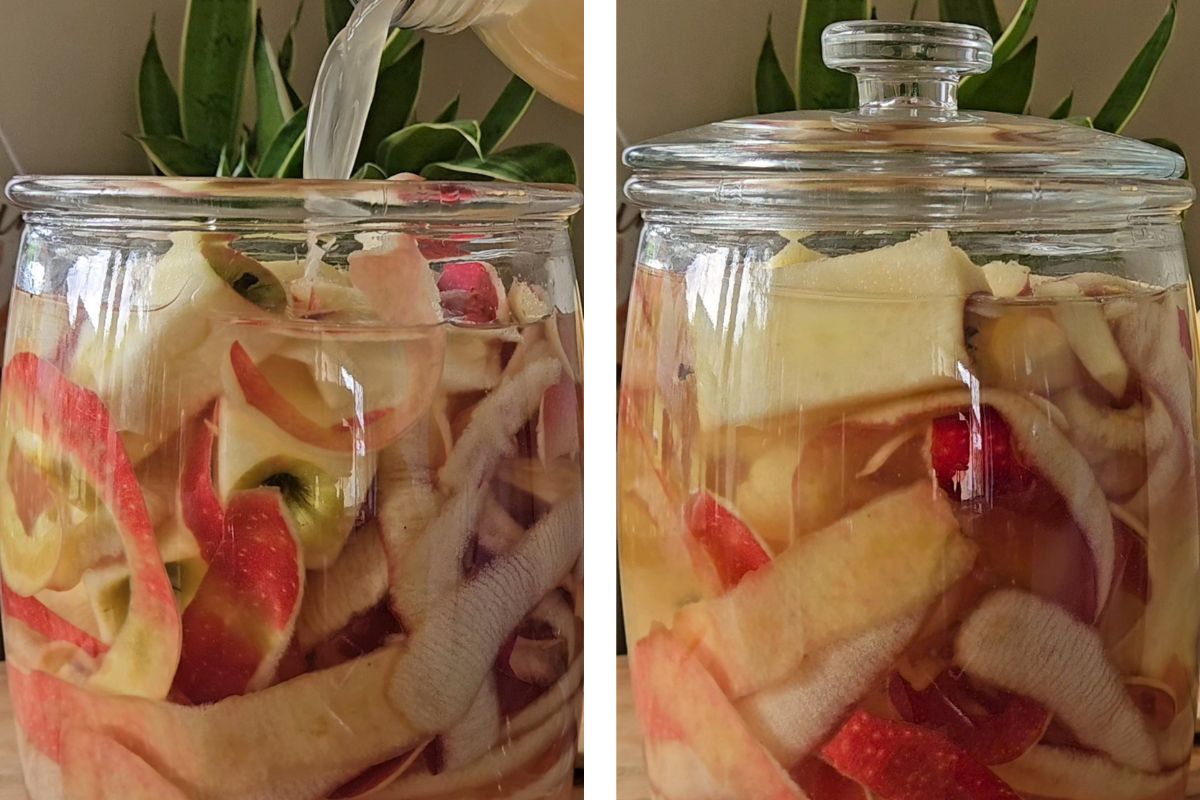 Left: Adding some Apple Cider Vinegar (Optional).
Right: Placing lid on the jar to ferment.
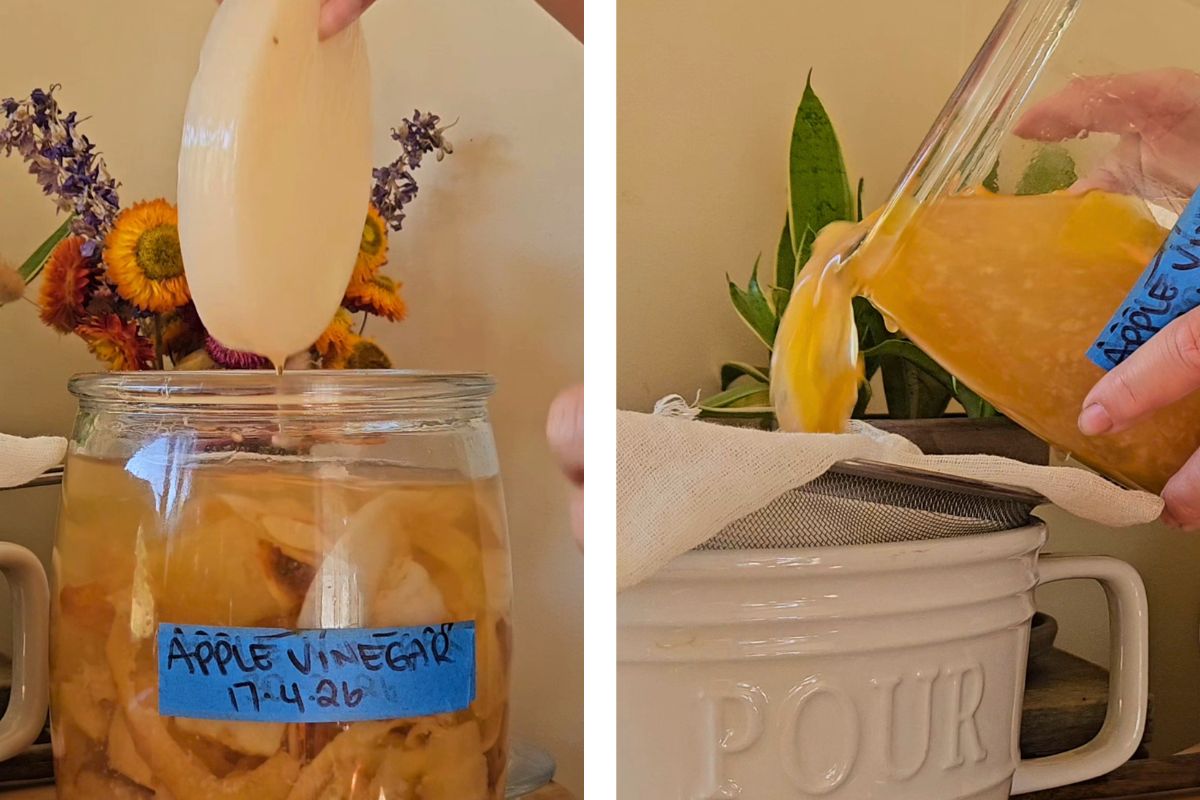 Left: Removing the SCOBY.
Right: Straining the Apple Scrap Vinegar.
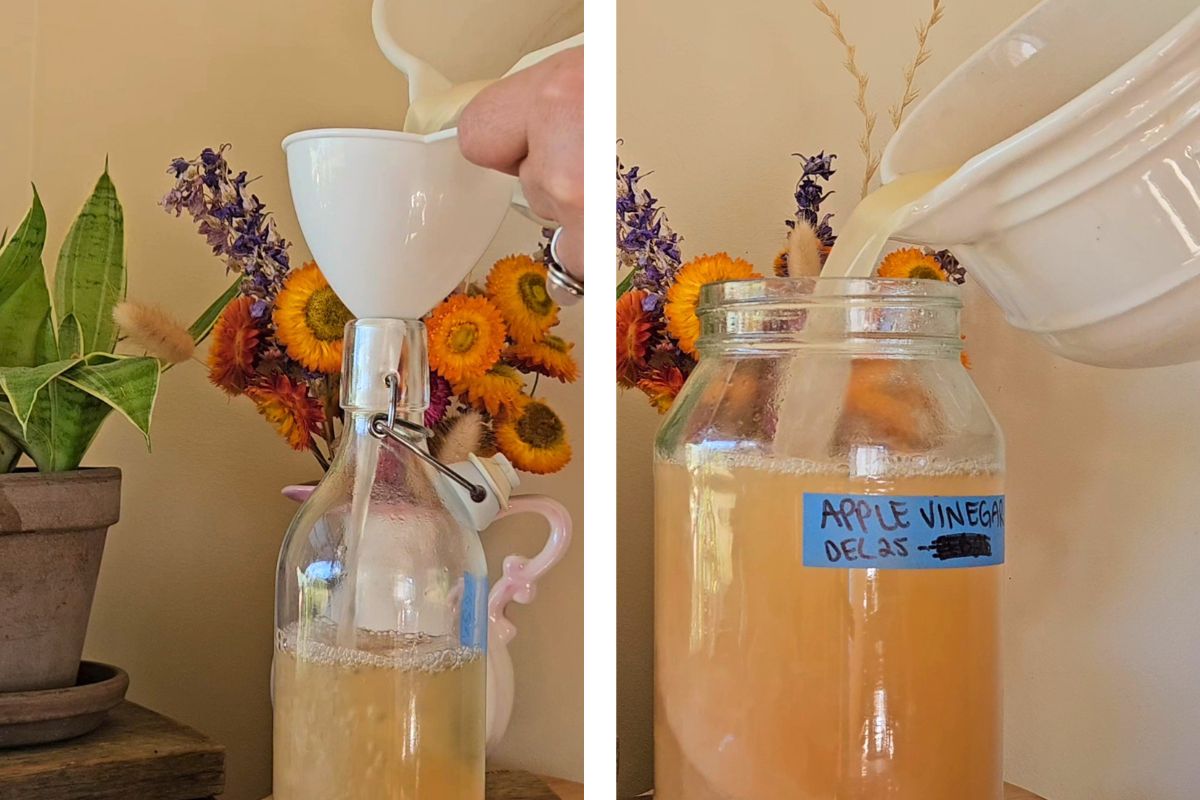 Left: Filling a sterilised bottle with the apple scrap vinegar.
Right: Adding the remaining apple scrap vinegar back into the jar to store.
Video, Images & Recipe by Christie Fuller