
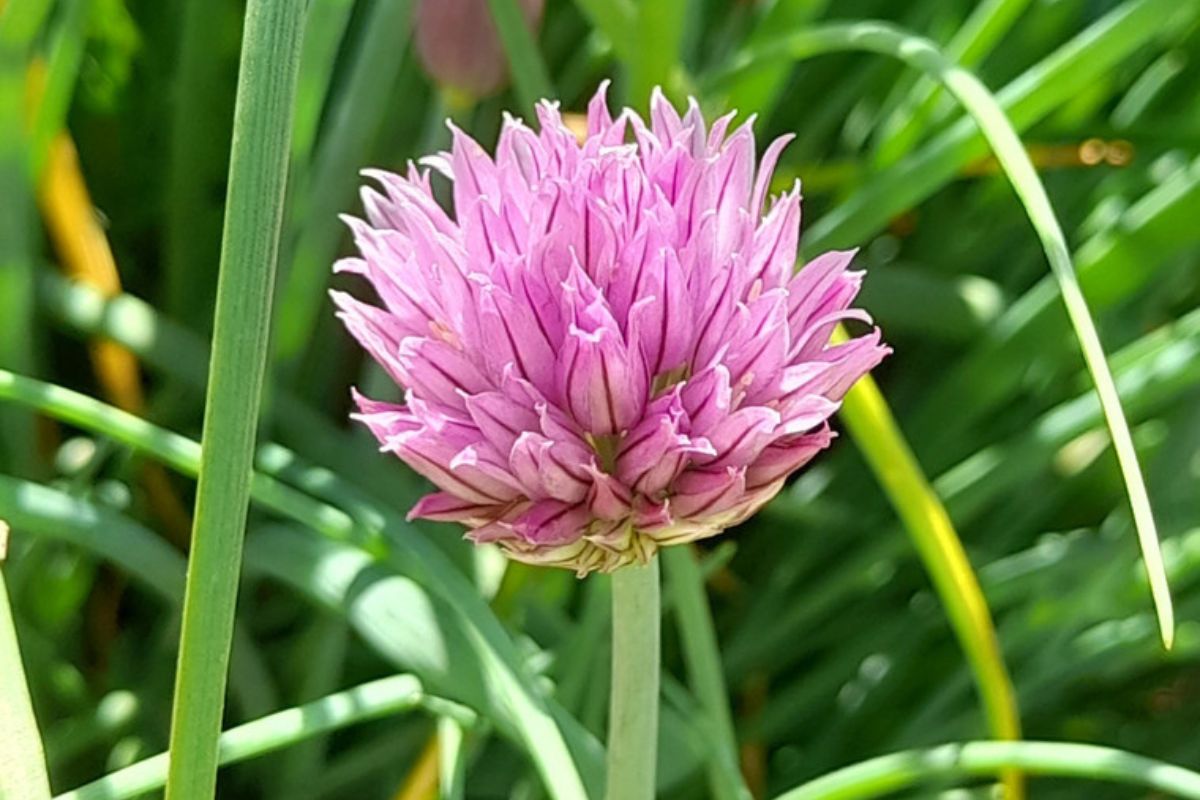
Chives bursting into blossom are one of the early signs that spring is finally here. Not only are they beautiful, but they are edible too. They impart a wonderful mild onion flavour when sprinkled onto scrambled eggs and add brightness to any creamy recipes like soups. To preserve chive blossoms for use in summer, you can make chive blossom vinegar. Chive blossom vinegar is a shelf-stable condiment that can be used in place of vinegar in most recipes. It is perfect mixed with olive oil as a salad dressing or simply drizzled over sliced tomatoes before topping them with a pinch of salt.
Equipment Required
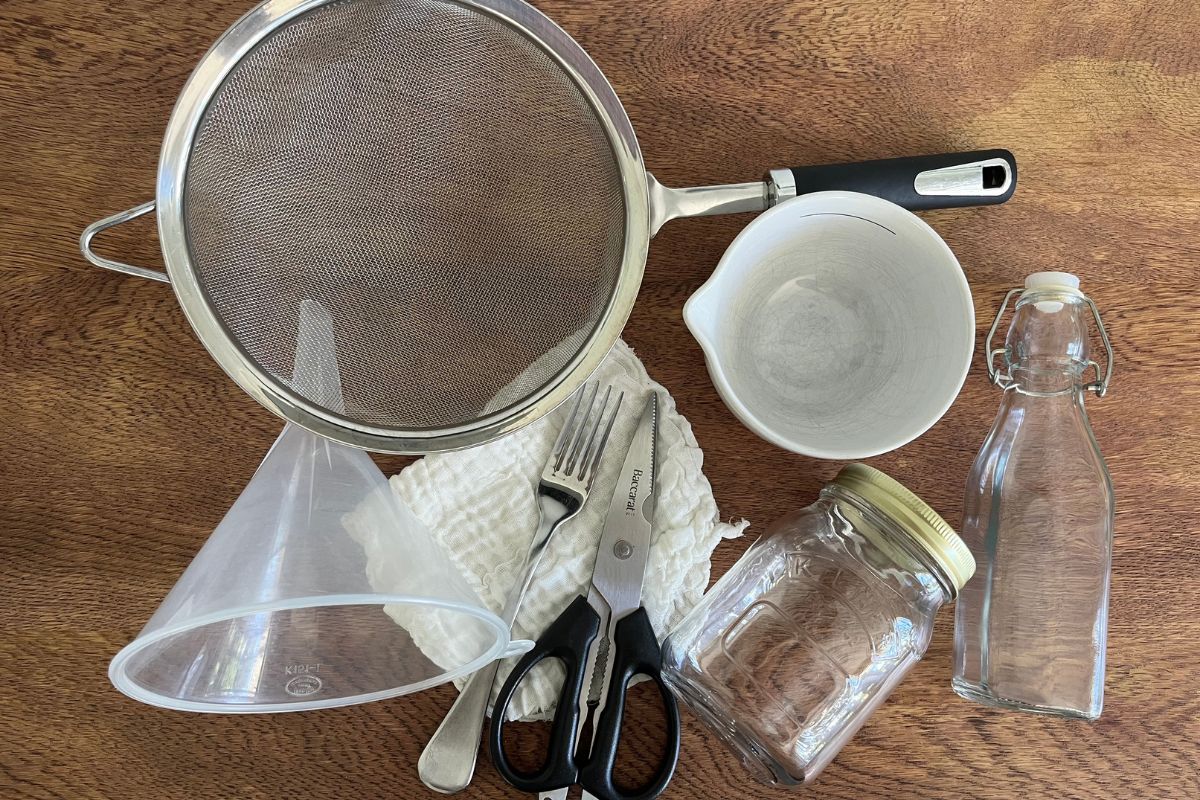
- Kitchen scissors
- Measuring cup
- Glass jar with lid
- Fork
- Strainer
- Muslin cloth
- Funnel
- A glass bottle or second jar with lid
Note: Wash all equipment in hot soapy water, then sterilise the jar and bottle by boiling them for 10 minutes, and dry everything thoroughly before use.
Ingredients
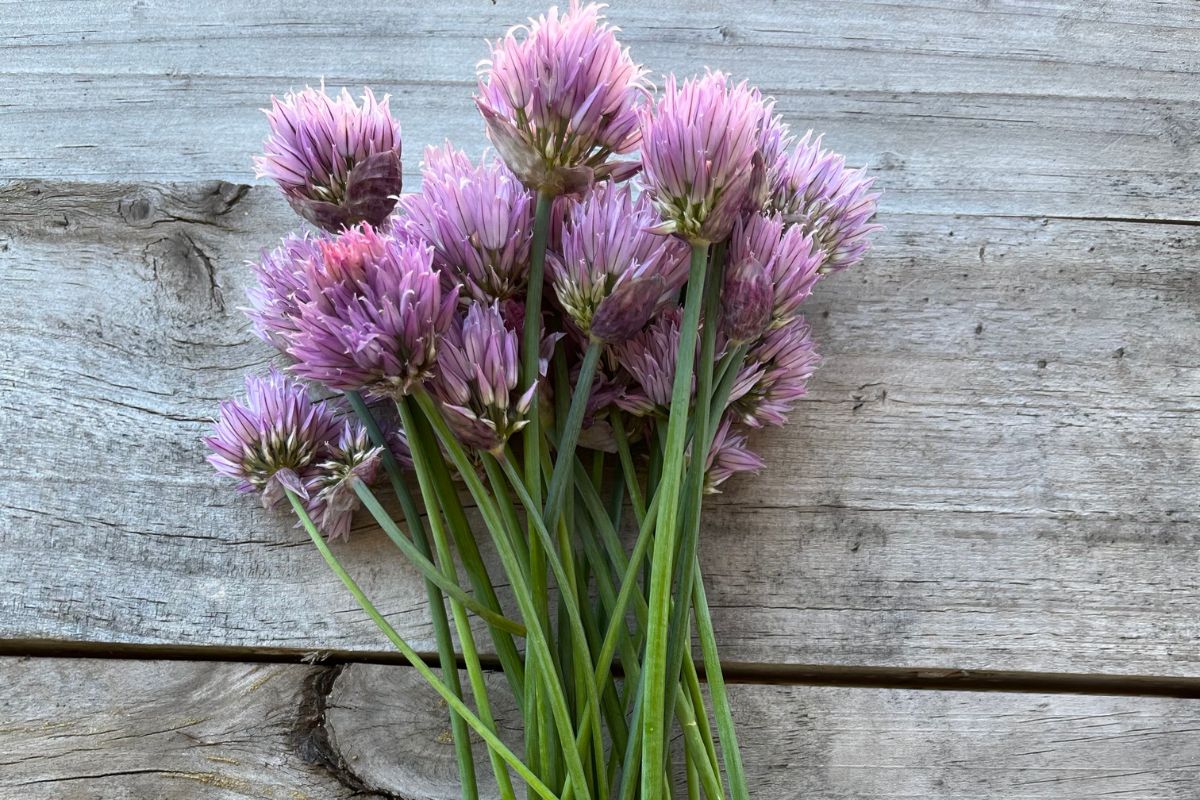
- 1 cup (250ml) of chive blossoms, loosely packed
- 250ml white vinegar
Harvesting And Preparing Chive Blossoms
The best way to harvest chive blossoms is by snipping the tough flower stalk towards the base of the plant. This keeps the plant looking neat and encourages new growth. Harvest chive blossoms as soon as they are fully open and are a vibrant purple.
Chive blossoms will open and mature at different rates so it may be difficult to get a cupful of them at a single time. Instead, you may need to make this recipe gradually over a few weeks as outlined in step 7. You can make this recipe with fewer chive blossoms, however the vinegar may be less vibrant at the end of the recipe.
After harvesting the chive blossoms give them a good shake to remove any dirt or bugs. It is okay to rinse the chive blossoms, if required, but ensure they are fully dry before proceeding with the recipe. Adding wet chive blossoms or using wet equipment may dilute the vinegar and could make the recipe susceptible to mould.
Method
- Use scissors to snip chive blossoms off their stalks just below the flower head. Measure out about a cupful and add them directly to the jar.
- Pour 250ml of white vinegar over the blossoms.
- Use a fork to gently push the chive blossoms under the vinegar a few times. They might float to the top a bit and that’s okay.
- Screw the lid onto the jar and set it aside in a cupboard or pantry out of direct sunlight.
- About 24 hours later open the jar and use a clean fork to push the blossoms into the vinegar again. Put the lid back on before returning the jar to the cupboard or pantry.
- Leave the vinegar to infuse for a further 6 days.
- Optional: If you didn’t have a full cup of chive blossoms at the beginning of the recipe you can continue to add more blossoms to the jar as they open. Ensure you use a fork to push any new blossoms under the vinegar. If you are adding extra flowers you may choose to let the vinegar infuse for up to 2 weeks.
- Once the vinegar is a vibrant purple colour it’s ready to strain. Line the strainer with the muslin cloth before placing it on top of the funnel. Insert the funnel into the top of the glass bottle or jar. Carefully pour the infused vinegar through the muslin-lined strainer into the bottle.
- Shelf Life: The chive blossom vinegar is ready to use now but can be stored for up to 3 months. Keep it tightly sealed between uses, in the pantry out of direct sunlight or, better, in the fridge, and discard it if it turns cloudy, bubbles or grows mould.
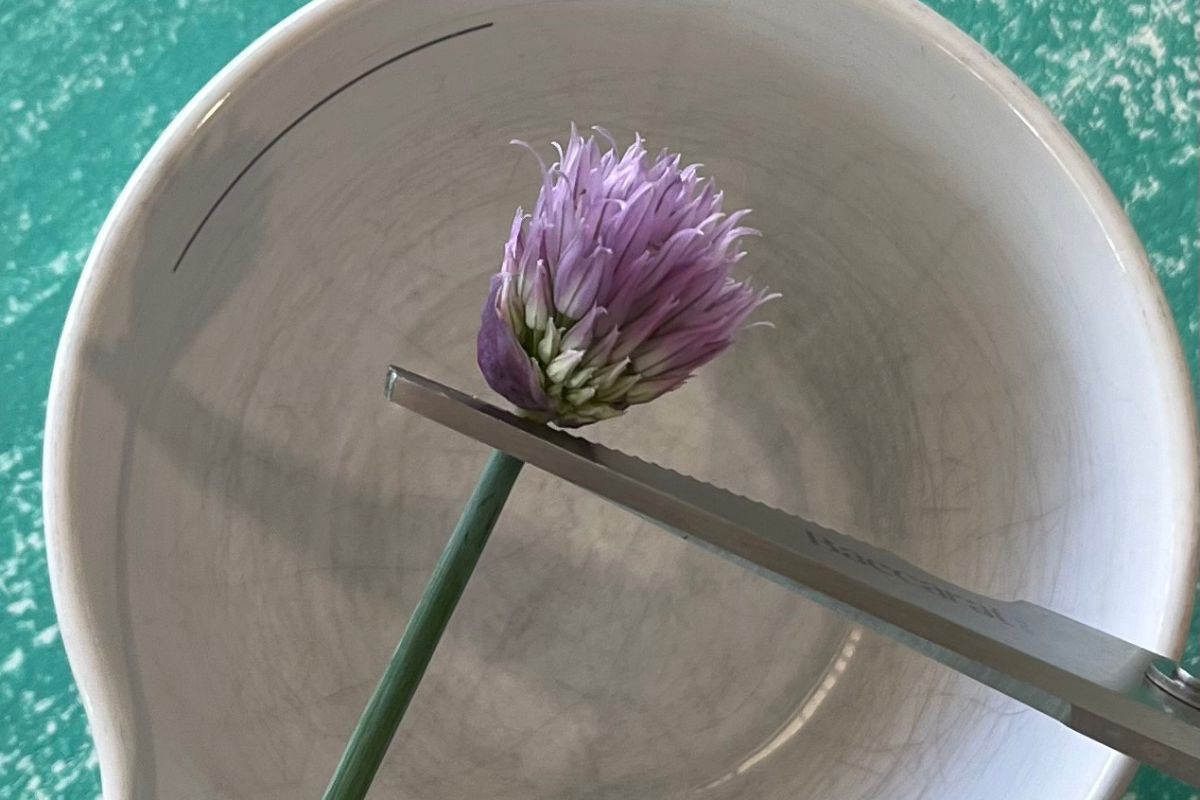 Step 1: snip the blossoms off their stalks
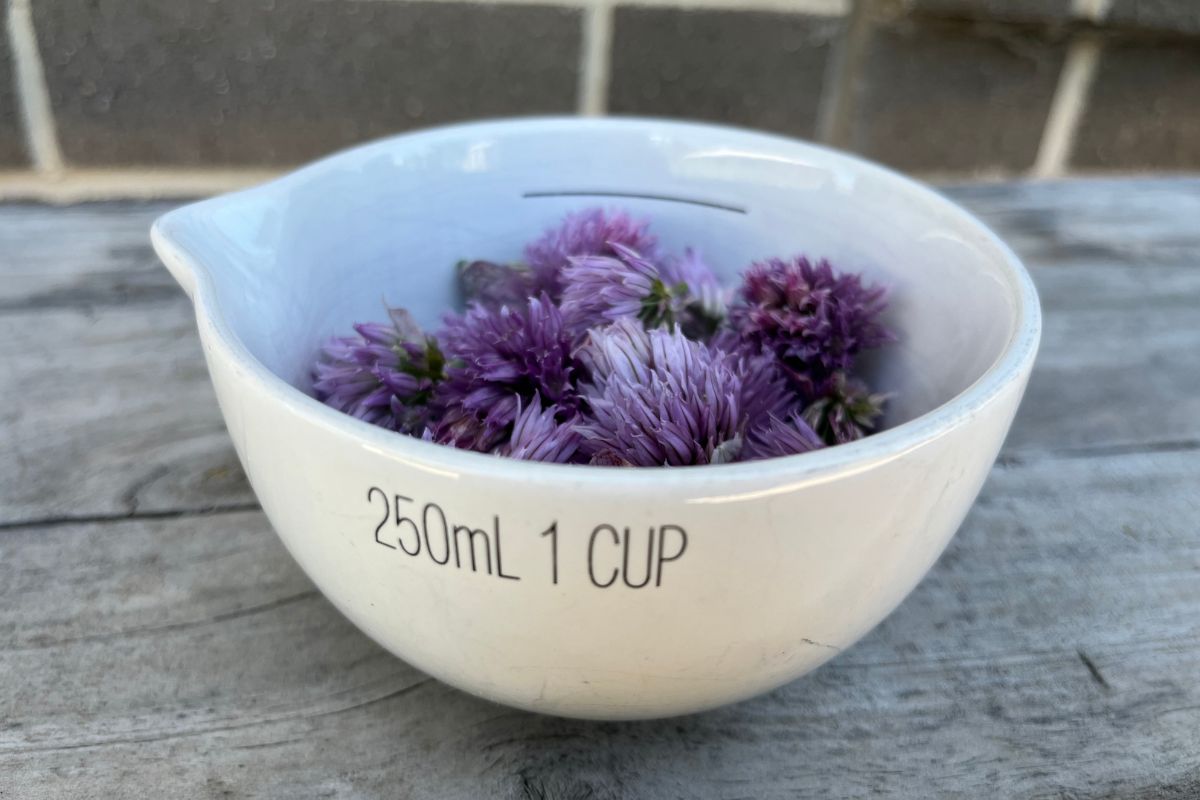 Step 1: about a cupful
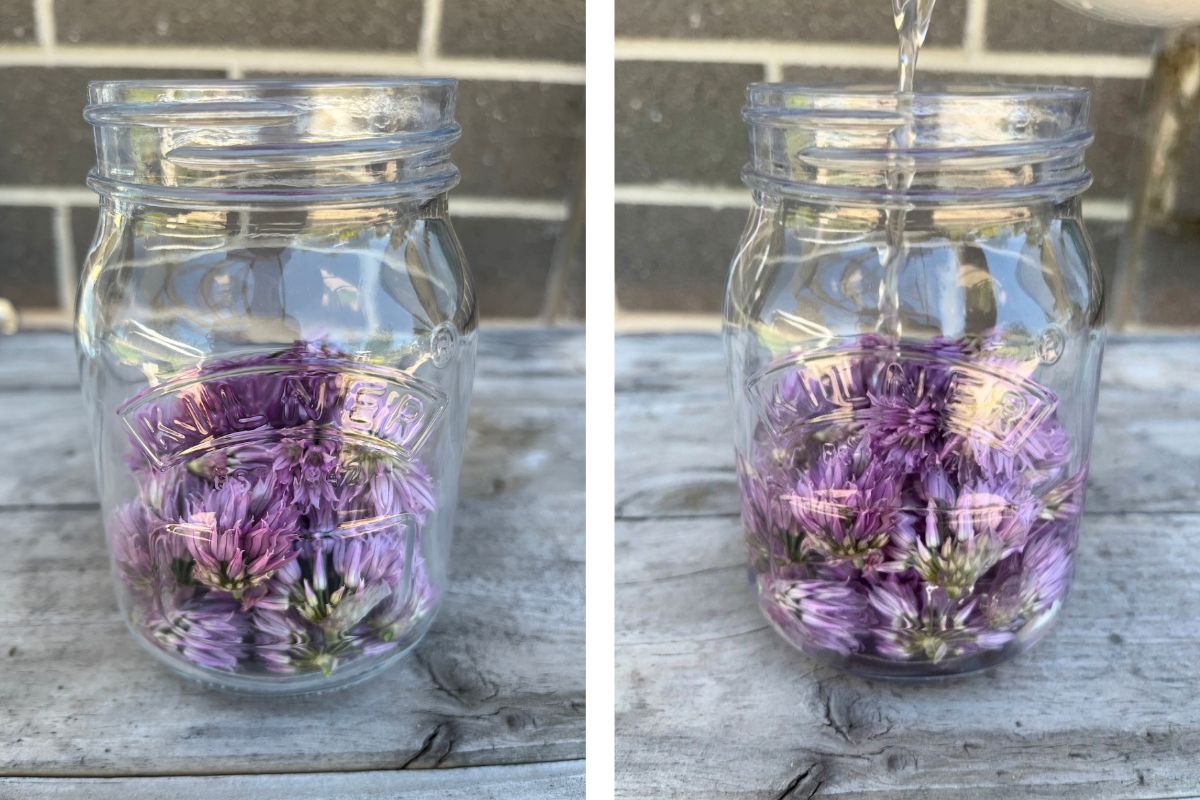 Step 2: pour the vinegar over the blossoms
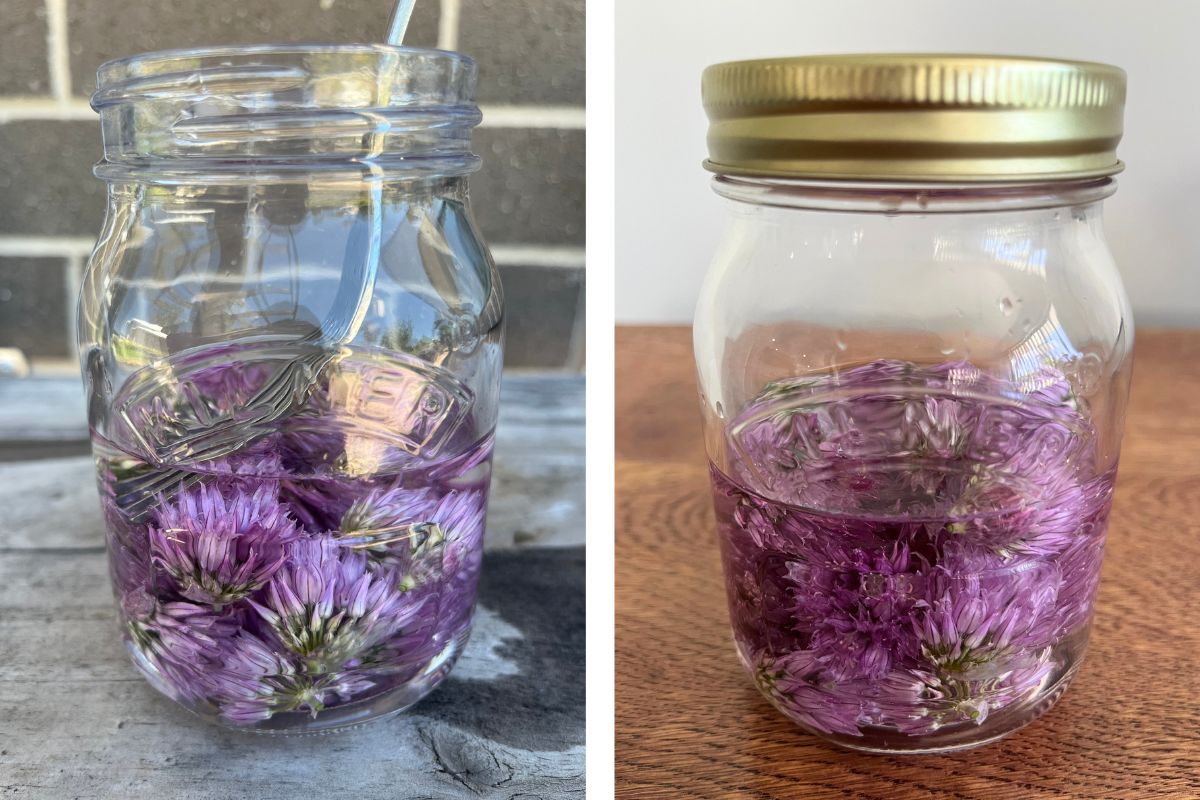 Steps 3 and 4: push the blossoms under, then seal the jar
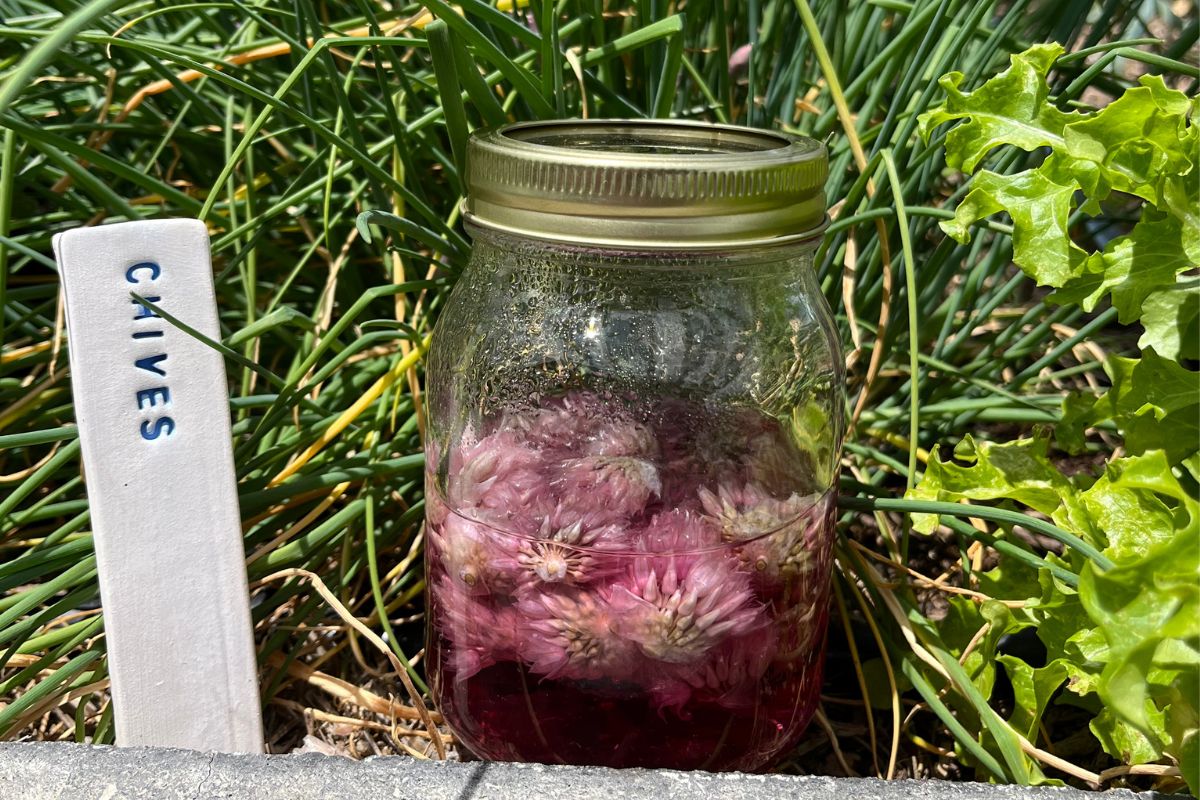 After a week the vinegar is a vibrant purple
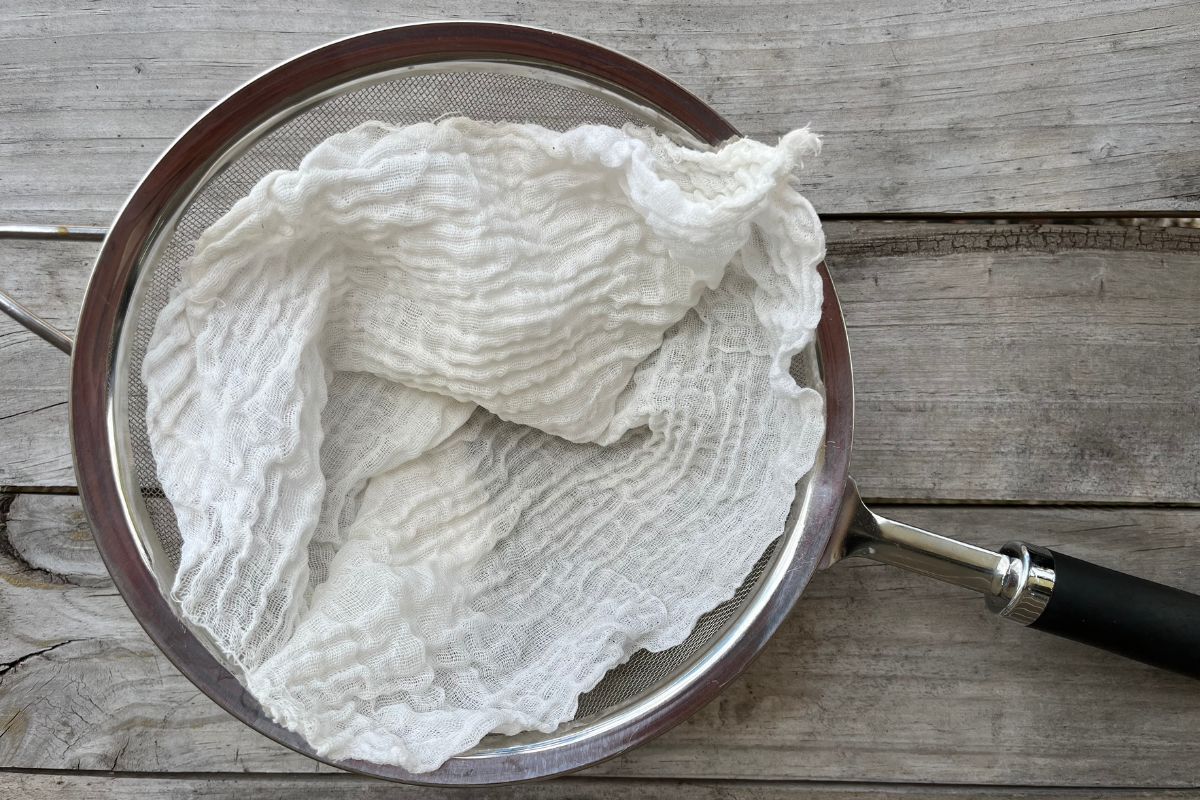 Step 8: strain through muslin
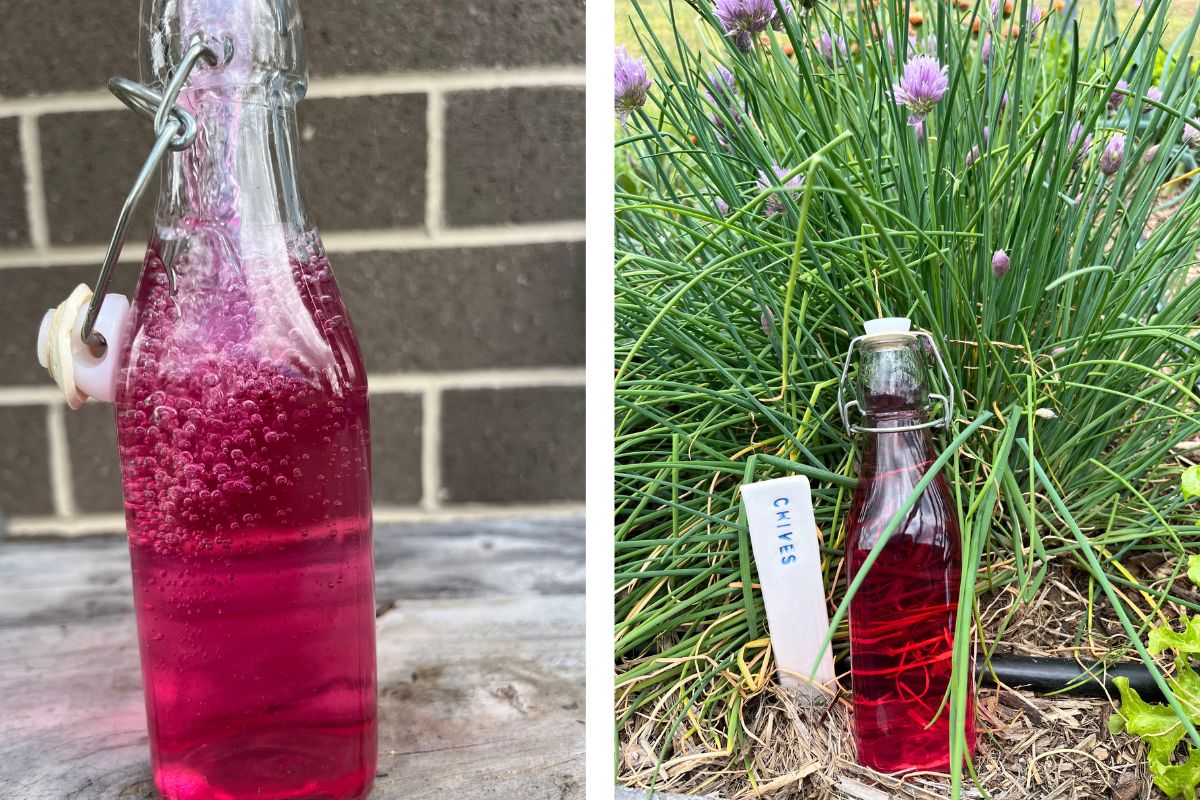 The finished vinegar
Don’t have a clump of chives yet? Our chive seeds are the place to start.
Article & Photographs by Stephanie Hall-Richards