
Pumpkins are one of those crops that can sit happily on the kitchen bench for weeks, but once you cut into one, the question quickly becomes: what are we going to make with all this pumpkin?
This country pumpkin pie is the answer.
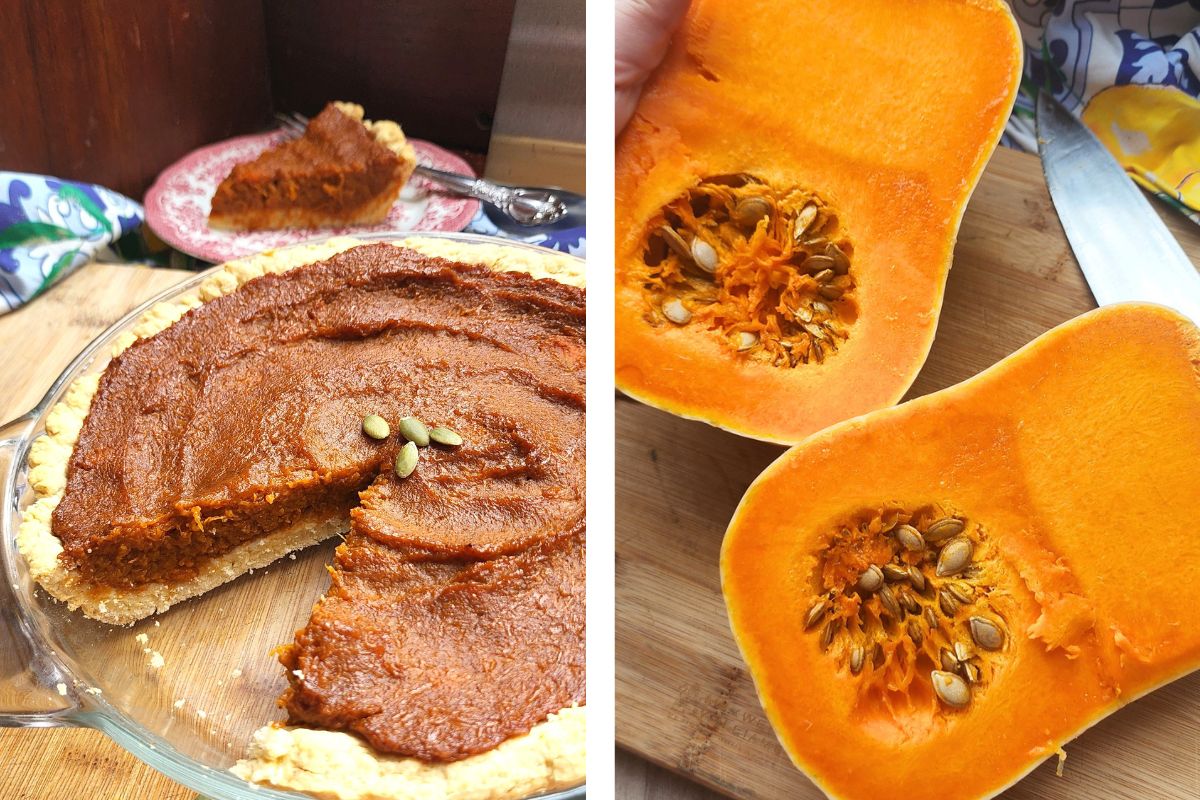
Unlike the smooth, custard-style pumpkin pies you might be familiar with, this version is simple and rustic. The pumpkin is cooked until soft, drained well and mixed with sugar and spice before being tucked inside homemade pastry and baked until golden.
Don’t be intimidated by making the pastry from scratch. It’s a lot easier than you think.
Before You Start
There are a few things worth knowing.
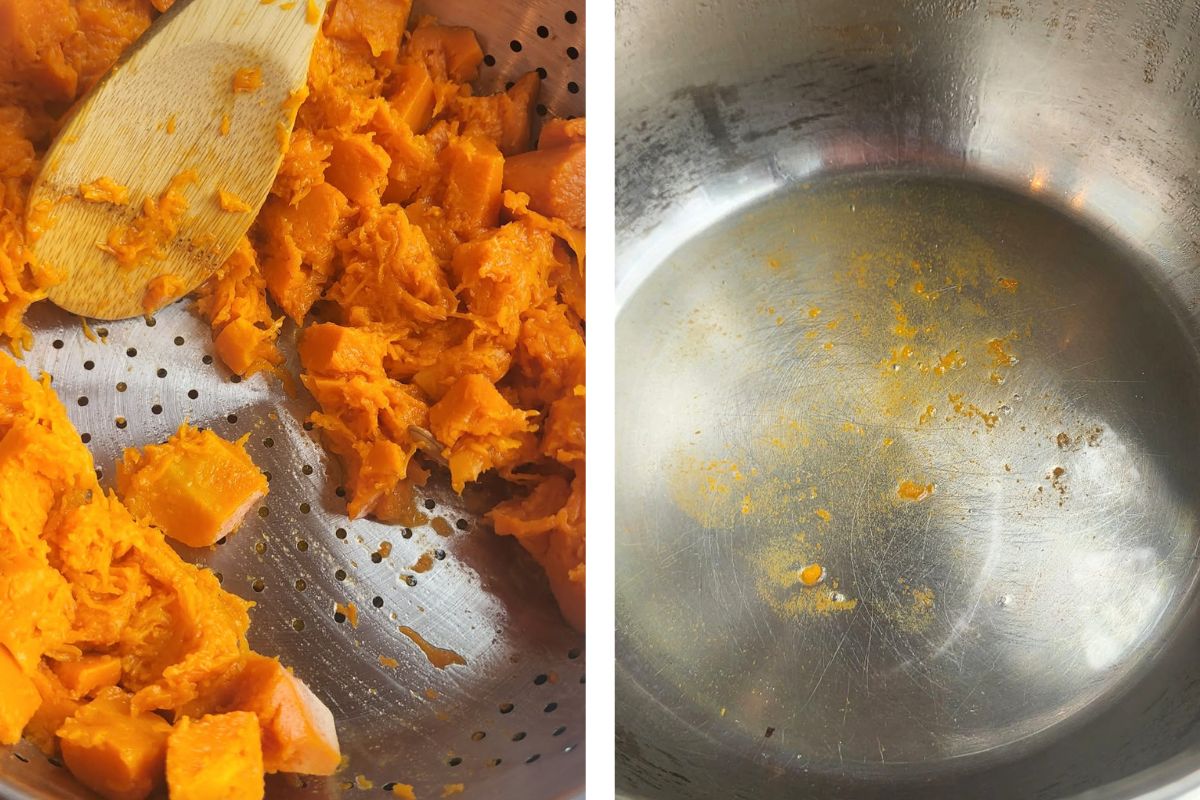
- Drain the pumpkin well: This is probably the most important step in the recipe. Pumpkin contains lots of moisture, and too much liquid in the filling can leave you with a watery pie and soggy pastry. Once the pumpkin has cooked, take the time to remove as much excess water as possible.
- Taste your filling: Pumpkins can vary considerably in sweetness and flavour. The quantities below give you a starting point, but taste the filling before it goes into the pie and adjust the sugar or spice if necessary.
- Don’t overwork the pastry: Bring the pastry together until you have a workable dough, but don’t keep kneading it unnecessarily. It’s a really simple pastry, only consisting of butter, flour, water and salt, so it will go like a nice crumbly biscuit.
Ingredients
Pumpkin Filling
750 g cooked and drained pumpkin (approximately 6 cups of raw, cubed pumpkin)
½ cup sugar, added gradually to taste
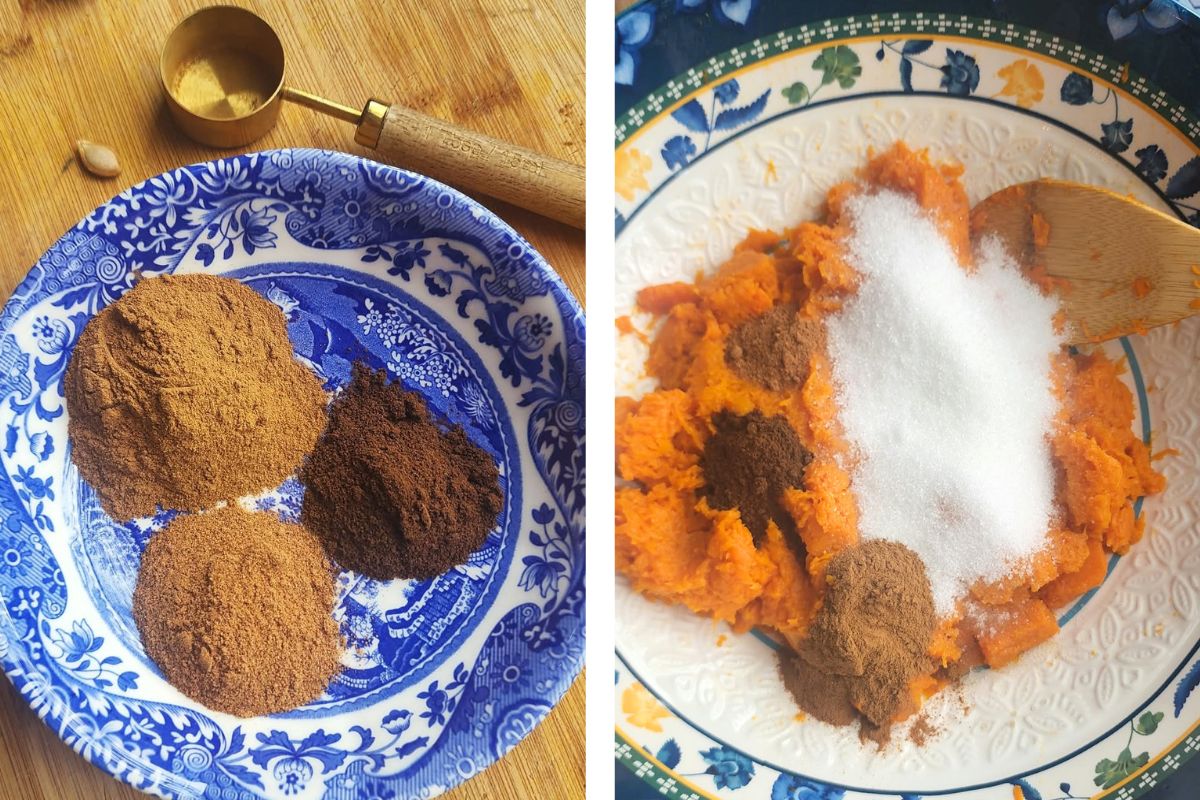
1½ tsp ground cinnamon
¼ tsp ground cloves
¼ tsp ground nutmeg
Pastry
2 cups self-raising flour
75 g cold butter, cubed
Pinch of salt
About 105 ml cold water (you might need more or less, depending on how dry or wet your dough is)
Method
- Preheat the oven to 180°C fan-forced.
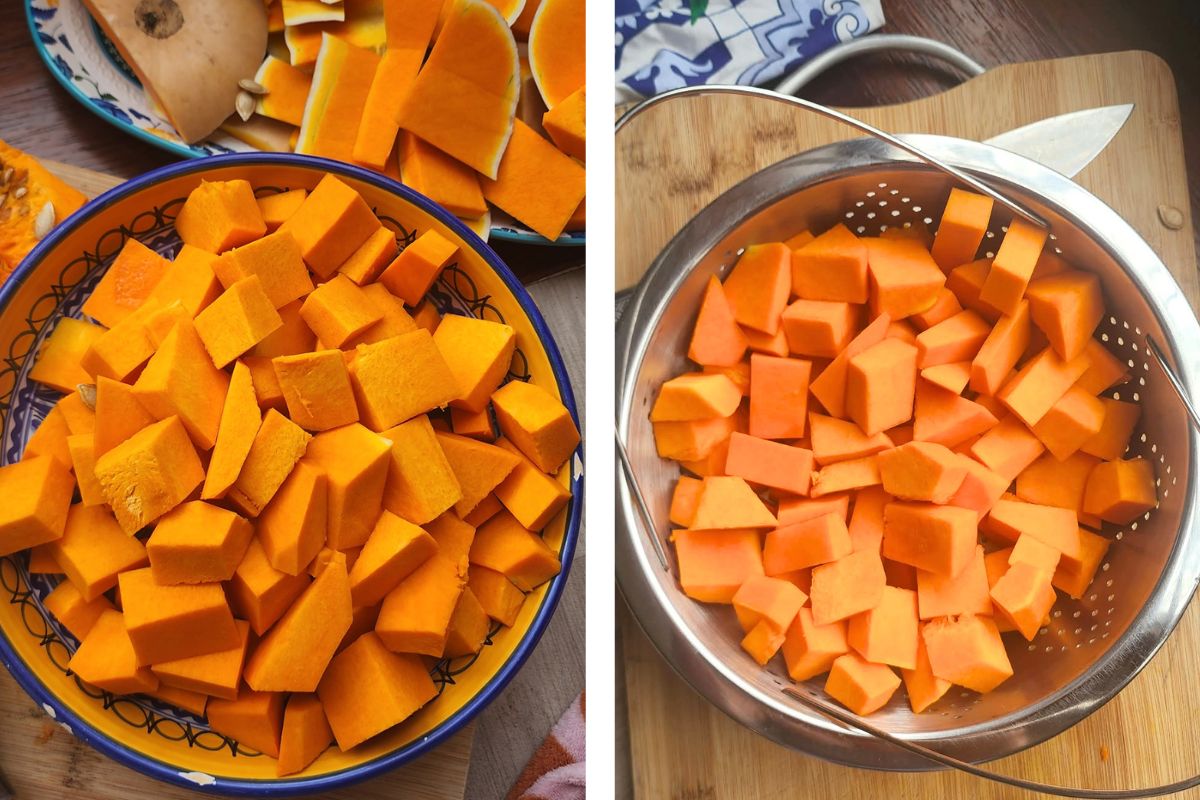
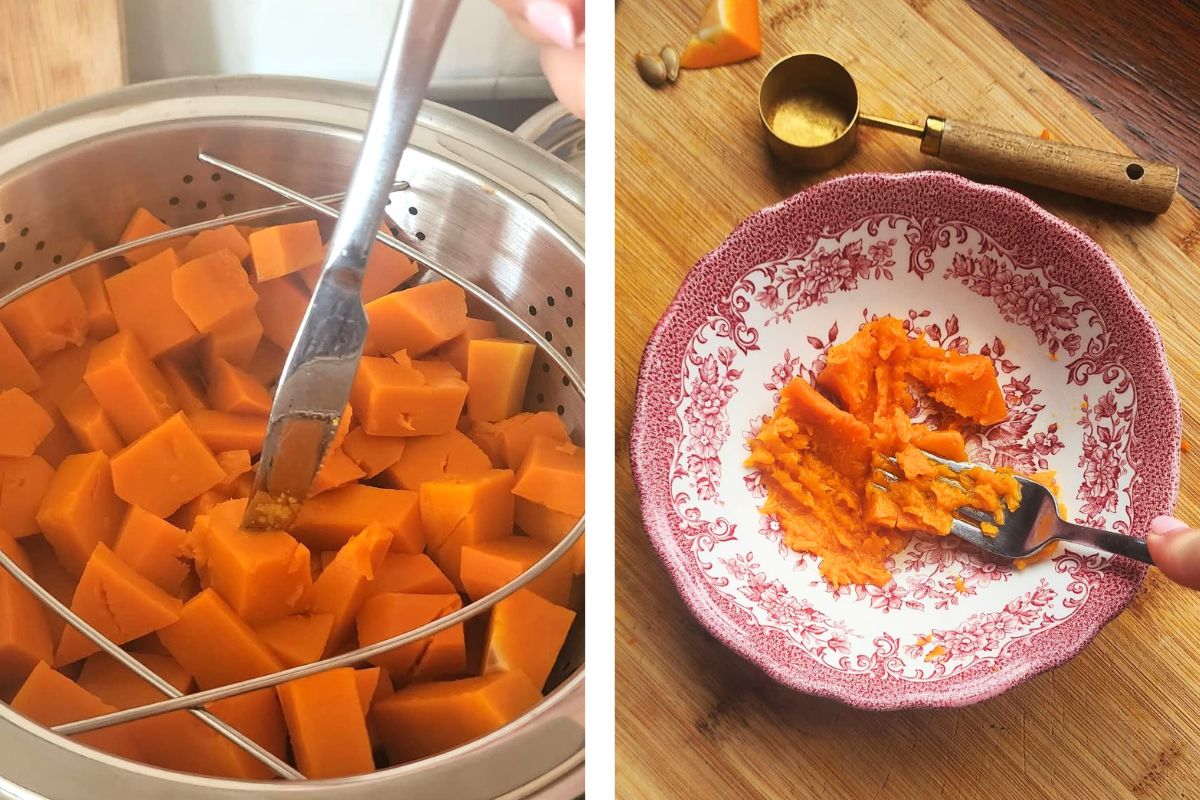
- Peel the pumpkin, remove the seeds and cut into cubes roughly the same size. Steam for approximately 15 minutes, or until you can mash them gently with a fork, or easily pierce them with a knife.
- Transfer the cooked pumpkin to a colander and leave to drain for 20-30 minutes, removing as much excess moisture as possible. You can gently push down on the pumpkin to help some of the water drain.
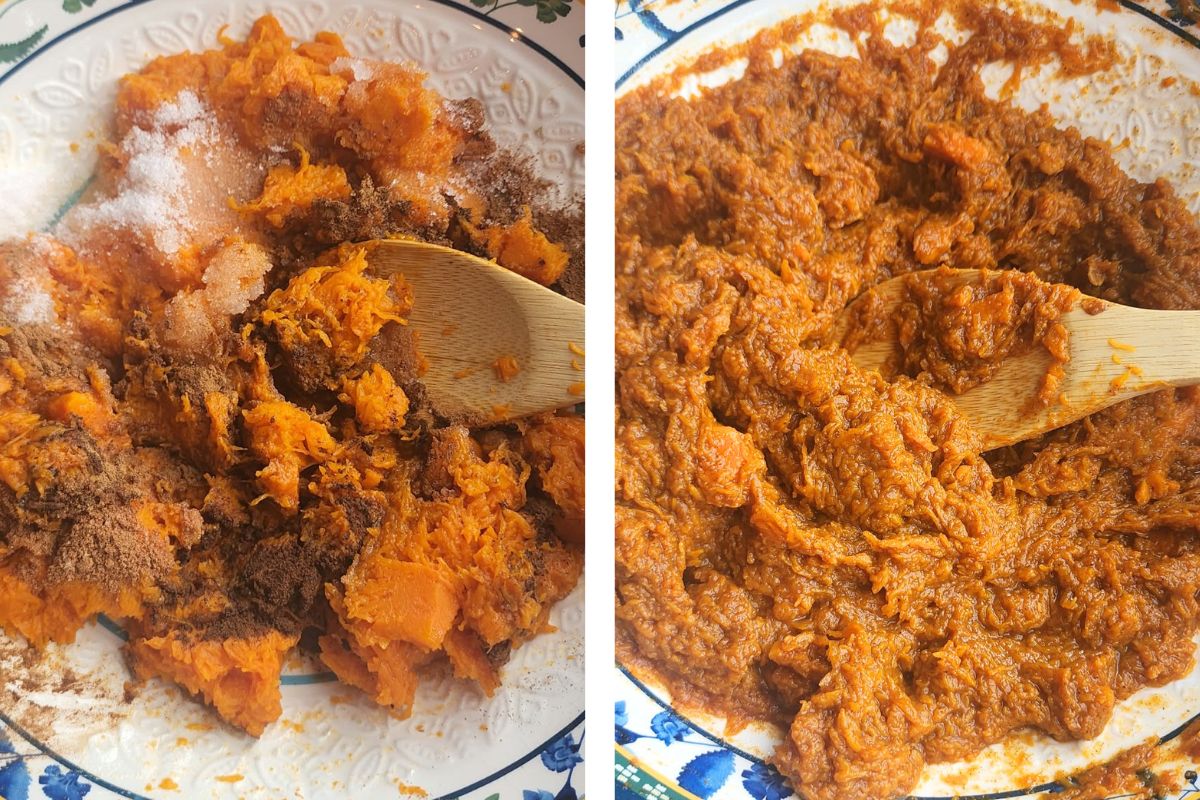
- Once drained, transfer to a mixing bowl and stir the pumpkin until it is a rustic puree.
- Add ¼ cup of sugar to the pumpkin, followed by the cinnamon, cloves and nutmeg. Mix thoroughly.
- Taste the mixture and adjust the sweetness and spices to your liking. Gradually add more sugar, up to ½ cup in total, and increase the spices if desired. Leave the mixture to cool completely.
- To make the pastry, add the flour, salt and butter to a bowl and crumble the butter in your hands until it resembles wet sand. This will take a while, so sit back and be patient.
- Once it resembles wet sand, where you can mould it by squishing it in your hand, add the water gradually to bring together a rough-looking dough.
- Transfer it onto a bench, give it a bit of a knead to bring it all together, then roll it out very roughly with a rolling pin. You don’t need to get this perfect, because you’re going to lay it in the pie dish and you can patch it up and smooth it out as you need.
- Spoon the filling straight into the pastry (no blind bake) and bake. Check regularly between 25 and 30 minutes. The top will go nice and dark, depending on how much spice you put in. Once removed from the oven, leave it to cool slightly before cutting into it.
Important Reminders
- Pumpkin preparation: Six cups of raw, cubed pumpkin should provide approximately 750g once cooked and drained, although this will vary depending on the variety and moisture content. For accuracy, weigh the pumpkin after draining.
- Adjust to taste: Start with half the sugar and gradually add more until you reach your preferred sweetness. The same applies to the spices. Taste the pumpkin mixture before assembling the pie and adjust as needed.
- Remove excess moisture: Allowing the pumpkin to drain for 20-30 minutes helps prevent a watery filling and soggy pastry.
Serving Your Country Pumpkin Pie
This pie can be served on its own, but a generous spoonful of cream or a scoop of vanilla ice cream wouldn’t go astray.
Because the filling is sweet and warmly spiced, you don’t need to add much else. Let the pumpkin do the work.
It’s also worth waiting until the pie has cooled enough to slice cleanly. Cut it while it’s piping hot and the filling will naturally be softer.
And if you’ve gone to the effort of growing the pumpkin yourself, make sure everyone at the table knows it. There aren’t many better garden-to-table moments than cutting into a pie made with something that started as a seed in your own backyard.
Don’t Throw Away Those Pumpkin Seeds!
Once you’ve scooped out the centre of your pumpkin, you don’t need to throw the seeds away.
Separate them from the stringy pumpkin flesh and give them a rinse. Depending on the pumpkin you’re growing and your plans for the garden, you may want to save suitable seed for another purpose or roast the seeds for eating.
Even if you’re not keeping them, the rest of the pumpkin scraps can generally make a useful addition to your compost rather than going straight into the bin.
It’s another way to make a little more use of what you’ve harvested from the garden.
Which Pumpkin Should You Use?
This recipe uses butternut, but most varieties work in a pie. The type matters less than getting the cooked pumpkin well drained, because excess water will affect the finished pie more than the variety does.
- Butternut: Sweet, dry flesh with thin skin. Easy to cut, and good for roasting, soup and pie.
- Queensland Blue: Dense flesh that holds its shape, so it’s great for baked dinners. Also good for steaming and baking, including scones.
- Jap (Kent): The everyday Aussie pumpkin, with sweet orange flesh. Great for mash and soup, and it roasts well too.
- Jarrahdale: Looks a lot like a Queensland Blue, with sweet orange flesh. Often recommended for pie, but it can hold more water when cooked, so drain it well.
A Few Final Tips
The secret to this pie isn’t complicated technique. It’s taking your time with a few simple steps.
Cook the pumpkin until completely tender, drain it thoroughly and taste the filling before assembling the pie. Add the water to your pastry gradually and give the finished pie a little time to cool before cutting.
Most importantly, don’t be afraid to work with the pumpkin you have available. A country pumpkin pie doesn’t need to look perfectly uniform every time you make it.
Article & Photographs by Julia Lewis