
There is something admittedly underwhelming about receiving your first bare-rooted rose.
After months of scrolling through photographs of enormous, romantic blooms, the postie finally delivers your future dream rose and it's essentially a collection of sticks in a box.
But that's exactly what it's supposed to look like.
Bare-rooted roses are supplied while dormant, making the cooler months an ideal time to get them settled into the garden before they burst into active growth when the new season warms up.
And while planting them isn't particularly difficult, I’ve done the hard yards and pulled together the most relevant advice to Australian growing conditions.
Here’s a simplified guide for getting your new, bare-rooted roses into the ground and ready for the growing season ahead.
Inspect Your New Rose
Once your order arrives, remove the rose from its packaging and give it a quick inspection.
The stems and roots should appear viable and healthy rather than completely dried out or heavily damaged. Depending on when your roses arrive, you may even notice small buds beginning to swell or produce new growth.
Don't be alarmed by their rather skeletal appearance. There's a lot of potential hiding inside those sticks.
.jpg)
Rehydrate the Roots
Before planting, soak the roots in a bucket of water to rehydrate them.
Recommendations vary considerably, from around an hour through to overnight or even up to 24 hours. I simply chose a soaking time that worked best for my planting schedule.
You'll also come across plenty of suggestions for adding various tonics and solutions to the soaking water. For my own roses, I kept things simple by using plain water, concentrating instead on improving the soil they're about to call home.
Prepare Your Soil
Roses appreciate fertile, well-draining soil, so preparing your planting area beforehand can help give them a strong start.
My garden has fairly heavy clay soil, so approximately a month before planting I began incorporating organic matter, including aged manure, blood and bone and a good handful of gypsum.
Your own soil may require something completely different, so the important thing here is to understand what you're starting with rather than simply adding amendments for the sake of it.
Work Out Your Spacing
Before reaching for the shovel, check the expected mature size of your particular rose variety.
As a general guide, I'm planting mine approximately 1–1.2 metres apart, allowing each rose enough space to develop without excessive competition between neighbouring plants.
However, spacing will depend considerably on the variety and the effect you're trying to achieve. Compact roses may be planted closer together, while larger shrub roses will need considerably more room.
If you're intentionally creating a rose hedge or mass planting, closer spacing may also be appropriate.
Dig Your Planting Hole
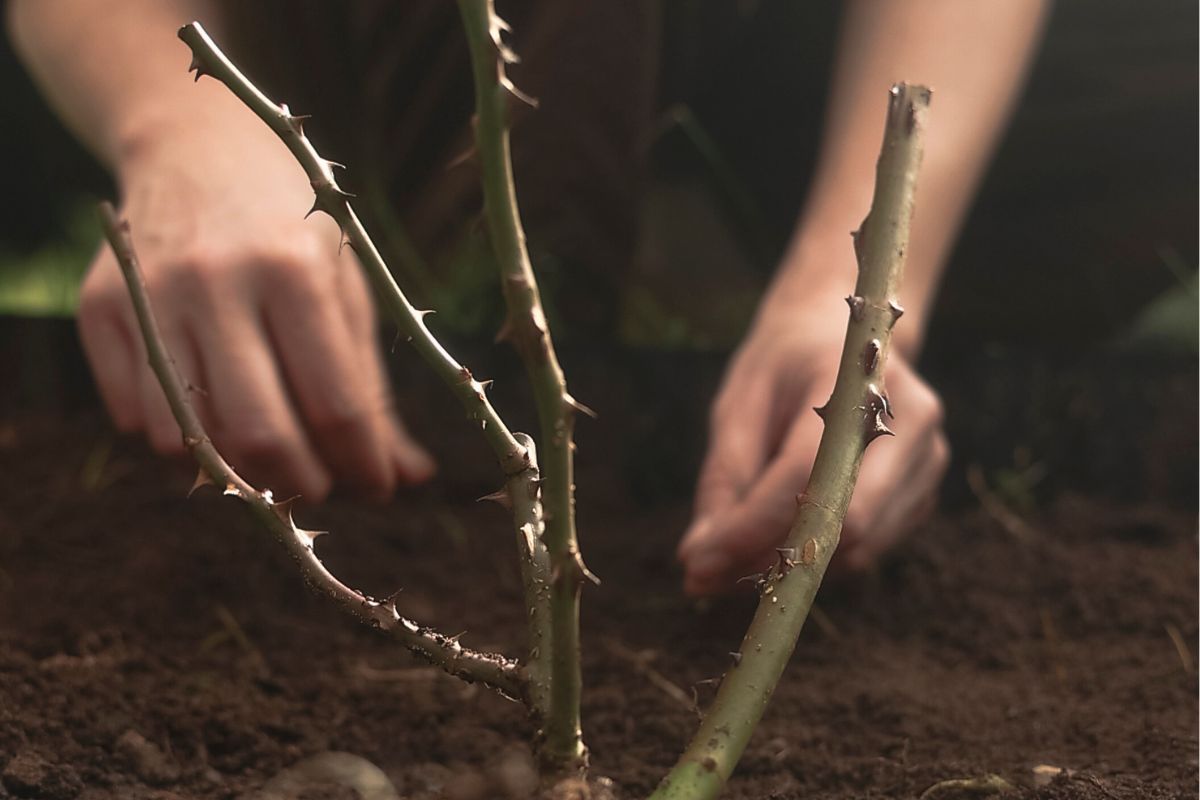
Dig a hole wide and deep enough to comfortably accommodate the entire root system without bending, twisting or crowding the roots.
Create a small mound of good-quality soil in the centre of the hole and position the rose over it, allowing the roots to spread naturally down and around the mound.
Before backfilling, check the final height of your rose.
Position Your Rose
Before positioning your rose, it helps to know if it is an "own-root" or grafted variety.
Own-root roses can simply be planted at the same depth they were originally growing.
Grafted roses, however, will have a bud union—a swollen area near the base where the chosen rose variety was attached to a hardy rootstock. So for my roses here in Melbourne, I'm following the advice commonly given by Australian rose growers and nurseries of positioning the bud union at or slightly above the finished soil level.
It's worth checking recommendations for your own climate and rose supplier, particularly if you're gardening somewhere with very different conditions.
Backfill And Water
Once you're happy with the position, begin backfilling the hole with soil.
At around the halfway mark, stop to give the rose a generous drink of water, helping the soil settle around the roots.
Continue backfilling, gently firming the soil as you go, before watering deeply again to help settle the plant and reduce any remaining air pockets.
If your soil hasn't received much preparation beforehand, this is also a stage where some gardeners choose to apply a seaweed-based solution according to the manufacturer's directions.
Give It A Prune
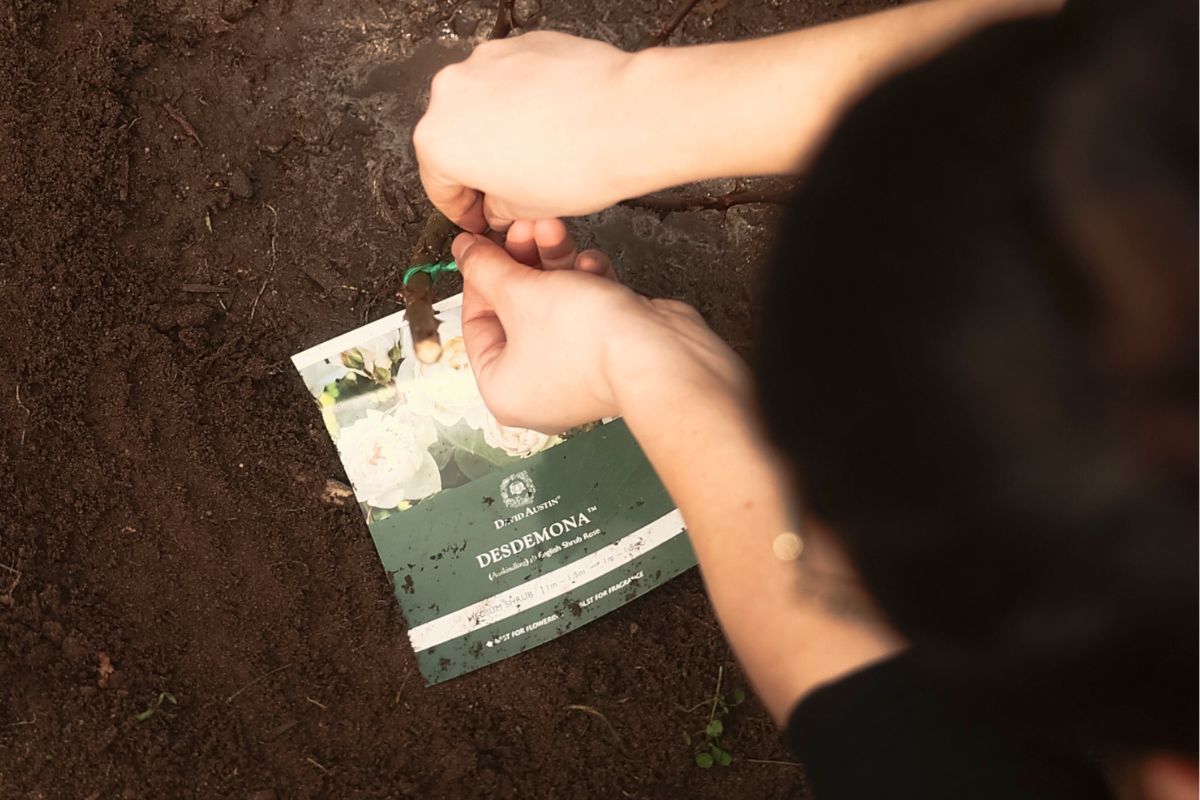
This might feel particularly cruel if your rose has already started producing exciting little buds, but your newly planted bare-root rose will benefit from being pruned back.
Bare-root roses lose a significant amount of their root system when they're lifted, so reducing the top growth helps create a better balance between the stems and the roots supporting them.
Start with clean, sterilised secateurs to reduce the risk of introducing disease.
Remove damaged, dead or particularly weak growth and aim to create a reasonably balanced framework.
When making your cuts, look for a healthy, ideally outward-facing bud and cut approximately 5–10 mm above it, angling the cut away from the bud. A gentle angle of roughly 30–45 degrees is sufficient, but the important thing is to make a clean cut without damaging the bud.
Ensure there are no limbs crossing, rubbing or facing inwards–aiming to create an "open vase" or "bowl" shape. Following these initial steps will give your roses optimal airflow, better flower production and will lower the risk of fungal disease and pests.
Don't panic about how small or bare your rose will look. New shoots will soon emerge from those remaining shortened stems.
Water While It Establishes
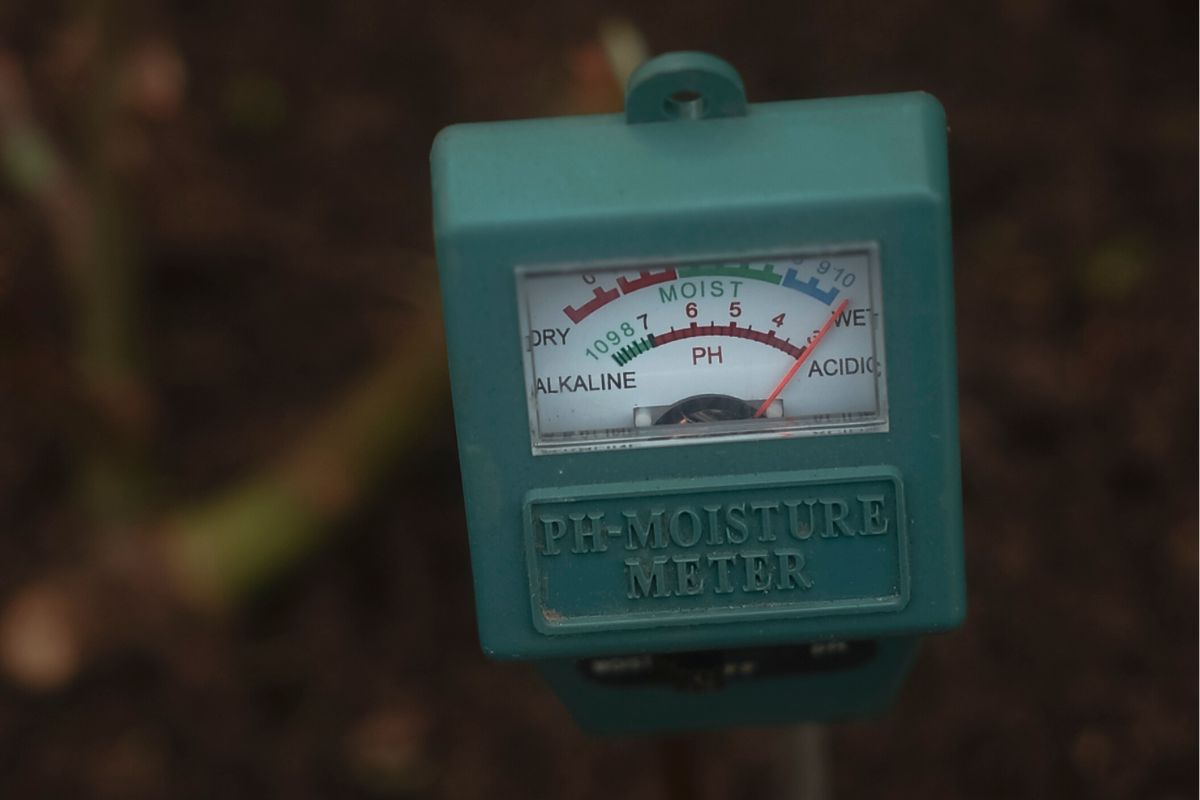
Newly planted roses need consistent moisture while their root systems establish, so check on the soil often, especially during their first year in the ground.
Winter rain can make the garden look wet without necessarily penetrating deeply enough to reach the lower section of the root zone.
A good, deep watering is generally preferable to frequent shallow watering because it encourages the roots to establish deeper into the ground.
Where possible, water in the morning and direct the water towards the soil rather than repeatedly wetting the foliage. This gives any splashed leaves time to dry during the day and can help reduce the prolonged leaf moisture that encourages some fungal diseases.
Mulch, Then Be Patient
Finish with a layer of mulch around the surrounding soil, leaving a small gap immediately around the stems and bud union.
Mulching helps regulate soil temperature, retain moisture, suppress weeds and gradually contribute organic matter back into the soil.
And then comes perhaps the hardest part of it all:
Waiting.
What About Fertiliser?
It's tempting to feed a newly planted rose immediately, particularly when you're eager to encourage growth.
However, you should allow a newly planted bare-root rose time to establish its roots and develop a healthy canopy of leaves before beginning a regular feeding routine.
Once the rose is actively growing, you can introduce appropriate fertilisers according to their directions.
Depending on your soil and growing conditions, this might look like a combination of aged manure and other organic matter, blood and bone, pelletised organic fertilisers, fish-based products, or an appropriate complete rose fertiliser, used at appropriate stages throughout the growing season.
Just remember that more isn't necessarily better. Follow application rates carefully, particularly with concentrated or synthetic fertilisers, and avoid piling fertilisers directly against the stems of your plants.
Help! My Bare-Root Roses Have Arrived and I'm Not Ready to Plant Them
I decided to include this section because this is exactly what happened to me, so let me save you the Googling if it happens to you too. If your supplier has provided specific storage instructions, always follow those first.
Because bare-rooted roses are shipped while dormant, they can generally tolerate a short delay before being planted, provided that you prevent their roots from drying out.
If you can't plant them immediately, keep the roses in their original packaging somewhere cool, dark and protected from heat and frost, and regularly check that the packing material around the roots remains slightly damp.
If they begin drying out, lightly mist or dampen the material around the roots. You want to maintain moisture without leaving the roots sitting soaking wet inside sealed packaging, which might encourage rot or mould.
For a longer delay, another option is to temporarily heel the roses into soil until you're ready to plant them permanently.
The important thing is keeping dormant roses cool and their roots moist, but not waterlogged.
If your rose has already begun producing significant new growth, it’s best to get it planted as soon as you can.
One Final Thought
There are countless ways to grow roses successfully, and if you ask ten rose gardeners how they plant theirs, there's a fair chance you'll receive ten slightly different answers.
So the method I've shared above is simply the approach I've chosen for my own garden, after trying to sift through and simplify all that advice.
At the end of the day, most of it seems to come back to the same foundations: start with a healthy plant, give its roots good soil to grow into, keep it adequately hydrated while it establishes, and resist the temptation to feed it too much, too soon. Plus, have a whole lot of patience!
Hopefully, by spring and summer, those slightly underwhelming bundles of sticks will remind us exactly why we ordered them in the first place.
Article, Video & Photography By Elvina Farkas
.jpg)