
Creating a garden bed using no-till, permaculture principles is an excellent way to cultivate healthy soil, support biodiversity, and grow strong, healthy and vibrant flowers without the need for heavy digging or disruption to the natural ecosystem.
While no-till beds are more commonly used for growing vegetables, the benefits equally apply to your flower patch.
Follow these simple steps to create a garden bed from scratch:
Step 1: Choose The Location For Your Garden
Start by selecting the area where you want to create your garden bed. Look for a spot that gets at least 6-8 hours of direct sunlight. Make sure the area is relatively flat then mow the grass as short as you can (this helps with the next step). If you want nice straight beds, set up a string line and mark them out.
Step 2: Lay Down Cardboard
Layer cardboard to smother grass and weeds. Remove any large debris like sticks and rocks and lay the cardboard directly onto the grass to create the shape of your bed.
Use plain, matte (not shiny) cardboard and remove any tape or staples.
Large retail stores are useful sources for large cardboard boxes or, for larger gardens, you can purchase rolls of cardboard from packaging wholesalers.
Tip: Soak the cardboard with water after laying it down. Wet cardboard decomposes faster and it also helps it to lay flat while you proceed to the next step.
Step 3: Add Mature Compost
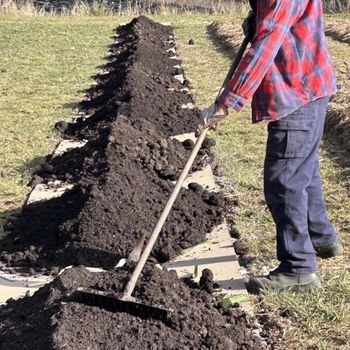
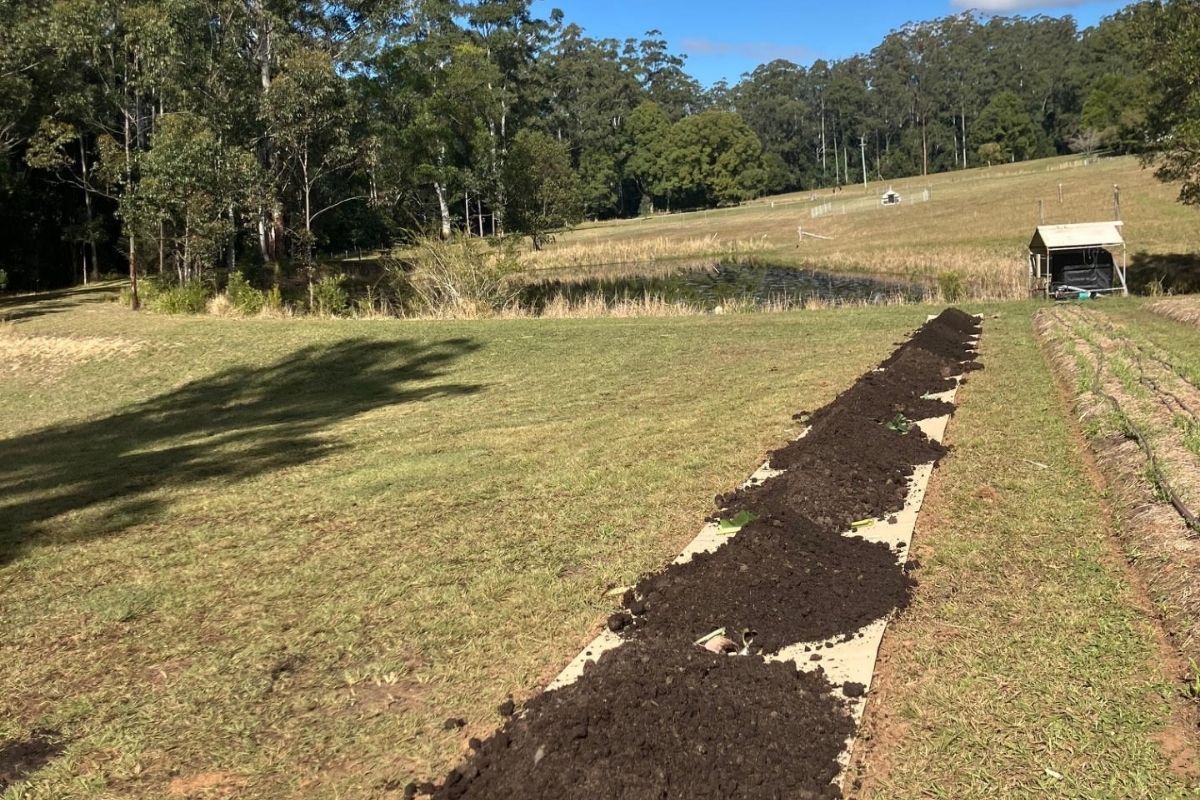
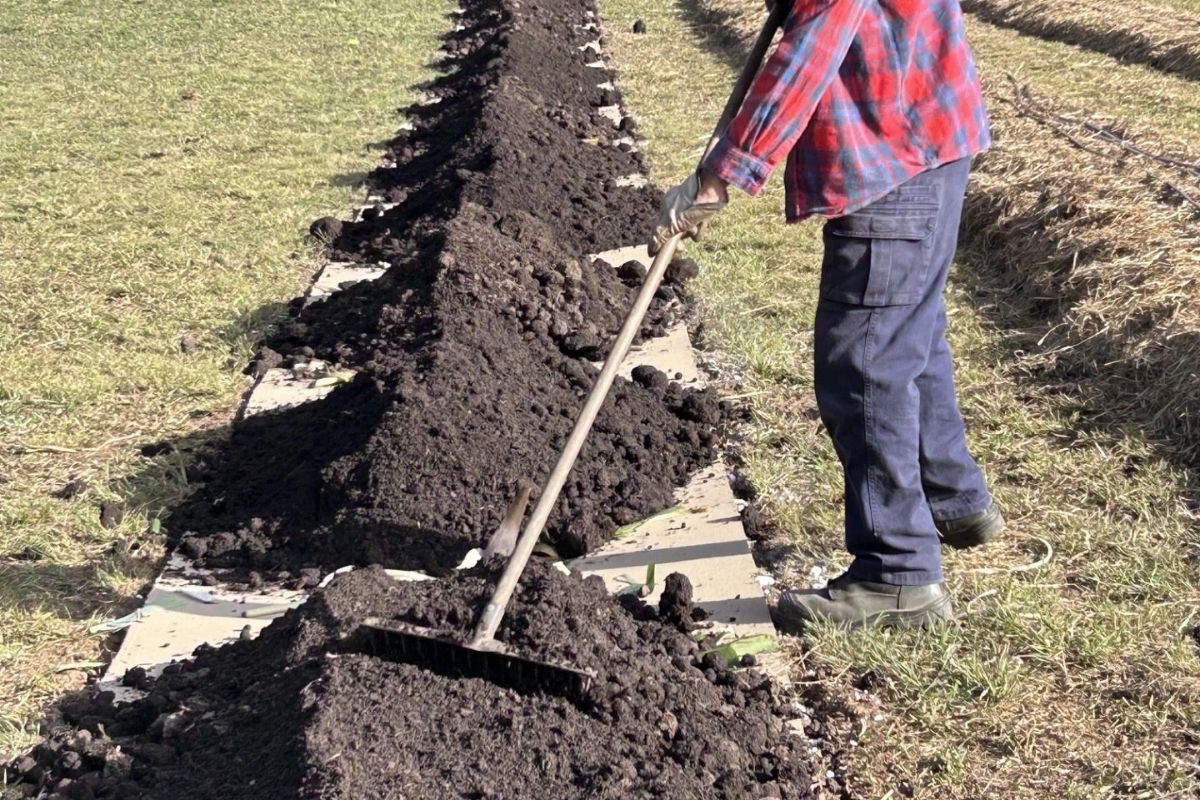
Spread a thick layer (around 10 cm) of well-rotted compost on top of the cardboard. Compost is rich in nutrients and provides the organic material necessary to feed your plants and improve soil health. Be sure to use well-rotted material to avoid “burning” your plants which can be caused by excessive nutrients or heat generated by unfinished compost.
If you don’t have your own compost pile, you can purchase compost from a local garden centre or supplier.
Step 4: Incorporate Fertiliser
To supercharge your garden bed, sprinkle a light layer of organic fertiliser, such as aged manure, blood and bone meal or pelletised chicken manure. This step is particularly important if you are planting heavy feeders like ranunculus or dahlias. Spread the fertiliser evenly over the compost layer to ensure the nutrients are distributed throughout the bed.
You can also lay out irrigation at this stage if using.
Step 5: Top With Mulch
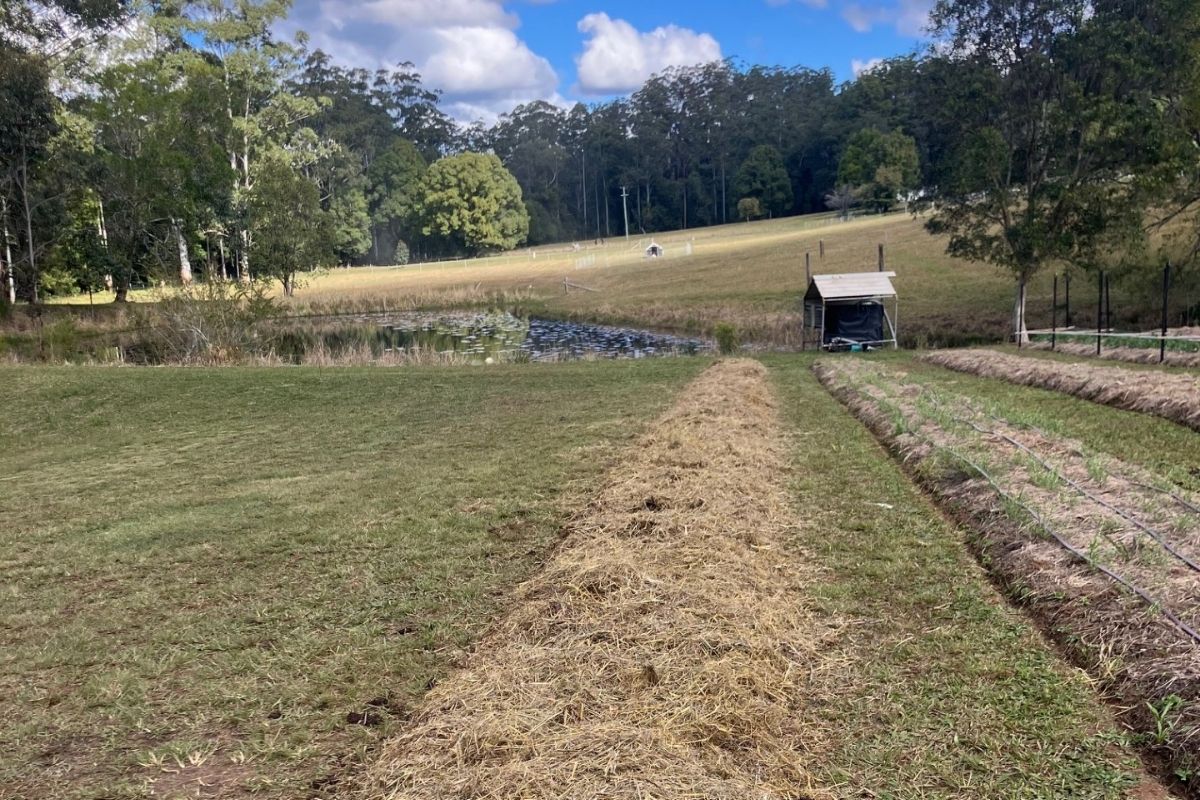
The final layer is mulch, which helps retain moisture, suppress weeds, and protect the layers beneath. Use straw or shredded leaves as mulch, spreading it in a thick layer (around 5-10 cm) over the compost and fertiliser. Ensure your mulch is free from weed seeds and has not been sprayed with herbicides which may damage your flowers.
Step 6: Plant And Water In Well
Once you’ve prepared the layers, you can start planting directly into the garden bed. Push aside the mulch and dig small holes into the compost layer for your plants or seeds. Place the plants and firm the soil around them before pulling the mulch back around them. Make sure the mulch is not touching the stem of the plants to prevent rot.
After planting, give your garden bed a thorough water to help settle the layers, and hydrate your plants.
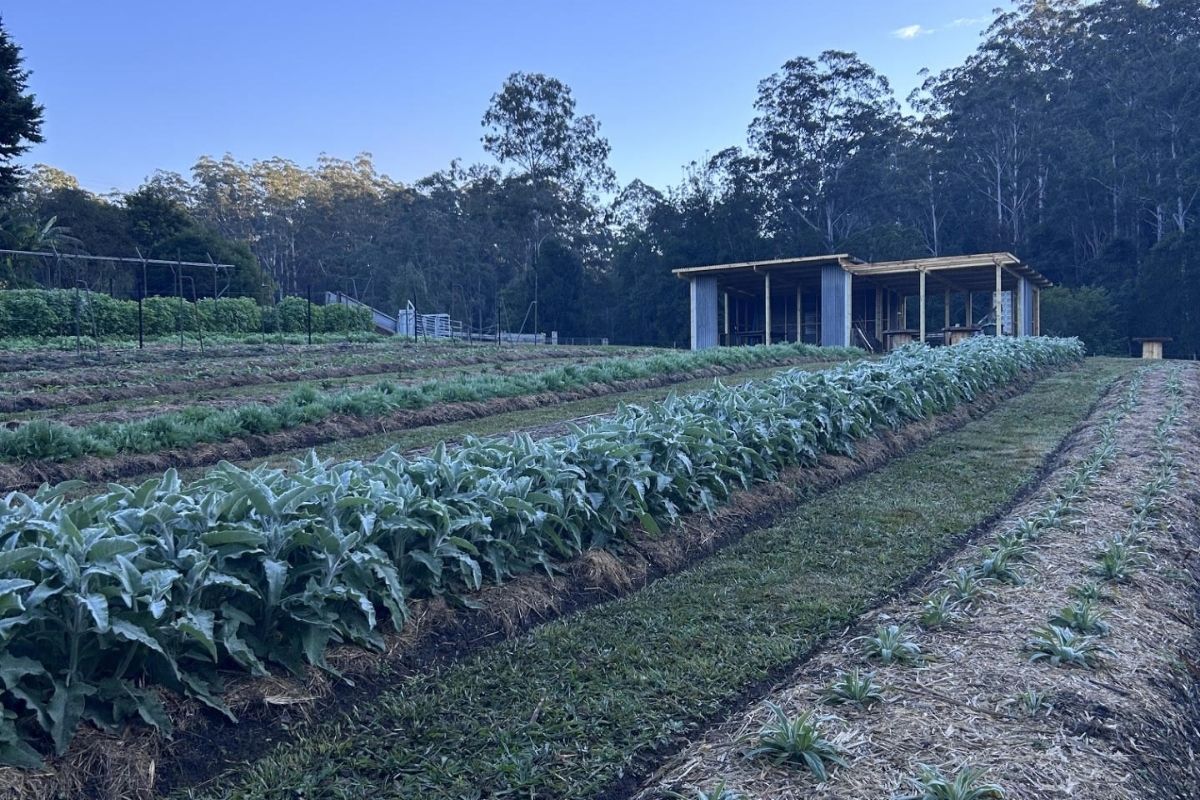
Article & Photography by Monica Porte