When I first heard about wicking beds I wondered if they had a place in my garden. Surely growing in the ground was the best way to garden? I work so hard at getting my soil rich and fertile – why on earth would I want to revert back to growing in containers?
I looked at the pros and cons of wicking beds and realised that in certain instances they might just be the answer to some of the ongoing problems in my small tropical garden:
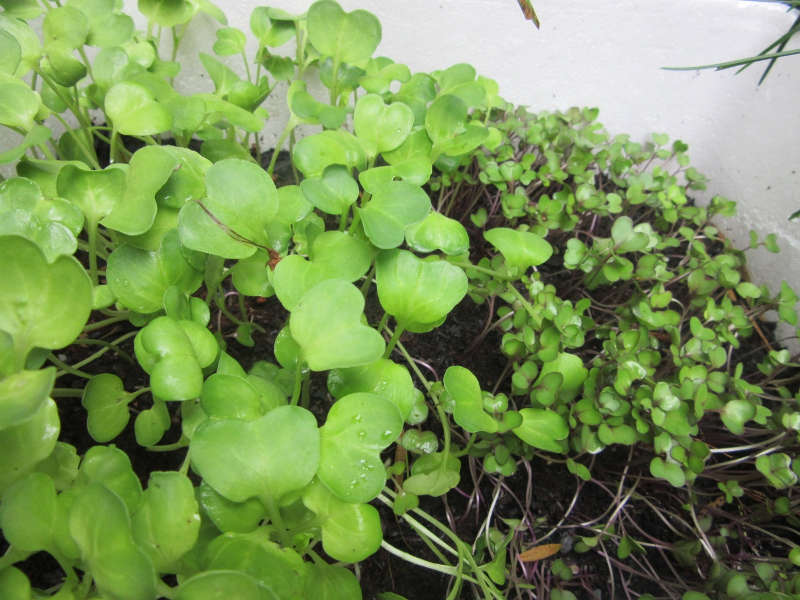
- Microgreens: Traditionally they are grown in a small amount of soil and need to be kept moist constantly as they are really just baby plants, grown tightly packed. Since I work fulltime, watering the little plants two or three times a day is not possible. In the past I have struggled with sprouts and microgreens because of this exact problem, and wicking boxes proved to be the answer. Below I have some very happy little radish and kale microgreens in a wicking box.
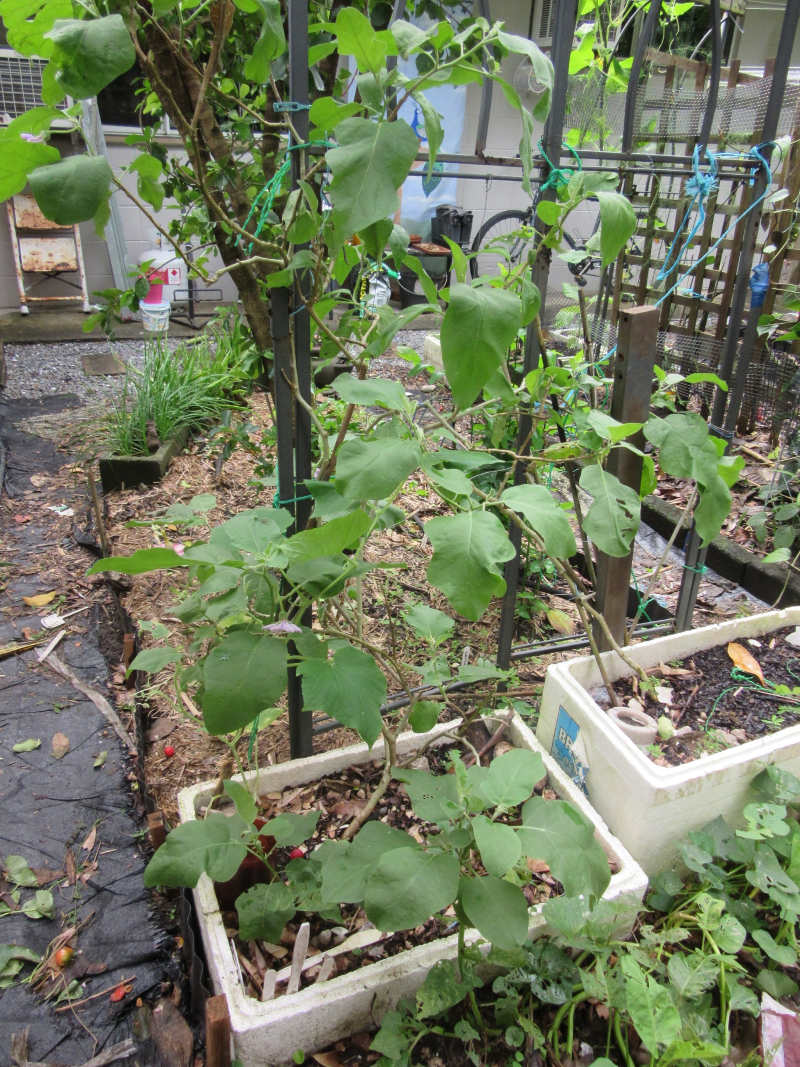
- Soil diseases: Here in the tropics we have a disease in the soil that prevents us growing most plants in the solanacea family(tomato, capsicum, eggplant, etc). Bacterial wilt means the plants grow nice and healthy and then overnight they wilt and die. Who wants to have a garden without growing eggplant and tomatoes? Not me. Using wicking boxes I can control the soil that the plants are growing in. The eggplant in the picture below have been growing in their wicking boxes for three years.
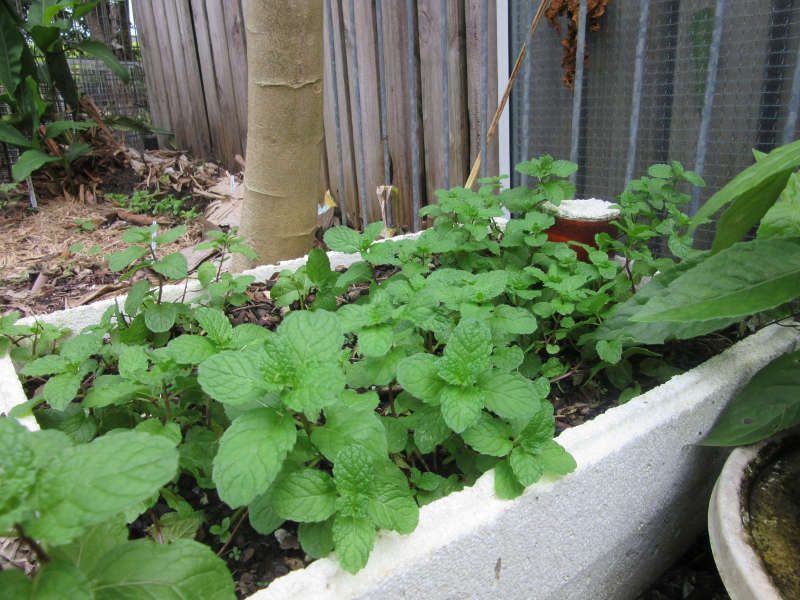
- Water hungry plants: Often gardeners will suggest growing mint under a dripping tap – some plants are very thirsty and I discovered that mint(pictured below), parsley and even baby lettuces love the consistent supply of moisture that wicking beds provide.
How to make a Wicking Box
So – how does one construct a wicking box?
I like to use the polysterene boxes that are used for seafood in our supermarkets, it also keeps them out of the landfills by giving them a second life.
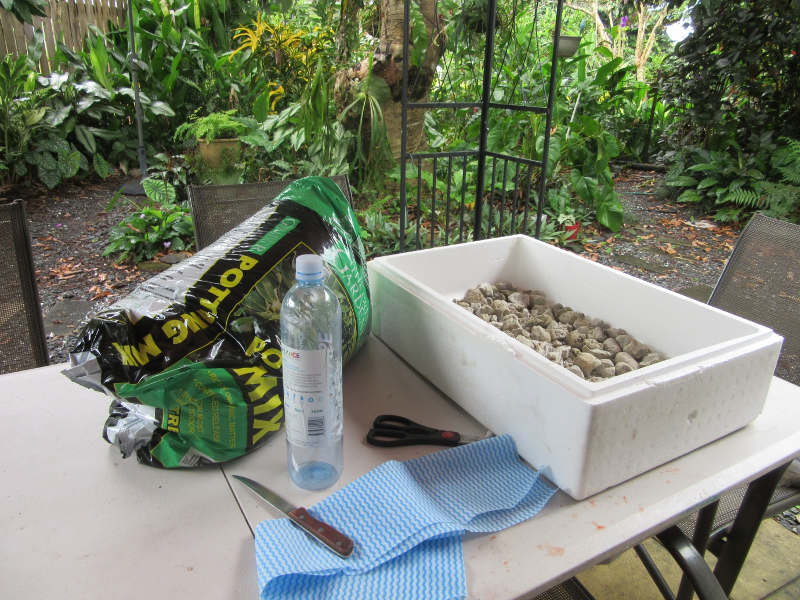
What you need:
You just need a few things –
- A box
- Some kind of small rocks
- Cloth (to cover rocks)
- Knife or scissors
- Soil
Method:
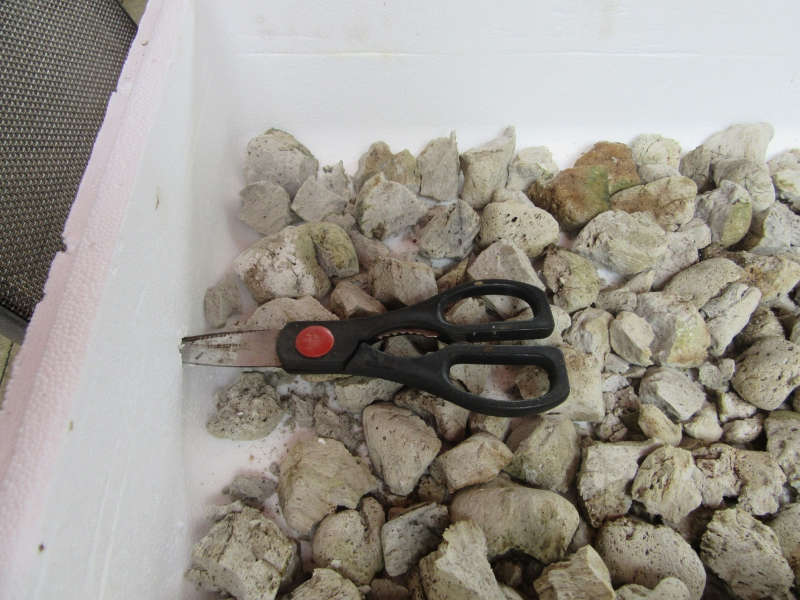
1. Place your scoria or small rocks in the base of the box. In the picture below I'm using pumice – I like to use something light so that it doesn’t make the boxes too heavy. This layer only needs to be 10 – 15mm deep.
2. Make a hole through the side of the box just above the rocks – this means than any water below that level will stay in the box to be wicked up to the plant roots and the rest can drain out.
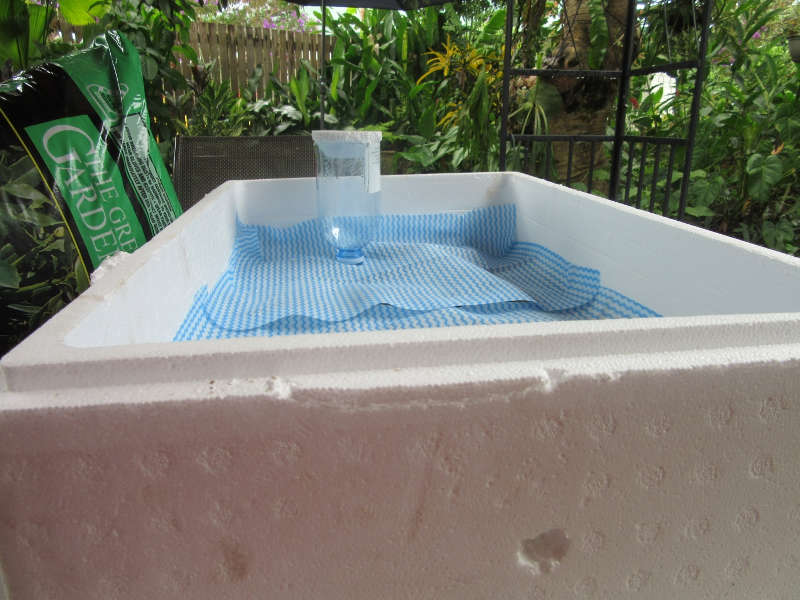
3. Then lay over a permeable fabric that will separate the rocks from the soil, I use chux cloths, but you can also use shade cloth or hessian.
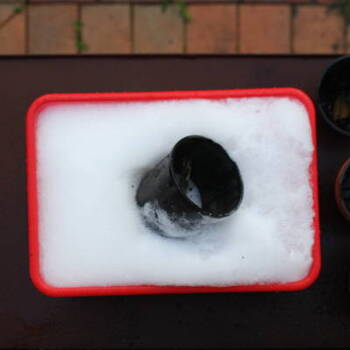
4. Take a plastic bottle and cut the bottom off and then invert it at one end of the box, cutting a hole through the cloth, but resting on a few small rocks so that the bottle is not resting on the bottom – this allows easy access for the water to flow through. I normally cut a small polysterene cover out of the lid too, so that mosquitoes cannot enter into the water and breed.
5. Then fill the boxes with potting mix mixed with a little coir and a bit of manure and/or compost. Water well until you see water flowing out of the overflow hole. Sprinkle with your seeds, or plant your seedlings, then step back and watch the magic!
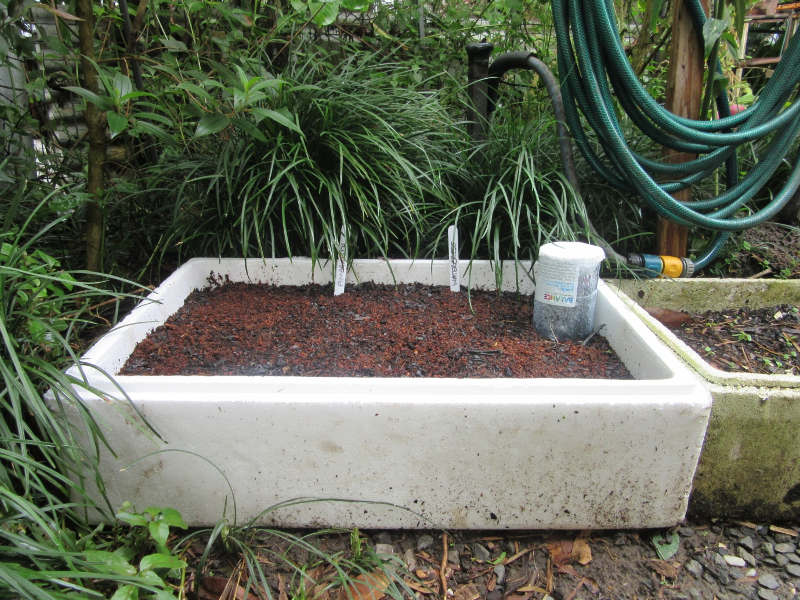
The best way for plants to access water is to wick it up from the bottom reservoir and I find that I only need to add water to the inlet about once a week. You can add a bit of liquid seaweed at watering time as well and that will gently feed the plants.
I hope you enjoy your adventure into wicking boxes as much as I do!
Article and photos by By Gillian Vance.


