Our seed saving series outlines the techniques and methods needed to save seeds in your garden.
Contents:
- Why seed saving makes so much sense.
- The botanical basics.
- Protecting seed purity through isolation.
- Selecting the parent plants.
- Collecting and cleaning the seeds.
- Drying and storing your seeds.
After all the hard work of growing your parent plants and selecting the best seed-saving prospects, it's important to take care over when and how you finally collect the seed. Harvest too early, and the seed will be immature and not yet fully viable. Too late, and it could start to rot on the plant, or fall away to the soil and be lost.
When to Harvest Seeds
Different species' seeds reach full maturity at different points in the plant's growth, so it's best to refer to a seed saving chart or guide for the species you’re saving. In many cases, the point at which seeds are harvested is different to when fruit may be picked to eat. However, the following pointers should work as a general guide:
- Fruits such as tomato and eggplant should be left to go a little overripe on the plant before the fruits are removed and the seeds collected.
- Pumpkins and red capsicum will deliver viable seeds once they're at normal harvesting ripeness.
- Fruit such as cucumber, zucchini, okra and sweet corn should be left to reach their full harvest size, then given another three weeks or so for the seeds within to fully develop.
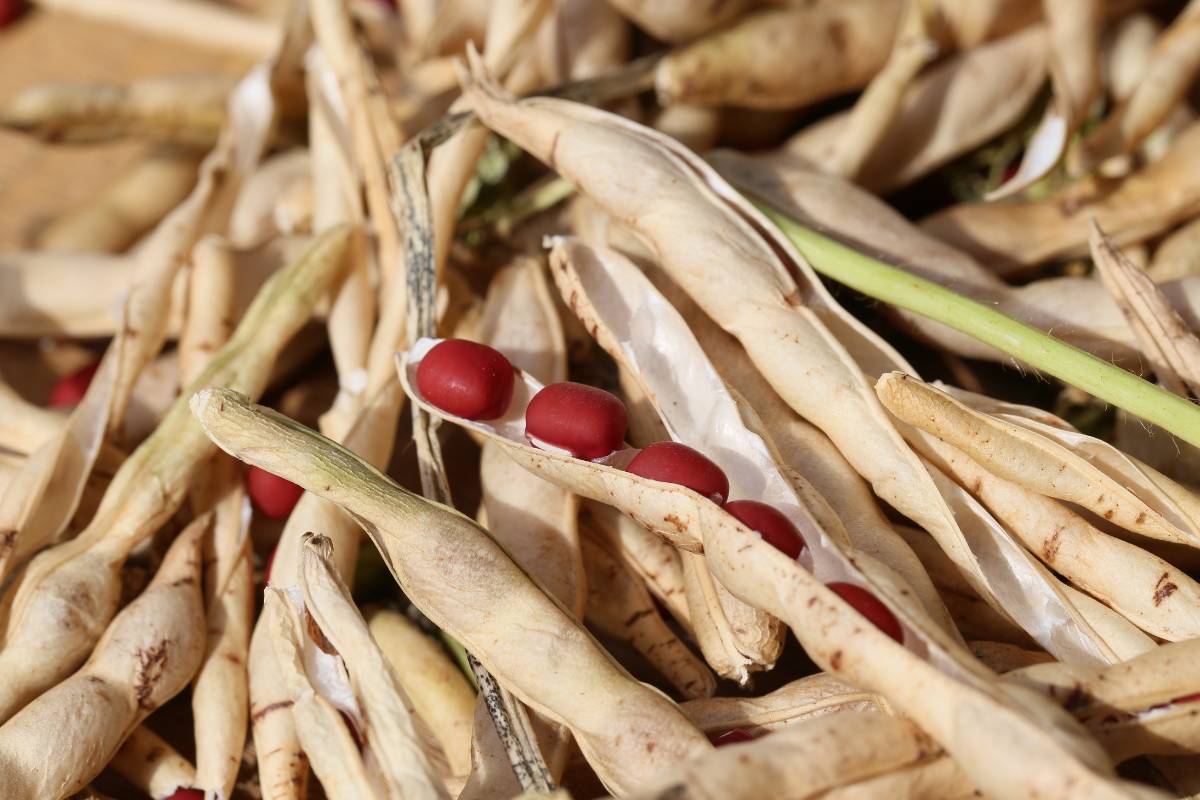
- Beans, peas and other podded legumes should be left on the plant until the pods are fully dried, tan coloured, and beginning to split. If bad weather threatens, either cover the seed pods with a paper bag or remove the whole plant stem and hang it under cover to dry.
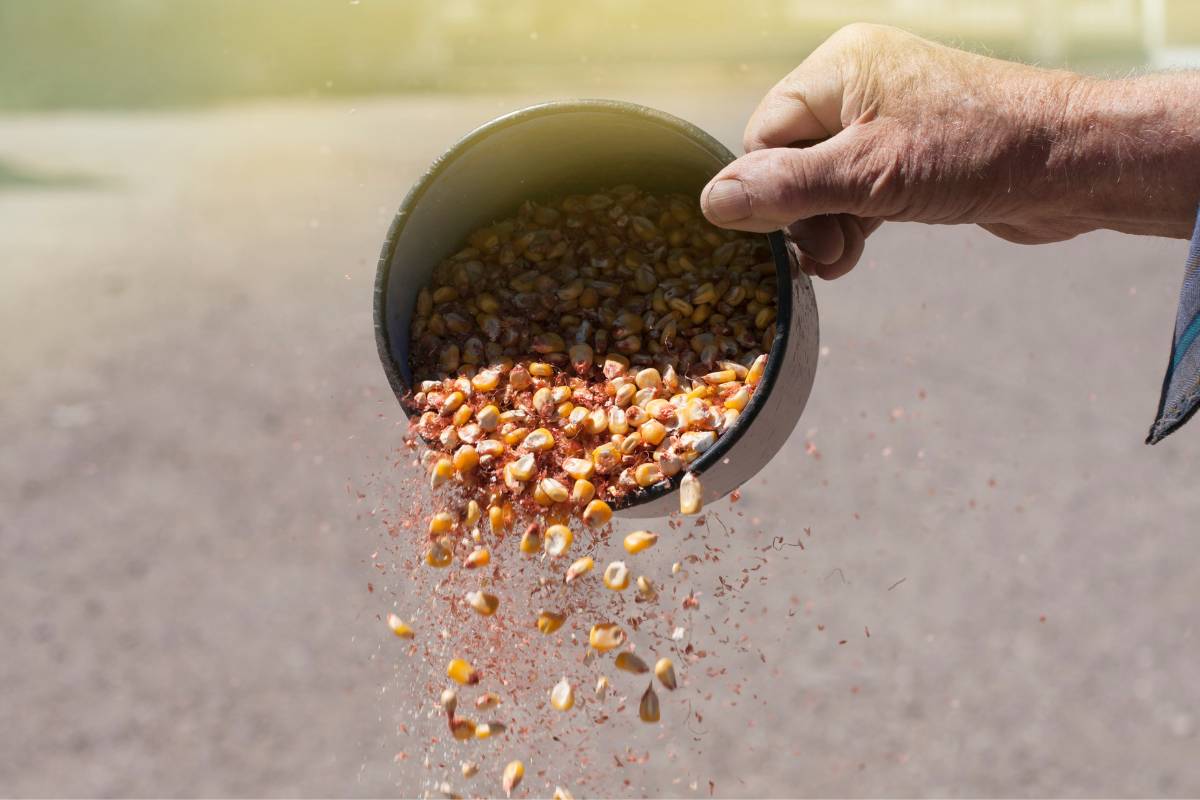
- Sunflower and maize (ornamental corn) seeds can be left on the plant until dry, but protect them from hungry birds and other predators with netting or paper bags.
- Copious self-seeders including carrot, lettuce, onion, cosmos, and nigella should be collected progressively as the individual seed pods begin to open. As they get near the harvesting point, consider enclosing the heads in paper bags to collect the seeds in case they open a little earlier than expected, especially in windy areas.
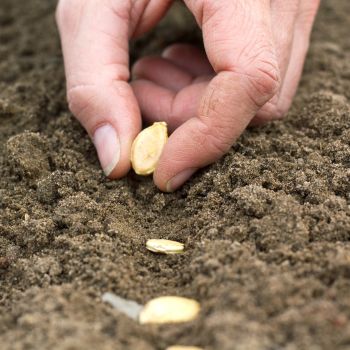
In all cases, the seeds are best collected on a dry day once any morning dew has dried off. After collection, the seeds need to be cleaned before drying for storage. Cleaning involves removing any stems, pods or chaff from the plant, as well as the gelatinous coating found on seeds like tomato. The best cleaning methods depend on whether the collected seed is surrounded by dry material or by wet, fruity flesh.
Cleaning Dry Seeds
Separating the Seeds from the Chaff
For seeds that grow in pods, on stalks or attached to chaff (a protective outer casing), the extra material should be removed before drying, or the risks of mould, rot and disease are greatly increased. Also, the more extra material there is among the seeds, the greater the chances of pests lurking undetected.
These kinds of seeds need to go through one of several cleaning processes, known as winnowing, screening and threshing.
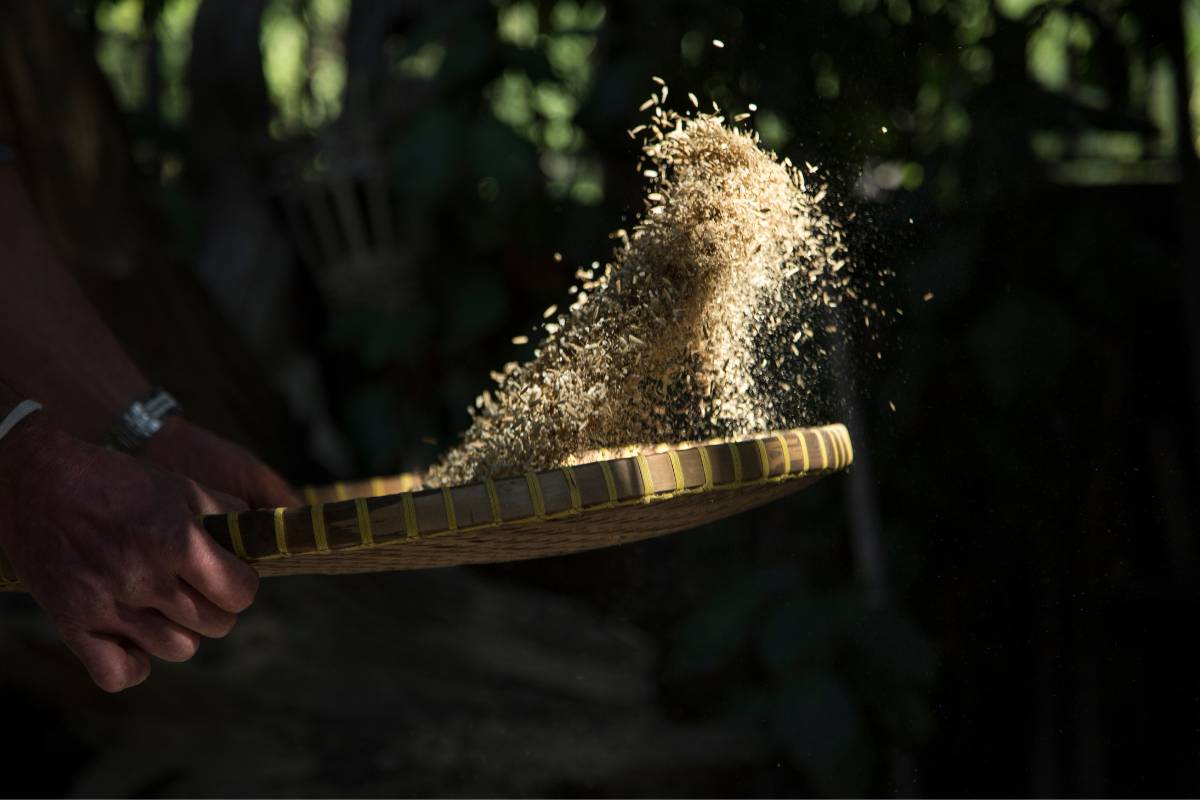
Winnowing
Winnowing is a traditional method that uses moving air to separate the lightweight surrounding materials from the heavier seeds. Simply place the harvested seed and chaff in a flat tray or bowl, and gently toss it around in a light natural breeze or one provided by a fan on low speed.
The moving air will slowly blow the debris away, leaving the seeds at the bottom of the tray. To ensure you separate the seeds as completely as possible, periodically shake the whole tray gently from side to side. Any remaining chaff should rise to the top and can be removed by hand.
Alternatively, drop the seeds from a height and allow the chaff to be blown away as the seeds drop into a container. This technique can remove chaff more effectively and is a good method to use for larger volumes of seed.
Screening
Screening is a slightly more laborious process that uses strainers and sieves of steadily decreasing mesh sizes to remove the chaff. Specialist sieves, called riddles, are available, though kitchen colanders and sieves are often just as effective.
Place the seed mixture in the largest strainer, and gently shake and rub it over a bowl. The largest, lightest debris will be left behind while the heavier, smaller pieces fall through. Repeat with progressively smaller sieve sizes until you're left with just the seeds, which can be given a final clean using a soft pastry brush if needed.
Threshing Larger Seeds
The largest and sturdiest seeds can be placed in a sealed plastic bag, or pillow case for larger volumes of seed, and then crushed with a rolling pin, rubbed by hand, or even walked over if the seeds are particularly tough. The seeds and chaff should slowly separate, although you may need to complete the cleaning using winnowing or screening.
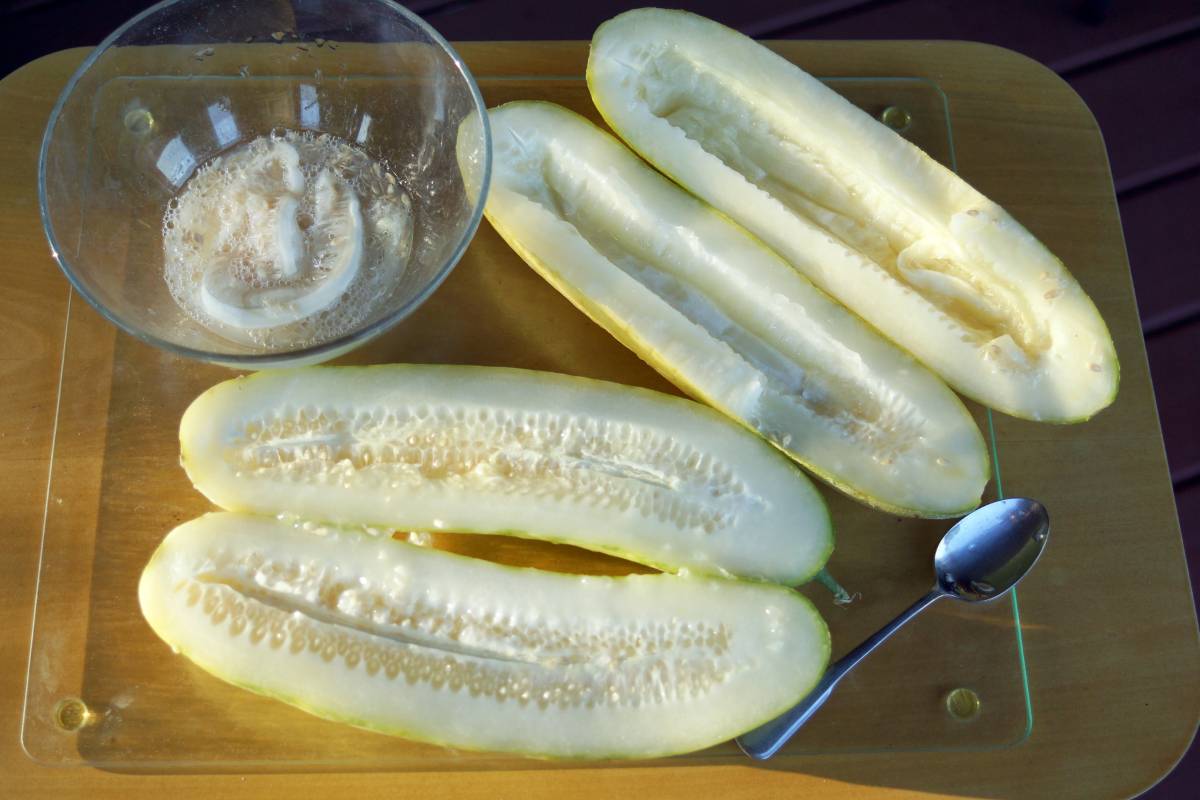
Cleaning Wet Seeds
For wet seeds harvested from fleshy fruit, such as tomatoes, melons, cucumbers and pumpkins, simply scoop out the seeds along with their surrounding pulp. Wash them repeatedly in cold water, removing as much of the fleshy coating as possible, then leave them to dry on a plate.
Fermenting
Wet seeds can also be put through a fermentation process that not only cleans away the pulp, but also helps to neutralise any mould spores, viruses, pests, leaf spot infections, and so on. Fermentation is especially useful for extremely fleshy fruits like pumpkin or seeds with a gelatinous coating like tomato, which can be hard to fully clean without this process.
- Take the seeds and some surrounding pulp and place them in a clean container with a little water.
- Leave the mixture for a few days at room temperature (21-29°C). The mixture should be uncovered to allow gases to escape; a lid left ajar or a muslin cover can be used to keep insects out of the mixture.
- After a day or two, a foam or crust should appear on the water surface, a sign that the pulp has fermented and separated from the seeds. Viable seeds will settle to the bottom of the mixture.
- Rinse the seeds clean, discarding any debris and floating seeds that remain. Repeat this step until only the seeds remain.
- Leave to dry on a plate.
That's the seed collection and cleaning process completed. Now all that remains is drying for storage, to be covered in the next and final section of this series.