Our seed saving series outlines the techniques and methods needed to save seeds in your garden.
Contents:
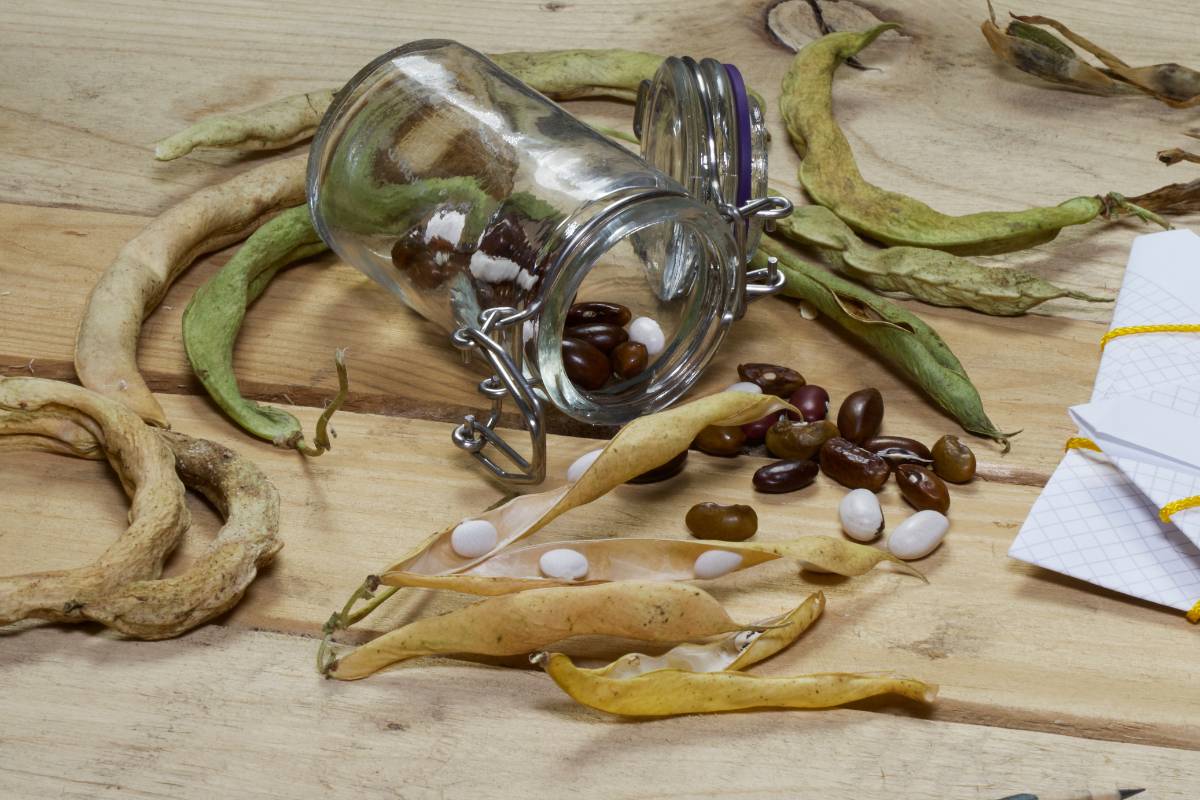
Once your chosen seeds have been collected and cleaned, they need to be thoroughly dried before storage. The importance of this step shouldn't be underestimated: if the seeds' water content is too high in storage, they risk going mouldy, which ruins their germination potential and wastes all the effort of growing, selecting and cleaning them.
What's more, although the seeds may be dormant over the winter, any excessive moisture means a slight temperature rise can cause them to start preparing for spring, using up small amounts of their precious energy stores long before they should be germinating.
But if the seeds can be thoroughly dried, and then kept at a cool temperature, their metabolic rate will slow to a virtual stop and they can remain viable for years or even decades.
What Do Seeds Need to Dry?
Seeds need three basic conditions to dry naturally: low humidity, a moderately warm temperature, and ideally a little airflow.
If your local climate is suitable, seeds can happily dry simply scattered over newspaper, hung in paper bags, or placed on a wire mesh. Leave them in a room with a consistently moderate temperature that stays below 40°C. If there's no natural airflow then light use of a desktop fan can speed things up.
Drying Seeds in Humid Climates
For drying seeds in wetter or more humid climates, where natural drying will be too slow and the risk of mould too high, three other methods can be worth trying instead.
1. Drying Seed Using Rice
Measure out five parts dried rice to one part seeds, and place the seeds alone in a paper bag. Put the bag in an airtight jar and surround it with the loose rice. Give the jar a shake, then seal and leave in a cool place. The seeds should be dry in a fortnight or so.
2. Using Silica Gel
A similar, quicker, but less natural method is to again place the seeds in a paper bag in a jar, then add an equal amount of silica gel, making sure that the seeds and gel aren't in contact. Again, seal and leave in a cool place, and the seeds should dry in around a week.
3. Using a Dehumidifier
Lastly, if you have a small, relatively dry room in your home, you could invest in a portable dehumidifier. Leave the seeds in a bowl in the room, with doors and windows closed, and turn on the dehumidifier. This will compensate for the higher natural humidity to speed up the drying process.
Testing for Readiness
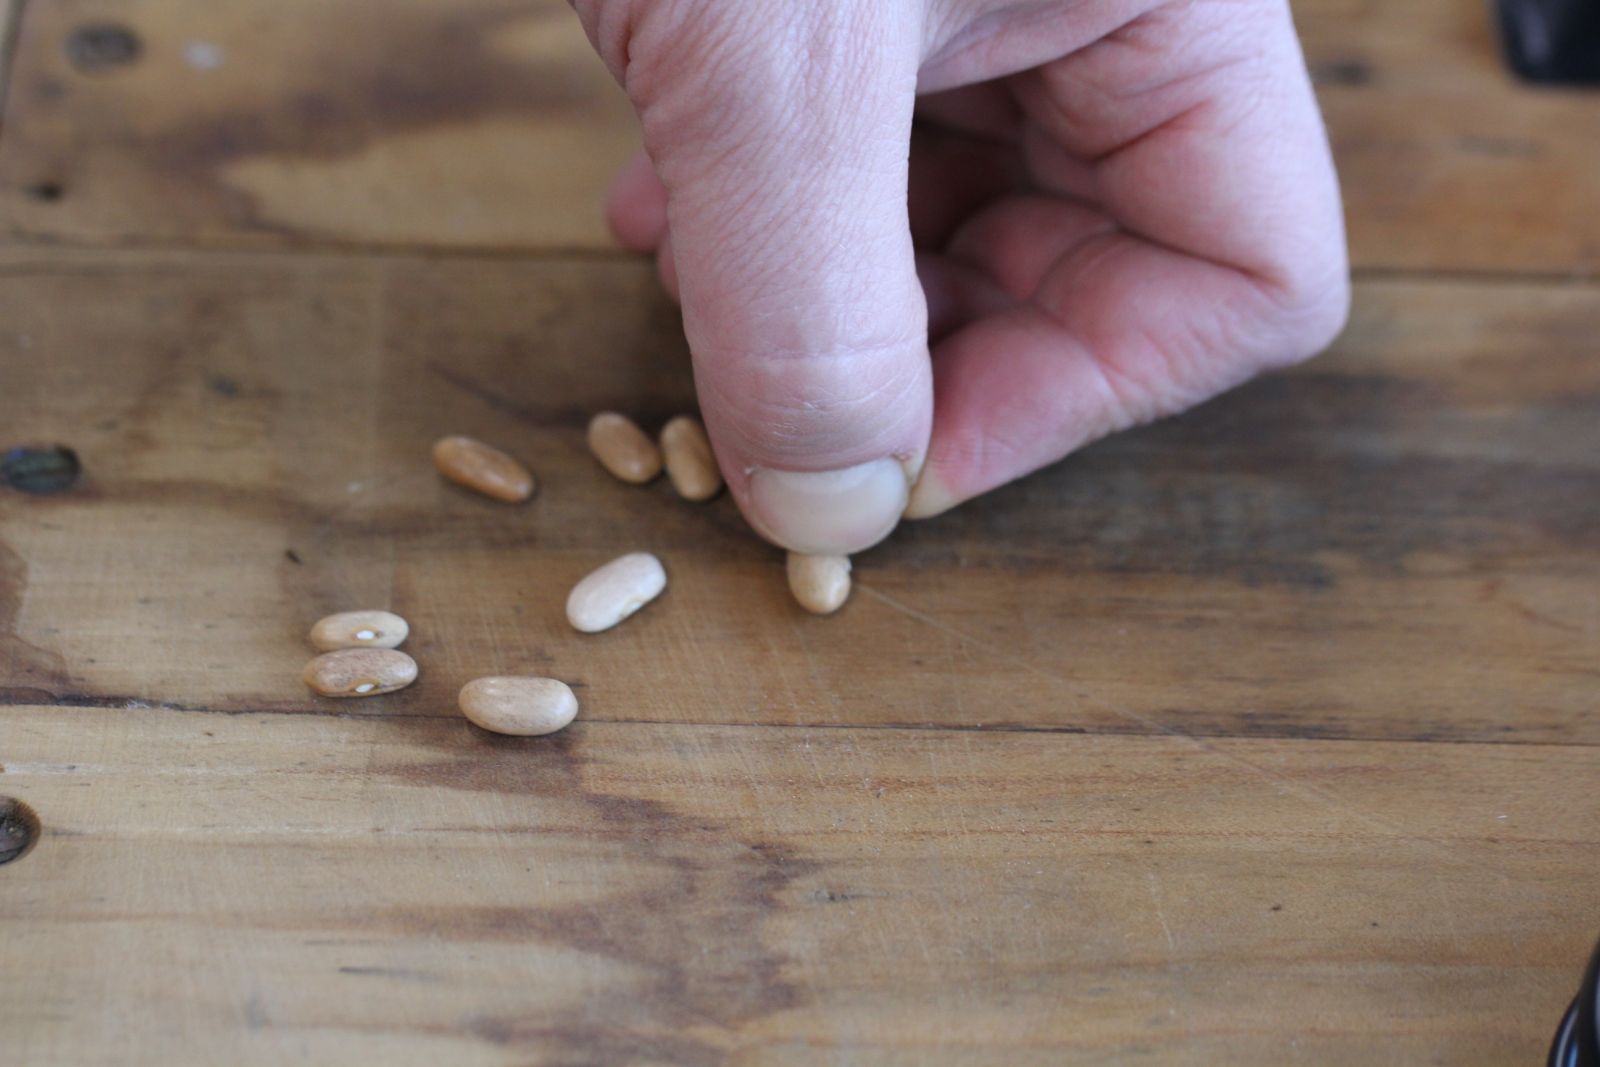
Whichever drying method you use, the larger the seeds, the longer they'll take to dry. Seeds that are large enough to handle can be tested for readiness using a simple bite test. Take a sample seed and give it a gentle bite, making sure not to break through the surface. If the skin is left marked or indented, even with the lightest nibble, then the seed needs a little longer.
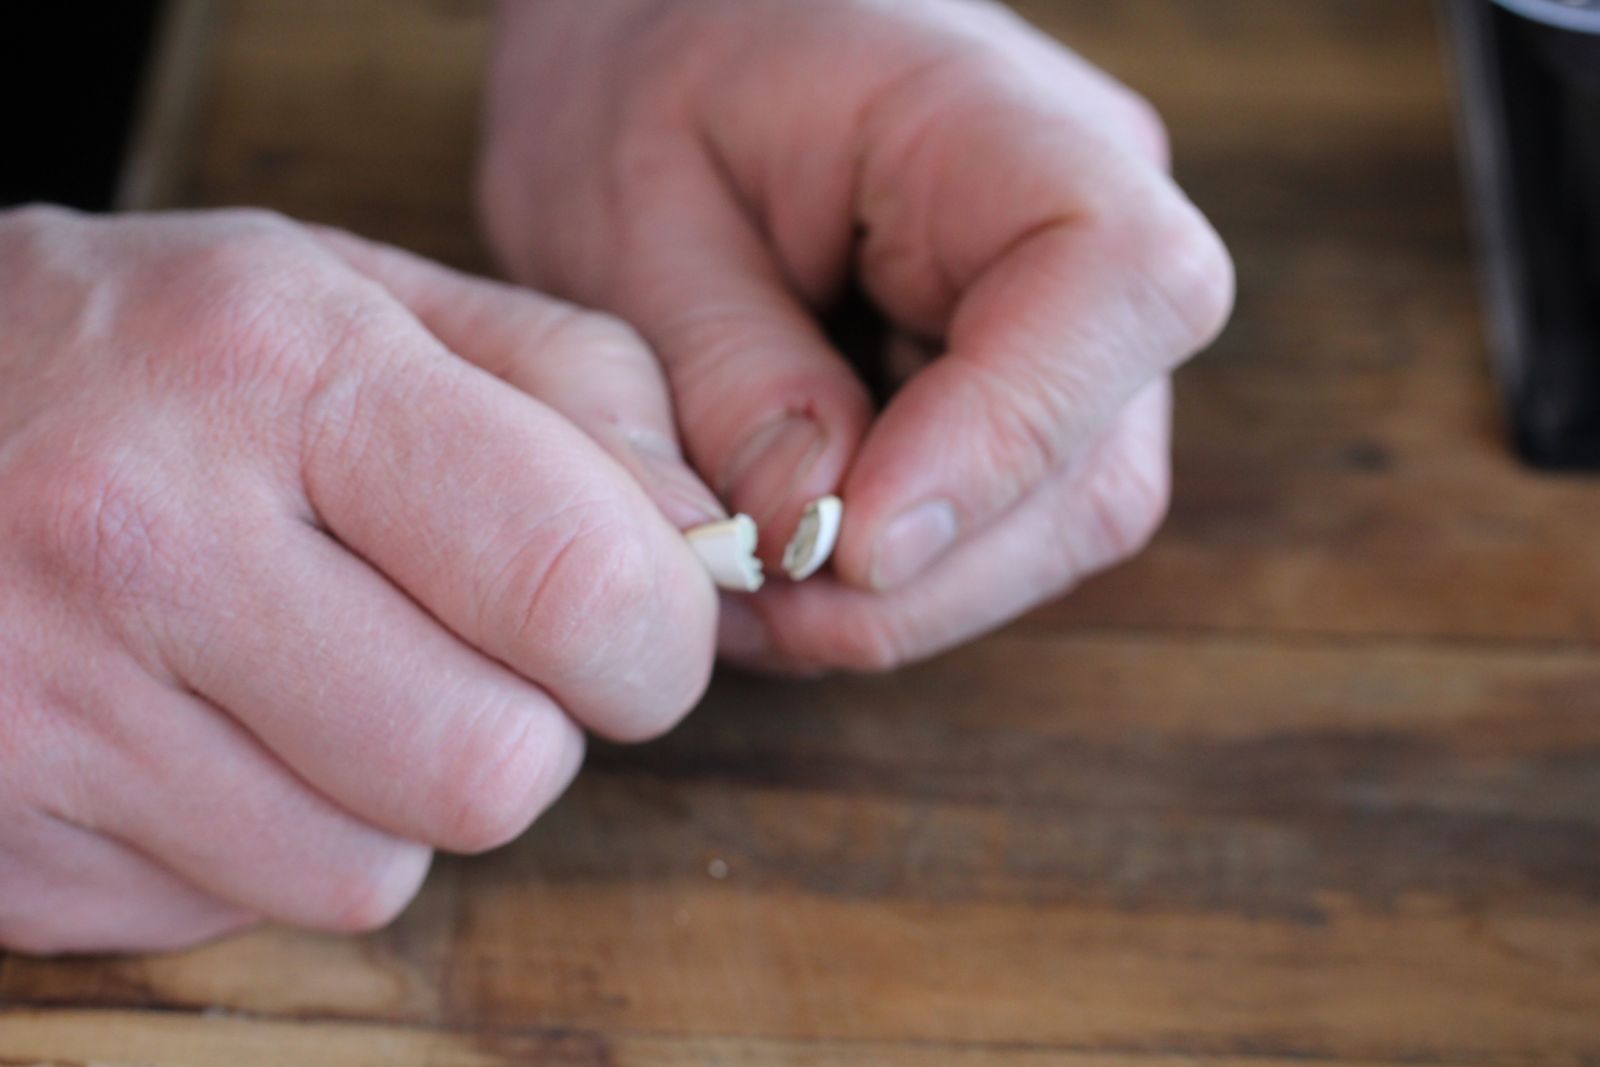
Alternatively, pressing a fingernail into the seed should yield plenty of resistance rather than any give, and again, no marks should be left behind. Flat pumpkin and squash seeds can be tested by trying to bend them; if adequately dry they should break rather than bend.
Small seeds such as brassicas can be put into a sealed glass jar and left in a warm place for a few hours; if condensation forms on the jar, the moisture content in the seeds is too high and the seeds will mould if stored. Dry the seeds for another few days and retest them before storing.
Storing the Dried Seeds
The last stage in seed saving is to store them in the right conditions so that they'll keep until they’re planted. Even perfectly dried seeds can spoil if they're not kept in the right environment, and storage is just as important for saved seeds as it is for bought ones.
For full details on the ideal storage conditions, read our in-depth article, but the general idea is to keep the seeds in cool, dry conditions, out of direct sunlight, and out of reach of any pests.
Keep an eye on your seeds throughout the storage period, checking once a month or so for any signs of mould or insect damage, removing any visibly affected seeds before they can spoil the batch.
Once it's nearing sowing time, it's a good idea to test seed viability using the a simple germination test, making sure success rates are acceptable before sowing the seeds.
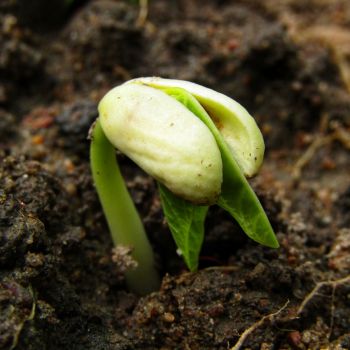
All that now remains is to wait until the growing season arrives again, and you'll start to see the results of your seed-saving work, creating successful plants with all the characteristics you value the most.