
My idea of a perfect home is one that blends the inside with the outside. Where the lines between nature and human creation are blurred and where your mind could easily be busy watching the birds or flowers in the breeze. Whilst this all sounds romantic and very architectural, the reality is that not all homes were built with this idea, but we can create that feeling through the aesthetic.
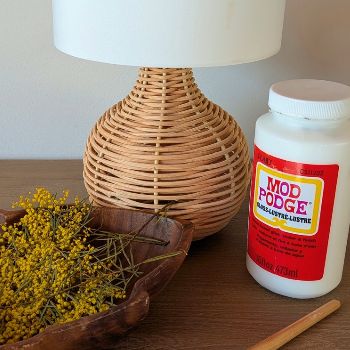
There are simple ways to do this through adding nature prints to your home, indoor plants and timber furniture, but for something low cost that flexes your creativity a homemade lampshade could be the key to creating a calming or happy aura to your home. You don’t need to be artistic or ‘good’ at craft (whatever good means anyway), you don’t even need a plan. All you need is a lamp, some pressed flowers, Mod Podge and a budding excitement to create something yourself.
This project took around one hour. You could do it in less time but for me it was a great opportunity to slow down and let my mind play.
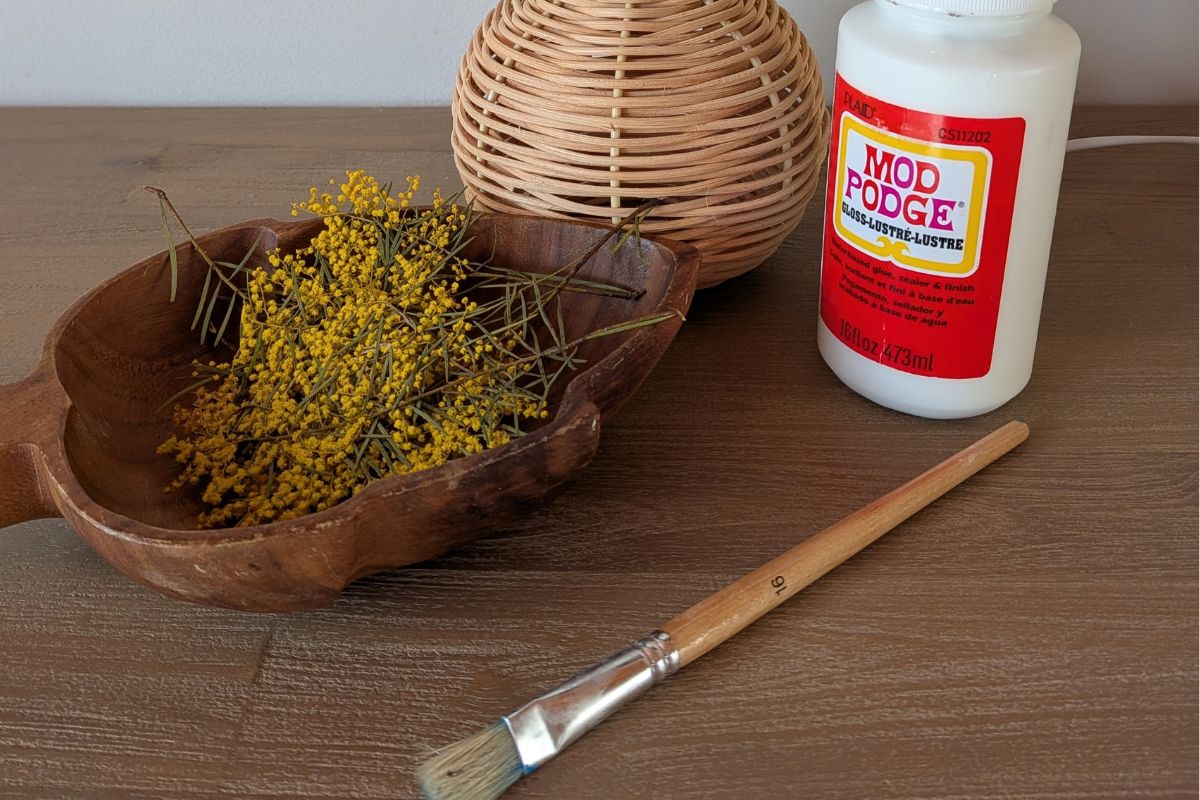
What You'll Need
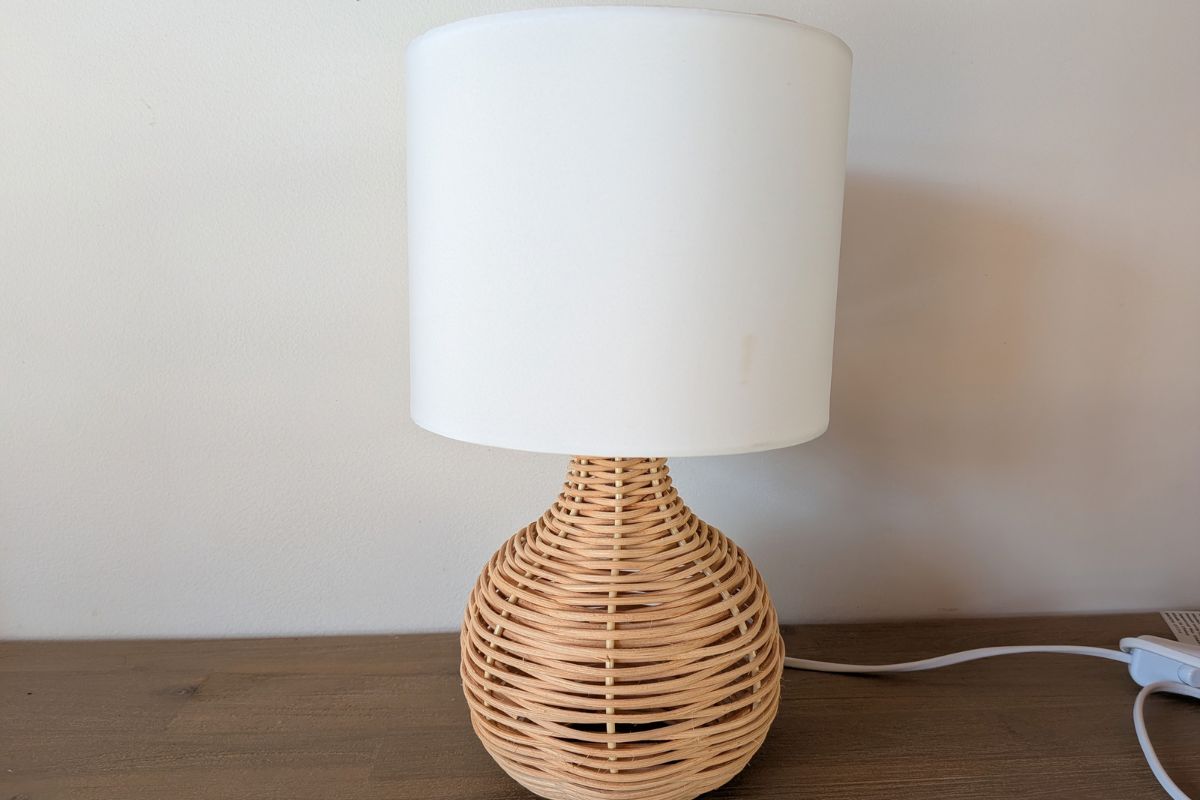
- A lamp with a plain lampshade
- Dried or pressed flowers
- Mod Podge (or another decoupage glue)
- Paintbrush
How To Decorate Your Lampshade
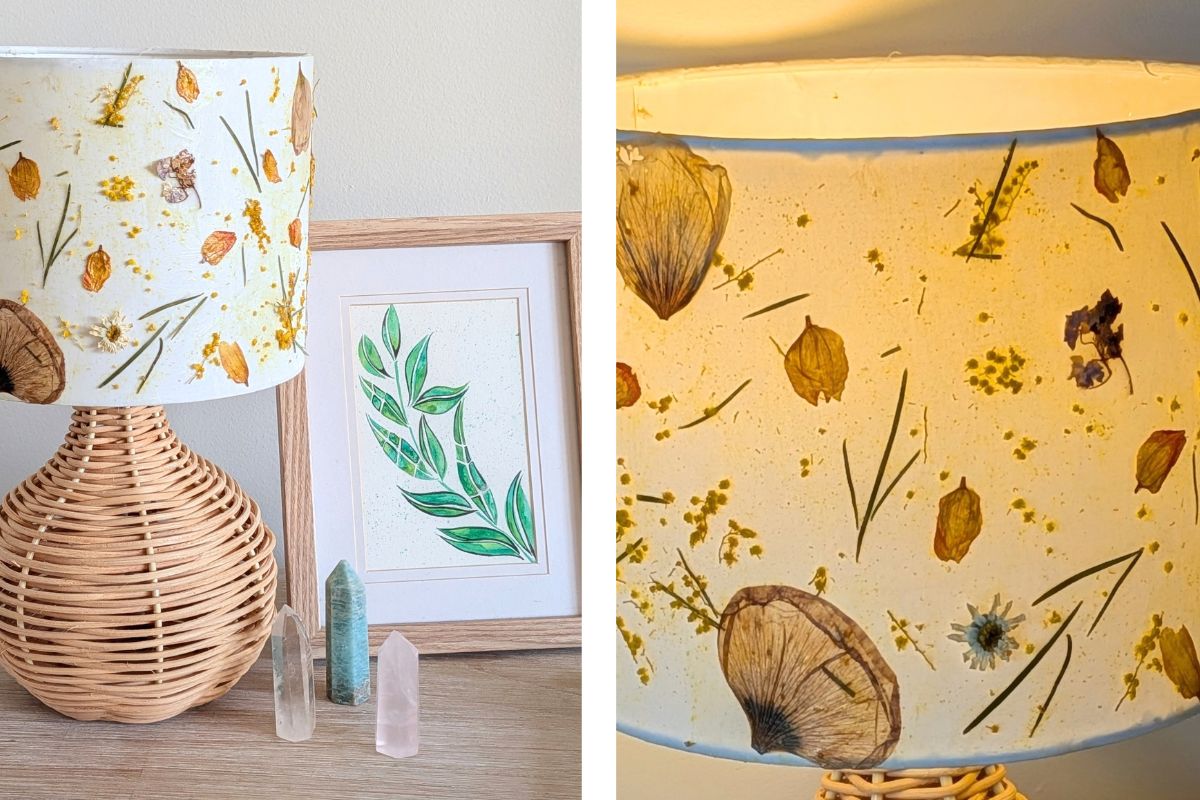
- Press Your Flowers: First, you’ll need to start pressing your flowers. I’ll often press an old bunch of flowers that have been sitting on the bench and are almost ready to go - but for more vibrant, intact blooms pick something from the garden and press on the same day. Some flowers that work really well are poppies, sunflowers, hydrangeas and daisies. Remember, you don’t need to press the entire flower either. You can always use individual petals or the leaves. For this lamp, I used a mixture of flowers I already had pressed and stored (hydrangeas, poppies, chrysanthemums) and pressed a few wattle flowers specifically for this project.
- Sourcing A Lamp: You will need a lamp with an intact lampshade. I was lucky enough to pick up this lamp in perfect condition from one of our local second-hand stores for only $1! As someone who either is really happy with their crafts or disappointed by the end result, buying second-hand got rid of some of the guilt I’d have if I didn’t love what I created. The added bonus is the money went to a small business and served as a reminder that we don’t always need to buy new.
- Clean Your Lampshade: You want to make sure your lampshade is really clean. I just went around mine with a wet wipe to remove the dust because it was in such great condition and pretty clean, but if yours needs a little extra love, use warm soapy water and a cloth. Make sure your lampshade is completely dry before progressing.
- Adding The Flowers: Now for the fun part! If you have a design, it might be worth sketching this out before you start or, if you’re a little more free in your creations just get going. Cover the lampshade in Mod Podge. Work in small sections, but make sure the whole shade ends up coated so no glue lines show when the lamp is on. Keep in mind Mod Podge dries quickly and you don’t need to apply it thickly. Using tweezers for more delicate flowers, gently place the pressed flowers.
- Finalising Your Design: Once you’re happy with the placement, add a very light coating of Mod Podge over the top of the blooms. Things to note in this step: If you are using flowers like wattle with a stem, it often won’t stay in place. I pulled off the tiny wattle buds and leaves to still get the effect and then crushed up the buds to a yellow powder and sprinkled it throughout, giving the lampshade some extra colour. Take care when adding the Mod Podge over each petal, going over lightly and gently to avoid the petals ripping.
- Drying Your Lampshade: Leave the lampshade to dry before re-assembling the lamp. Test how it looks once the light is on and if you aren’t happy, you could add some extra flowers or greenery following the same process.
.jpg)
Things to Note
Preparation & Pressing
- Plan Ahead For Pressing: Pressing flowers takes anywhere from 2 to 8 weeks depending on petal thickness and moisture, though 3 weeks is standard. Keeping a pre-pressed stash stored away allows you to incorporate off-season blooms into your project.
- Storage Tips: Store fully dried flowers in a glass container in a dark room. Ensure they are completely dry before sealing to prevent mould.
- Flower Pressing Techniques: In my experience, standard scrap paper under heavy books often yields better results than commercial flower presses. As a rule for any flower, change your pressing pages every few days initially, then space out the changes as they dry.
- Special Flower Handling:
Wattle- Be aware that wattle attracts ants. It can also be too heavy for larger, full-coverage pieces, so consider using smaller sprays.
Poppies- These petals break easily. Press plenty of extras to account for breakage and to practise handling them.
Design & Assembly
- Quantity & Variety: It takes significantly more flowers to cover a lampshade than expected. Mix in different varieties and colours as a backup in case your original design concept needs tweaking.
Lighting & Display
- The Lit Effect: The lamp looks completely different once turned on. Use a warm white LED globe to create a cosy, ambient glow.
Looking at a burst of colour on the bedside table every night is a wonderful reminder of the spring garden. I hope you have just as much fun bringing the outdoors inside as I did!
.jpg)
Article & Photographs by Bec Greenhalgh