
Did you know that you can make your own permanent metal plant labels from soft drink cans?
The thin aluminium that is used to make the cans is easy to cut into label shapes, and the softness of the metal means a plant name can be readily embossed onto the surface. The result is a long-lasting label that won’t rust or rot when placed in the soil, and it won’t go brittle in the sun like some plastics.
Embossed metal labels are ideal for labelling perennial plants in your garden, especially if you want to remember a specific cultivar or variety such as a favourite rose or fruit tree. They also work well for labelling batches of cuttings, or marking the trays of seeds you might sow regularly each year. Simply keep the metal labels with your seed packet stash once you have planted out your seedlings so they are ready to be used the following year.
If you usually recycle and cut up plastic bottles, or use wooden pop sticks to make plant labels but get frustrated when the marker pen ink fades or the lettering starts to rub off and becomes illegible over time, then these might be the answer.
What You Will Need
- Soft drink cans (or beer cans, if you’ve used the beer to make slug and snail traps!)
- Snips or scissors (garden or kitchen)
- Short-bladed paring knife or retractable utility knife
- Hole punch
- Ballpoint pen (one that has run out of ink is perfect but a still-working one is fine)
- Newspaper, paper towel or serviette, stiff cardboard or cork mat (for the embossing surface)
- Wire, plastic-coated garden ties, string or twine
- Stakes or sticks (optional)
- Leather riggers gloves (optional)
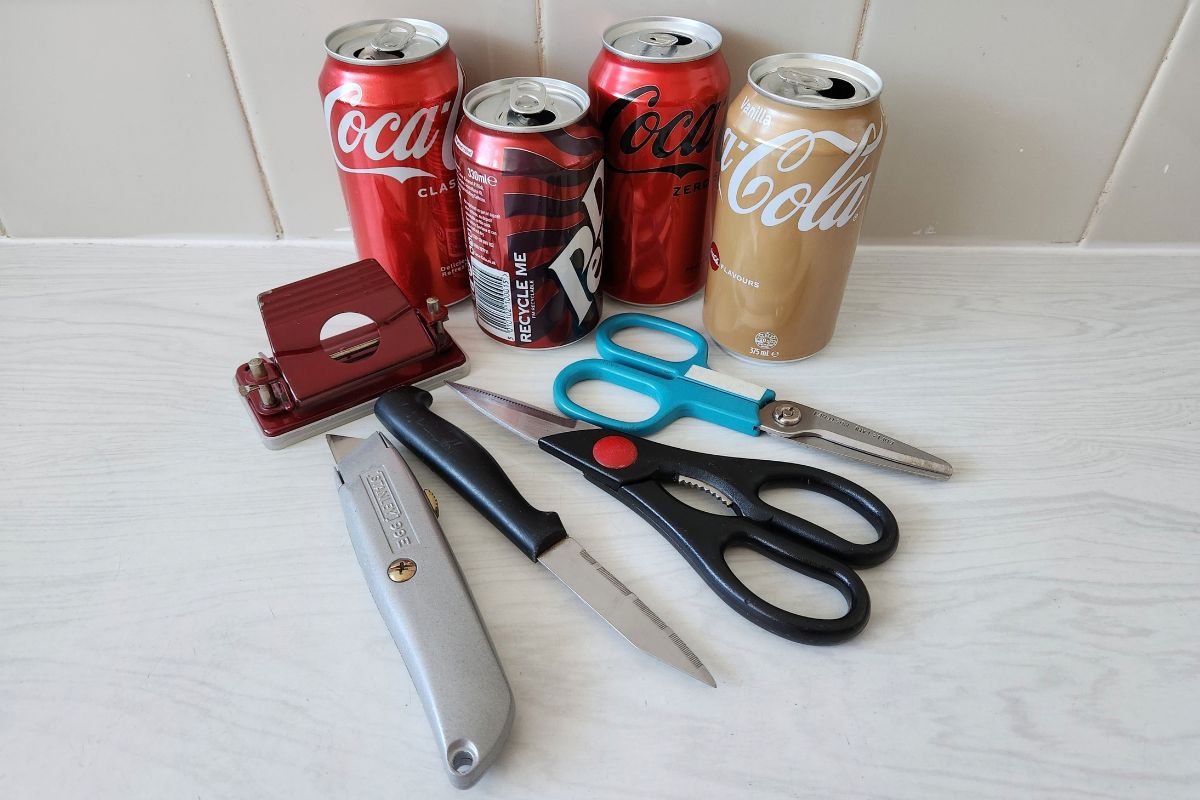
How To Make The Labels
- Clean The Cans
Once you start cutting the cans you will be dealing with very sharp edges. Sticky surfaces or having liquid dribbling out and making everything slippery increases the risk of injury, so it is important to clean the cans first. The best way to do this is to fill them with hot soapy water, give them a good shake and then rinse well in clean water. Shake as much water out as possible and leave them to dry overnight or even longer if possible. If there is still a little water in the cans when you start cutting, just have a towel handy to mop up any water as you go.
- Remove The Top And Bottom Of The Can
Puncture a hole in the side of the can right near the top and just below the ‘shoulder’ of the can. Do this with the tip of the knife. Then drive the knife tip deeper into the hole and carefully slice the top off. You can use scissors to do this cutting but a knife is sometimes easier to control. Snip through the last piece of metal with the scissors so you can remove the top of the can. Slice off the bottom of the can with the knife in the same way. It helps to hold the bottom of the can, which is more rigid, when doing this. If you can’t get a good grip, and are worried about it flexing while you cut, then wear leather gloves or try holding the can with a tea towel.
You will be left with the two ends and a tube of metal. An alternative method of removing the bottom of the can, after slicing off the top, is to cut down the length of the can using the scissors and turn them at right angles when you get to the base so that you can cut the bottom off the can.
- Flatten The Metal
Cut down the middle of the resulting tube so that you create a flat piece of metal. Take care because there will now be some very sharp edges and points. To remove the curve from this piece of metal and make it easier to handle, place it at 90 degrees to the edge of a counter or board and run it lightly over the edge. This will flatten it out but don’t be too forceful otherwise you’ll create a curve in the opposite direction! Neaten the edges by trimming off any jagged or sharp pieces using the scissors.
Cut the tube and run the piece of metal over the edge of a counter to flatten it. Trim off jagged edges and place the metal offcuts in the recycling bin.
- Create Label Shapes
Dividing the metal into equal-sized strips will create rectangular labels. Depending on how wide you want your labels to be, you can get up to eight strips, about 2 to 2.5cm wide, from each can. These are a good size for labels. Strips can be cut to any width. Round off the corners of the metal strips using scissors. Apart from making rectangular labels look nice, doing this reduces the risk of the sharp corners causing injury to either people or the plant itself, once the label is tied onto it. At the same time, you can trim the edges of the labels with scissors if your original cuts were a bit jagged.
Flatten any ripples along the edges by running a wooden block, the plastic handle of a knife or something similar, over them. If you prefer not to round off the corners, you could simply fold the corners over and flatten them. Rounded off corners and using the back of a knife to flatten any ripples. To create fancy or decorative labels, simply draw or trace different shapes onto the metal and cut them out with scissors. You may have more wastage of metal but different shapes can be fun.
CAUTION! Rounding the corners with scissors or cutting out fancy shapes produces many small sharp offcuts of metal which can easily cause injury, especially to children or pets if they fall on the floor. Take care when cutting and don’t allow these pieces to fly off around the room and into places where you can’t pick them up. Cutting over a surface where it is easy to see all the pieces is a good idea. They can then be collected together using a damp piece of paper towel before wrapping them up and safely discarding them in the bin. Cutting and trimming produces very sharp offcuts, so take care!
- Making Holes In The Labels
The easiest way to make a hole so that you can hang or tie on your labels is to use a hole punch. You can use one side of a paper punch, which works very well, or you can buy a single-hole punch from a craft or hardware store. The advantage of a punch is that it makes a clean, neat hole through which you can thread a tie or wire.
If you don’t have a hole punch, then simply make a hole in the metal using a sharp object. The back of the hole will splay out and make jagged edges and points when you do this, so be sure to flatten them so you don’t cut yourself. Flattening the sharp points also means they are less likely to cut through any twine if you use that for tying on your plant labels. Use a regular paper punch to make holes in the thin aluminium.
- Embossing The Labels
Now comes the fun part: embossing the plant name onto the label! You will need an embossing surface to press on that has a little bit of ‘give’. A folded newspaper, cork mat, or sturdy cardboard makes a good surface, but sometimes the best results are obtained by simply using a few sheets of paper towel wadded together or even a thick, three-ply serviette!
To emboss the name, place the label on the embossing surface, then using the ballpoint pen press firmly and write the name onto the metal. You may have to go over the letters if they are not deep enough. Ideally, use a ballpoint pen that has run out of ink, but even if the pen still has ink in it this will be fine. The ink will fade over time but the embossing won’t. If you don’t like the look of the ink in the embossed lettering, then try using an eraser to remove the ink.
Avoid pressing too hard while trying to rub off the ink because you might just flatten the embossed letters. Even if all the ink doesn’t come off, it will at least be far less noticeable after using the eraser. It is also a good idea to do a mock-up on a piece of paper that has been cut to the same size as the label first. This helps you work out the spacing of the letters and words because once they have been embossed, it is not easy to erase or flatten the letters. Pressing on a three-ply serviette creates perfectly embossed letters and words.
.jpg) A sturdy knife makes short work of removing the top and bottom of the can.
A sturdy knife makes short work of removing the top and bottom of the can.
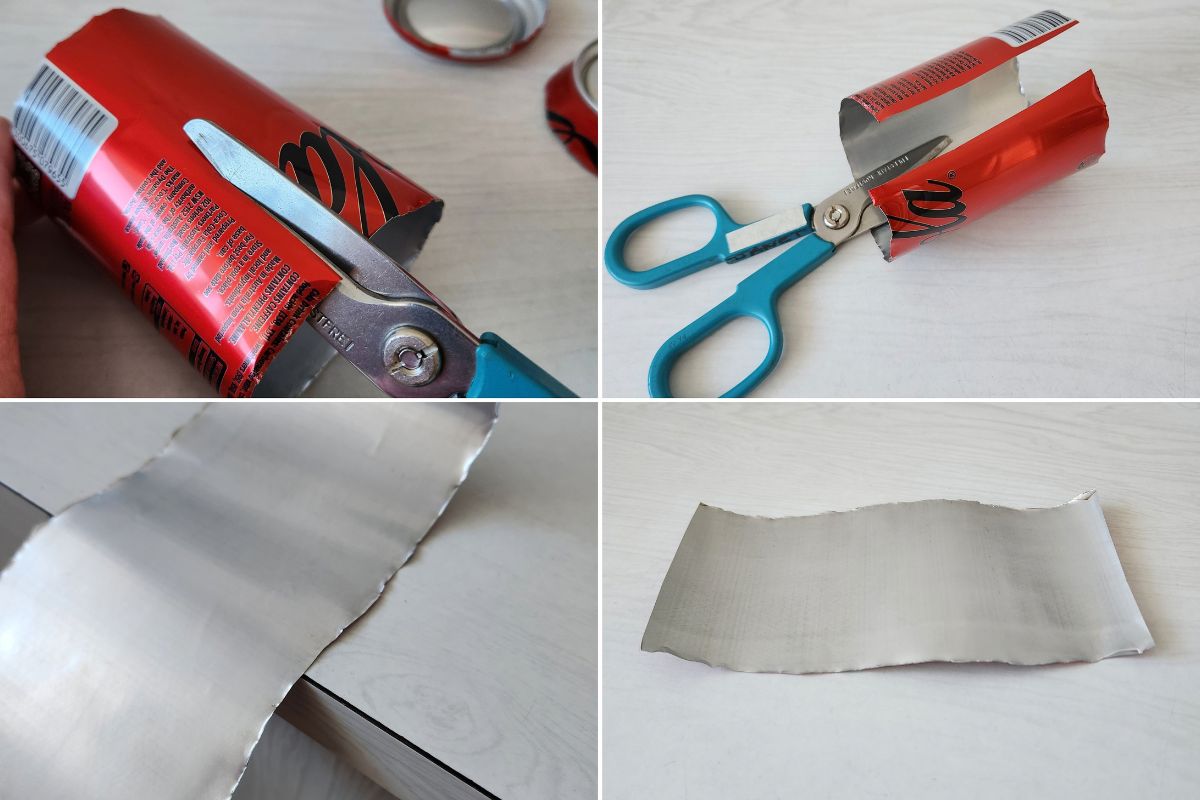 Cut the tube and run the piece of metal over the edge of a counter to flatten it.
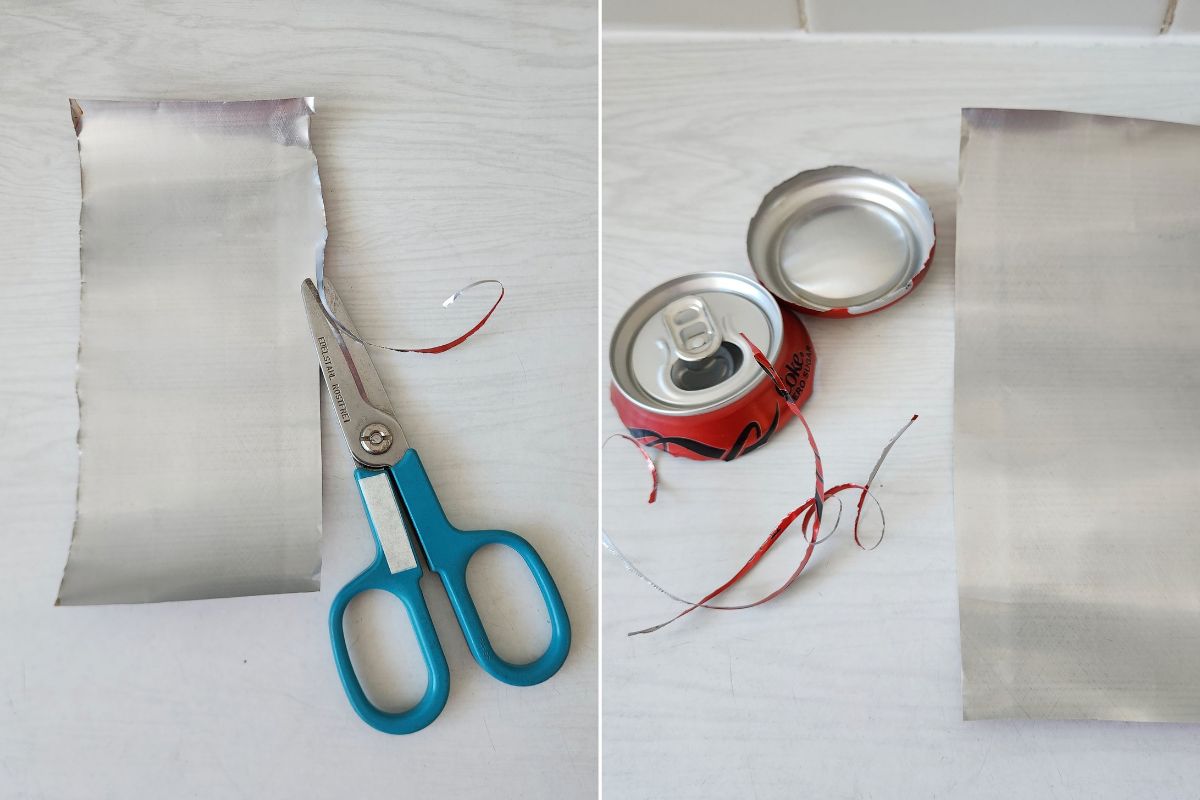 Trim off jagged edges and place the metal offcuts in the recycling bin.
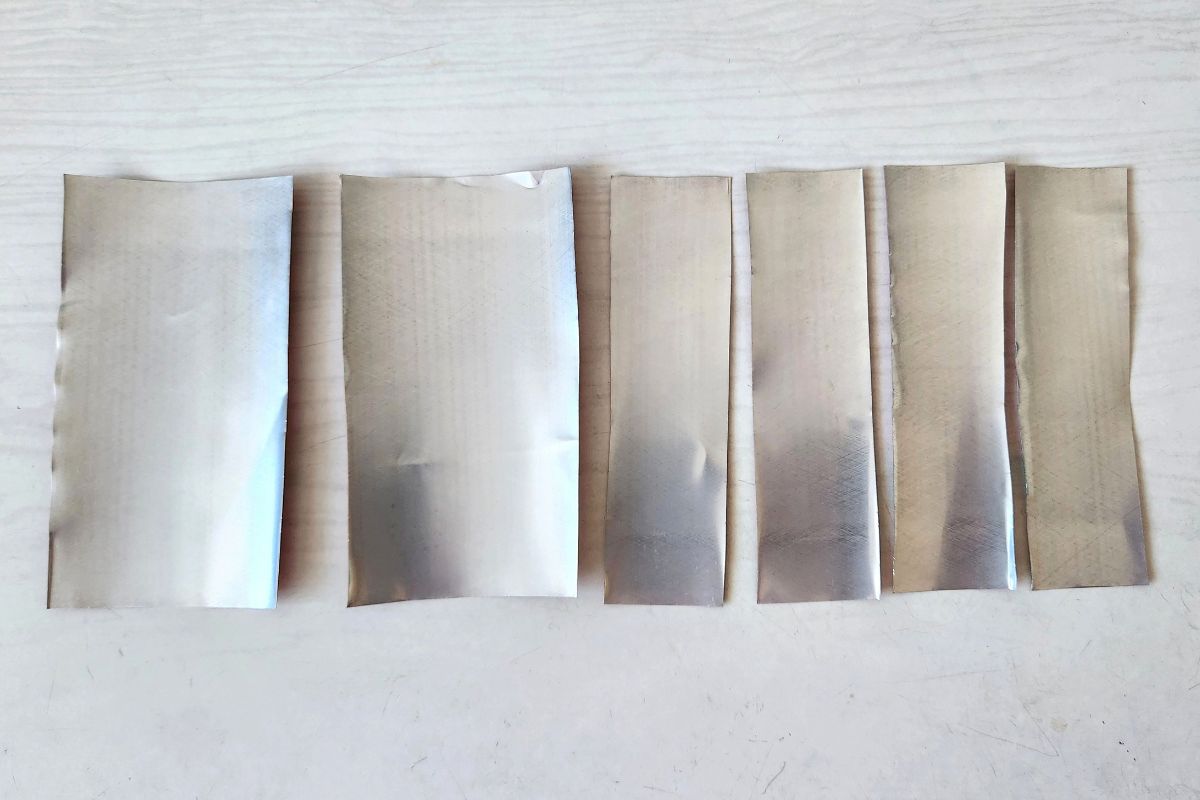 Strips can be cut to any width.
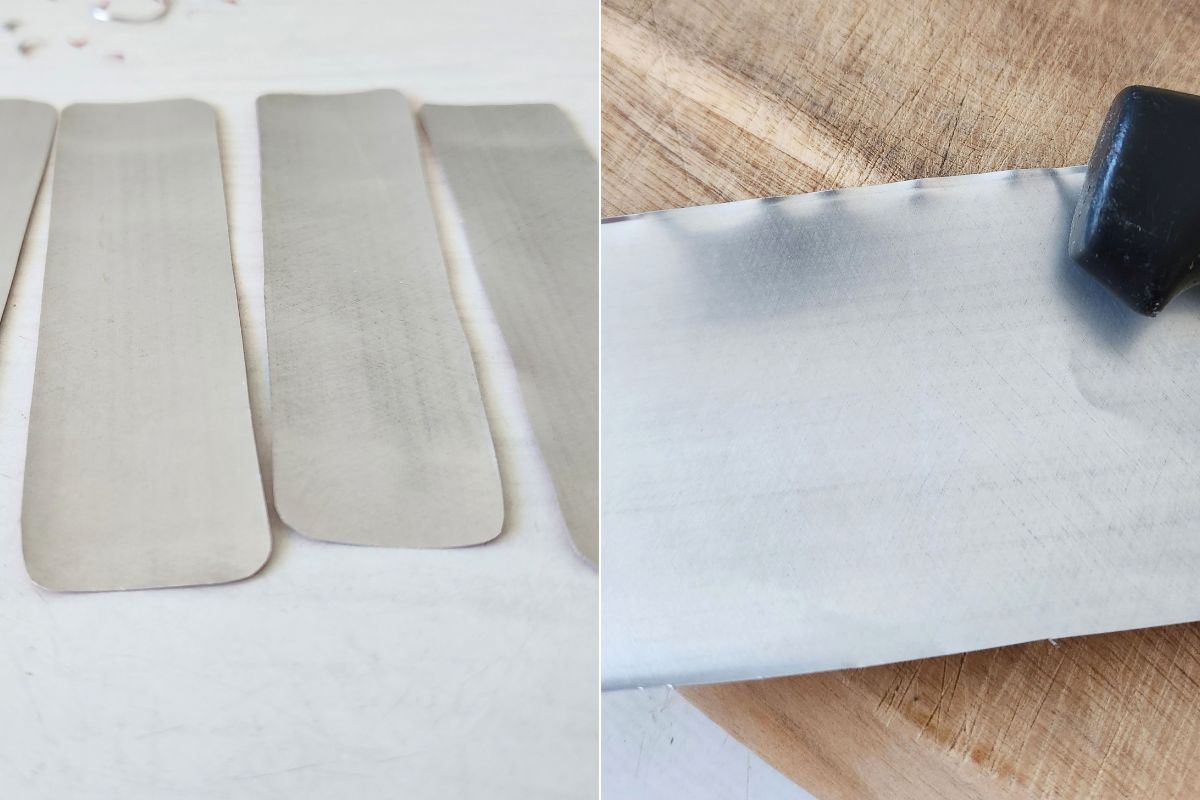 Rounded off corners and using the back of a knife to flatten any ripples.
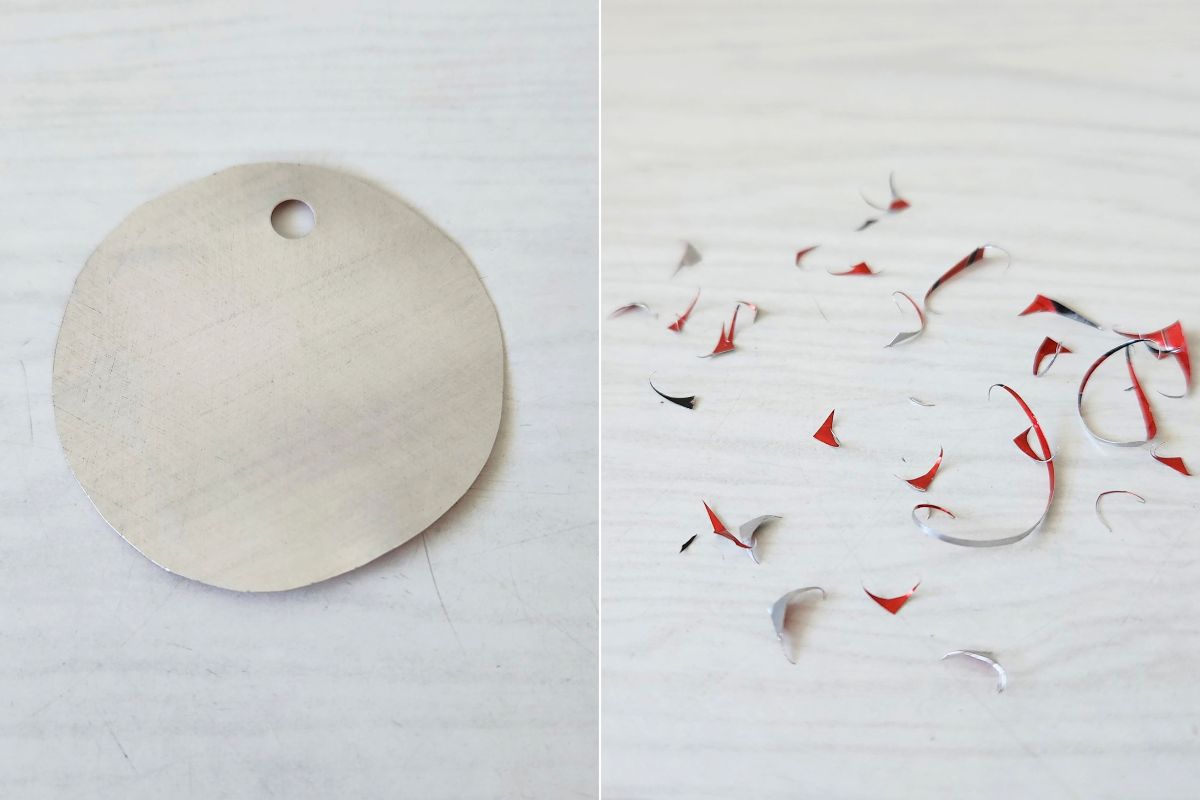 Cutting and trimming produces very sharp offcuts, so take care!
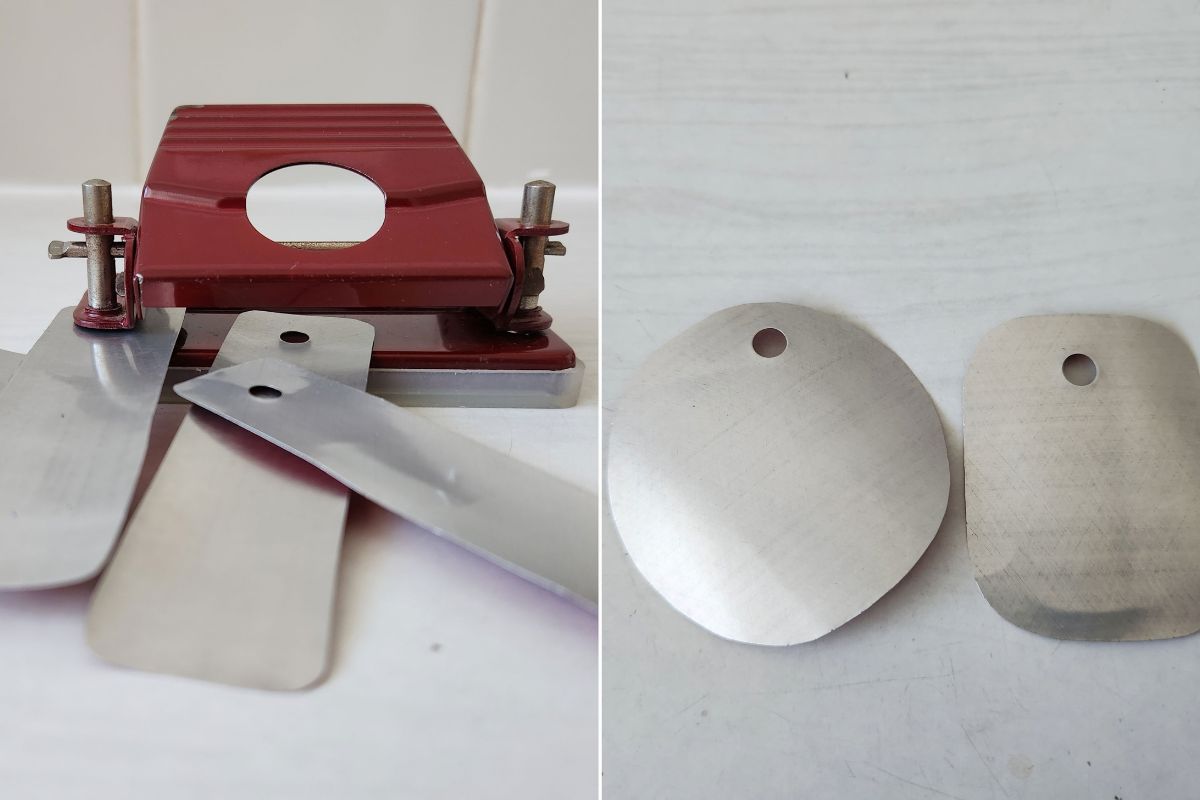 Use a regular paper punch to make holes in the thin aluminium.
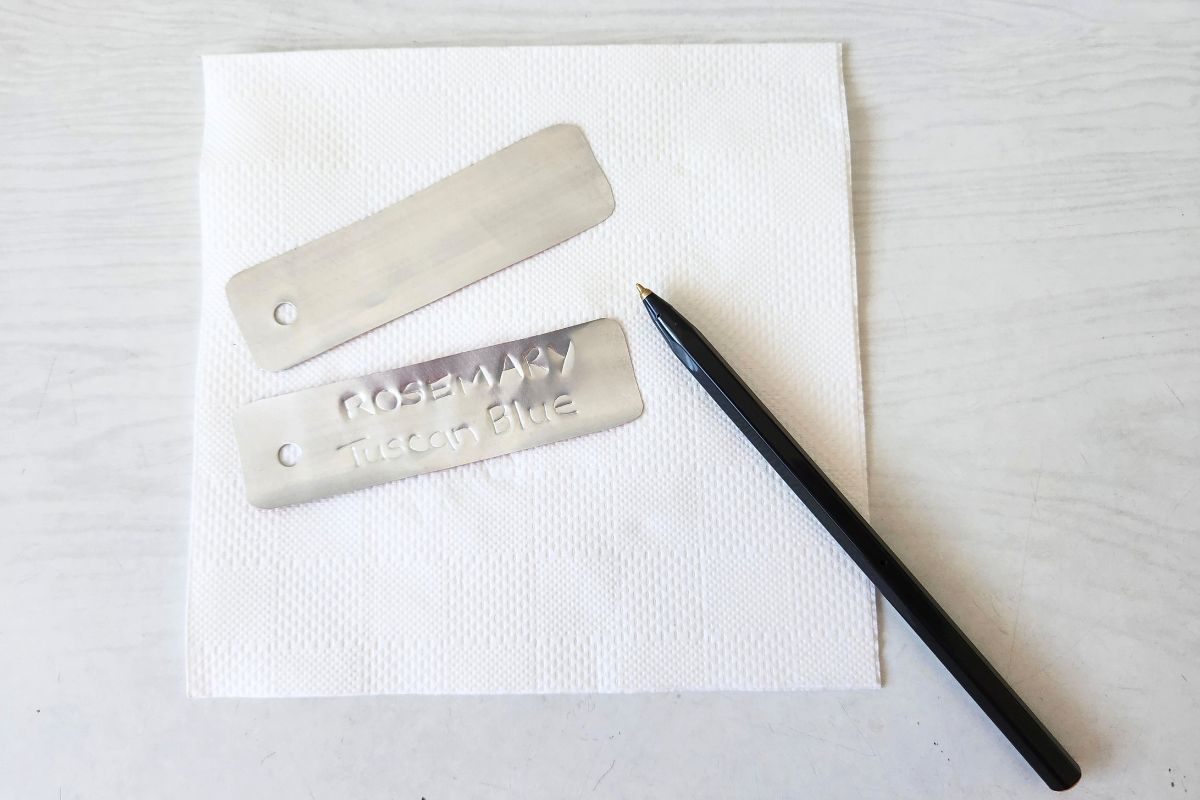 Pressing on a three-ply serviette creates perfectly embossed letters and words.
Using The Labels
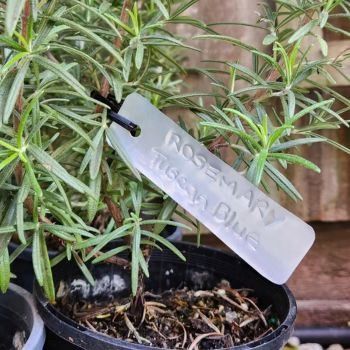
Use wire, plastic-coated garden ties, twine or string to tie the labels onto plants. When tying labels onto perennials or woody plants, and especially if using wire or garden ties, make sure the tie isn’t too tight, otherwise it will cut into the bark, damage the plant and restrict growth. Hanging labels can also be secured to a stake or stick and placed near the plant instead of tying them onto the plant itself. Embossed aluminium labels can also be pushed directly into the soil, or down the side of a pot, and are ideal for marking the position of dormant bulbs or corms so you don’t accidentally dig them up.
.jpg) Labels can be tied onto plants, pushed into pots or even into the soil near in-ground plants.
Labels can be tied onto plants, pushed into pots or even into the soil near in-ground plants.
Article & Photographs by Janet Hodgkiss